Page 3 of 106

E
EJU00989
To the owner/operator
Thank you for choosing a Yamaha water-
craft. This Owner’s/Operator’s Manual con-
tains information you will need for proper
operation, maintenance, and care.
A thorough understanding of these simple
instructions will help you to obtain maximum
enjoyment from your new Yamaha. If you
have any questions about the operation or
maintenance of your watercraft, please con-
sult a Yamaha dealer.
Because Yamaha has a policy of continu-
ing product improvement, this product may
not be exactly as described in this Owner’s/
Operator’s Manual. Specifications are sub-
ject to change without notice.
This manual should be considered a per-
manent part of this watercraft and should
remain with it even if the watercraft is subse-
quently sold.EJU01265
Important manual information:
In this manual, information of particular
importance is distinguished in the following
ways:
The Safety Alert Symbol means
ATTENTION! BECOME ALERT!
YOUR SAFETY IS INVOLVED!
WARNING@ Failure to follow WARNING instructions
could result in severe injury or death to
the machine operator, a bystander, or a
person inspecting or repairing the water-
craft.
@
CAUTION:@ A CAUTION indicates special precau-
tions that must be taken to avoid damage
to the watercraft.
@
NOTE:@ A NOTE provides key information to make
procedures easier or clearer.
@
EJU01266
SuperJet 700
OWNER’S/OPERATOR’S MANUAL
©2001 by Yamaha Motor Co., Ltd.
1st Edition, June 2001
All rights reserved.
Any reprinting or unauthorized use
without the written permission of
Yamaha Motor Co., Ltd.
is expressly prohibited.
Printed in Japan
E_F1N-70.book Page 1 Wednesday, July 18, 2001 3:28 PM
Page 5 of 106
EEJU00992
CONTENTS
READ THIS OWNER’S/OPERATOR’S MANUAL CAREFULLY BEFORE
OPERATING YOUR WATERCRAFT.
GENERAL AND SAFETY
INFORMATION
1
FEATURES AND FUNCTIONS 2
OPERATION 3
MAINTENANCE AND CARE 4
TROUBLESHOOTING AND
EMERGENCY PROCEDURES
5
APPENDIX 6
E_F1N-70.book Page 3 Wednesday, July 18, 2001 3:28 PM
Page 31 of 106
2-8
E
EJU01273
Steering pole
The steering pole varies in height with the
operator’s posture, enabling the operator to
assume various riding positions.
When removing the hood for pre-opera-
tion checks, maintenance, etc., lift the steer-
ing pole 1 and use the lock pin 2 to
support it. Move the lock pin into the detent.
Make sure the lock pin is returned to the
stowed position after installing the hood.
E_F1N-70.book Page 8 Wednesday, July 18, 2001 3:28 PM
Page 69 of 106

E
4
EJU01086
MAINTENANCE AND
CARE
Storage ...................................................... 4-1
Flushing the cooling system .................. 4-1
Lubrication .............................................. 4-3
Fuel system ............................................ 4-5
Battery .................................................... 4-5
Cleaning the watercraft .......................... 4-6
Maintenance and adjustments .............. 4-7
Owner’s/Operator’s Manual and
tool kit ..................................................... 4-8
Periodic maintenance chart ................... 4-9
Inspecting the fuel system ................... 4-10
Inspecting the steering cable ............... 4-12
Inspecting and adjusting the throttle
cable ..................................................... 4-12
Cleaning and adjusting the spark
plugs ..................................................... 4-13
Lubrication points ................................. 4-14
Adjusting the choke cable .................... 4-16
Inspecting the battery .......................... 4-17
Adjusting the carburetor ...................... 4-19
Replacing the fuse ............................... 4-20
Adjusting the steering friction .............. 4-20
Adjusting the jet thrust nozzle angle ... 4-21
Specifications ........................................ 4-23
E_F1N-70.book Page 1 Wednesday, July 18, 2001 3:28 PM
Page 70 of 106

4-1
E
EJU01087
Storage
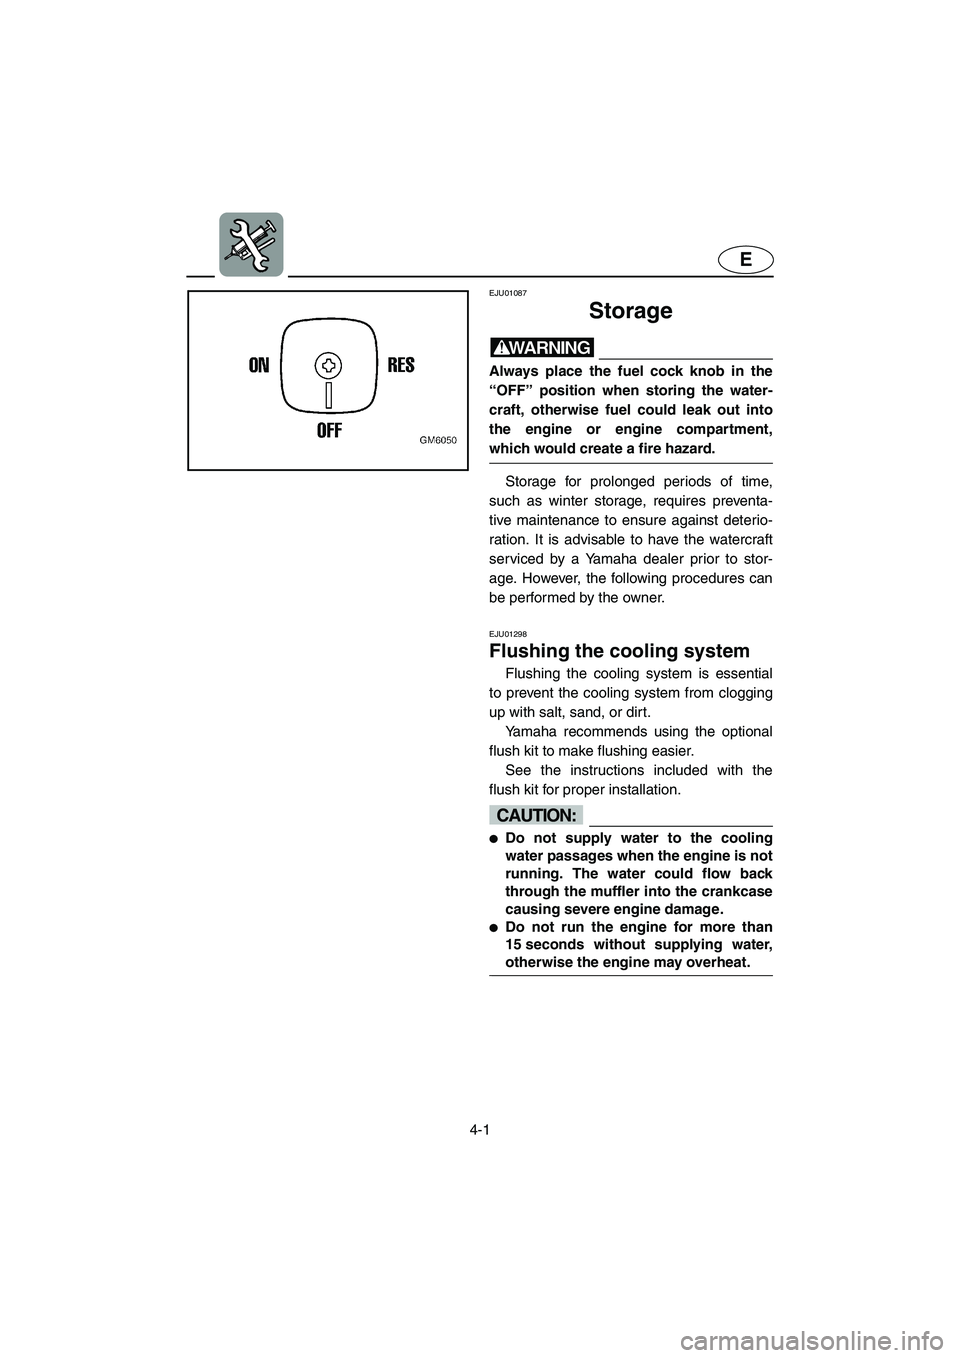
WARNING@ Always place the fuel cock knob in the
“OFF” position when storing the water-
craft, otherwise fuel could leak out into
the engine or engine compartment,
which would create a fire hazard.
@
Storage for prolonged periods of time,
such as winter storage, requires preventa-
tive maintenance to ensure against deterio-
ration. It is advisable to have the watercraft
serviced by a Yamaha dealer prior to stor-
age. However, the following procedures can
be performed by the owner.
EJU01298
Flushing the cooling system
Flushing the cooling system is essential
to prevent the cooling system from clogging
up with salt, sand, or dirt.
Yamaha recommends using the optional
flush kit to make flushing easier.
See the instructions included with the
flush kit for proper installation.
CAUTION:@ �Do not supply water to the cooling
water passages when the engine is not
running. The water could flow back
through the muffler into the crankcase
causing severe engine damage.
�Do not run the engine for more than
15 seconds without supplying water,
otherwise the engine may overheat.
@
E_F1N-70.book Page 1 Wednesday, July 18, 2001 3:28 PM
Page 75 of 106

4-6
E
CAUTION:@ The battery may be impossible to use
again if you store it for a longer time
without recharging. Recharge the battery
periodically.
@
NOTE:@ The battery condition can be found by
checking the specific gravity of the electro-
lyte. However, you can also know the battery
condition roughly by measuring the voltage
at both battery terminals. Recharge the bat-
tery if the voltage is 12 volts or less.
Yamaha recommend checking the specific
gravity of the electrolyte and charging bat-
tery by a Yamaha dealer or a battery dealer.
If you maintain the battery yourself, read
carefully the instructions for the tool and
machine before maintenance.
@
EJU01300
Cleaning the watercraft
Clean the watercraft before storing it for a
long period.
1. Wash down the hull, handlebars, and
drive unit with fresh water.
2. Rinse the engine and bilge area with
fresh water. Drain off all water and wipe
up remaining moisture with clean, dry
rags.
3. Spray the engine’s exterior with a rust
inhibitor and lubricant.
4. Wax the hull with a non-abrasive wax.
5. Wipe all vinyl and rubber components,
such as the engine compartment seals,
with a vinyl protectant.
6. Do not use protectant on the riding tray,
because it will make it slippery. Specific gravity of electrolyte
(for reference):
1.28 at 20 °C (68 °F)
E_F1N-70.book Page 6 Wednesday, July 18, 2001 3:28 PM
Page 76 of 106

4-7
E
EJU01094
Maintenance and
adjustments
Periodic inspection, adjustment and lubri-
cation will keep your watercraft in the safest
and most efficient condition possible. Safety
is an obligation of the watercraft owner. The
most important points of watercraft inspec-
tion, adjustment and lubrication are
explained on the following pages.
See your Yamaha dealer for genuine
Yamaha replacement parts and optional
accessories designed for your watercraft.
Remember that failures that are the result
of the installation of parts or accessories
which are not qualitatively equivalent to gen-
uine Yamaha parts are not covered by the
limited warranty.
WARNING@ �Be sure to turn off the engine when
you perform maintenance unless oth-
erwise specified, otherwise an acci-
dent or injury could result from
unexpected operation, moving parts,
or electric shock. If the owner is not
familiar with watercraft servicing, this
work should be done by a Yamaha
dealer. Improperly serviced compo-
nents could fail or stop operating cor-
rectly, which could result in an
accident.
�Modifications to this watercraft not
approved by Yamaha may cause loss
of performance or excessive noise, or
render it unsafe for use. Consult a
Yamaha dealer before attempting any
changes.
@
E_F1N-70.book Page 7 Wednesday, July 18, 2001 3:28 PM
Page 78 of 106

4-9
E
EJU01355
Periodic maintenance chart
The following chart gives general guidelines for periodic maintenance. However, depend-
ing on your operating conditions maintenance may need to be performed more frequently.
*1: Grease capacity: 20.0–22.0 cm3 (0.68–0.74 oz)
*2: Grease capacity: 3.0–5.0 cm3 (0.10–0.17 oz)
(�) This mark indicates maintenance that you may do yourself.
(
❍) This mark indicates work to be done by a Yamaha dealer.
MAINTENANCE INTERVAL INITIALTHEREAF-
TER EVERYPA G E
10
hours50
hours100
hours 100
hours 200
hours
ITEM
3
months6
months6
months12
months
Spark plug Inspect, clean, adjust ����
4-13
Lubrication points Lubricate��
4-14
Intermediate housing Lubricate❍
*1�
*2�
*2 4-16
Fuel system Inspect❍❍
4-10
Fuel filter Check, replace❍❍
4-11
Fuel tank Clean❍
4-11
Carburetor setting Inspect, adjust❍❍❍
4-19
Trolling speed Adjust��
4-19
Carburetor throttle shaft Inspect❍❍
—
Cooling water passages Flush�
(after
ever y
use) 4-1
Bilge strainer Clean���
—
Impeller Inspect���
—
Steering cable Inspect��
4-12
Steering pivot Inspect❍❍❍
—
Steering friction Inspect���
4-20
Throttle cable Inspect, adjust��
4-12
Choke cable Inspect, adjust ��
4-16
Battery Inspect�
(Inspect
fluid level
before
ever y
use)4-17
Rubber coupling Inspect❍
—
Nuts and bolts Tighten❍❍❍
—
E_F1N-70.book Page 9 Wednesday, July 18, 2001 3:28 PM