Page 37 of 106
3-2
E
EJU01043
Gasohol
There are two types of gasohol: gasohol
containing ethanol and that containing meth-
anol.
Gasohol containing ethanol can be used
if ethanol content does not exceed 10 % and
the fuel meets minimum octane ratings.
Gasohol containing methanol is not rec-
ommended by Yamaha because it can
cause fuel system damage or engine perfor-
mance problems.
EJU01044
2-stroke engine oil
If YAMALUBE 2-W is not available,
another 2-stroke engine oil with an NMMA-
certified TC-W3 rating may be used.Recommended engine oil:
YAMALUBE 2-W
E_F1N-3.fm Page 2 Thursday, July 19, 2001 2:56 PM
Page 38 of 106
3-3
E
EJU01276
Mixing fuel and oil
CAUTION:@ �Avoid using any mixture of gasoline
and oil other than those designated.
�Make sure gasoline and oil are thor-
oughly mixed in the correct ratio, oth-
erwise the following problems may
occur. Too little oil in the fuel mixing
ratio could result in major engine trou-
ble, such as seizure. Too much oil in
the fuel mixing ratio could result in
fouled spark plugs, smoky exhaust, or
heavy carbon deposits.
@
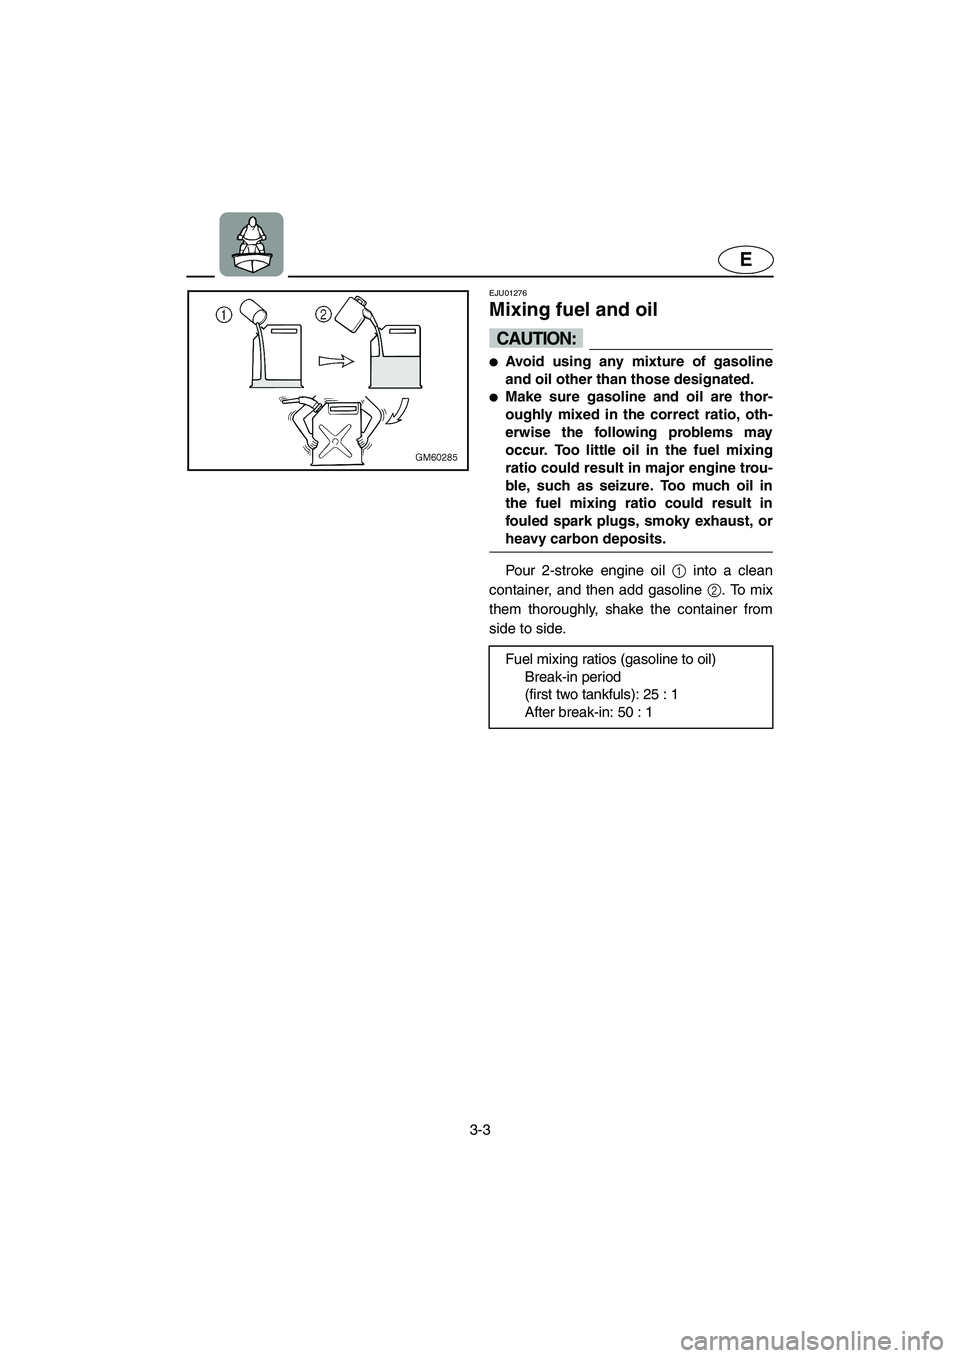
Pour 2-stroke engine oil 1 into a clean
container, and then add gasoline 2. To mix
them thoroughly, shake the container from
side to side.
Fuel mixing ratios (gasoline to oil)
Break-in period
(first two tankfuls): 25 : 1
After break-in: 50 : 1
E_F1N-70.book Page 3 Wednesday, July 18, 2001 3:28 PM
Page 39 of 106
3-4
E
EJU01277
Filling the fuel tank
CAUTION:@ Be careful when refueling. Avoid getting
water or other contaminants in the fuel
tank. Contaminated fuel can cause poor
running or engine damage.
@
1. Lift the steering pole and support it with
the lock pin.
2. Remove the hood.
3. Open the fuel tank filler cap, and slowly
add the premixed fuel to the fuel tank.
4. Stop filling when the fuel level just
reaches the bottom of the filler tube.
NOTE:@ �The hood must be removed in order to
watch the fuel level in the fuel tank while
adding fuel.
�Be careful not to spill fuel or overfill the
tank.
�Do not fill into the filler tube because fuel
could overflow.
@
Fuel tank capacity:
Total: 18 L (4.8 US gal, 4.0 Imp gal)
Reserve: 5.5 L
(1.45 US gal, 1.21 Imp gal)
E_F1N-70.book Page 4 Wednesday, July 18, 2001 3:28 PM
Page 40 of 106

3-5
E
EJU01346
Pre-operation checks
EJU01347
Pre-operation check list
Before operating this watercraft, perform the checks in the following check list. See the
accompanying text in this chapter for details on how to perform the checks.
WARNING@ If any item in the pre-operation check list is not working properly, have it inspected
and repaired before operating the watercraft, otherwise an accident could occur.
@
NOTE:@ Pre-operation checks should be made thoroughly each time the watercraft is used. This pro-
cedure can be completed in a short time. It is worth the time spent to assure safety and reli-
ability.
@
ITEM ROUTINE PAGE
Engine compar tment Remove hood, ventilate fuel vapors and check
electrical connections3-6
Bilge Check for water and fuel residue and remove if
necessary3-7
Throttle Check that throttle lever springs back 3-10
Steering system Check for proper steering system operation 3-10
Fuel Check fuel level and add if necessary
Check hoses and tank for leakage3-6
Water separator Check for water and drain if necessary 3-7
Battery Check electrolyte level and battery condition 3-8
Hood Check that hood latches are secured 2-3
Hull/Deck Check hull for cracks or other damage—
Jet unit Check for debris and remove if necessary 3-11
Fire extinguisher Check condition and replace if necessary 3-9
Engine shut-off cord Check condition and replace if frayed or broken 3-11
Switches Check start switch, engine stop switch and
engine shut-off switch for proper operation when
watercraft is in the water 3-12
Cooling water pilot outlet Check that water is discharged while engine is
running and watercraft is in the water3-12
E_F1N-70.book Page 5 Wednesday, July 18, 2001 3:28 PM
Page 41 of 106

3-6
E
EJU01048
Pre-operation check points
EJU01278
Engine compartment
Ventilate the engine compartment, before
each use. To ventilate the engine compart-
ment, lift the steering pole and support it
with the stopper pin, then remove the hood.
Put the hood aside for a few minutes to allow
any fuel vapors to escape. Also, check for
loose electrical connections.
WARNING@ Failure to ventilate the engine compart-
ment could result in fire or explosion. Do
not start the engine if there is a fuel leak
or loose electrical connection.
@
EJU01279
Fuel system
Check the fuel system for leakage, cracks
or malfunctions before each use. (See
page 4-10 for check points and correct pro-
cedures.)
1. Remove the fuel tank filler cap to release
any pressure that might have built up in
the fuel tank.
2. Remove the hood, and then check the
fuel level in the tank. Replenish if neces-
sary. (See page 3-4 for filling instruc-
tions.)
3. Close the fuel tank filler cap securely.
E_F1N-70.book Page 6 Wednesday, July 18, 2001 3:28 PM
Page 42 of 106
3-7
E
EJU01052
Water separator
Check the water separator 1 for water.
Normally the water separator is empty. The
water separator retains any water entering
through the fuel tank breather hose if the
watercraft is capsized.
If water remains in the water separator,
drain it by removing the drain screw 2.
Install the drain screw again after draining
the water separator.
EJU01280
Bilge
Check for moisture and fuel residue in the
bilge.
Excessive water in the bilge can splash
into the carburetor and engine which could
cause engine damage.
E_F1N-70.book Page 7 Wednesday, July 18, 2001 3:28 PM
Page 43 of 106
3-8
E
EJU01054
Battery
Check the battery condition and the elec-
trolyte level.
Check that the battery leads are tightened
securely and there is no corrosion on the
battery terminals.
WARNING@ The battery must always be fully charged
and in good condition. Loss of battery
power may leave you stranded. Never
operate the watercraft if the battery does
not have sufficient power to start the
engine or if it shows any other signs of
decreased power.
@
Make sure that the breather hose is prop-
erly connected and that it is not damaged or
obstructed.
Make sure that the battery is securely
held in place.
1
Positive (+): Red lead
2
Negative (–): Black lead
3
Breather hose
E_F1N-70.book Page 8 Wednesday, July 18, 2001 3:28 PM
Page 45 of 106

3-10
E
EJU01056
Throttle
Squeeze and release the throttle lever
several times to make sure that there is no
hesitation in its travel. It should be smooth
over the complete range, and spring back to
the idle position when released.
WARNING@ Before starting the engine, always check
the operation of the throttle lever. It
should move smoothly through its full
range of operation, and should spring
back to the idle position when released.
@
EJU01057
Steering system
Check for looseness in the handlebars.
Turn them as far as possible to the right
and left to make sure that operation is
smooth and unrestricted throughout the
whole range. Make sure that the jet thrust
nozzle also changes directions as the han-
dlebars are turned, and that there is no free
play between the handlebars and the jet
thrust nozzle.
EJU01281
Steering pole
Check for looseness in the steering pole.
Move it up and down to make sure operation
is smooth and unrestricted throughout the
whole range. Make sure the steering pole
does not have any side play.
E_F1N-70.book Page 10 Wednesday, July 18, 2001 3:28 PM