Page 268 of 474
-Generator . . . . . . . . . . . . . . . . . . 19 -High beam ................. 17 -
too . . . . . . . . . . . . . . . 23 day-night mirror . . . . . . . . . .
- Engine temperature
gauge
.....................
illumination .......... 42
. . . . . . . . . . . . . . . . 3
-
temperature gauge ...................... 9
-gauge . . . . . . . . . . . . . . . . .
.................. 49
- Front map
. . . . . . . . . . . . . . . . 49
J
Jump starting . . . . . . 3.2
K
Keeping interior
. . . . . . . . . . . . . . . . . . 26
.
. . . . . . . . . . . . . 25
-. . . . . . . . . . . . . . . 26
-Tag ........................ 26
...................... 26
Key for remote . . . . . . . . . . 25
Keys .......................... 25
Kick-down . . . . . . . . . . . . . . . .
. . . . . . . . . . . . 49
-Hazard ..................... 43
-
15
-
compartment box 49
Loading a roof rack . . . . . . . . . . . . . 66
Locking
power . . . . . . . . . . 32
Locking the 31
-Truck Rear
Page 269 of 474

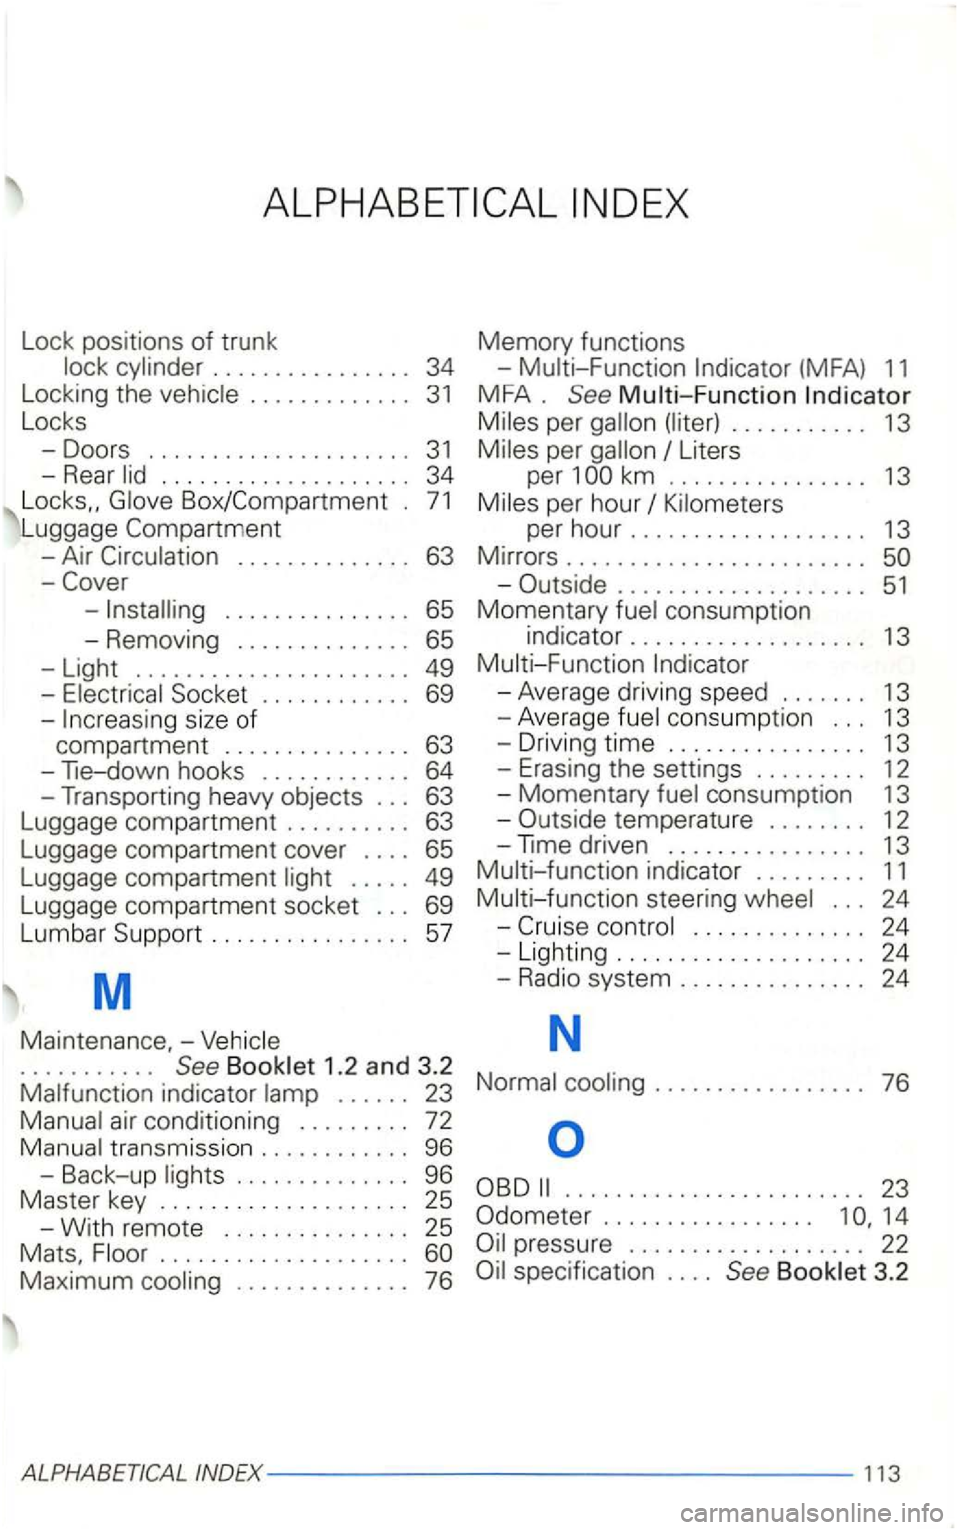
Lock posi tions of trunk
. . . . . . . . . . . . . 31
Locks
- Doors
........ ............. 31
-Rear
Box/Compartment . 71
Luggage
- Air . . . . . . . . . . . . . . 63
-. . . . . . . . . . . . . . . 65
- Removing . . . . . . . . . . . . . . 65
-Light ...................... 49
-
. . . . . 49
Luggage compartment socket . . . 69
Lumbar Support . . . . . . . . . . . . . . . .
57
M
Maintenan ce, 1.2 and 3.2
indicator . . . . . . 23
tran smission . . . . . . . . . . . . 96
- Back-up
. . . . . . . . . . . . . . 96
Master key . . . . . . . . . . . . . . . . . . . . 25
- W
ith remote . . . . . . . . . . . . . . . 25
Mats,
. . . . . . . . . . . . . . . . . . . .
Ma ximum . . . . . . . . . . . . . . 76 Memory
functions
(MFA) 11
MFA . Multi-Function
per km ................ 13
per hour
. . . . . . . . . . . . . . . . . . . . 51
Momentary
consumption 13
-
. . . 24
. . . . . . . . . . . . . . . . . 76
........................ 23
Odometer . . . . . . . . . . . . . . . . . 14
pressure . . . . . . . . . . . . . . . . . . . 22
specification ....
Page 273 of 474

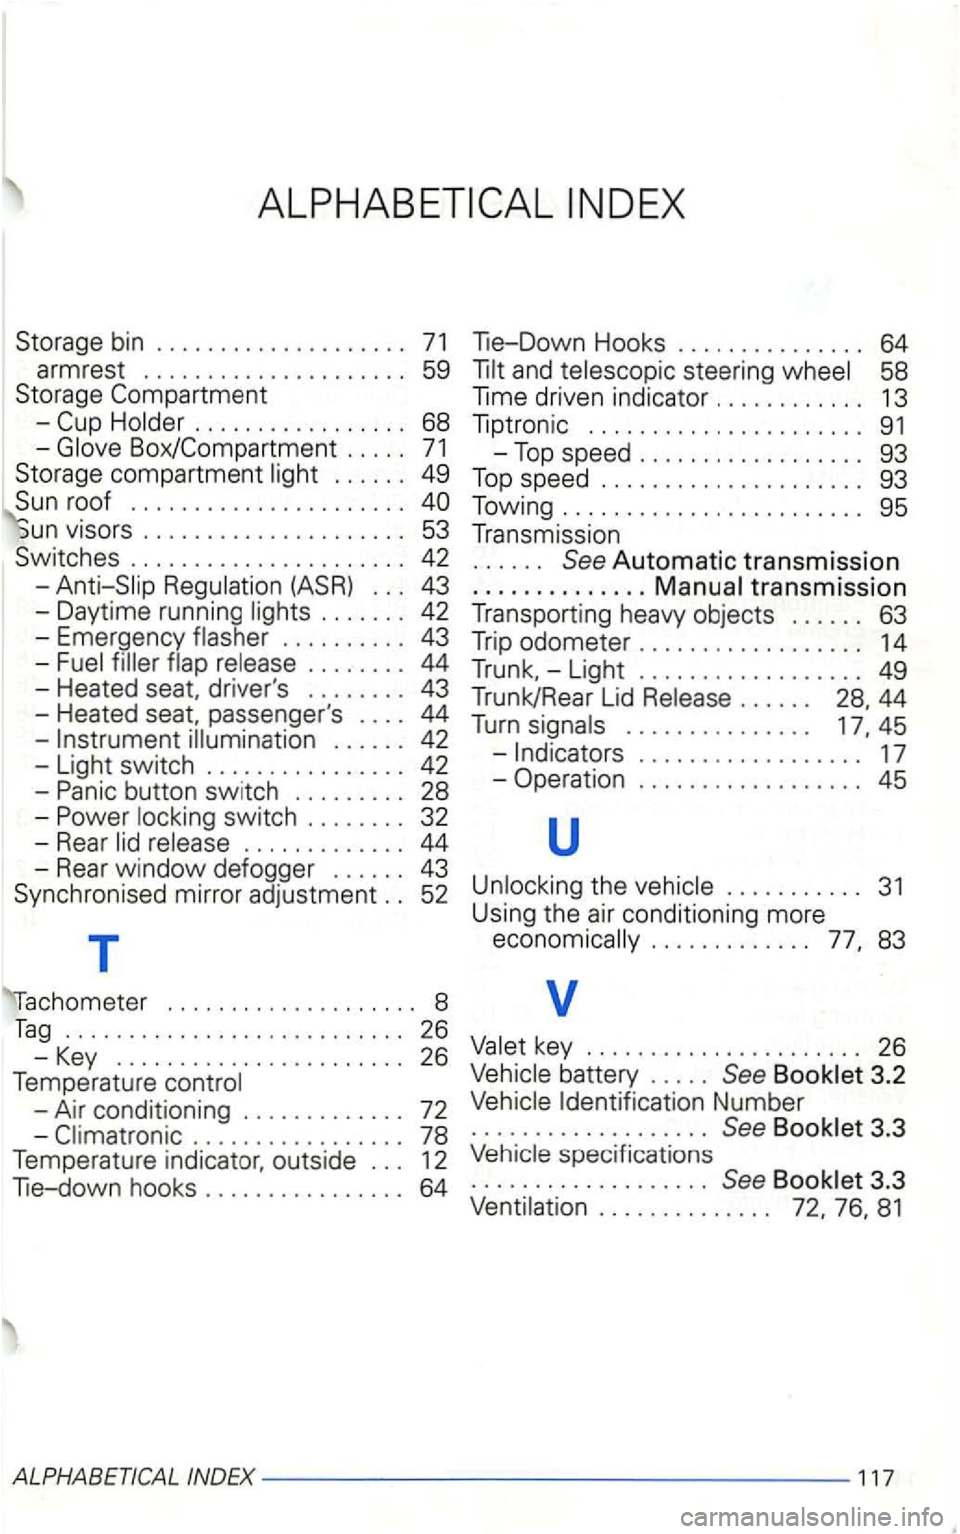
-
. . . . . . 49
. . . . . . . . . . . . . . . . . . . . . .
vrsors . . . . . . . . . . . . . . . . . . . . . 53
Switches . . . . . . . . . . . . . . . . . . . . . . 42
. . . . . . . . . . 43
-. . . . . . . . 44
-Heated passenger 's . . . . 44
-
button switch ......... 28 -swi tch . . . . . . . . 32
- Rear
. . . . . . . . . . . . . 44
- Rear window defogger . . . . . . 43
Synchronised mirror
adjustment . . 52
T
. . . . . . . . . . . . . . . . . . . . 8
Tag ........................... 26
- Key
....................... 26
Temperature
-Air conditioning . . . . . . . . . . . . . 72
-
58
Time driven indicato r . . . . . . . . . . . . 13
Tip tronic . . . . . . . . . . . . . . . . . . . . . .
91
-Top sp eed .................. 93
Top speed ..................... 93
Towing ........................ 95
Transmission
. . . . . . See Autom atic transmission
.......... .... tran smissio n
T ransporting heavy objects . . . . . . 63
T rip
odometer . . . . . . . . . . . . . . . . . . 14
Trunk. -Light . . . . . . . . . . . . . . . . . . 49
Trunk/Rear Lid . . . . . . 28. 44
Turn . . . . . . . . . . . . . . . 45
-. . . . . . . . . . . . . . . . . . 17
- Operation . . . . . . . . . . . . . . . . . .
45
u
........... 31
Using the air cond itioni ng more .............
battery . . . . . See 3.2
Identification Number ................... See
speci fications
................... See 3.3
Page 397 of 474

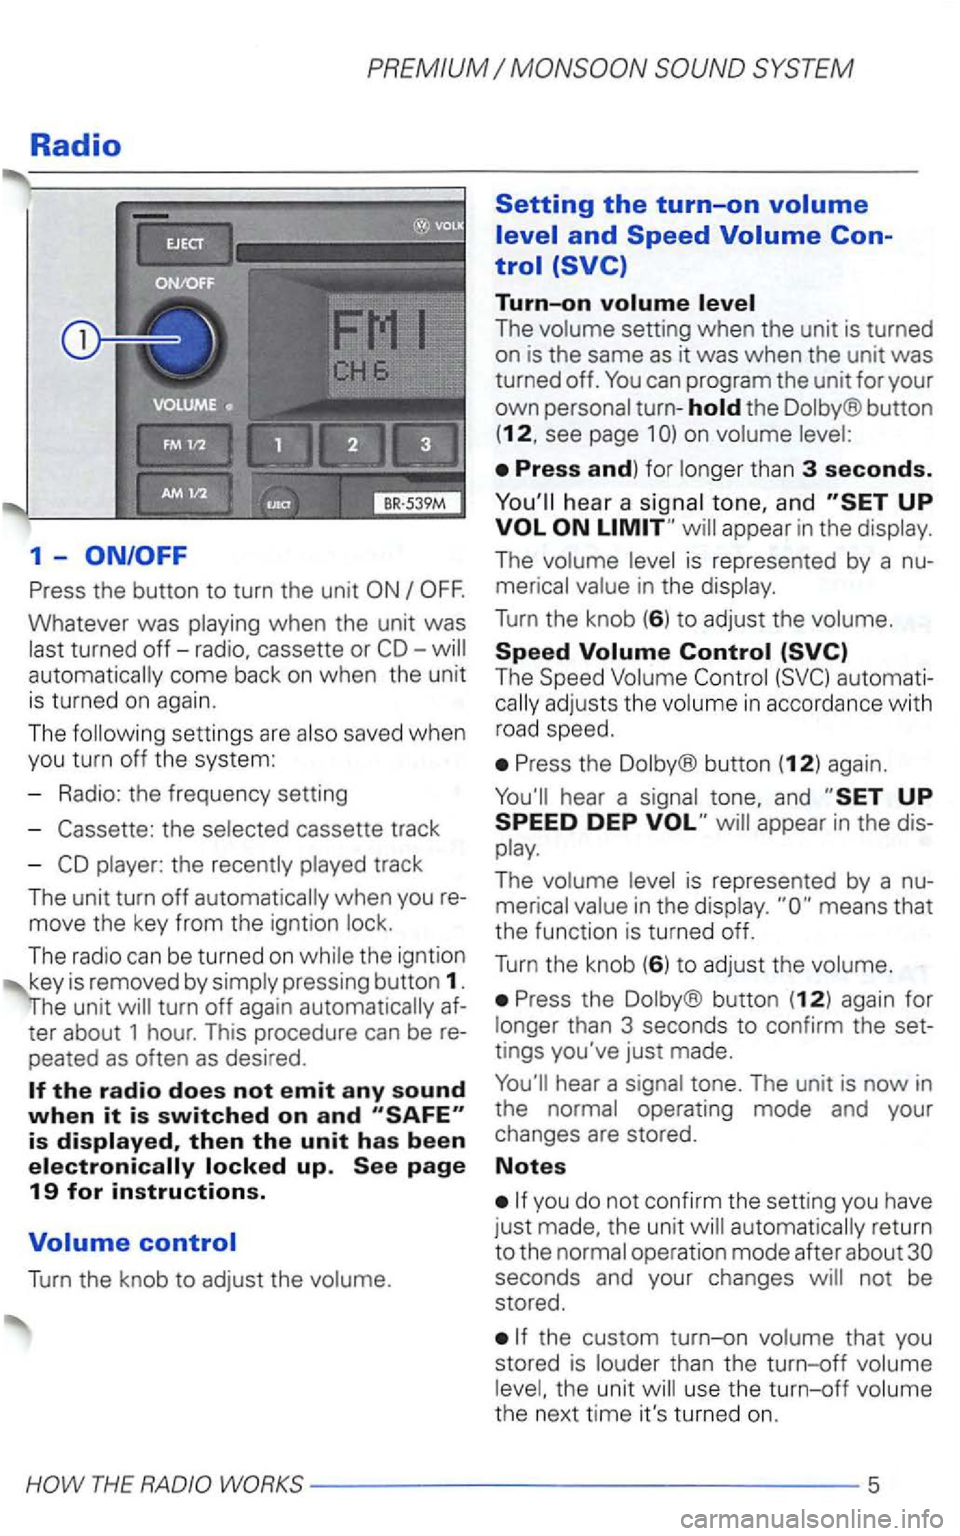
Radio
1-
Press the button to turn the unit
Whatever was playing when the unit was
last turned
off-radio, cassette or automatically come back on when the unit
is turned on again.
The following settin gs are also saved when
you turn off the system:
- Radio: the frequency setting
-
the selected cassette track
-
player: the recently played track
The unit turn
off automatically when you
move the key from the igntion lock.
The radio can be turned
on while the igntion
key is removed by simply pressing button 1.
turn off again automatically
peated as often as desired .
Turn the knob to adjust the volume.
Setting the turn-on
Turn-on
The volume setting when the unit is turned
on is the same as it was when the unit was turned off.
the Dolby® button
(12, see page 1
hea r a signal tone, and appear in the display.
The volume level is represented by a
The Speed Volume
Press the Dolby® button (12) again.
Press the Dolby ® button (12) again for
longer than 3 seconds to confirm the
tings you've just made.
automatically return
to the normal operation mode after about
the custom turn-on volume that you
stored is louder than the turn-off volume
level, the unit will use the
turn-off volume
the next time it's turned on.
Page 411 of 474
PREMIUM
Anti-theft coding
When the unit is turned off and the ignition
key is remo ved from the ignitio n switch, the
flashing
LED indicates that the radio is
equipped with
an anti-theft coding system. the Radio
Canceling the
Perform the steps in
Turn on the radio .
After 3 seconds, the number 1 will
appear in the display.
Use the radio station preset buttons 1 to
4 to enter the code number found on your Radio
ton 2 to en ter the second digit, etc. The ue range for each of the 4 digits is ...
After you finish entering the press
either the upper
you've entered the code number rectly,
Page 423 of 474

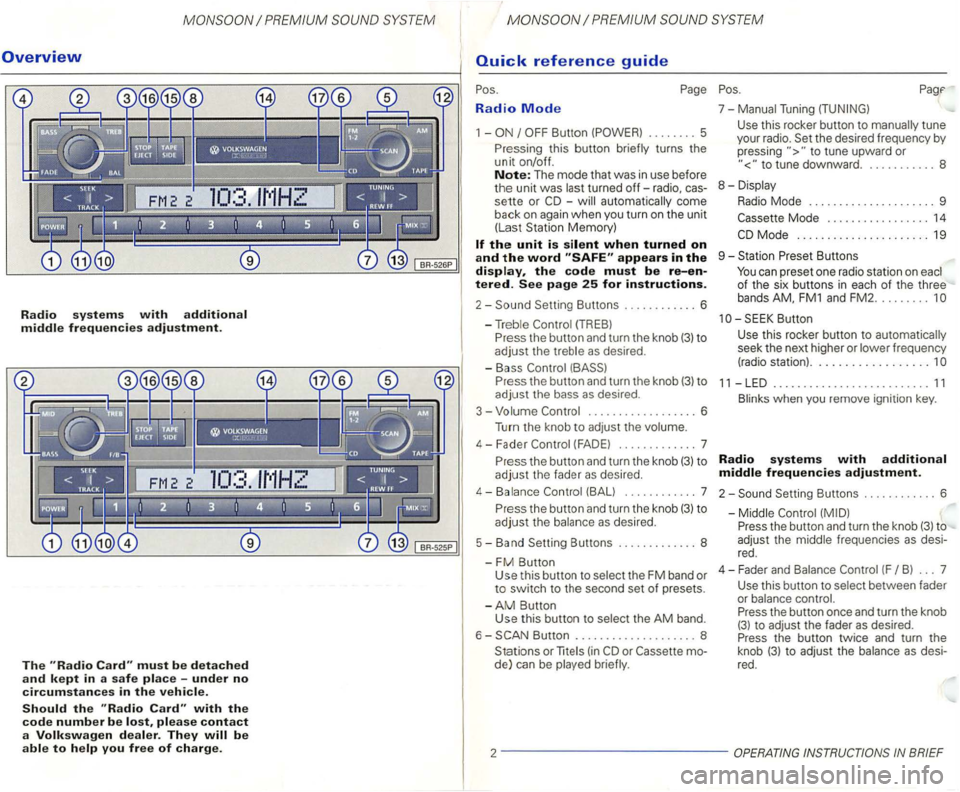
Overview
Radio systems with additional middle frequencies adjustment.
The must be detached
and kept in a safe place -under no
circumstances in the vehicle.
Should the with the
code number be please contact
a Volkswagen dealer. They
Radio Mode
1 -
-automatically come
back
on again when you turn on the unit
(Las t Station Memory)
appears in the display, the code must be re-entered. See page 25 for instructions.
2-
P ress the button and turn the knob (3) to
adjust the bass as desired .
3 - Volume
.................. 6
Turn the knob to
adjust the volume.
4 - F ader
(FAD E) ............. 7
P r
ess the button and turn the knob (3) to
adjust the fader as desired.
4-Balance (BALl ... ......... 7
P r
ess the button and turn the knob (3) to
adjust the balance as desired.
5 - Band Setting Buttons ..
........... 8
-
FM Button Use this button to select the FM band or to switch to the second set of presets.
-
AM Button
Use this button to selec t the AM band.
6 -
Button .................... 8
Stations or
lite (in
to tune upward or
to tune downward. . .......... 8
8 - Displa y
Radio Mode . . . . . . . . . . . . . . . . . . . . . 9
Mode . . . . . . . . . . . . . . . . . 14
Butt on
Use
this rocker button to automatica lly
seek the next higher or lower frequency
(radio station) ..................
11 -LED .......................... 11
Blinks when you remove ignition key.
Radio systems with additional
middle frequencies adjustment.
2-Setting Buttons ............ 6
-Middle
Press the button and turn the knob (3) to
adjust the middle frequenc ies
as desi
red .
4 - Fader an d Balance
(F B ) ... 7
Use this button to select between fader
or balance control.
Press the button once and turn the knob
(3) to adjust the fader as desired.
Press the button twice and turn the
knob
(3) t o adjust the balance as desi
red.
2 -------------
Page 426 of 474
Radio Mode
1 -
the
track
These settings are restored when you turn
the radio on
again .
The unit turn off
and
the radio comes on aga
in.
The
radi o can b e turn ed on the igntion
key is removed by
The
you can program the unit for your own turn-on
Press and
hear a tone, and
Use the knob 3 to set the desired turn
on
The
Press the
operation mode after about seconds, but your custom turn-on
not be stored.
you do not set a new and want to
return ot the it
i n for more than 2 seconds.
th e u nit
ume the next time it's turned on.
5
Page 429 of 474
5 -Band
appear in the display after you
press this button. The radio immediately be
gins to scan upwards to the next higher fre
quency . Scanning stops at the next station
received. After about 5 seconds, the radio
the FM button to select FM1 or FM2. 7 -
Either or in the
display .
AM Button
(AM = Amplitude Modulation) Use
this rocker button to manually tune
your radio.
Set the desired frequency by pressing
Tap this key to change the settings in
AM
Hold the key to change the setting rapidThe sound