Page 9 of 299
’02 TUNDRA_U (L/O 0108)
22002 MY TUNDRA_U (OM 34417U)
1. Side vents
2. Instrument cluster
3. Center vents
4. Garage door opener box or aux iliary
box
5. Personal lights
6. Side defroster outlet
7. Power door lock switches
8. Power window switches
9. Glove box
10. Manual transmission gear shift lever
11. Front drive control lever
12. Parking brake lever (vehicles with manual transmission)
13. Lower vent
14. Hood lock release lever
15. Parking brake pedal (vehicles with automatic transmission)
16. Window lock switch
17. Power rear view mirror control switches
Instrument panel overview
Page 14 of 299
’02 TUNDRA_U (L/O 0108)
72002 MY TUNDRA_U (OM 34417U)
Indicator symbols on the instrument panel
Driver ’s seat belt reminder light∗
1
Low engine oil pressure warning light∗1
Low fuel level warning light∗1
Brake system warning light∗1
Discharge warning light∗1
Malfunction indicator lamp∗1
Anti�lock brake system warning light∗1
SRS warning light∗1
or
Automatic transmission fluid temperature warning
light∗1
Unengaged “Park” warning light∗1
Low windshield washer fluid level warning
light∗1
Headlight high beam indicator light
Overdrive�off indicator light Turn signal indicator lights
Open door warning light∗1
Passenger airbag off indicator light
Front passenger ’s seat belt reminder light∗1
Page 17 of 299
’02 TUNDRA_U (L/O 0108)
102002 MY TUNDRA_U (OM 34417U)
This key works in every lock.
Since the doors can be locked without a
key, you should always carry a spare key
in case you accidentally lock your key
inside the vehicle.
KEY NUMBER PLATE
Your key number is shown on the plate.
Keep the plate in a safe place such as
your wallet, not in the vehicle.
If you should lose your keys or if you
need additional keys, duplicates can be
made by a Toyota dealer using the key
number.
We recommend you to write down the key
number and keep it in safe place.LOCKING AND UNLOCKING WITH KEY
Insert the key into the keyhole and turn
it.
To lock: Turn the key forward.
To unlock: Turn the key backward.
Vehicles with power door lock system—
Both doors lock and unlock simultaneously
with either door. In the driver’s door lock,
turning the key once will unlock the driv-
er’s door and twice in succession will un-
lock the driver ’s door and passenger ’s
door simultaneously.
Keys Front doors
Page 18 of 299

’02 TUNDRA_U (L/O 0108)
112002 MY TUNDRA_U (OM 34417U)
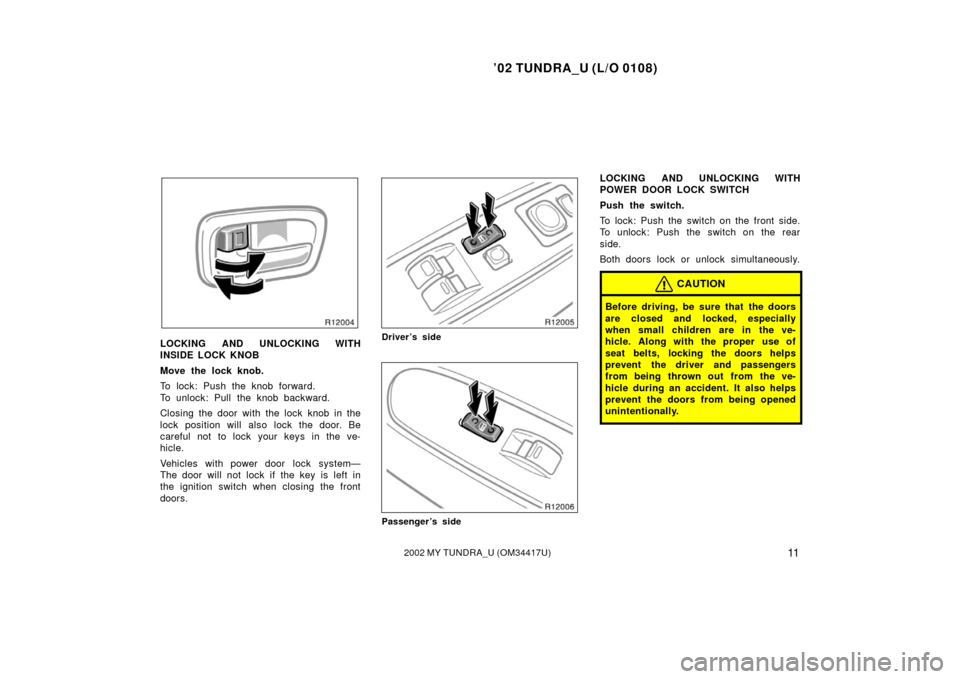
LOCKING AND UNLOCKING WITH
INSIDE LOCK KNOB
Move the lock knob.
To lock: Push the knob forward.
To unlock: Pull the knob backward.
Closing the door with the lock knob in the
lock position will also lock the door. Be
careful not to lock your keys in the ve-
hicle.
Vehicles with power door lock system—
The door will not lock if the key is left in
the ignition switch when closing the front
doors.Driver’s side
Passenger’s side
LOCKING AND UNLOCKING WITH
POWER DOOR LOCK SWITCH
Push the switch.
To lock: Push the switch on the front side.
To unlock: Push the switch on the rear
side.
Both doors lock or unlock simultaneously.
CAUTION
Before driving, be sure that the doors
are closed and locked, especially
when small children are in the ve-
hicle. Along with the proper use of
seat belts, locking the doors helps
prevent the driver and passengers
from being thrown out from the ve-
hicle during an accident. It also helps
prevent the doors from being opened
unintentionally.
Page 20 of 299
’02 TUNDRA_U (L/O 0108)
132002 MY TUNDRA_U (OM 34417U)
Automatic operation (to open only):
Push the switch completely down and then
release it. The window will fully open. To
stop the window partway, lightly pull the
switch up and then release it.
Window
lock switch
OPERATING THE PASSENGER’S
WINDOW
Use the switch on the passenger ’s door
or the switch on the driver’s door that
controls the passenger ’s window.
The window moves as long as you hold
the switch.
To open: Push down the switch.
To close: Pull up the switch.
If you push in the window lock switch on
the driver ’s door, the passenger ’s window
cannot be operated.
Page 24 of 299
’02 TUNDRA_U (L/O 0108)
172002 MY TUNDRA_U (OM 34417U)
2. In front of the vehicle, pull up the
auxiliary catch l ever and lift the
hood.
Before closing the hood, check to see that
you have not forgotten any tools, rags,
etc. Then lower the hood and make sure
it locks into place. If necessary, press
down gently on the front edge to lock it.Without tachometer
With tachometer
This indicates that the fuel filler door
is on the left side of your vehicle.
Fuel tank cap
Page 25 of 299

’02 TUNDRA_U (L/O 0108)
182002 MY TUNDRA_U (OM 34417U)
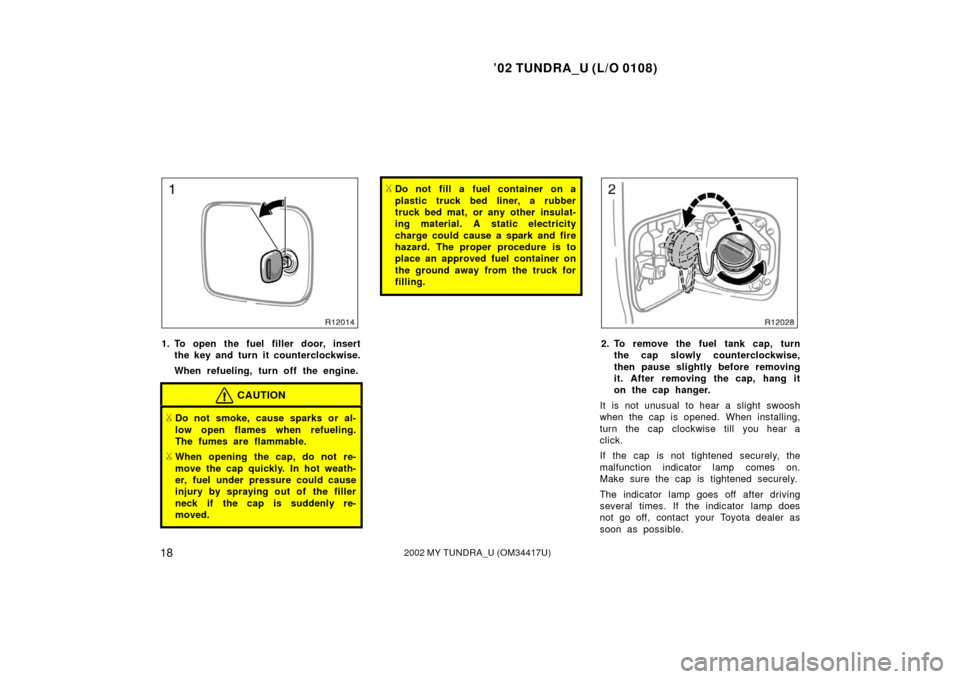
1. To open the fuel filler door, insert
the key and turn it counterclockwise.
When refueling, turn off the engine.
CAUTION
�Do not smoke, cause sparks or al-
low open flames when refueling.
The fumes are flammable.
�When opening the cap, do not re-
move the cap quickly. In hot weath-
er, fuel under pressure could cause
injury by spraying out of the filler
neck if the cap is suddenly re-
moved.
�Do not fill a fuel container on a
plastic truck bed liner, a rubber
truck bed mat, or any other insulat-
ing material. A static electricity
charge could cause a spark and fire
hazard. The proper procedure is to
place an approved fuel container on
the ground away from the truck for
filling.
2. To remove the fuel tank cap, turnthe cap slowly counterclockwise,
then pause slightly before removing
it. After removing the cap, hang it
on the cap hanger.
It is not unusual to hear a slight swoosh
when the cap is opened. When insta lling,
turn the cap clockwise till you hear a
click.
If the cap is not tightened securely, the
malfunction indicator lamp comes on.
Make sure the cap is tightened securely.
The indicator lamp goes off after driving
several times. If the indicator lamp does
not go off, contact your Toyota dealer as
soon as possible.
Page 37 of 299

’02 TUNDRA_U (L/O 0108)
302002 MY TUNDRA_U (OM 34417U)
CAUTION
Persons should ride in their seats
properly wearing their seat belts
whenever the vehicle is moving.
Otherwise, they are much more likely
to suffer serious bodily injury or
death in the event of sudden braking
or a collision.
When using the seat belts, observe
the following:
�Use the belt for only one person at
a time. Do not use a single belt for
two or more people—even children.
�Avoid reclining the seatbacks too
much. The seat belts provide maxi-
mum protection when the seatbacks
are in the upright position. (Refer
to the seat adjustment instructions.)
�Be careful not to damage the belt
webbing or hardware. Take care that
they do not get caught or pinched
in the seat or side doors.
�Inspect the belt system periodically.
Check for cuts, fraying, and loose
parts. Damaged parts should be re-
placed. Do not disassemble or
modify the system.
�Keep the belts clean and dry. If
they need cleaning, use a mild soap
solution or lukewarm water. Never
use bleach, dye, or abrasive clean-
ers—they may severely weaken the
belts. (See “Cleaning the interior”
in Section 5.)
�Replace the belt assembly (includ-
ing bolts) if it has been used in a
severe impact. The entire assembly
should be replaced even if damage
is not obvious.
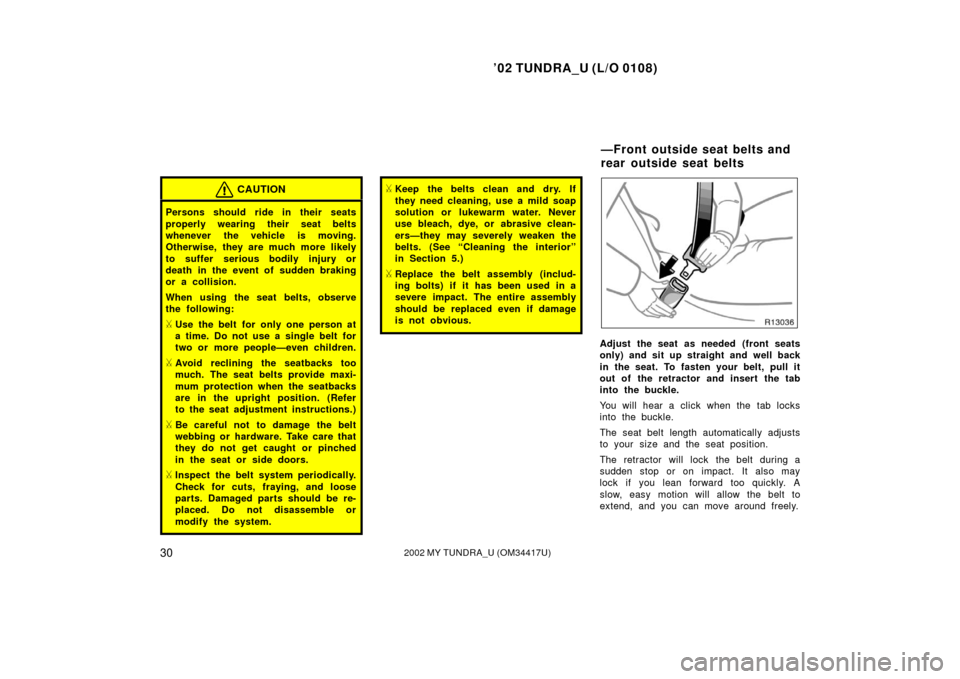
Adjust the seat as needed (front seats
only) and sit up straight and well back
in the seat. To fasten your belt, pull it
out of the retractor and insert the tab
into the buckle.
You will hear a click when the tab locks
into the buckle.
The seat belt length automatically adjusts
to your size and the seat position.
The retractor will lock the belt during a
sudden stop or on impact. It also may
lock if you lean forward too quickly. A
slow, easy motion will allow the belt to
extend, and you can move around freely.
—Front outside seat belts and
rear outside seat belts