Page 37 of 290

’02 SOLARA_U (L/O 0108)
332002 MY SOLARA_U (OM33545U)
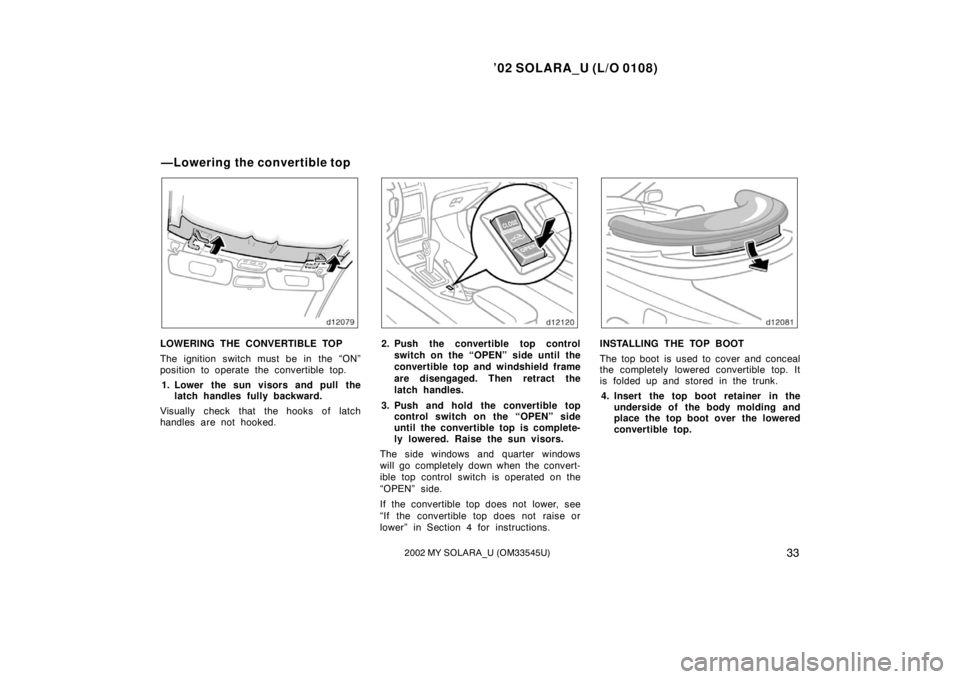
LOWERING THE CONVERTIBLE TOP
The ignition switch must be in the “ON”
position to operate the convertible top.
1. Lower the sun visors and pull the latch handles fully backward.
Visually check that the hooks of latch
handles are not hooked.2. Push the convertible top control switch on the “OPEN” side until the
convertible top and windshield frame
are disengaged. Then retract the
latch handles.
3. Push and hold the convertible top control switch on the “OPEN” side
until the convertible top is complete-
ly lowered. Raise the sun visors.
The side windows and quarter windows
will go completely down when the convert-
ible top control switch is operated on the
“OPEN” side.
If the convertible top does not lower, see
“If the convertible top does not raise or
lower” in Section 4 for instructions.INSTALLING THE TOP BOOT
The top boot is used to cover and conceal
the completely lowered convertible top. It
is folded up and stored in the trunk. 4. Insert the top boot retainer in the underside of the body molding and
place the top boot over the lowered
convertible top.
—Lowering the convertible top
Page 41 of 290
’02 SOLARA_U (L/O 0108)
372002 MY SOLARA_U (OM33545U)
Elastic hoops
FOLDING UP THE TOP BOOT
6. Turn over the top boot. Then fold up the ends of the top boot and secure
them with the elastic hoops.
Store the folded top boot in the trunk.RAISING THE CONVERTIBLE TOP
The ignition switch must be in the “ON”
position to operate the convertible top. 7. Lower the sun visors. Push the con- vertible top control switch on the
“CLOSE” side and release the switch
before the convertible top touches
the windshield frame. Then release
the latch handles.
8. Push the convertible top control switch on the “CLOSE” side until
the top touches the windshield
frame. The side windows go partially down and
quarter windows go completely down when
the windows are closed and the convert-
ible top control switch is operated on the
“CLOSE” side.
If the convertible top does not raise, see
“If the convertible top does not raise or
lower” in Section 4 for instructions.
Page 42 of 290
’02 SOLARA_U (L/O 0108)
382002 MY SOLARA_U (OM33545U)
9. Pull down the convertible top with
grasping the handle under the con-
vertible top and push the latch han-
dles fully forward until they are
hooked.
Visually check that the latch handles are
fully seated in the strikers. Also, pull on
the convertible top side rails to make sure
the top is securely hooked.
10. Raise the side windows, quarter win- dows and sun visors.
Page 87 of 290

’02 SOLARA_U (L/O 0108)
832002 MY SOLARA_U (OM33545U)
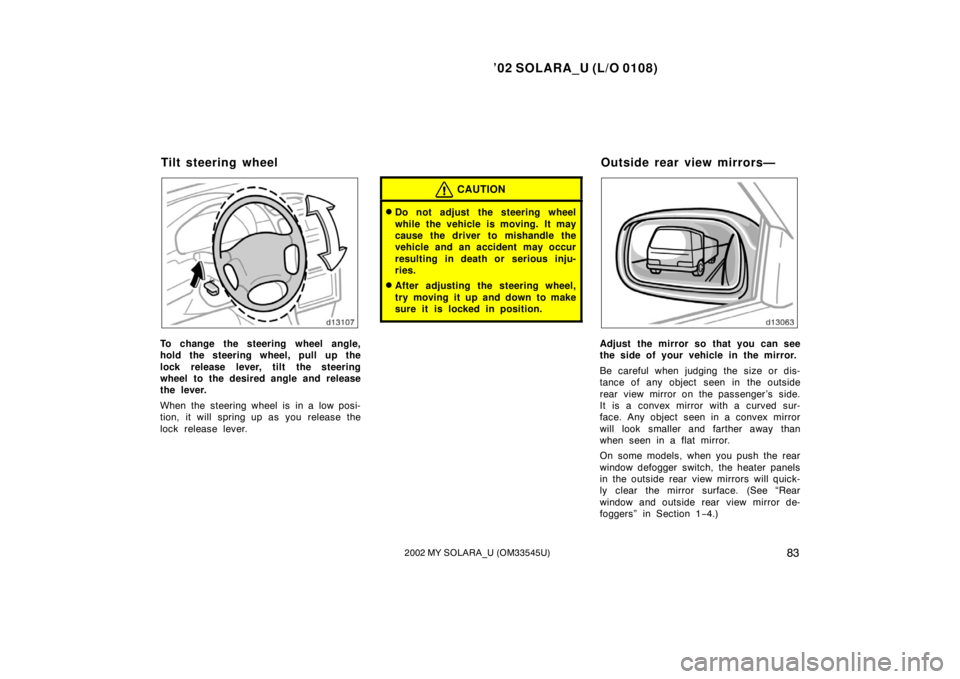
To change the steering wheel angle,
hold the steering wheel, pull up the
lock release lever, tilt the steering
wheel to the desired angle and release
the lever.
When the steering wheel is in a low posi-
tion, it will spring up as you release the
lock release lever.
CAUTION
�Do not adjust the steering wheel
while the vehicle is moving. It may
cause the driver to mishandle the
vehicle and an accident may occur
resulting in death or serious inju-
ries.
�After adjusting the steering wheel,
try moving it up and down to make
sure it is locked in position.
Adjust the mirror so that you can see
the side of your vehicle in the mirror.
Be careful when judging the size or dis-
tance of any object seen in the outside
rear view mirror on the passenger ’s side.
It is a convex mirror with a curved sur-
face. Any object seen in a convex mirror
will look smaller and farther away than
when seen in a flat mirror.
On some models, when you push the rear
window defogger switch, the heater panels
in the outside rear view mirrors will quick-
ly clear the mirror surface. (See “Rear
window and outside rear view mirror de-
foggers” in Section 1−4.)
Tilt steering wheel Outside rear view mirrors—
Page 93 of 290

’02 SOLARA_U (L/O 0108)
892002 MY SOLARA_U (OM33545U)
OPERATION OF INSTRUMENTS AND
CONTROLS
Lights, Wipers and Defogger
Headlights and turn signals 90
. . . . . . . . . . . . . . . . . . . . . . . . . . . . . . . . . . .
Emergency flashers 93
. . . . . . . . . . . . . . . . . . . . . . . . . . . . . . . . . . . . \
. . . . . .
Instrument panel light control 94
. . . . . . . . . . . . . . . . . . . . . . . . . . . . . . . . .
Front fog lights 94
. . . . . . . . . . . . . . . . . . . . . . . . . . . . . . . . . . . . \
. . . . . . . . . .
Interior light 95
. . . . . . . . . . . . . . . . . . . . . . . . . . . . . . . . . . . . \
. . . . . . . . . . . . .
Ignition switch light 95
. . . . . . . . . . . . . . . . . . . . . . . . . . . . . . . . . . . . \
. . . . . .
Personal lights 96
. . . . . . . . . . . . . . . . . . . . . . . . . . . . . . . . . . . . \
. . . . . . . . . .
Windshield wipers and washer 97
. . . . . . . . . . . . . . . . . . . . . . . . . . . . . . . .
Rear window and outside rear view mirror defoggers 97
. . . . . . . . . . . .
SECTION 1� 4
Page 101 of 290

’02 SOLARA_U (L/O 0108)
972002 MY SOLARA_U (OM33545U)
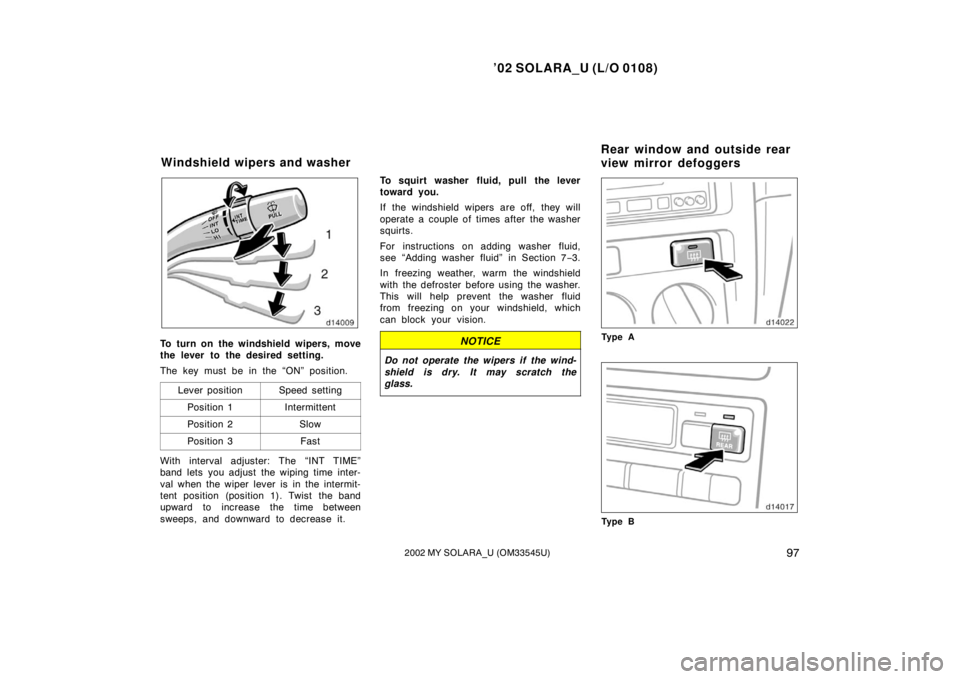
To turn on the windshield wipers, move
the lever to the desired setting.
The key must be in the “ON” position.
Lever position
Speed setting
Position 1Intermittent
Position 2Slow
Position 3Fast
With interval adjuster: The “INT TIME”
band lets you adjust the wiping time inter-
val when the wiper lever is in the intermit-
tent position (position 1). Twist the band
upward to increase the time between
sweeps, and downward to decrease it. To squirt washer fluid, pull the lever
toward you.
If the windshield wipers are off, they will
operate a couple of times after the washer
squirts.
For instructions on adding washer fluid,
see “Adding washer fluid” in Section 7
−3.
In freezing weather, warm the windshield
with the defroster before using the washer.
This will help prevent the washer fluid
from freezing on your windshield, which
can block your vision.
NOTICE
Do not operate the wipers if the wind-
shield is dry. It may scratch the
glass.
Ty p e A
Ty p e B
Windshield wipers and washer Rear window and outside rear
view mirror defoggers
Page 102 of 290

’02 SOLARA_U (L/O 0108)
982002 MY SOLARA_U (OM33545U)
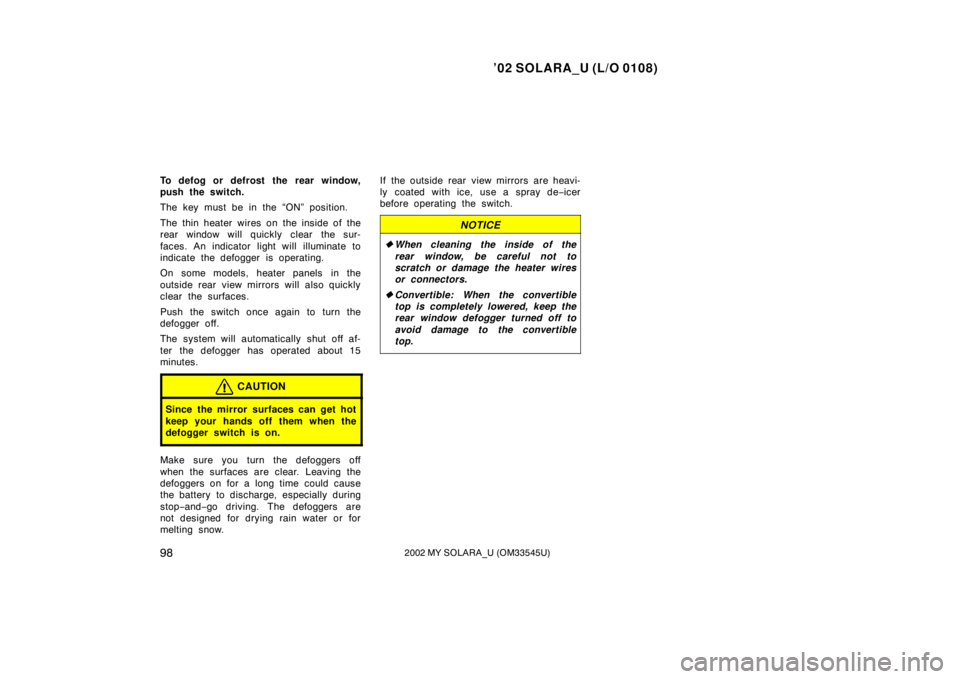
To defog or defrost the rear window,
push the switch.
The key must be in the “ON” position.
The thin heater wires on the inside of the
rear window will quickly clear the sur-
faces. An indicator light will illuminate to
indicate the defogger is operating.
On some models, heater panels in the
outside rear view mirrors will also quickly
clear the surfaces.
Push the switch once again to turn the
defogger off.
The system will automatically shut off af-
ter the defogger has operated about 15
minutes.
CAUTION
Since the mirror surfaces can get hot
keep your hands off them when the
defogger switch is on.
Make sure you turn the defoggers off
when the surfaces are clear. Leaving the
defoggers on for a long time could cause
the battery to discharge, especially during
stop−and− go driving. The defoggers are
not designed for drying rain water or for
melting snow. If the outside rear view mirrors are heavi-
ly coated with ice, use a spray de
−icer
before operating the switch.
NOTICE
� When cleaning the inside of the
rear window, be careful not to
scratch or damage the heater wires
or connectors.
� Convertible: When the convertible
top is completely lowered, keep the
rear window defogger turned off to
avoid damage to the convertible
top.
Page 129 of 290

’02 SOLARA_U (L/O 0108)
1252002 MY SOLARA_U (OM33545U)
TONE AND BALANCE
For details about your system’s tone and
balance controls, see the description of
your own system.
Tone
How good an audio program sounds to
you is largely determined by the mix of
the treble, midrange, and bass levels. In
fact, different kinds of music and vocal
programs usually sound better with differ-
ent mixes of treble, midrange, and bass.
Balance
A good balance of the left and right stereo
channels and of the front and rear sound
levels is also important.
Keep in mind that if you are listening to
a stereo recording or broadcast, changing
the right/left balance will increase the vol-
ume of one group of sounds while de-
creasing the volume of another. YOUR RADIO ANTENNA
Coupe—
Your vehicle has a glass antenna (built
−in
on the rear window glass).
NOTICE
Attaching the film (especially conduc-
tive or metallic type) on the rear
glass will noticeably reduce the sensi-
tivity of the radio.
Convertible—
Your vehicle has a mast type power an-
tenna.
To lower a power antenna, turn off the
audio system by pushing “PWR·VOL”, or
turn the ignition key to “LOCK”.
The power antenna automatically retracts
when the radio mode is switched off to
turn on the cassette tape player or com-
pact disc player. YOUR CASSETTE PLAYER
When you insert a cassette, the exposed
tape should be to the right.
NOTICE
Do not oil any part of the player and
do not insert anything other than cas-
sette tapes into the slot, or the tape
player may be damaged.
YOUR COMPACT DISC PLAYER
When you insert a disc, gently push it in
with the label side up. (The player will
automatically eject a disc if the label side
is down.) The compact disc player will
play from track 1 through the end of the
disc. Then it will play from track 1 again.
On models with the compact disc auto
changer, next disc will be played from
track 1.
NOTICE
Never try to disassemble or oil any
part of the compact disc player. Do
not insert anything except a compact
disc into the slot.
The player is intended for use with 12 cm
(4.7 in.) discs only.