Page 167 of 245

02 MY MR2 SMT(U) L/O 0108
158
01 06 12
2002 MR2 (OM17493U)
—Lowering your vehicle
SB41031
8. Lower the vehicle completely andtighten the wheel nuts.
Turn the jack handle counterclockwise to
lower the vehicle.
Use only the wheel nut wrench and turn
it clockwise to tighten the nuts. Do not
use other tools or any additional leverage
other than your hands, such as a hammer,
pipe or your foot. Make sure the wrench
is securely engaged over the nut.
Tighten each nut a little at a time in the
order shown. Repeat the process until all
the nuts are tight.
CAUTION
When lowering the vehicle, make sure
all portions of your body and all oth-
er persons around will not be injured
as the vehicle is lowered to the
ground.
—After changing wheels
9. Check the air pressure of the replaced tire.
Adjust the air pressure to the specification
designated on page 218 in Section 8. If
the pressure is lower, drive slowly to the
nearest service station and fill to the cor-
rect pressure.
Do not forget to reinstall the tire inflation
valve cap as dirt and moisture could get
into the valve core and possibly cause air
leakage. If the cap is missing, have a new
one put on as soon as possible.
10. Restow all the tools, jack and flat tire securely.
As soon as possible after changing
wheels, tighten the wheel nuts to the
torque specified on page 218 in Section
8 with a torque wrench. Have a technician
repair the flat tire and replace the com-
pact spare tire with it.
Page 201 of 245

02 MY MR2 SMT(U) L/O 0108
192
01 06 12
2002 MR2 (OM17493U)
Clean all dirt from outside of the reservoir
tank and look at the fluid level. If the fluid
is cold, the level should be in the “COLD”
range. Similarly, if it is hot, the fluid level
should be in the “HOT” range. If the level
is at the low side of either range, add
Toyota P.S fluid EH or equivalent to bring
the level within the range.
To remove the reservoir cap, turn it coun-
terclockwise and lift up. To reinstall it,
turn it clockwise. After replacing the reser-
voir cap, visually check the steering box
case, vane pump and hose connections
for leaks or damage.
CAUTION
The reservoir tank may be hot so be
careful not to burn yourself.
NOTICE
Avoid overfilling, or the power steer-
ing could be damaged.
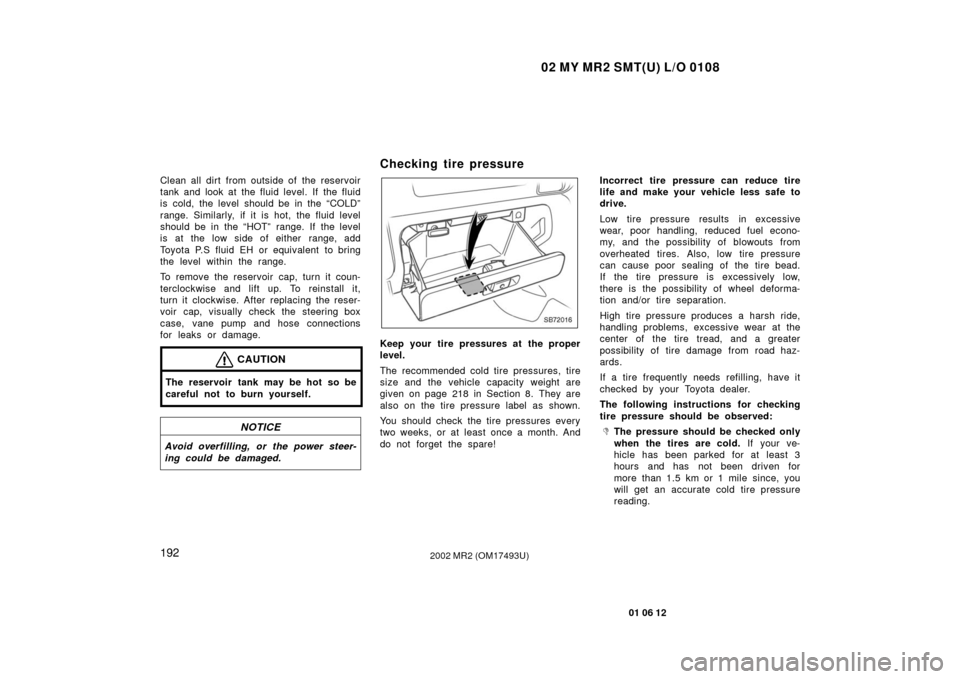
Checking tire pressure
SB72016
Keep your tire pressures at the proper
level.
The recommended cold tire pressures, tire
size and the vehicle capacity weight are
given on page 218 in Section 8. They are
also on the tire pressure label as shown.
You should check the tire pressures every
two weeks, or at least once a month. And
do not forget the spare!Incorrect tire pressure can reduce tire
life and make your vehicle less safe to
drive.
Low tire pressure results in excessive
wear, poor handling, reduced fuel econo-
my, and the possibility of blowouts from
overheated tires. Also, low tire pressure
can cause poor sealing of the tire bead.
If the tire pressure is excessively low,
there is the possibility of w
heel deforma-
tion and/or tire separation.
High tire pressure produces a harsh ride,
handling problems, excessive wear at the
center of the tire tread, and a greater
possibility of tire damage from road haz-
ards.
If a tire frequently needs ref illing, have it
checked by your Toyota dealer.
The following instructions for checking
tire pressure should be observed:
�The pressure should be checked only
when the tires are cold. If your ve-
hicle has been parked for at least 3
hours and has not been driven for
more than 1.5 km or 1 mile since, you
will get an accurate cold tire pressure
reading.
Page 227 of 245
02 MY MR2 SMT(U) L/O 0108
218
01 06 12
2002 MR2 (OM17493U)
Tires
Tire size and pressure:
Except compact spare tire
Tire sizeTire pressure
kPa (kgf/cm2 or bar, psi)Wheel size
Front185/55R15 81V180 (1.8, 26)15 �6JJ
Rear205/50R15 85V220 (2.2, 32)15 �61/2JJ
Compact spare tire
Tire size
Tire pressure kPa (kgf/cm2 or bar, psi)Wheel size
T125/70D16420 (4.2, 60)16�4T
Wheel nut torque, N·m (kgf·m, ft·Ibf):
103 (10.5, 76)
NOTE: For a complete information on tires (e.g. replacing tires or replacing wheels), see “Checking tire pressure” through “Alum inum
wheel precautions”, page 192 through 197 in Section 7�2.