Page 204 of 263
WARNING
Be sure the engine and ignition switch
are off and that the parking brake is
engaged securely.
CAUTION
Be sure to use the correct socket to
remove the spark plugs. An incorrect
socket can damage the spark plugs.
ADI1074
WDI0068
SPARK PLUGS
Maintenance and do-it-yourself8-21
ZX
Page 205 of 263
REPLACING SPARK PLUGS
(except supercharger)
Platinum-tipped spark plugs
It is not necessary to replace platinum-
tipped spark plugs as frequently as conven-
tional type spark plugs because they last
much longer. Follow the maintenance
schedule, but do not reuse the spark plugs
by cleaning or regapping.
OAlways replace spark plugs with rec-
commended or equivalent ones.1. Disconnect the spark plug cables.When disconnecting, always hold the
boots Ð not the cables. Mark all cables
to identify their original location.
2. Remove the spark plugs with a spark
plug socket.
3. Fit the new spark plugs, one at a time,
into the spark plug socket and install
them.Use only the specified spark
plugs.Turn each plug several full turns
by hand, then tighten with the spark plug
socket to the correct torque. Do not over-
tighten.
ADI1075
ADI1076
WDI0005
8-22Maintenance and do-it-yourself
ZX
Page 206 of 263
Spark plug tightening torque:
14 to 22 ft-lb (20 to 29 Nzm)
4. Reconnect the spark plug cables to their
original positions.
REPLACING SPARK PLUGS (with
supercharger)
Please see your authorized NISSAN dealer
for assistance.
The filter element should not be cleaned
and reused as it is given a special treat-
ment. We recommend it be replaced ac-
cording to the maintenance intervals shown
in the ``NISSAN Service and Maintenance
Guide.'' When replacing the filter, wipe the
inside of the air cleaner housing and the
cover with a damp cloth.
WARNING
OOperating the engine with the air
cleaner removed can cause you or
others to be burned. The air cleaner
not only cleans the air, it stops flame
if the engine backfires. If it isn't there
and the engine backfires, you could
be burned. Do not drive with the air
cleaner removed, and be careful
when working on the engine with the
air cleaner removed.
ADI1079WDI0097
AIR CLEANER
Maintenance and do-it-yourself8-23
ZX
Page 207 of 263
ONever pour fuel into the throttle body
or attempt to start the engine with
the air cleaner removed. Doing so
could result in serious injury.
8-24Maintenance and do-it-yourself
ZX
Page 208 of 263

CAUTION
O
After wiper blade replacement, return
the wiper arm to its original position;
otherwise it may be damaged when
the hood is opened.
OMake sure the wiper blades contact
the glass; otherwise the arms may
be damaged from wind pressure.
OWorn windshield wiper blades can
damage the windshield and impair
driver vision.
CLEANING
If your windshield is not clear after using the
windshield washer or if a wiper blade chat-
ters when running, wax or another material
may be on the blade or windshield.
Clean the outside of the windshield with a
washer solution or a mild detergent. Your
windshield is clean if beads do not form
when rinsing with clear water.
Clean the blade by wiping it with a cloth
soaked in a washer solution or a mild deter-
gent. Then rinse the blade with clear water.
If your windshield is still not clear aftercleaning the blades and using the wiper,
replace the blades.REPLACING
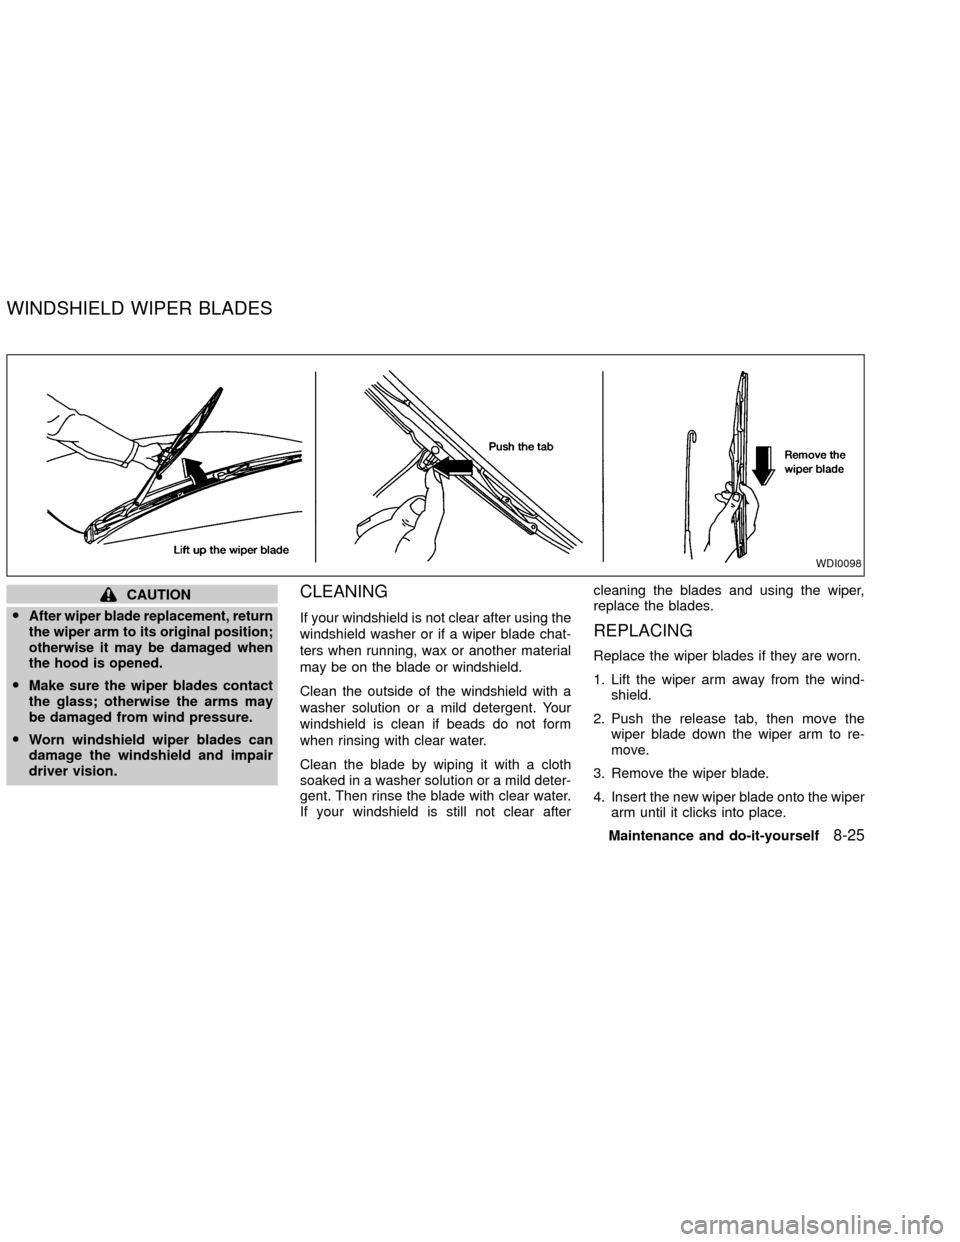
Replace the wiper blades if they are worn.
1. Lift the wiper arm away from the wind-
shield.
2. Push the release tab, then move the
wiper blade down the wiper arm to re-
move.
3. Remove the wiper blade.
4. Insert the new wiper blade onto the wiper
arm until it clicks into place.
WDI0098
WINDSHIELD WIPER BLADES
Maintenance and do-it-yourself8-25
ZX
Page 209 of 263
Rear window wiper blade
1. Lift the wiper arm away from the wind-
shield.
2. Push the wiper blade in and pivot until
the blade becomes free.
3. Insert a new blade onto the wiper arm
and snap into place.
WDI0105
8-26Maintenance and do-it-yourself
ZX
Page 210 of 263
If you wax the surface of the hood, be
careful not to let wax get into the washer
nozzle. This may cause clogging or im-
proper windshield washer operation. If
wax gets into the nozzle, remove it with a
needle or small pin.
CHECKING PARKING BRAKE
From the released position, firmly push the
parking brake down. If the number of clicks
is out of the range listed above, see an
authorized NISSAN dealer.
CHECKING BRAKE PEDAL
With the engine running, check distance A
between the upper surface of the pedal and
the metal floor.
Distance A:
Manual
TransmissionAutomatic
Transmission
Four Wheel
ABS4 in.
(100mm)4 1/4 in.
(110mm)
If it is out of the range shown above, see an
authorized NISSAN dealer.
WDI0071
LDI0099DI0453
PARKING BRAKE AND BRAKE
PEDAL
Maintenance and do-it-yourself8-27
ZX
Page 211 of 263

Self-adjusting brakes
Your vehicle is equipped with self-adjusting
brakes.
The front disc-type brakes self-adjust every
time the brake pedal is applied. The rear
drum-type brakes on two-wheel drive trucks
self-adjust every time the parking brake is
applied. The rear drum-type brakes on four-
wheel drive trucks self-adjust every time the
brake pedal is applied. If the brake pedal
goes down farther than normal, it may be
due to a lack of adjustment of the rear drum
brakes. Apply the parking brake several
times.
WARNING
If the brake pedal height does not re-
turn to normal, see an authorized NIS-
SAN dealer and have it checked.
Brake pad wear indicators
The disc brake pads on your vehicle have
audible wear indicators. When a brake pad
requires replacement, it will make a high
pitched scraping or screeching sound when
the vehicle is in motion whether or not the
brake pedal is depressed. Have the brakeschecked as soon as possible if the wear
indicator sound is heard.
Under some driving or climate conditions,
occasional brake squeak, squeal or other
noise may be heard. Occasional brake
noise during light to moderate stops is nor-
mal and does not affect the function or
performance of the brake system.
The rear drum brakes (if so equipped) do
not have audible wear indicators. Should
you ever hear an unusually loud noise from
the rear drum brakes, have them inspected
as soon as possible by an authorized NIS-
SAN dealer.
Proper brake inspection intervals should
be followed.For more information regard-
ing brake inspections, see the appropriate
maintenance schedule information in the
``NISSAN Service and Maintenance Guide.''
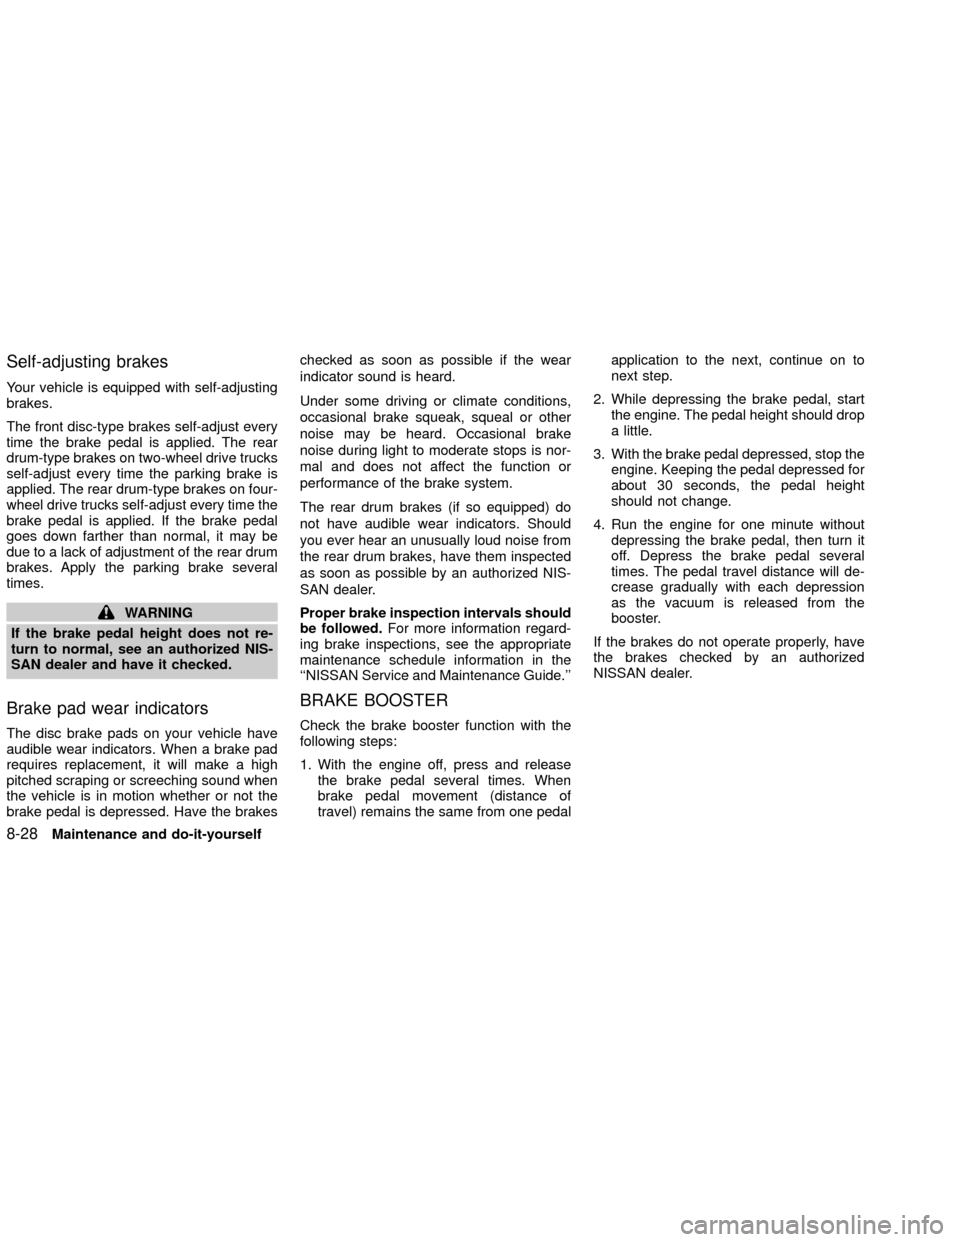
BRAKE BOOSTER
Check the brake booster function with the
following steps:
1. With the engine off, press and release
the brake pedal several times. When
brake pedal movement (distance of
travel) remains the same from one pedalapplication to the next, continue on to
next step.
2. While depressing the brake pedal, start
the engine. The pedal height should drop
a little.
3. With the brake pedal depressed, stop the
engine. Keeping the pedal depressed for
about 30 seconds, the pedal height
should not change.
4. Run the engine for one minute without
depressing the brake pedal, then turn it
off. Depress the brake pedal several
times. The pedal travel distance will de-
crease gradually with each depression
as the vacuum is released from the
booster.
If the brakes do not operate properly, have
the brakes checked by an authorized
NISSAN dealer.
8-28Maintenance and do-it-yourself
ZX