2002 NISSAN QUEST seat memory
[x] Cancel search: seat memoryPage 11 of 294

FRONT POWER SEAT
ADJUSTMENT (if so equipped)
WARNING
cDo not adjust the driver's seat while
driving so full attention may be given
to vehicle operation.
c
Do not leave children unattended in-
side the vehicle. They could unknow-
ingly activate switches or controls.
Unattended children could become
involved in serious accidents.
For memory seat and mirror information
see ``Memory driver seat and mirrors'' in the
``Pre-driving checks and adjustments'' sec-
tion.
Operating tips
cThe motor has an auto-reset overload
protection circuit. If the motor stops dur-
ing operation, wait 30 seconds, then re-
activate the switch.cDo not operate the power support seat
for a long period of time when the engine
is off. This discharges the battery.
1-4Seats, restraints and supplemental air bag systems
ZX
Page 130 of 294

3 Pre-driving checks and adjustments
Keys .......................................................................3-2
Doors ......................................................................3-2
Locking with key ................................................3-3
Locking with inside lock knob............................3-3
Locking with power door lock switch.................3-4
Child safety sliding door locks...........................3-5
Remote keyless entry system ................................3-6
How to use remote keyless entry
system ...............................................................3-6
Battery replacement ..........................................3-8
Hood .......................................................................3-9
Rear door .............................................................3-10Fuel filler lid ..........................................................3-10
Opener operation ............................................3-10
Fuel filler cap ...................................................3-10
Steering wheel .....................................................3-11
Tilt operation ....................................................3-11
Sun visors.............................................................3-12
Vanity mirror ....................................................3-12
Mirrors ..................................................................3-12
Memory driver seat and mirrors
(if so equipped)................................................3-12
Inside mirror.....................................................3-13
Outside mirrors ................................................3-14
ZX
Page 135 of 294

It is possible to lock/unlock all doors, turn
the interior lights on or off, and activate the
panic alarm by using the keyfob from out-
side the vehicle.
Be sure to remove the key from the
vehicle before locking the doors and
leaving it.
The keyfob can operate at a distance of
approximately 30 ft (10 m) from the vehicle.
The effective distance depends on the con-
ditions around the vehicle.
As many as four keyfobs can be used with
one vehicle. For more information concern-
ing the purchase and use of additional key-
fobs, contact an authorized NISSAN dealer.
CAUTION
Listed below are conditions or occur-
rences which will damage the keyfob:
cDo not allow the keyfob to become
wet.
cDo not drop the keyfob.
cDo not strike the keyfob sharply
against another object.cDo not place the keyfob for an ex-
tended period in an area where tem-
peratures exceed 140ÉF (60ÉC).
HOW TO USE REMOTE KEY-
LESS ENTRY SYSTEM
Locking doors
1. Close all doors.
2. Push the
button on the keyfob.
3. All doors lock.
4. The parking lights flash twice and the
horn chirps once to verify all doors are
locked.
Unlocking doors
For memory seat and mirror information
see ``Memory driver seat and mirrors'' later
in this section.
1. Push the
button on the keyfob. Only
the driver door unlocks. Parking lights
flash once.
2. The interior lights come on and stay on
for 30 seconds.
3. Push the
button on the keyfob againwithin five seconds. The passenger door,
sliding doors, and the rear door unlock.
The interior lights can be turned off without
waiting 30 seconds by either turning the
ignition to ON or locking the doors with the
multi-remote controller.
Using the panic alarm
If you are near your vehicle and feel threat-
ened, you may activate the panic alarm to
call attention as follows:
1. Push and hold the
button on the
keyfob for at least one full second.
2. The theft warning alarm (horn) sounds
and the headlights and tail lights flash for
30 seconds.
3. The panic alarm stops when:
cit has run for 30 seconds, or
cthe
or thebutton is pressed, or
c
thebutton is released and re-pushed.
REMOTE KEYLESS ENTRY
SYSTEM
3-6Pre-driving checks and adjustments
ZX
Page 141 of 294

VANITY MIRROR
Access the mirror by pulling the sun visor
down and lifting the cover up. The vanity
mirror will illuminate when the mirror cover
is opened.
MEMORY DRIVER SEAT AND
MIRRORS (if so equipped)
The memory driver seat and mirror function
provides a convenient way to recall a driv-
er's seat and outside mirror positions. Un-
locking the doors using the multi-remote
controller, or by pressing the memory seat
position 1 or position 2 button activates the
memory driver seat and mirrors.
Remote keyless entry system entry
Pressing thebutton on the keyfob un-
locks the driver's door, and recalls the
memory settings for both outside mirrorsand driver's seat for that memory position.
Two keyfobs are delivered with the vehicle.
They can be programmed with the same
memory driver's seat and mirror positions,
or each one can be programmed sepa-
rately. One keyfob can be programmed for
memory driver's seat and mirror position 1,
and the other for memory driver's seat and
mirror position 2.
Memory Driver Seat and Mirror But-
tons
The memory seat and mirror buttons are
located on the driver door. Pressing the
memory driver seat and mirror position 1 or
position 2 button will recall the memory set-
tings for both outside mirrors and driver seat
for that memory seat position, provided the
vehicle is in P (Park) or N (Neutral). For easy
vehicle exit, press memory driver seat and
mirror position 1 and position 2 buttons to-
gether to move the driver seat fully rearward
and fully downward. This function is preset
and cannot be changed.
Programming Memory Positions
1. Move the driver seat and outside mirrors
to the desired position using the manual
controls.
WPD0012APD1062
SUN VISORS MIRRORS
3-12Pre-driving checks and adjustments
ZX
Page 142 of 294

2. Push and hold the memory seat and
mirror position 1 or position 2 button for
at least 3 seconds.
cThe indicator light will illuminate and re-
main illuminated until the position is pro-
grammed.
cAfter the position has been programmed
the indicator light will flash to indicate the
position is set.
The driver seat and/or outside mirrors must
be adjusted before programming position 1
or position 2.
Programming a keyfob
1. Move the driver seat and outside mirrors
by pressing the desired position 1 or
position 2 button.
2. Press and hold the same (position 1 or
position 2) button.
3. Within 10 seconds press the
button on
the keyfob.
The keyfob is now programmed for that
(position 1 or position 2) button.
After the keyfob has been programmed, the
memory seat and mirror button indicator
light will flash to indicate the keyfob isprogrammed. If the memory seat button is
pressed and held the indicator light will
remain illuminated for as long as the button
is held or 10 seconds which ever is shorter.
To remove a keyfob from the memory seat
system press and hold both memory seat
and mirror position buttons 1 and 2 and then
press the
button on the keyfob.
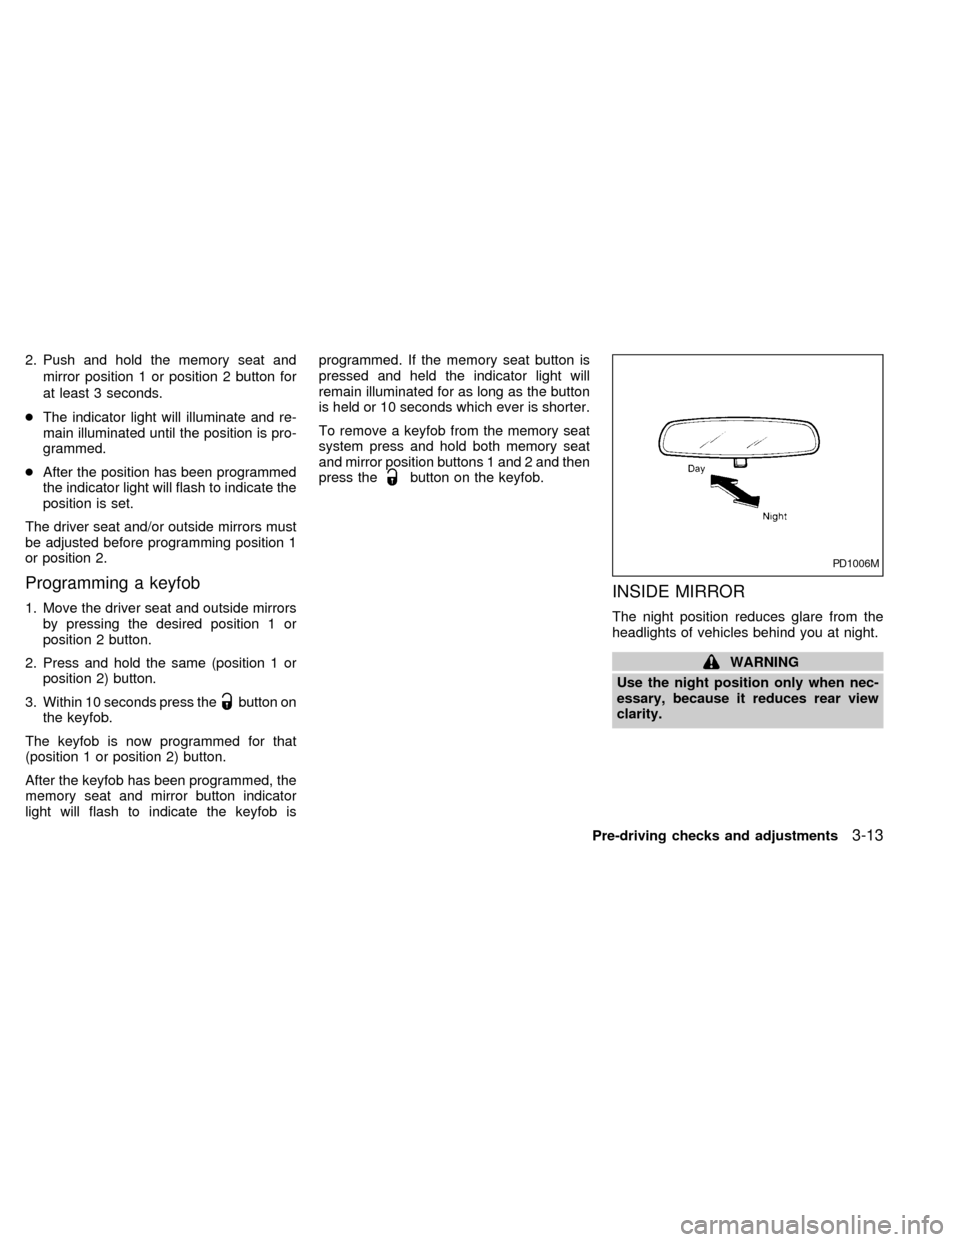
INSIDE MIRROR
The night position reduces glare from the
headlights of vehicles behind you at night.
WARNING
Use the night position only when nec-
essary, because it reduces rear view
clarity.
PD1006M
Pre-driving checks and adjustments3-13
ZX
Page 178 of 294

REAR AUDIO CONTROLS (if so
equipped)
Radio features controlled by the rear seat
remote control (if so equipped) are listed
below:cVolume: þ/+
cMedia select: AM/FM, tape, CD, CD
changer.
cSpeakers ON/OFFcMem: proceed to the next preset station
(AM/FM).
cSeek:bc
Push the Memory three and Memory five
buttons on the front radio controls simulta-
neously to turn the rear controls on. Push
them again to turn the rear audio controls off.
The(headphones symbol) illuminates
in the front display when the rear audio
controls are on. Two headphone jacks are
provided so two rear seat passengers may
listen to the audio system privately.
The rear volume controls can only increase
the volume to the level at which the front
radio volume control is set.
Headphones are not included with the ve-
hicle. Most portable radio headphones work
with the rear audio controls.
For vehicles equipped with the premium
FM-AM radio with cassette player, compact
disc player and 6 disc CD player, if the rear
passengers turn off the rear speakers and
are using headphones they may choose to
listen to a different media than the front
passengers. The rear passengers can listen
to the radio while the front passengers can
listen to the same thing, a cassette tape,
AHA1060
Heater, air conditioner and audio systems4-35
ZX
Page 179 of 294

CD, or the CD changer. The radio will go
into DUAL PLAY mode and the rear pas-
sengers can use the rear controls to change
media.
VOLUME button
The VOLUME button allows the rear pas-
sengers to adjust the headphone volume
level.
MEDIA button
The MEDIA button allows the rear passen-
ger to change between AM, FM1, FM2,
TAPE, CD, and CD DJ. The media options
are listed on the faceplate of the rear audio
controls. When a source of media is se-
lected, that media selection is backlit.
MEM button
In AM, FM1, or FM2 mode the MEM button
allows the rear passenger to successively
access memory preset station 1 through 6.
In CD DJ mode the MEM button allows the
rear passengers to select other compact
discs in the CD changer.
SEEK button
In AM, FM1, or FM2 mode the SEEK
andbutton allows the rear pas-
sengers to find the next radio station up or
down the station band frequency.
In TAPE mode the SEEK
and
button allows the rear passengers use Au-
tomatic Music Search (AMS) to find the next
or previous song on the cassette.
In CD mode the SEEK
andbutton
allows the rear passengers to find the next
or previous selection on the CD.
In CD DJ mode the SEEK
and
button allows the rear passengers to find
the next or previous selection on the CD.
For vehicles equipped with the FM-AM radio
with cassette player, when the rear seat
controls are on, push the SPKRS ON-OFF
button to turn all speakers off. Push again to
turn all speakers on.
For vehicles equipped with the premium
FM-AM radio with cassette player, compact
disc player and 6 disc CD player, when the
rear seat controls are on, push the SPKRS
ON-OFF button to turn the rear speakers
off. Push again to turn the rear speakers on.If the rear audio system was on when the
ignition was turned OFF, the audio system
``remembers'' and the rear system is still on
when the engine is started again. The sys-
tem also ``remembers'' if the speakers were
ON or OFF. Therefore, the speakers may
have to be turned on again by pressing the
SPKRS ON-OFF button or turning the rear
audio controls off.
4-36Heater, air conditioner and audio systems
ZX
Page 185 of 294

and five memory preset buttons to turn OFF
the RSEM.
VOLUME button
The VOLUME button allows the rear pas-
sengers to adjust the headphone volume
level.
Push the1button to increase the volume.
Push the2button to decrease the volume.
MEDIA button
The MEDIA button allows the rear passen-
gers to change between the different media
options. When a source of media is se-
lected, that media selection is backlit.
cAM - AM radio frequency band
cFM1, FM2 - FM radio frequency bands
cTAPE - cassette tape
cCD - single CD player (if so equipped)
cCD DJ - CD changer (if so equipped)
cVCP - video cassette player
cAUX - auxiliary jack input
MEM button
In AM, FM1 or FM2 mode, the MEM button
allows the rear passengers to successively
access memory preset stations 1 through 6.
In CD DJ mode, the MEM button allows the
rear passengers to select other compact
discs in the CD changer. Play will begin with
the first track.
SEEK button
In AM, FM1 or FM2 mode, the SEEK < and
> buttons allow the rear passengers to find
the next radio station up or down the station
band frequency.
In TAPE mode, the SEEK < and > buttons
allow the rear passengers to use Automatic
Music Search (AMS) to find the next or
previous song on the cassette.
In CD mode, the SEEK < and > buttons
allow the rear passengers to find the next or
previous selection on the CD.
In CD DJ mode, the SEEK < and > buttons
allow the rear passengers to find the next or
previous selection on the CD.
Speaker control button
With the speakers ON, rear seat passen-
gers can adjust the audio output to all
system speakers - both front and rear to-
gether (headphones are disabled in this
mode). The rear seat passengers cannot
raise the volume of the system above the
level of the front radio.
With the speakers OFF, the headphones
are enabled. The rear seat passengers
have control over the desired headphone
volume levels.
Headphone jacks
Two headphone jacks are available so two
rear seat passengers may listen to the
audio system.
Headphones are not included with the ve-
hicle. Most portable radio headphones will
work with the rear audio controls.
Auxiliary input jacks
The auxiliary input jacks on the RSEM con-
trol panel accept video and audio connec-
tors for all standard video games. Other
compatible devices such as DVD players,
camcorders and portable CD players can
4-42Heater, air conditioner and audio systems
ZX