2002 NISSAN QUEST radiator cap
[x] Cancel search: radiator capPage 205 of 294
cWhen installing a spare tire, make
sure it is the proper size and type as
specified on the tire placard. For tire
placard location information, refer to
``Tire placard'' in the ªTechnical and
consumer informationº section of
this manual.
cFor additional information, refer to
``Wheels and tires'' in the ``Do-it-
yourself'' section of this manual.FREEING A FROZEN DOOR
LOCK
To prevent a door lock from freezing, apply
de-icer or glycerin through the key hole. If
the lock becomes frozen, heat the key be-
fore inserting it in the key hole.
ANTI-FREEZE
In the winter, when it is anticipated that the
temperature will drop below 32ÉF (0ÉC),
check the anti-freeze (ethylene glycol base)
to assure proper winter protection. For de-
tails, see ``Engine cooling system'' in the
``Do-it-yourself'' section of this manual.
BATTERY
If the battery is not fully charged during
extremely cold weather conditions, the bat-
tery fluid may freeze and damage the bat-
tery. To maintain maximum efficiency, the
battery should be checked regularly. For
details, see ``Battery'' in the ``Maintenance
and do-it-yourself'' section of this manual.
DRAINING OF COOLANT WATER
If the vehicle is to be left outside without
anti-freeze, drain the cooling system by
opening the drain valves located under theradiator and on the engine block. Refill
before operating the vehicle. See ``Chang-
ing engine coolant'' in the ``Maintenance
and do-it-yourself'' section of this manual.
TIRE EQUIPMENT
1. SUMMER tires are of a tread design to
provide superior performance on dry
pavement. However, the performance of
these tires is substantially reduced in
snowy and icy conditions. If you operate
your vehicle on snowy or icy roads, NIS-
SAN recommends using MUD & SNOW
or ALL SEASON tires on all four wheels.
Please consult your NISSAN dealer for
the tire type, size, speed rating and avail-
ability information.
2.
For additional traction on icy roads, stud-
ded tires may be used. However, some
Canadian provinces and U.S. states pro-
hibit their use. Check local, state and pro-
vincial laws before installing studded tires.
Skid and traction capabilities of studded
snow tires, on wet or dry surfaces, may
be poorer than that of non-studded snow
tires.
3. Tire chains may be used. Make sure they
are of proper size for the tires on your
COLD WEATHER DRIVING
5-16Starting and driving
ZX
Page 217 of 294
cMake sure the jumper cables do not
touch moving parts in the engine
compartment and that the clamps do
not contact any other metal.
5. Start the engine of the other vehicle and
let it run for a few minutes.
6. Keep the engine speed of the other ve-
hicle at about 2,000 RPM, and start the
engine of the vehicle being jump started.
CAUTION
Do not keep the starter motor engaged
for more than 10 seconds. If the engine
does not start right away, turn the key
off and wait 3 to 4 seconds before
trying again.
7. After starting your engine, carefully dis-
connect the negative cable and then the
positive cable.
8. Replace the vent caps (if so equipped).
Be sure to dispose of the cloth used to
cover the vent holes as it may be con-
taminated with corrosive acid.
CAUTION
Automatic transmission models cannot
be push or tow started. This may cause
transmission or other vehicle damage.If your vehicle is overheating (indicated by
an extremely high temperature gauge read-
ing), or if you feel a lack of engine power,
detect abnormal noise, etc., take the follow-
ing steps:
WARNING
cDo not continue to drive if your ve-
hicle overheats. Doing so could
cause a vehicle fire.
cTo avoid the danger of being
scalded, never remove the radiator
cap while the engine is still hot.
When the radiator cap is removed,
pressurized hot water will spurt out,
possibly causing serious injury.
cDo not open the hood if steam is
coming out.
1. Move the vehicle safely off the road,
apply the parking brake and move the
gearshift lever to the P (Park) position.
Do not stop the engine.
2. Turn off the air conditioner switch. Open
all the windows, move the temperature
control dial to warm and fan control dial
to four.
PUSH STARTING IF YOUR VEHICLE
OVERHEATS
6-10In case of emergency
ZX
Page 218 of 294
3. Get out of the vehicle. Look and listen for
steam or coolant escaping from the ra-
diator before opening the hood. Wait until
no steam or coolant can be seen before
proceeding.
4. Open the hood.
WARNING
If steam or water is coming from the
engine, stand clear to prevent getting
burned.
5. Visually check if the cooling fan is run-
ning. The radiator hoses and radiator
should not leak water. If coolant is leak-
ing or the cooling fan does not run, stop
the engine.
WARNING
Be careful not to allow your hands, hair
or clothing to come into contact with,
or get caught in, engine belts or the
engine cooling fan. The engine cooling
fan can start at any time when the
coolant temperature is high.
6. After the engine cools down completely,
check the coolant level in the reservoir
tank with the engine running. Add coolant
to the reservoir tank, if necessary. Have
your vehicle repaired at an authorized
NISSAN dealer.
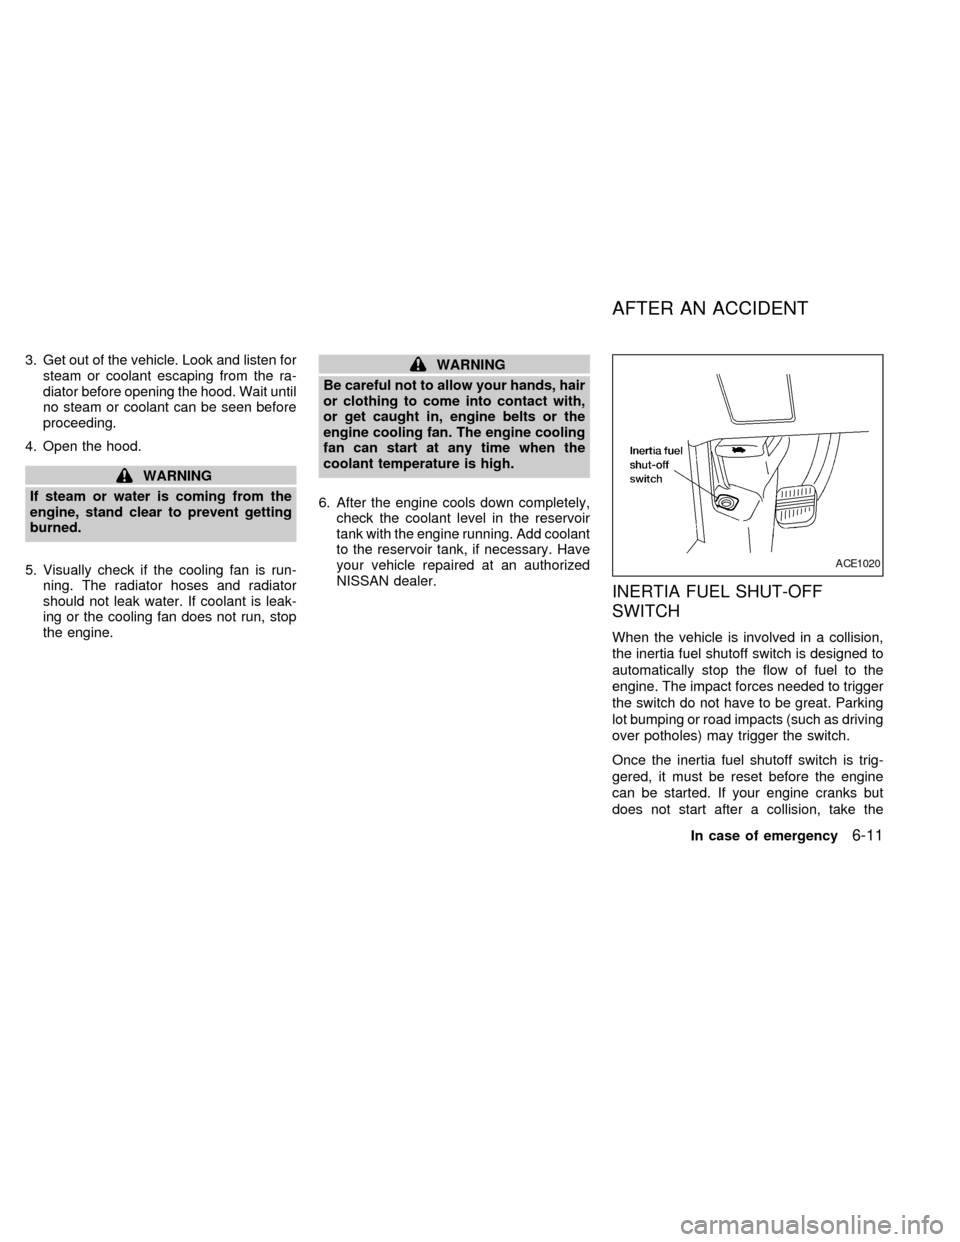
INERTIA FUEL SHUT-OFF
SWITCH
When the vehicle is involved in a collision,
the inertia fuel shutoff switch is designed to
automatically stop the flow of fuel to the
engine. The impact forces needed to trigger
the switch do not have to be great. Parking
lot bumping or road impacts (such as driving
over potholes) may trigger the switch.
Once the inertia fuel shutoff switch is trig-
gered, it must be reset before the engine
can be started. If your engine cranks but
does not start after a collision, take the
ACE1020
AFTER AN ACCIDENT
In case of emergency6-11
ZX
Page 234 of 294

1. Power steering fluid reservoir
2. Engine oil dipstick
3. Brake fluid reservoir
4. Air cleaner housing
5. Battery
6. Fuse and relay box
7. Radiator cap
8. Fuse and relay box
9. Automatic transmission fluid dipstick
10. Engine oil filler cap
11. Spark plug wires
12. Windshield washer fluid reservoir
13. Engine coolant reservoir
WDI0104
ENGINE COMPARTMENT
CHECK LOCATIONS
Maintenance and do-it-yourself8-7
ZX
Page 235 of 294
The engine cooling system is filled at the
factory with a high-quality, year-round, anti-
freeze coolant solution. The anti-freeze so-
lution contains rust and corrosion inhibitors,
therefore additional engine cooling system
additives are not necessary.
CAUTION
When adding or replacing coolant, be
sure to use only a Genuine Nissan
anti-freeze coolant (green) or equiva-
lent with the proper mixture ratio of
50% anti-freeze and 50% demineralized
or distilled water. The use of other
types of coolant solutions or coolant
colors, such as orange, may damage
the engine cooling system.
Outside tempera-
ture down toGenuine
NISSAN
Anti-freeze
Coolant or
equivalentDemineral-
ized or Dis-
tilled water
ÉC ÉF
þ35 þ30 50% 50%
WARNING
c
Never remove the radiator cap when
the engine is hot. Serious burns
could be caused by high pressure
fluid escaping from the radiator.
cThe radiator is equipped with a pres-
sure cap. To prevent engine damage,
use only a genuine NISSAN radiator
cap.
CHECKING ENGINE COOLANT
LEVEL
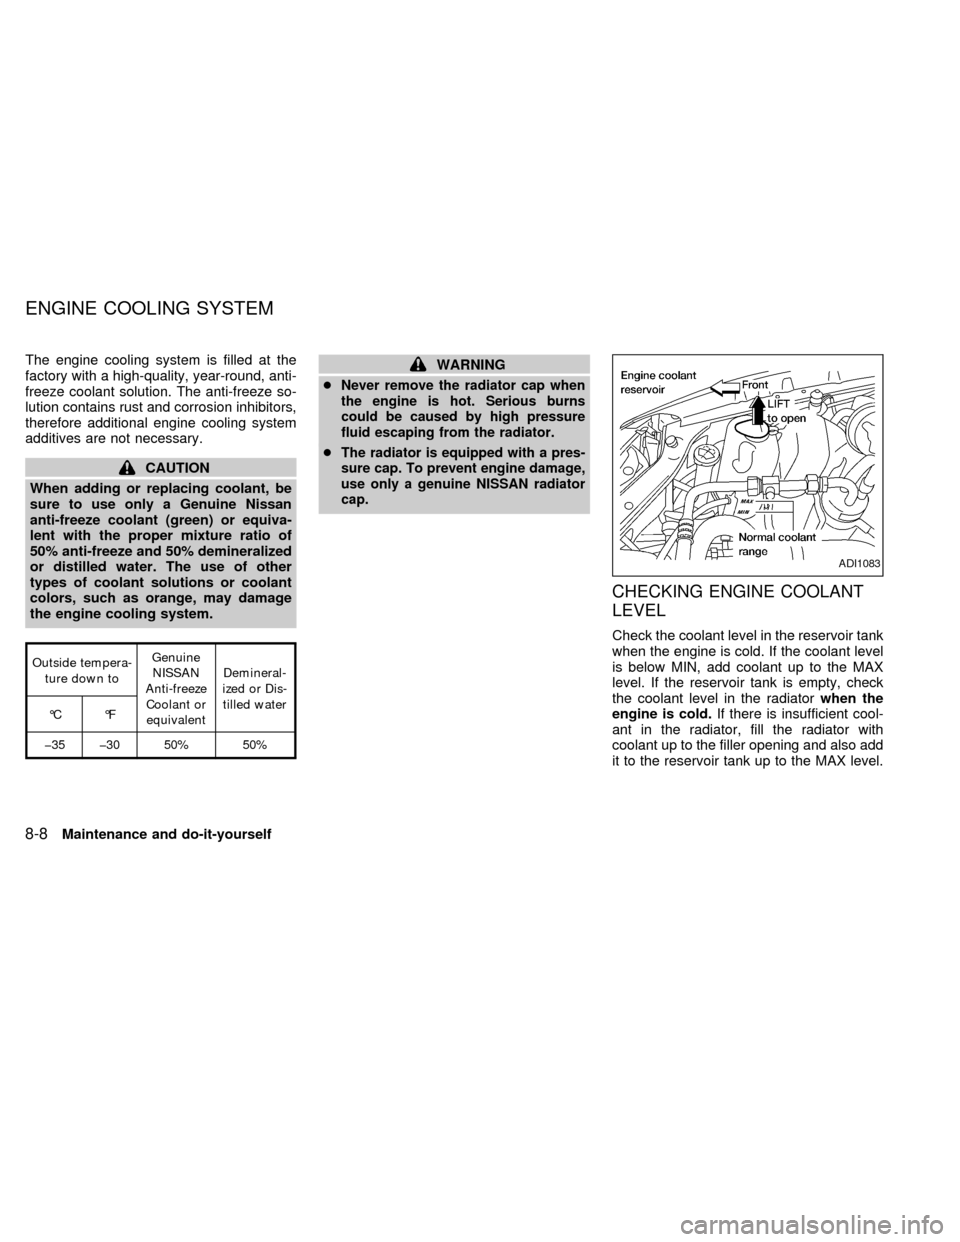
Check the coolant level in the reservoir tank
when the engine is cold. If the coolant level
is below MIN, add coolant up to the MAX
level. If the reservoir tank is empty, check
the coolant level in the radiatorwhen the
engine is cold.If there is insufficient cool-
ant in the radiator, fill the radiator with
coolant up to the filler opening and also add
it to the reservoir tank up to the MAX level.
ADI1083
ENGINE COOLING SYSTEM
8-8Maintenance and do-it-yourself
ZX
Page 236 of 294
If the cooling system frequently requires
coolant, have it checked by an autho-
rized NISSAN dealer.
CHANGING ENGINE COOLANT
An authorized NISSAN dealer can change
the engine coolant. The service procedure
is found in NISSAN's service manual.
Improper servicing can result in reduced
heater performance and engine
overheating.
WARNING
cTo avoid danger of being scalded,
never change the coolant when the
engine is hot.
cNever remove the radiator cap when
the engine is hot. Serious burns
could be caused by high pressure
fluid escaping from the radiator.
cAvoid direct skin contact with used
coolant. If skin contact is made,
wash thoroughly with soap or hand
cleaner as soon as possible.
cKeep coolant out of reach of children
and pets.
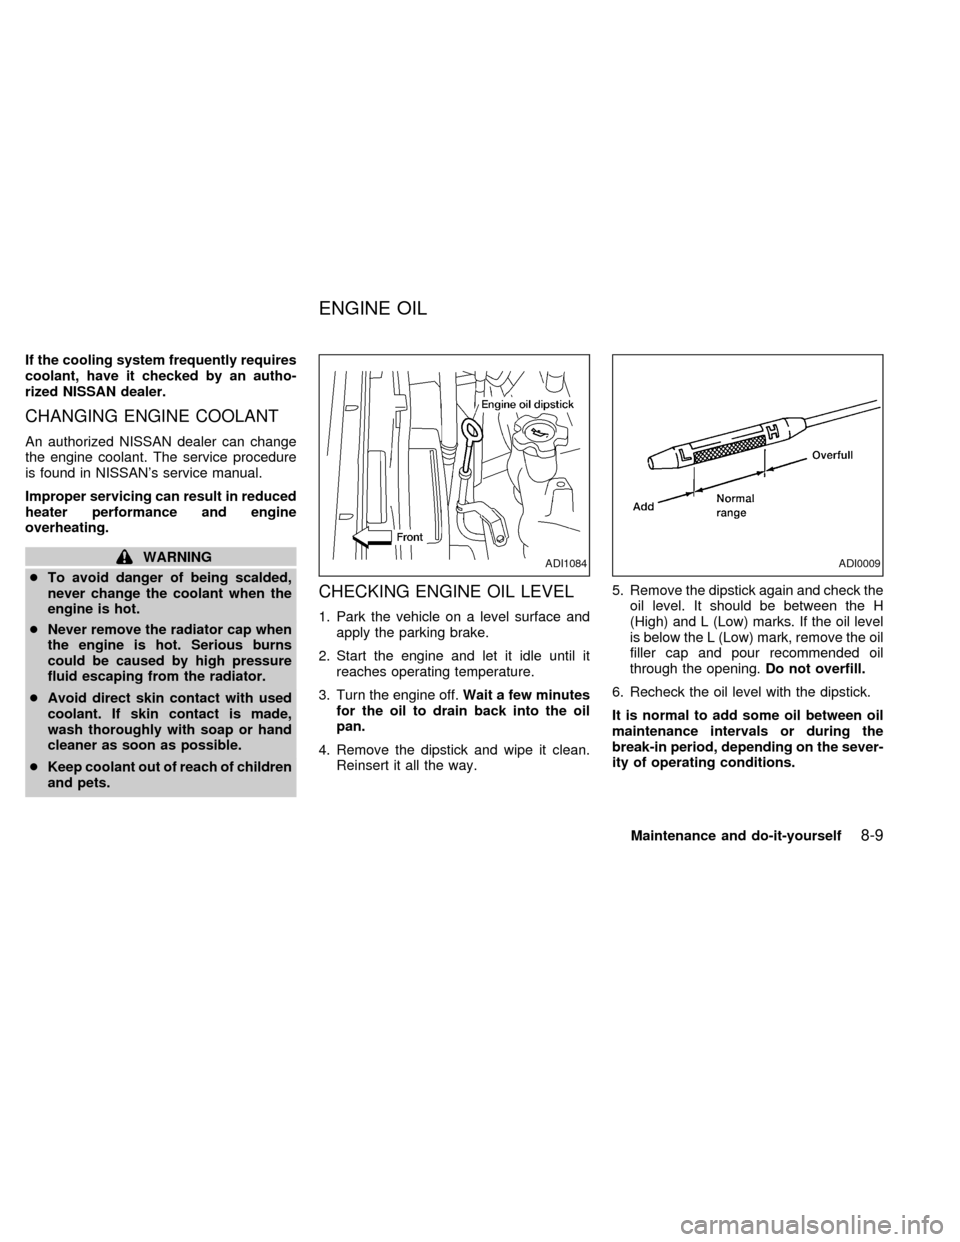
CHECKING ENGINE OIL LEVEL
1. Park the vehicle on a level surface and
apply the parking brake.
2. Start the engine and let it idle until it
reaches operating temperature.
3. Turn the engine off.Wait a few minutes
for the oil to drain back into the oil
pan.
4. Remove the dipstick and wipe it clean.
Reinsert it all the way.5. Remove the dipstick again and check the
oil level. It should be between the H
(High) and L (Low) marks. If the oil level
is below the L (Low) mark, remove the oil
filler cap and pour recommended oil
through the opening.Do not overfill.
6. Recheck the oil level with the dipstick.
It is normal to add some oil between oil
maintenance intervals or during the
break-in period, depending on the sever-
ity of operating conditions.
ADI1084ADI0009
ENGINE OIL
Maintenance and do-it-yourself8-9
ZX
Page 249 of 294
an authorized NISSAN dealer.
Proper brake inspection intervals should
be followed.For more information regard-
ing brake inspections, see the appropriate
maintenance schedule information in the
``NISSAN Service and Maintenance Guide.''
BRAKE BOOSTER
Check the brake booster function as fol-
lows:
1. With the engine off, press and release
the brake pedal several times. When
brake pedal movement (distance of
travel) remains the same from one pedal
application to the next, continue on to the
next step.
2. While depressing the brake pedal, start
the engine. The pedal height should drop
a little.
3. With the brake pedal depressed, turn the
engine off. Keep the pedal depressed for
about 30 seconds; the pedal height
should not change.
4. Run the engine for one minute without
depressing the brake pedal, then turn it
off. Depress the brake pedal several
times. The pedal travel distance will de-crease gradually with each depression
as the vacuum is released from the
booster.
If the brakes do not operate properly, see an
authorized NISSAN dealer.
ENGINE COMPARTMENT
CAUTION
Never use a fuse of a higher amperage
rating than that specified on the fuse
box cover. This could damage the elec-
trical system or cause a fire.
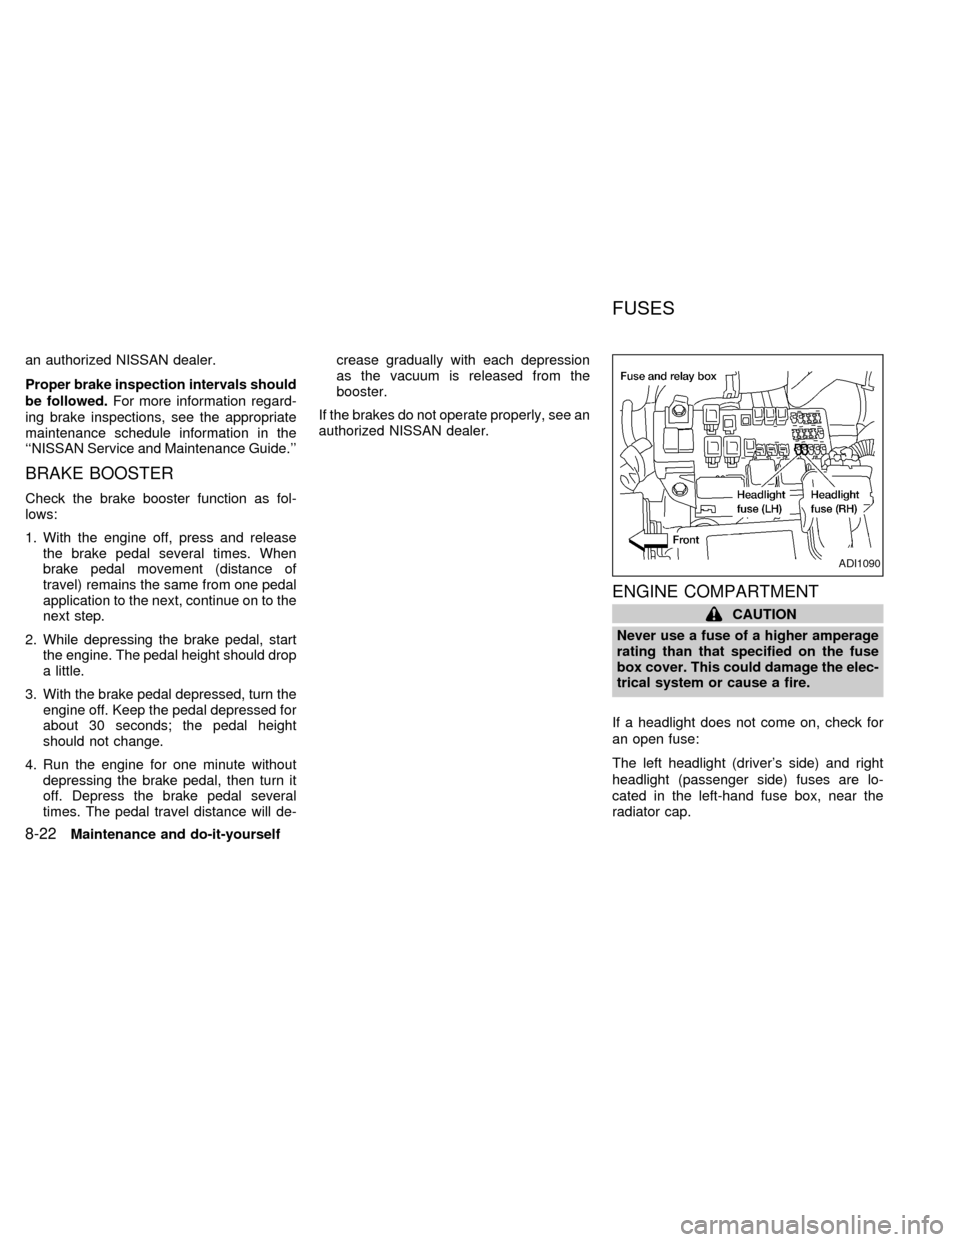
If a headlight does not come on, check for
an open fuse:
The left headlight (driver's side) and right
headlight (passenger side) fuses are lo-
cated in the left-hand fuse box, near the
radiator cap.
ADI1090
FUSES
8-22Maintenance and do-it-yourself
ZX