Page 195 of 273

cIf you must work with the engine run-
ning, keep your hands, clothing, hair
and tools away from moving fans,
belts, and any other moving parts.
cIt is advisable to secure or remove
any loose clothing and remove any
jewelry, such as rings, watches, etc.,
before working on your vehicle.
cAlways wear eye protection when-
ever you work on your vehicle.
cIf you must run the engine in an
enclosed space such as a garage, be
sure there is proper ventilation for
exhaust gases to escape.
cNever get under the vehicle while it
is supported only by a jack. If it is
necessary to work under the vehicle,
support it with safety stands.
c
Keep smoking materials, flame and
sparks away from fuel tank and battery.
cOn gasoline engine models with the
multiport fuel injection (MFI) system,
the fuel filter or fuel lines should be
serviced by an authorized NISSAN
dealer because the fuellines are un-der high pressure even when the
engine is off.
CAUTION
cDo not work under the hood while
the engine is hot. Turn the engine off
and wait until it cools down.
cNever connect or disconnect either
the battery or any transistorized
component connector while the igni-
tion is on.
cNever leave the engine or automatic
transmission related component
harnesses disconnected while the
ignition switch is in the ON position.
cAvoid contact with used engine oil
and coolant. Improperly disposed
engine oil, engine coolant and/or
other vehicle fluids can damage the
environment. Always conform to lo-
cal regulations for disposal of ve-
hicle fluid.
This ``Maintenance and do-it-yourself'' sec-
tion gives instructions regarding only those
items which are relatively easy for an owner
to perform.A genuine NISSAN service manual is also
available. See `Owner's Manual/Service
Manual order information'' in the ``Technical
and consumer information'' section.
You should be aware that incomplete or
improper servicing may result in operating
difficulties or excessive emissions, and
could affect your warranty coverage.If in
doubt about any servicing, have it done
by an authorized NISSAN dealer.
8-6Maintenance and do-it-yourself
ZX
Page 196 of 273
1. Power steering fluid reservoir
2. Automatic transmission fluid dipstick (A/T
model)
3. Air cleaner
4. Engine oil filler cap
5. Engine oil dipstick
6. Brake fluid reservoir
7. Clutch fluid reservoir (M/T model)
8. Windshield washer fluid reservoir
9. Radiator cap
10. Coolant reservoir
11. Battery
WDI0087
KA24DE
ENGINE COMPARTMENT
CHECK LOCATIONS
Maintenance and do-it-yourself8-7
ZX
Page 197 of 273
1. Fuse/fusible link holder
2. Power steering fluid reservoir
3. Automatic transmission fluid dipstick (A/T
model)
4. Brake fluid reservoir
5. Clutch fluid reservoir (M/T model)
6. Air cleaner
7. Windshield washer fluid reservoir
8. Engine oil dipstick
9. Radiator cap
10. Engine oil filler cap
11. Coolant reservoir
12 Battery
WDI0088
8-8Maintenance and do-it-yourself
ZX
Page 198 of 273
1. Fuse/fusible link holder
2. Power steering fluid reservoir
3. Automatic transmission fluid dipstick (A/T
model)
4. Supercharger
5. Brake fluid reservoir
6. Air cleaner
7. Windshield washer fluid reservoir
8. Engine oil dipstick
9. Radiator cap
10. Engine oil filler cap
11. Coolant reservoir
12. Battery
WDI0089
Maintenance and do-it-yourself8-9
ZX
Page 200 of 273

If the cooling system frequently requires
coolant, have it checked by an autho-
rized NISSAN dealer.
CHANGING ENGINE COOLANT
An authorized NISSAN dealer can change
the engine coolant. The service procedure
can be found in the NISSAN Service
Manual.
Improper servicing can result in reduced
heater performance and engine over-
heating.
WARNING
cTo avoid the danger of being
scalded, never change the coolant
when the engine is hot.
cNever remove the radiator cap when
the engine is hot. Serious burns
could be caused by high pressure
fluid escaping from the radiator.
cAvoid direct skin contact with used
coolant. If skin contact is made,
wash thoroughly with soap or hand
cleaner as soon as possible.
cKeep coolant out of reach of children
and pets.Engine coolant must be disposed of prop-
erly. Check your local regulations.
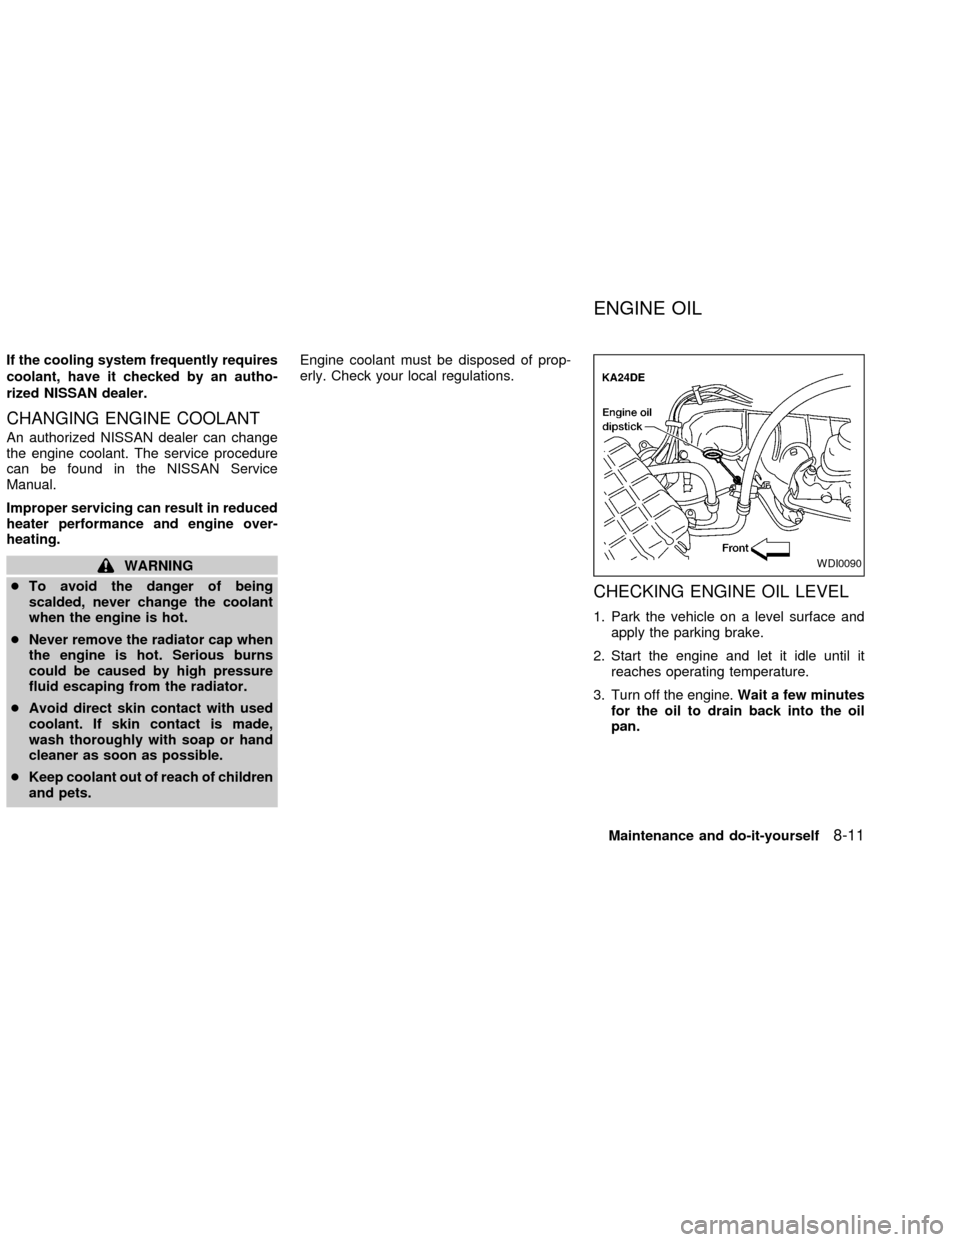
CHECKING ENGINE OIL LEVEL
1. Park the vehicle on a level surface and
apply the parking brake.
2. Start the engine and let it idle until it
reaches operating temperature.
3. Turn off the engine.Wait a few minutes
for the oil to drain back into the oil
pan.
WDI0090
ENGINE OIL
Maintenance and do-it-yourself8-11
ZX
Page 201 of 273
4. Remove the dipstick and wipe it clean.
Reinsert it all the way.5. Remove the dipstick again and check the
oil level. It should be between the H
(High) and L (Low) marks. If the oil level
is below the L (Low) mark, remove the oil
filler cap and pour recommended oil
through the opening.Do not overfill.6. Recheck oil level with dipstick.
It is normal to add some oil between oil
maintenance intervals or during the
break-in period, depending on the sever-
ity of operating conditions.
CAUTION
Oil level should be checked regularly.
Operating the engine with an insuffi-
cient amount of oil can damage the
engine, and such damage is not cov-
ered by warranty.
WDI0091ADI1061WDI0092
8-12Maintenance and do-it-yourself
ZX
Page 202 of 273

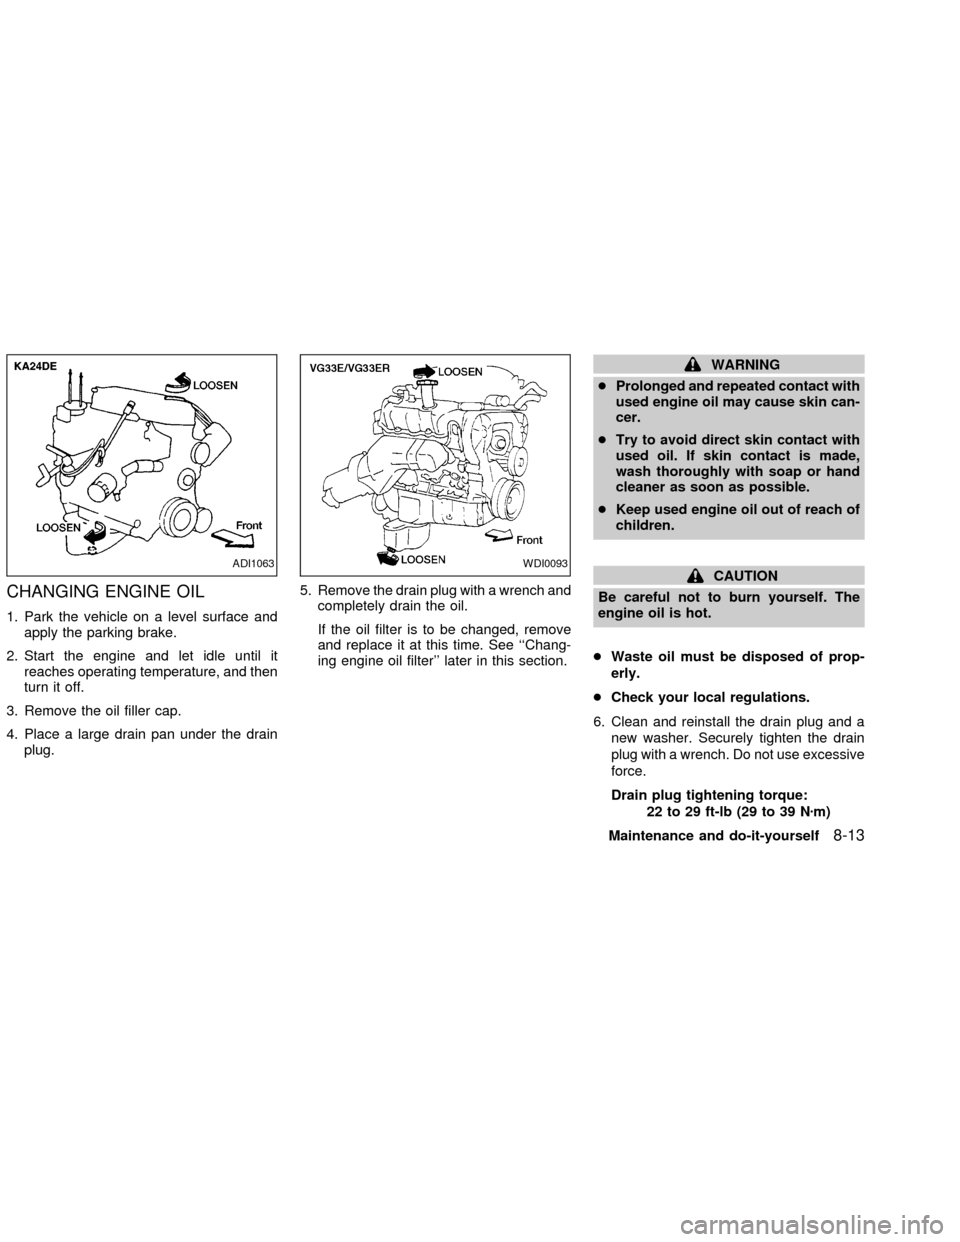
CHANGING ENGINE OIL
1. Park the vehicle on a level surface and
apply the parking brake.
2. Start the engine and let idle until it
reaches operating temperature, and then
turn it off.
3. Remove the oil filler cap.
4. Place a large drain pan under the drain
plug.5. Remove the drain plug with a wrench and
completely drain the oil.
If the oil filter is to be changed, remove
and replace it at this time. See ``Chang-
ing engine oil filter'' later in this section.
WARNING
cProlonged and repeated contact with
used engine oil may cause skin can-
cer.
cTry to avoid direct skin contact with
used oil. If skin contact is made,
wash thoroughly with soap or hand
cleaner as soon as possible.
cKeep used engine oil out of reach of
children.
CAUTION
Be careful not to burn yourself. The
engine oil is hot.
cWaste oil must be disposed of prop-
erly.
cCheck your local regulations.
6. Clean and reinstall the drain plug and a
new washer. Securely tighten the drain
plug with a wrench. Do not use excessive
force.
Drain plug tightening torque:
22 to 29 ft-lb (29 to 39 Nzm)ADI1063WDI0093
Maintenance and do-it-yourself8-13
ZX
Page 203 of 273

7. Refill engine with a recommended oil
through the oil filler opening then install
the oil filler cap securely.
See ``Capacities and recommended
fuel/lubricants'' in the ``Technical and
consumer information'' section for drain
and refill capacity.
The drain and refill capacity depends on
the oil temperature and drain time. Use
these specifications for reference only.
Always use the dipstick to determine
when the proper amount of oil is in the
engine.
8. Start the engine. Check for leakage
around the drain plug and oil filter. Cor-
rect as required.
9. Turn the engine off and wait several
minutes. Check the oil level with the
dipstick. Add engine oil if necessary.
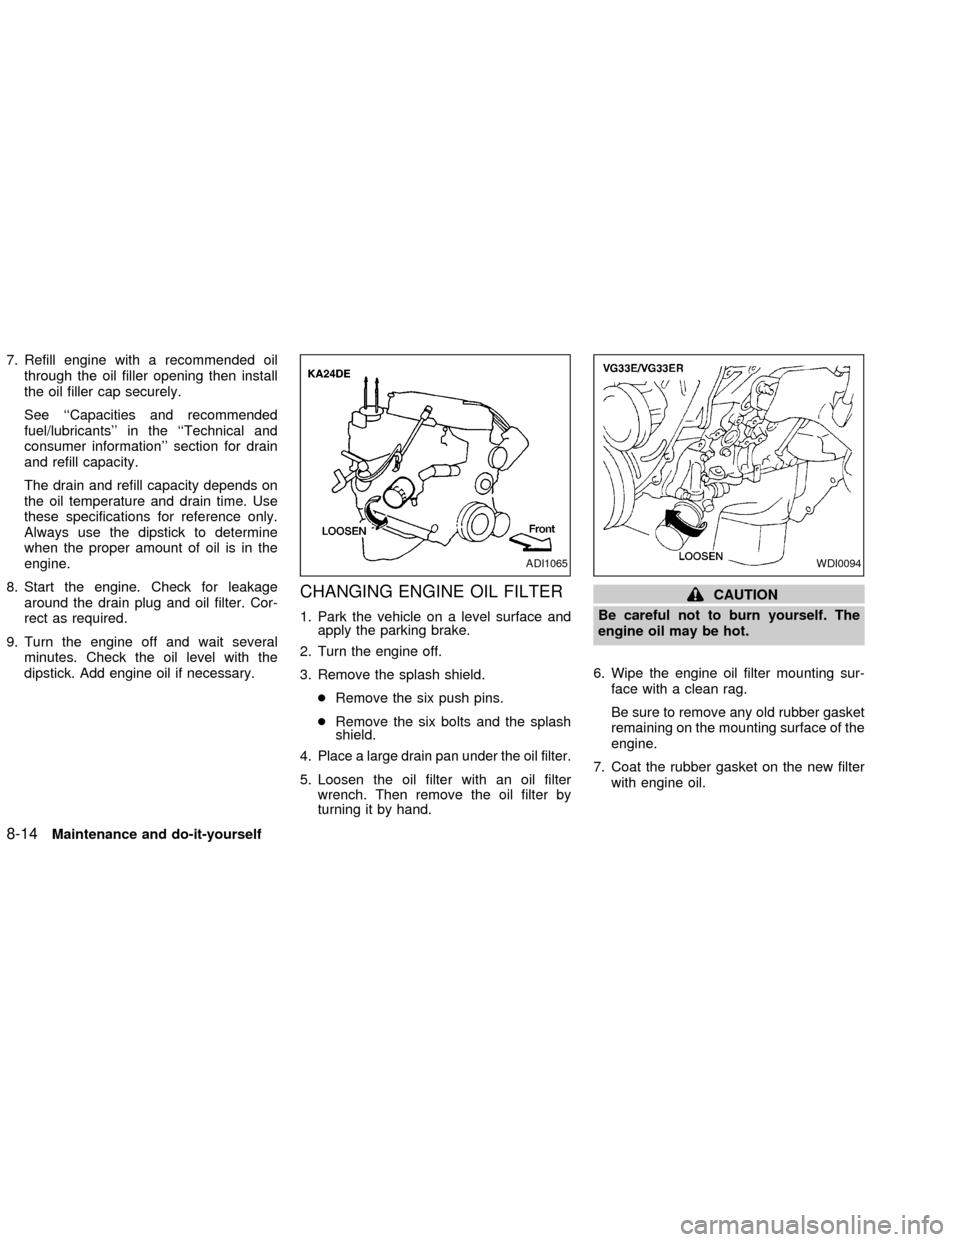
CHANGING ENGINE OIL FILTER
1. Park the vehicle on a level surface and
apply the parking brake.
2. Turn the engine off.
3. Remove the splash shield.
cRemove the six push pins.
cRemove the six bolts and the splash
shield.
4.
Place a large drain pan under the oil filter.
5. Loosen the oil filter with an oil filter
wrench. Then remove the oil filter by
turning it by hand.
CAUTION
Be careful not to burn yourself. The
engine oil may be hot.
6. Wipe the engine oil filter mounting sur-
face with a clean rag.
Be sure to remove any old rubber gasket
remaining on the mounting surface of the
engine.
7. Coat the rubber gasket on the new filter
with engine oil.
ADI1065WDI0094
8-14Maintenance and do-it-yourself
ZX