Page 19 of 216
PREMIUM AM/FM STEREO/CD SYSTEM
Anti-theft protection panel
To deter would-be thieves, Ford audio units have a removable front panel
without which the unit will not work.
Avoid touching the contacts on the back of the panel and do not use
excessive force to refit it.
Slide the security release button to
the left and remove the front panel.
To reposition the panel, insert the
right-hand edge first, then the
left-hand side, until the retaining
latch is engaged.
Replacement panels
Your Ford dealer will require the following if you need to order a
replacement panel:
1. Your name and address.
2. The vehicle identification number (visible on a plate mounted on the
instrument panel.) Refer toIdentifying your Vehicle.
MENU
SCAN
CDAM/FMFADE/BALVOL ON/OFFBASS/TREB
CLK
123456
SEEK
Entertainment Systems
19
Page 26 of 216
Press the SEEK control to turn the
feature ON or OFF.
Menu mode
Press the MENU control to access
main menu features.
Use the SEEK control for
adjustments.
CD eject function
Press the eject control during CD
playback to eject the CD.
Setting the clock
Your vehicle is equipped with a separate instrument panel mounted
clock. Please refer toClockin theDriver controls chapterfor
instructions on setting the clock.
PREMIUM AM/FM STEREO/CASSETTE/SINGLE CD
SEEK
MENU
FM 1
AMC
BL RF
REW FFSCAN
BASS TREB SEL BALTAPE DISC
EJ CD
FADEAUTO
CLK
SIDE 1-2 COMP SHUFFLEEJ
MUTE
VOL PUSH ON
SEEK
TUNE AM FM
12 3456
DOLBY B NR
ST
Entertainment Systems
26
Page 33 of 216

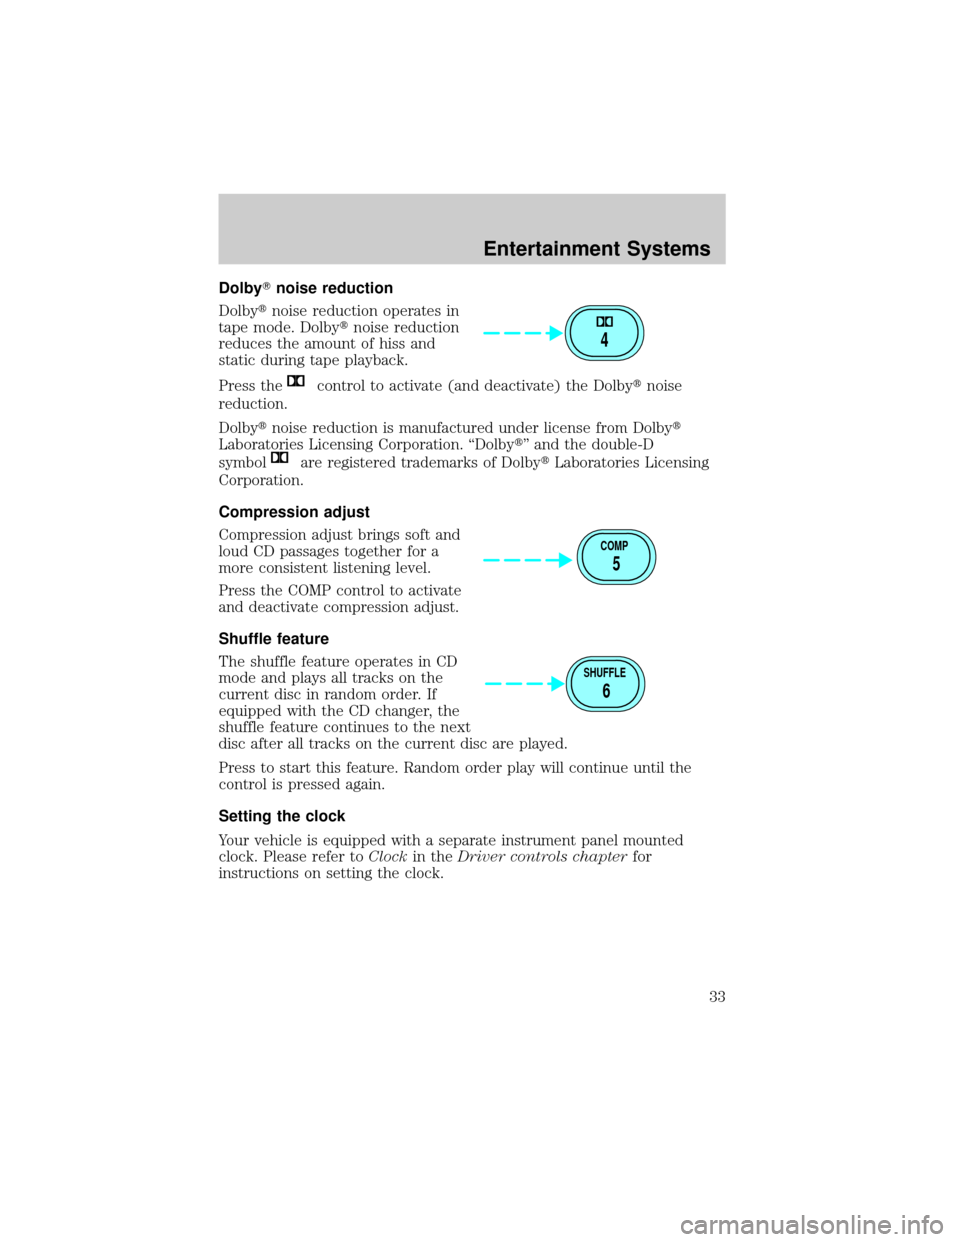
DolbyTnoise reduction
Dolbytnoise reduction operates in
tape mode. Dolbytnoise reduction
reduces the amount of hiss and
static during tape playback.
Press the
control to activate (and deactivate) the Dolbytnoise
reduction.
Dolbytnoise reduction is manufactured under license from Dolbyt
Laboratories Licensing Corporation. ªDolbytº and the double-D
symbol
are registered trademarks of DolbytLaboratories Licensing
Corporation.
Compression adjust
Compression adjust brings soft and
loud CD passages together for a
more consistent listening level.
Press the COMP control to activate
and deactivate compression adjust.
Shuffle feature
The shuffle feature operates in CD
mode and plays all tracks on the
current disc in random order. If
equipped with the CD changer, the
shuffle feature continues to the next
disc after all tracks on the current disc are played.
Press to start this feature. Random order play will continue until the
control is pressed again.
Setting the clock
Your vehicle is equipped with a separate instrument panel mounted
clock. Please refer toClockin theDriver controls chapterfor
instructions on setting the clock.
4
COMP
5
SHUFFLE
6
Entertainment Systems
33
Page 41 of 216

Speaker balance adjust
Speaker sound distribution can be
adjusted between the right and left
speakers.
Press the BAL control. Use the SEL
control to adjust the sound between
the left and right speakers.
Speaker fade adjust
Speaker sound can be adjusted
between the front and rear
speakers.
Press the FADE control. Use the
SEL control to adjust the sound
between the front and rear speakers.
Mute mode
Press the control to mute the
playing media. Press the control
again to return to the playing media.
Setting the clock
Your vehicle is equipped with a separate instrument panel mounted
clock. Please refer toClockin theDriver controls chapterfor
instructions on setting the clock.
TROUBLESHOOTING THE CD PLAYER (IF EQUIPPED)
If sound skips:
²You may be traveling on a rough road, playing badly scratched discs or
the disc may be dirty. Skipping will not scratch the discs or damage
the player.
If player does not work:
²The disc is inserted with the label surface downward.
²The disc is dusty or defective.
²A disc with format and dimensions not within industry standards is
inserted.
BAL
FADE
SEL+
BAL
FADE
SEL+
Entertainment Systems
41
Page 44 of 216
MANUAL HEATING AND AIR CONDITIONING SYSTEM
Fan speed control
Controls the volume of air circulated
in the vehicle.
Temperature control knob
Controls the temperature of the
airflow inside the vehicle.
Mode selector control
Controls the direction of the airflow
to the inside of the vehicle.
²MAX A/C ± Distributes recirculated air through the instrument panel
registers. The A/C compressor will only function if the outside
temperature is above approximately 6ÉC (43ÉF). MAX A/C is noisier
than A/C, but more economical and efficient. This mode may prevent
undesirable odors from entering the vehicle.
²A/C ± Distributes outside air through the instrument panel registers.
The A/C compressor will only function if the outside temperature is
above approximately 6ÉC (43ÉF) .
²
(Panel) ± Distributes outside air through the instrument panel
registers. The air can not be cooled below the outside temperature.
Climate Controls
44
Page 46 of 216

²Do not place objects under the front seat or over the defroster ducts.
They may reduce visibility, fall into the ducts, or degrade the
performance of your climate control system.
Do not place objects on top of the instrument panel, as these
objects may become projectiles in a collision or sudden stop.
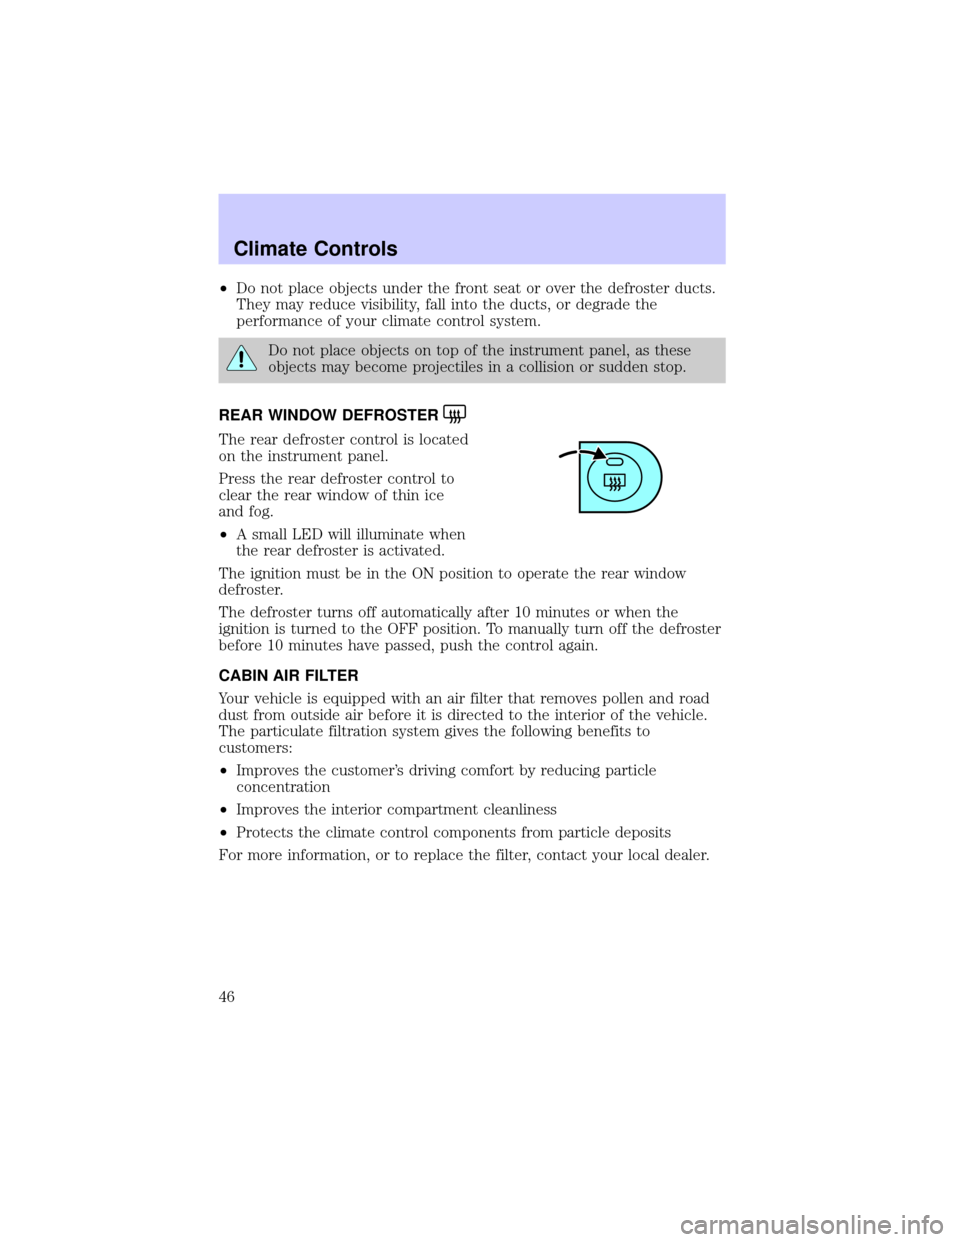
REAR WINDOW DEFROSTER
The rear defroster control is located
on the instrument panel.
Press the rear defroster control to
clear the rear window of thin ice
and fog.
²A small LED will illuminate when
the rear defroster is activated.
The ignition must be in the ON position to operate the rear window
defroster.
The defroster turns off automatically after 10 minutes or when the
ignition is turned to the OFF position. To manually turn off the defroster
before 10 minutes have passed, push the control again.
CABIN AIR FILTER
Your vehicle is equipped with an air filter that removes pollen and road
dust from outside air before it is directed to the interior of the vehicle.
The particulate filtration system gives the following benefits to
customers:
²Improves the customer's driving comfort by reducing particle
concentration
²Improves the interior compartment cleanliness
²Protects the climate control components from particle deposits
For more information, or to replace the filter, contact your local dealer.
Climate Controls
46
Page 48 of 216
High beams
Push the lever toward the
instrument panel to activate. Pull
the lever towards you to deactivate.
Flash to pass
Pull toward you slightly to activate
and release to deactivate.
PANEL DIMMER CONTROL
Use to adjust the brightness of the
instrument panel during parklamp,
headlamp, and autolamp operation.
²Rotate up to brighten.
²Rotate down to dim.
²Rotate fully up to turn on the
interior lights.
Lights
48
Page 51 of 216

BULBS
Replacing exterior bulbs
Check the operation of the following lamps frequently:
²Headlamps
²Tail lamps
²Brakelamps
²High-mount brakelamp
²Turn signal lamps
²Backup lamps
²License plate lamp
Do not remove lamp bulbs unless they will be replaced immediately. If a
bulb is removed for an extended period of time, contaminants may enter
the lamp housings and affect performance.
Using the right bulbs
Replacement bulbs are specified in the chart below. Headlamp bulbs
must be marked with an authorized ªD.O.T.º for North America to assure
lamp performance, light brightness and pattern and safe visibility. The
correct bulbs will not damage the lamp assembly or void the lamp
assembly warranty and will provide quality bulb burn time.
Function Number of
bulbsTrade number
Front park/turn lamps 2 3157 NA
Headlamps (high) 2 9005
Headlamps (high) 2 9006
Foglamps 2 893
Rear tail/turn/brake lamp 2 1157
Backup lamp 2 1156
High-mount brakelamp 1 2825/W5W
License plate lamp 2 168
Signal mirror lamp (if equipped) 2 194
All replacement bulbs are clear in color except where noted.
To replace all instrument panel lights - see your dealer
Lights
51