2002 Mercury Mercury Cougar ignition
[x] Cancel search: ignitionPage 11 of 216

If the light remains on, have your vehicle serviced at the first available
opportunity.
Light is blinking:
Engine misfire is occurring which could damage your catalytic converter.
You should drive in a moderate fashion (avoid heavy acceleration and
deceleration) and have your vehicle serviced at the first available
opportunity.
Under engine misfire conditions, excessive exhaust temperatures
could damage the catalytic converter, the fuel system, interior
floor coverings or other vehicle components, possibly causing a
fire.
Brake system warning
To confirm the brake system
warning light is functional, it will
momentarily illuminate when the
ignition is turned to the ON position (alternatively for some vehicles
when the ignition is moved from the ON position to START position, the
light will momentarily illuminate prior to reaching the START position).
It also illuminates if the parking brake is engaged. If the brake system
warning light does not illuminate as described, seek service immediately.
Illumination after the parking brake is released indicates low brake fluid
level or a brake system malfunction and the brake system should be
serviced immediately by a qualified technician. Refer toBrakesin the
Drivingchapter for more information.
Anti-lock brake system (ABS)
To confirm the anti-lock brake
system (ABS) warning light is
functional it will momentarily
illuminate when the ignition is
turned to the ON position
(alternatively for some vehicles when the ignition is moved from the ON
position to the START position, the light will momentarily illuminate just
prior to reaching the START position). If the light remains on, continues
to flash or fails to illuminate, have the ABS serviced immediately. If the
ABS light remains on, it means the anti-lock brake system has
malfunctioned and is disabled, however, the normal brake system will
still function unless the brake warning light also remains illuminated and
parking brake is off. Refer toBrakesin theDrivingchapter for more
information.
ABS
Instrument Cluster
11
Page 15 of 216

Danger of ice warning
Illuminates when ambient air
temperature is 0É C (32É F) and
below. Theredlight warns of an
increased danger of icy roads.
The absence of a light in cold
temperatures does not necessarily mean that there is no risk of ice on
the road.
Low washer fluid
Illuminates when the windshield
washer fluid is low.
Door ajar
Illuminates when any door or
liftgate is open.
Safety belt warning chime
Sounds to remind you to fasten your safety belts.
BeltMinderYchime
Sounds intermittently to remind you to fasten your safety belts.
Supplemental restraint system (SRS) warning chime
Sounds when a malfunction in the supplemental restraint system (front
or side airbags) has been detected. Have the supplemental restraint
system inspected immediately.
Headlamps on warning chime
Sounds when the headlamps or parking lamps are on, the key is removed
from the ignition and the driver's door is opened.
Instrument Cluster
15
Page 16 of 216

Key-in-ignition warning chime
Sounds when the key is left in the ignition and the driver's door is
opened.
Liftgate ajar warning chime (if equipped)
Sounds when the liftgate is ajar or open and the key is in the ignition.
The interior dome lamp will also be illuminated.
GAUGES
Engine coolant temperature gauge
Indicates the temperature of the
engine coolant. At normal operating
temperature, the needle remains
within the normal area (the area
between the ªHº and ªCº); if the
needle goes above the normal range,
the engine is overheating. Stop the
vehicle as soon as safely possible,
switch off the engine immediately
and let the engine cool. Refer to
Engine coolantin the
Maintenance and specificationschapter.
Never remove the coolant reservoir cap while the engine is
running or hot. Steam and scalding liquid from a hot cooling
system can burn you badly.
This gauge indicates the temperature of the engine coolant, not the
coolant level. If the coolant is not at its proper level the gauge indication
will not be accurate.
Instrument Cluster
16
Page 20 of 216

3. The audio unit type.
4. Proof of identification (driver's license, identity card, etc.).
5. A vehicle invoice (if the audio unit was installed in the vehicle prior to
delivery) or a parts invoice if the audio unit was purchased separately
form the vehicle, or an appropriate vehicle registration document.
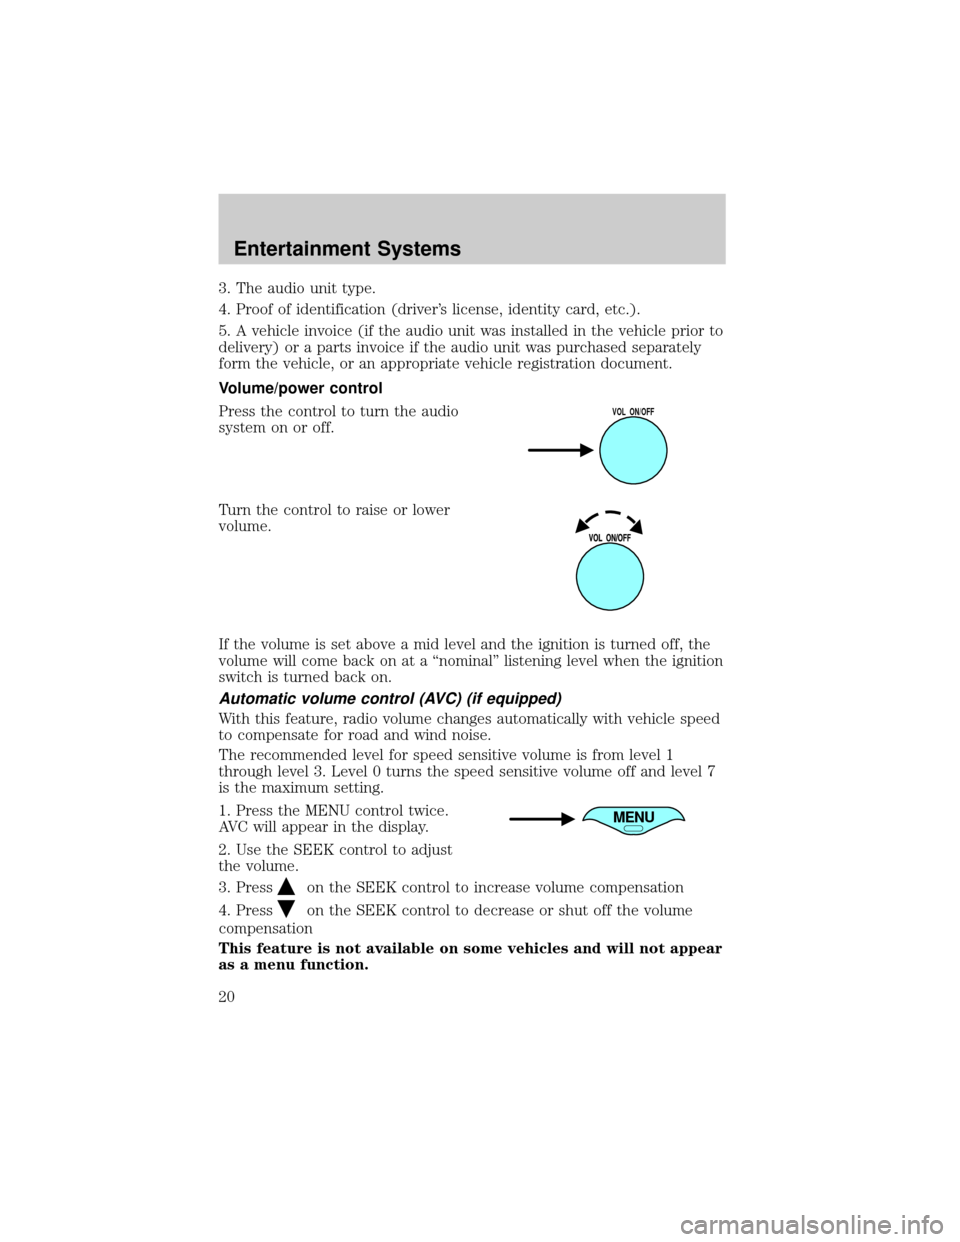
Volume/power control
Press the control to turn the audio
system on or off.
Turn the control to raise or lower
volume.
If the volume is set above a mid level and the ignition is turned off, the
volume will come back on at a ªnominalº listening level when the ignition
switch is turned back on.
Automatic volume control (AVC) (if equipped)
With this feature, radio volume changes automatically with vehicle speed
to compensate for road and wind noise.
The recommended level for speed sensitive volume is from level 1
through level 3. Level 0 turns the speed sensitive volume off and level 7
is the maximum setting.
1. Press the MENU control twice.
AVC will appear in the display.
2. Use the SEEK control to adjust
the volume.
3. Press
on the SEEK control to increase volume compensation
4. Press
on the SEEK control to decrease or shut off the volume
compensation
This feature is not available on some vehicles and will not appear
as a menu function.
VOL ON/OFF
MENU
Entertainment Systems
20
Page 39 of 216

loaded into position and the audio system will display CD#. Each time
the CD door opens, INSERT CD# is displayed. The door will close and
the player will move to the next slot after each disc has been loaded.
The process is repeated until all 6 slots are full. The audio system plays
the last CD loaded and the display is updated. If some slots are already
full and autoload is activated, the system will fill all empty slots.
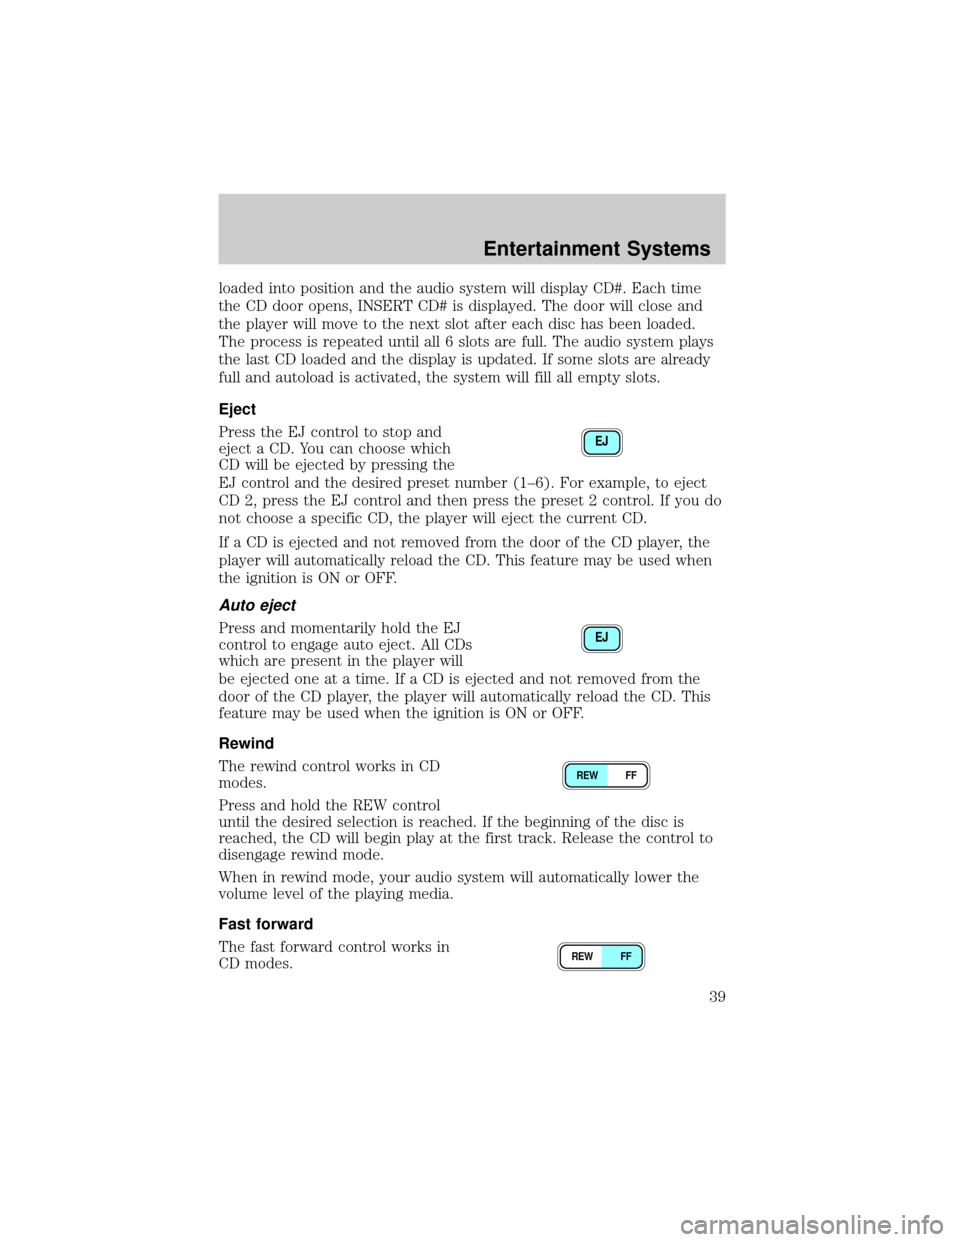
Eject
Press the EJ control to stop and
eject a CD. You can choose which
CD will be ejected by pressing the
EJ control and the desired preset number (1±6). For example, to eject
CD 2, press the EJ control and then press the preset 2 control. If you do
not choose a specific CD, the player will eject the current CD.
If a CD is ejected and not removed from the door of the CD player, the
player will automatically reload the CD. This feature may be used when
the ignition is ON or OFF.
Auto eject
Press and momentarily hold the EJ
control to engage auto eject. All CDs
which are present in the player will
be ejected one at a time. If a CD is ejected and not removed from the
door of the CD player, the player will automatically reload the CD. This
feature may be used when the ignition is ON or OFF.
Rewind
The rewind control works in CD
modes.
Press and hold the REW control
until the desired selection is reached. If the beginning of the disc is
reached, the CD will begin play at the first track. Release the control to
disengage rewind mode.
When in rewind mode, your audio system will automatically lower the
volume level of the playing media.
Fast forward
The fast forward control works in
CD modes.
EJ
EJ
REW FF
REW FF
Entertainment Systems
39
Page 45 of 216

²O (Off) ± Outside air is shut out and the fan will not operate. This
mode may reduce undesirable odors from entering the vehicle but may
increase the possibility of interior window fogging.
²
(Floor) ± Distributes outside air through the floor ducts. The air
cannot be cooled below the outside temperature.
²
(Floor and defrost) ± Distributes outside air through the
windshield defroster ducts and the floor duct and the side window
demisters. The A/C compressor will operate automatically if the
outside temperature is above approximately 6ÉC (43ÉF) . The air
distributed through the floor ducts will be slightly warmer than the air
sent to the windshield defrost ducts and the side window demisters.
²
(Defrost) ± Distributes outside air through the windshield
defroster ducts and the side window demisters. The A/C compressor
will operate automatically if the outside temperature is above
approximately 6ÉC (43ÉF). This mode will clear ice and fog from the
windshield.
Since the air conditioner removes moisture from the air, it is
considered normal operation if water drips on the ground under
the air conditioner drain.
Operating tips
²To reduce fogging in humid weather, place the climate control system
in Defrost and Rear Defrost mode (if equipped) before driving.
²To reduce humidity buildup inside the vehicle under warm weather
conditions, do not drive with the climate control system in the Off
mode.
²To reduce humidity buildup inside the vehicle under cold weather
conditions, do not drive with the climate control system in Max A/C (if
equipped), recirculation mode (if equipped) or Off mode.
²Under normal weather conditions, do not leave your vehicle in the
Max A/C (if equipped), recirculation mode (if equipped) or Off mode
when turning off the vehicle.
²Under snowy or dirty weather conditions, leave your vehicle in the
Max A/C (if equipped), recirculation mode (if equipped) or Off mode
when turning off the ignition.
²Remove any snow, ice or leaves from the exterior base of the
windshield.
²To increase the efficiency of the A/C (if equipped), drive with the
windows slightly open for two to three minutes. or until the vehicle
has been ªaired outº.
Climate Controls
45
Page 46 of 216

²Do not place objects under the front seat or over the defroster ducts.
They may reduce visibility, fall into the ducts, or degrade the
performance of your climate control system.
Do not place objects on top of the instrument panel, as these
objects may become projectiles in a collision or sudden stop.
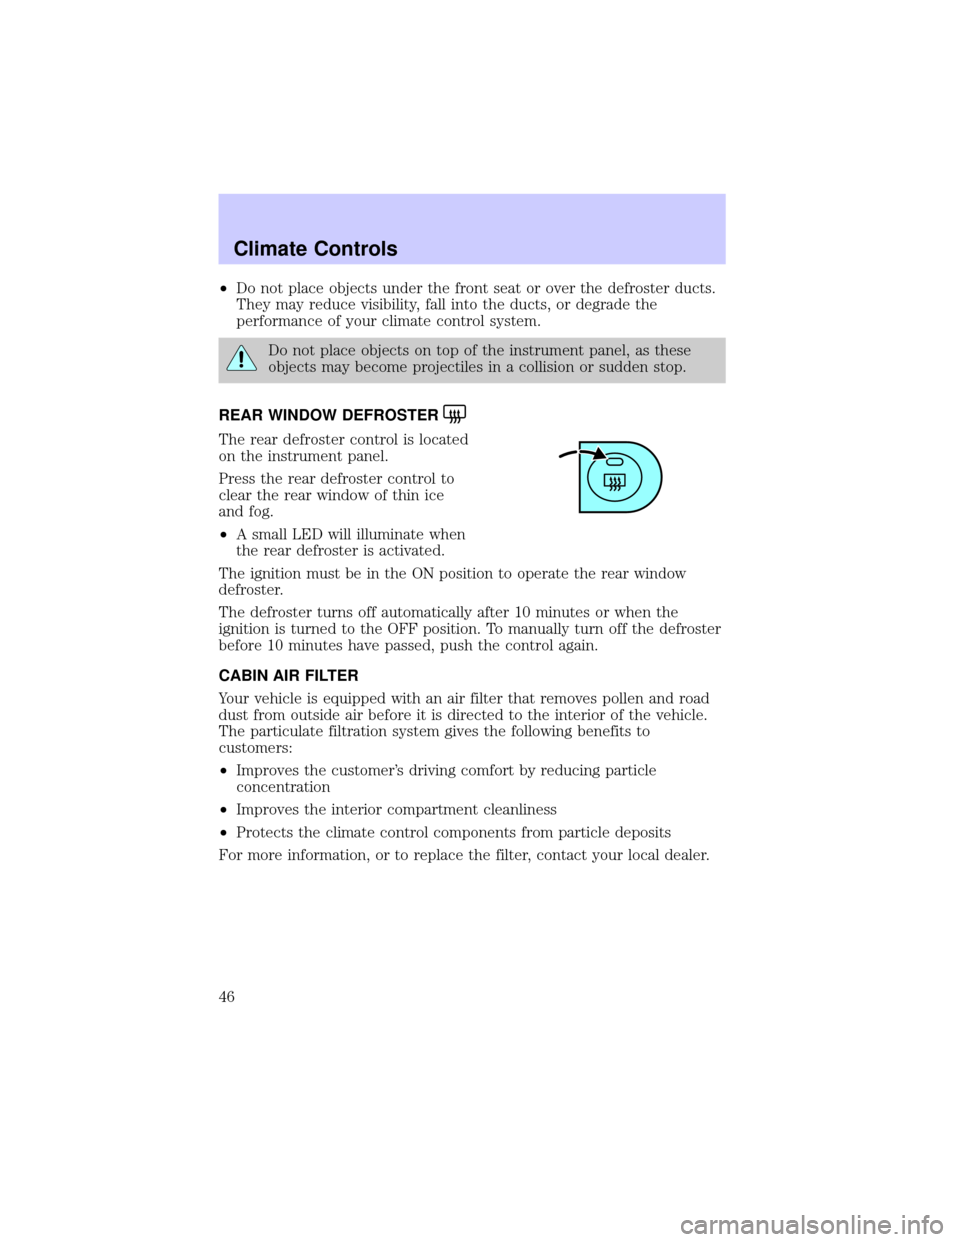
REAR WINDOW DEFROSTER
The rear defroster control is located
on the instrument panel.
Press the rear defroster control to
clear the rear window of thin ice
and fog.
²A small LED will illuminate when
the rear defroster is activated.
The ignition must be in the ON position to operate the rear window
defroster.
The defroster turns off automatically after 10 minutes or when the
ignition is turned to the OFF position. To manually turn off the defroster
before 10 minutes have passed, push the control again.
CABIN AIR FILTER
Your vehicle is equipped with an air filter that removes pollen and road
dust from outside air before it is directed to the interior of the vehicle.
The particulate filtration system gives the following benefits to
customers:
²Improves the customer's driving comfort by reducing particle
concentration
²Improves the interior compartment cleanliness
²Protects the climate control components from particle deposits
For more information, or to replace the filter, contact your local dealer.
Climate Controls
46
Page 47 of 216

HEADLAMP CONTROL
Rotate the headlamp control to the
first position to turn on the parking
lamps.
Rotate to the second position to
turn on the headlamps.
Foglamp control (if equipped)
The headlamp control also operates
the foglamps. The foglamps can be
turned on when the headlamp
control is in the
or
the
position and the high
beams are not turned on.
Pull headlamp control towards you
to turn foglamps on. The foglamp
indicator light
will illuminate.
Daytime running lamps (DRL) (if equipped)
Turns the headlamps on with a reduced output.
To activate:
²the ignition must be in the ON position and
²the headlamp control is in the OFF or Parking lamps position.
Always remember to turn on your headlamps at dusk or during
inclement weather. The Daytime Running Lamp (DRL) system
does not activate with your tail lamps and generally may not provide
adequate lighting during these conditions. Failure to activate your
headlamps under these conditions may result in a collision.
Lights
47