2002 MERCEDES-BENZ SLK32AMG fuel pump
[x] Cancel search: fuel pumpPage 6 of 290

3 ContentsSupplemental restraint system
(SRS) indicator lamp .................. 184
Fuel reserve and fuel cap
placement warning .................... 185
Electronic stability program
(ESP) — warning lamp ............... 185
BAS / ESP malfunction
indicator lamp ............................. 185
ABS malfunction
indicator lamp ............................. 186
Telescoping steering column
warning lamp .............................. 186
Low engine coolant level
warning lamp .............................. 187
Low windshield and headlamp
washer system fluid level
warning lamp .............................. 187
Low engine oil level
warning lamp .............................. 188
Charge indicator lamp ............... 188
Exterior lamp failure i
ndicator lamp .............................. 189
Additional function
indicator lamps
(in the odometer display) .......... 189Malfunction and indicator lamp
in the center console ................190
AIRBAG OFF indicator lamp .....190
Practical hintsFirst aid kit ......................................192
Stowing items in the vehicle ........192
Fuses ................................................192
Hood .................................................194
Automatic transmission
fluid level ....................................196
Checking engine oil level ..............197
Coolant level ....................................198
Adding coolant ............................198
Windshield and
headlamp washer system .........199
Air pump, spare wheel,
vehicle tools,
storage compartment
(except SLK 32 AMG) .............. 200
Ve h i c l e j a c k
(except SLK 32 AMG) .............. 201Storage box, TIREFIT-Kit,
air pump, Vehicle tools
(SLK 32 AMG only) ...................202
Wheels .............................................203
Tire replacement ........................203
Rotating wheels ..........................204
Spare wheel ....................................205
Spare wheel bolts .......................206
Changing wheels ...........................207
Inflating the collapsible
spare tire ..................................... 212
Storing spare wheel in
wheel well ................................... 213
TIREFIT ........................................... 214
Tire inflation pressure .................. 219
Battery .............................................220
Jump starting ..................................222
Towing the vehicle .........................224
Transmission selector lever,
manually unlocking ..................229
Exterior lamps ................................230
Headlamp assembly ................... 231
Taillamp assemblies ..................234
Page 191 of 290

188 Malfunction and indicator lamps
Te ch n i c a l
data Instruments
and controlsOperation DrivingInstrument
cluster displayPractical hints Car care Index
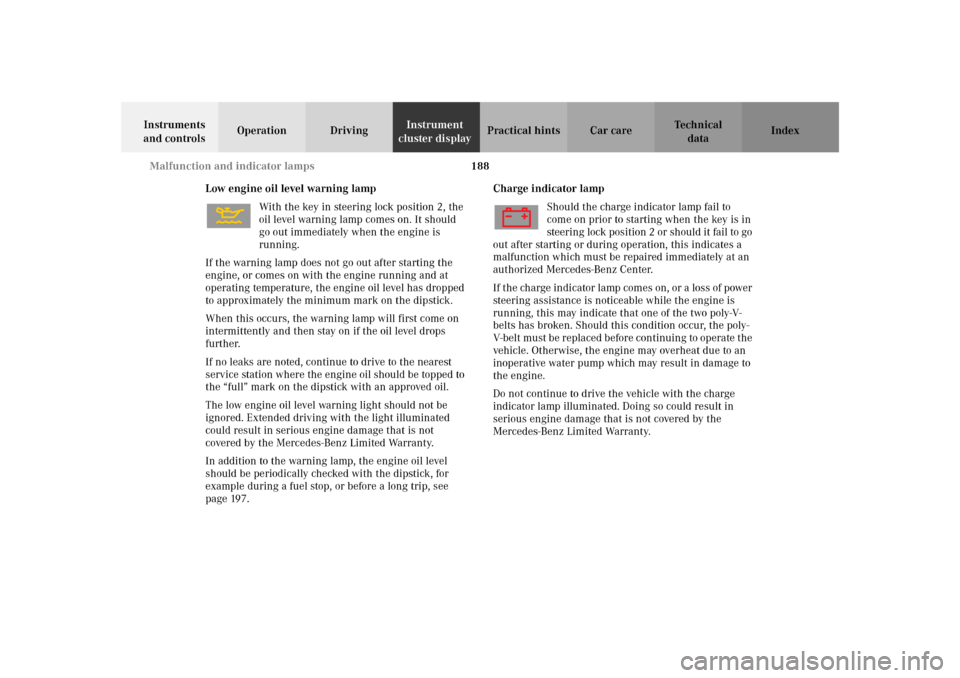
Low engine oil level warning lamp
With the key in steering lock position 2, the
oil level warning lamp comes on. It should
go out immediately when the engine is
running.
If the warning lamp does not go out after starting the
engine, or comes on with the engine running and at
operating temperature, the engine oil level has dropped
to approximately the minimum mark on the dipstick.
When this occurs, the warning lamp will first come on
intermittently and then stay on if the oil level drops
further.
If no leaks are noted, continue to drive to the nearest
service station where the engine oil should be topped to
the “full” mark on the dipstick with an approved oil.
The low engine oil level warning light should not be
ignored. Extended driving with the light illuminated
could result in serious engine damage that is not
covered by the Mercedes-Benz Limited Warranty.
In addition to the warning lamp, the engine oil level
should be periodically checked with the dipstick, for
example during a fuel stop, or before a long trip, see
page 197.Charge indicator lamp
Should the charge indicator lamp fail to
come on prior to starting when the key is in
steering lock position 2 or should it fail to go
out after starting or during operation, this indicates a
malfunction which must be repaired immediately at an
authorized Mercedes-Benz Center.
If the charge indicator lamp comes on, or a loss of power
steering assistance is noticeable while the engine is
running, this may indicate that one of the two poly-V-
belts has broken. Should this condition occur, the poly-
V-belt must be replaced before continuing to operate the
vehicle. Otherwise, the engine may overheat due to an
inoperative water pump which may result in damage to
the engine.
Do not continue to drive the vehicle with the charge
indicator lamp illuminated. Doing so could result in
serious engine damage that is not covered by the
Mercedes-Benz Limited Warranty.
Page 194 of 290

191 Contents - Practical hints
Te ch n i c a l
data Instruments
and controlsOperation DrivingInstrument
cluster displayPractical hintsCar care Index
Practical hintsFirst aid kit ..................................... 192
Stowing items in the vehicle ........ 192
Fuses ................................................ 192
Hood ................................................. 194
Automatic transmission
fluid level ................................... 196
Checking engine oil level ............. 197
Coolant level ................................... 198
Adding coolant ........................... 198
Windshield and
headlamp washer system ........ 199
Air pump, spare wheel,
vehicle tools,
storage compartment
(except SLK 32 AMG) ...............200Ve h i c l e j a c k
(except SLK 32 AMG) .............. 201
Storage box, TIREFIT-Kit,
air pump, Vehicle tools
(SLK 32 AMG only) .................. 202
Wheels ............................................ 203
Tire replacement ....................... 203
Rotating wheels ......................... 204
Spare wheel .................................... 205
Spare wheel bolts ...................... 206
Changing wheels ........................... 207
Inflating the collapsible
spare tire ......................................212
Storing spare wheel in
wheel well ....................................213
TIREFIT ............................................214
Tire inflation pressure .................. 219Battery .............................................220
Jump starting ..................................222
Towing the vehicle .........................224
Transmission selector lever,
manually unlocking ..................229
Exterior lamps ................................230
Headlamp assembly ................... 231
Taillamp assemblies ..................234
Changing batteries in
the remote control ....................236
Synchronizing
remote control ............................237
Raising hardtop manually ............238
Replacing wiper blade insert .......243
Antenna ...........................................244
Manual release
of fuel filler flap ........................244
Page 221 of 290

218 Tires, wheels
Te ch n i c a l
data Instruments
and controlsOperation DrivingInstrument
cluster displayPractical hintsCar care Index
Note:
Do not operate electric air pump longer that 6 minutes
without interruption. Air pump could overheat! After air
pump has cooled off, operate air pump again.
16. To switch off air pump, turn key in steering lock to
position 0.
17. Reinstall valve tire cap.
18. Drive vehicle to distribute the sealant evenly inside
the tire.Notes:
If TIREFIT is liquid, clean water and a damp cloth will
remove the material from the vehicle or tire and wheel
components. Once TIREFIT sealing material had dried,
it can easily be peeled off and properly discarded.
Replace TIREFIT every 4 years.
Wa r n i n g !
If a tire pressure of 26 psi (1.8 bar) is not attained,
tire is too severely damaged for TIREFIT to provide
a reliable tire repair.In this case TIREFIT can not properly seal the tire.Do not drive the vehicle.Contact the nearest Mercedes-Benz Center or call
Roadside Assistance.
Wa r n i n g !
Do not exceed vehicle speed of 50 mph (80 km / h).
A TIREFIT repair is not designed to operate at
higher speeds.Vehicle handling characteristics may change.After driving vehicle for an initial 10 minutes,
check tire pressure. If tire pressure has fallen
below 20 psi (1.3 bar) do not continue to drive the
vehicle.If tire pressure is at least 20 psi (1.3 bar), inflate
tire to correct pressure (see label on fuel filler
flap), and drive vehicle to nearest tire repair
facility to have tire repaired or replaced.Recommended duration of use: 300 miles (500 km)
at 50 mph (80 km / h) with the recommended tire
pressure.
Page 272 of 290

269 Fuels, coolants, lubricants etc. - capacities
Te ch n i c a l
data Instruments
and controlsOperation DrivingInstrument
cluster displayPractical hints Car care Index Premium unleaded gasoline
Caution!
To maintain the engine’s durability and performance,
premium unleaded gasoline must be used. If premium
unleaded is not available and low octane fuel is used,
follow these precautions:
•have the fuel tank filled only partially with unleaded
regular and fill up with premium unleaded as soon
as possible,
•avoid full throttle driving and abrupt acceleration,
•do not exceed
2/3 of maximum accelerator pedal
position, if the vehicle is fully loaded or operating in
mountainous terrain.Fuel requirements
Use only Premium unleaded meeting ASTM
standard D 439:
The octane number (posted at the pump) must be
91 min. It is an average of both the Research (R) octane
number and the Motor (M) octane number: [(R+M) / 2].
This is also known as ANTI-KNOCK INDEX.
Unleaded gasoline containing oxygenates such as
Ethanol, IPA, IBA and TBA can be used provided the
ratio of any one of these oxygenates to gasoline does not
exceed 10%, MTBE not to exceed 15%.
The ratio of Methanol to gasoline must not exceed 3%
plus additional cosolvents.
Using mixtures of Ethanol and Methanol is not allowed.
Gasohol, which contains 10% Ethanol and 90% unleaded
gasoline, can be used.
These blends must also meet all other fuel requirements
such as resistance to spark knock, boiling range, vapor
pressure etc..