Page 110 of 290
107 Audio system
Te ch n i c a l
data Instruments
and controlsOperationDrivingInstrument
cluster displayPractical hints Car care Index Random play / repeat function
The tracks of the current CD are played in random order
when the random feature (RDM) is selected. Press the
RDM key to switch on, and press RDM again to switch
off.
When the repeat function
(RPT) has been selected, a
particular track can be played
for as many times as desired.
Press the RPT key to switch
on, and press RPT again to switch off.
Note:
Both functions cannot be used simultaneously.Direct track selection
Tracks can be selected directly using the buttons on the
alpha-numeric keypad. Press the “ function button,
followed by the track number.
Page 112 of 290

109 Audio system
Te ch n i c a l
data Instruments
and controlsOperationDrivingInstrument
cluster displayPractical hints Car care Index Switching between name search and number search
Press ABC key - Name search
Press NUM key - Number search
Searching and selecting phone book entries by name
Press the ABC key. The current name is shown on the
display. The stored entries in alphabetical order can be
selected using the or button. By pressing the
or buttons, the stored entries can be selected
according to alphabetical initial letters (e.g. A-Adam,
B-Brown, M-Miller).
Searching and selecting phone book entries by
number
Press the NUM key. The current number is shown on
the display. The stored entries can be selected in
numerical order using the or button. By
pressing the or buttons, the stored entries
can be selected in increments of 5 (e.g. Entry no. 2,
Entry no. 7, etc.).Placing a call
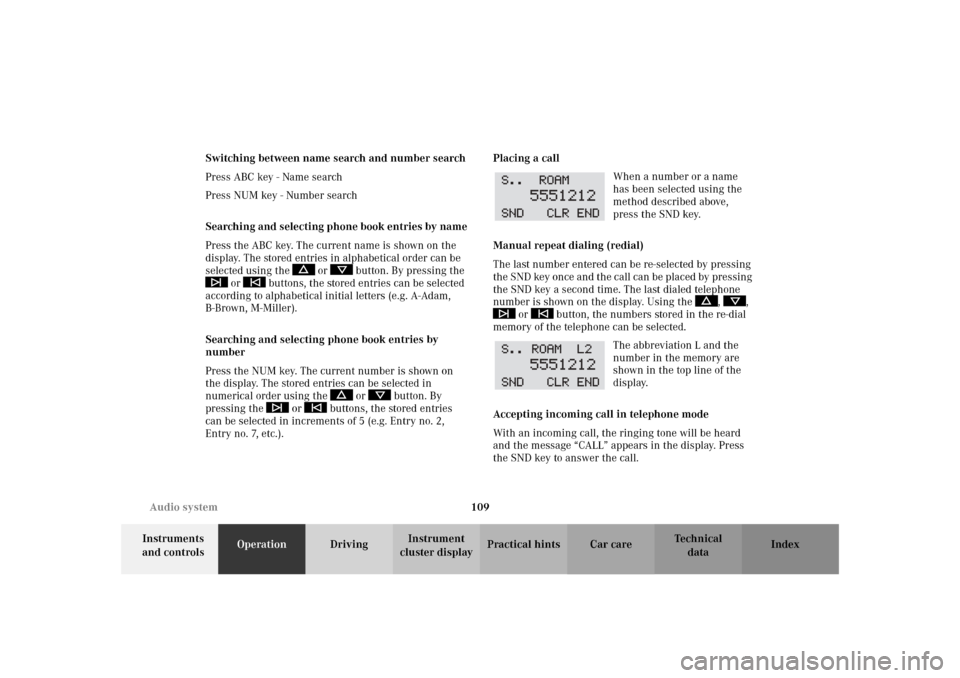
When a number or a name
has been selected using the
method described above,
press the SND key.
Manual repeat dialing (redial)
The last number entered can be re-selected by pressing
the SND key once and the call can be placed by pressing
the SND key a second time. The last dialed telephone
number is shown on the display. Using the , ,
or button, the numbers stored in the re-dial
memory of the telephone can be selected.
The abbreviation L and the
number in the memory are
shown in the top line of the
display.
Accepting incoming call in telephone mode
With an incoming call, the ringing tone will be heard
and the message “CALL” appears in the display. Press
the SND key to answer the call.
Page 123 of 290

120 Garage door opener
Te ch n i c a l
data Instruments
and controlsOperationDrivingInstrument
cluster displayPractical hints Car care Index
Programming or reprogramming the integrated
remote control:
1. Turn key in starter switch to position 1 or 2.
2. Hold the end of the hand-held transmitter of the
device you wish to train approximately 2 to 5 inches
(5 cm to 12 cm) away from the surface of the
integrated remote control located on the inside rear
view mirror, keeping the indicator lamp in view.
3. Using both hands, simultaneously push the hand-
held transmitter button and the desired integrated
remote control button. Do not release the buttons
until completing step 4.
4. The indicator lamp on the integrated remote control
will flash, first slowly and then rapidly. When the
indicator lamp flashes rapidly, both buttons may be
released (the rapid flashing lamp indicates
successful programming of the new frequency
signal). To program the remaining two buttons,
follow steps 1 through 4.Note:
If, after repeated attempts, you do not successfully
program the integrated remote control device to learn
the signal of the hand-held transmitter, the garage door
opener could be equipped with the “rolling code
feature”.
Rolling code programming:
To train a garage door opener (or other rolling code
devices) with the rolling code feature, follow these
instructions after completing the “Programming”
portion of this text. (A second person may make the
following training procedures quicker and easier.)
1. Locate training button on the garage door opener
motor head unit. Exact location and color of the
button may vary by garage door opener brand. If
there is difficulty locating the transmitting button,
reference to garage door opener operator’s manual.
2. Press “training” button on the garage door opener
motor head unit (which activates the “training
light”).
Page 124 of 290

121 Garage door opener
Te ch n i c a l
data Instruments
and controlsOperationDrivingInstrument
cluster displayPractical hints Car care Index Note:
Following step 2, there are 30 seconds to initiate
step 3.
3. Firmly press and release the programmed
integrated remote control transmit button. Press
and release same button a second time to complete
the training process. (Some garage door openers
may require you to do this procedure a third time to
complete the training.)
4. Confirm the garage door operation by pressing the
programmed button on the integrated remote
control transmitter.
Canadian programming:
During programming, your hand-held transmitter may
automatically stop transmitting. Continue to press and
hold the integrated remote control transmitter button
(note steps 2 through 4 in the “Programming” portion)
while you press and re-press (“cycle”) your hand-held
transmitter every two seconds until the frequency
signal has been learned. The indicator lamp will flash
slowly and then rapidly after several seconds upon
successful training.Operation of remote control:
1. Turn key in starter switch to position 1 or 2.
2. Select and press the appropriate button to activate
the remote controlled device. The integrated remote
control transmitter continues to send the signal as
long as the button is pressed – up to 20 seconds.
Erasing the remote control memory:
1. Turn key in starter switch to position 1 or 2.
2. Simultaneously holding down the left and right side
buttons for approximately 20 seconds, or until the
control lamp blinks rapidly, will erase the codes of
all three channels.
Page 130 of 290
127 Wind screen
Te ch n i c a l
data Instruments
and controlsOperationDrivingInstrument
cluster displayPractical hints Car care Index Wind screen
1Storage bag
2Pin
3Snap button
4Coat hookInstallation
1. Remove screen from its storage bag (1), located on
wall behind the seat backrests, and unfold.
2. Attach straps to pins (2).
3. Close snap buttons (3).
4. Pull wind screen on molding over roll bars.
Note:
Pull on snap button head to open the snap button.
3
14
2
P65.00-2046-26
Wa r n i n g !
The wind screen can restrict the driver’s vision to
the rear of the vehicle. To prevent a possible
accident at time of limited sight distance (e.g.
darkness), the wind screen should be removed.
Page 140 of 290

137 Tele Aid
Te ch n i c a l
data Instruments
and controlsOperationDrivingInstrument
cluster displayPractical hints Car care Index Important!
If the indicator lamps do not start flashing after
pressing one of the buttons or remain illuminated (in
red) at any time, the Tele Aid system has detected a fault
or the service is not currently active, and may not
initiate a call. Visit your Mercedes-Benz Center and
have the system checked or contact the Response Center
at 1-800-756-9018 (in the USA) or 1-888-923-8367 (in
Canada) as soon as possible.
Upgrade Signals
Tele Aid system processes calls using the following
priority.
•Automatic emergency – First priority
•Manual emergency – Second priority
•Roadside assistance – Third priority
•Information – Fourth priority
Should a higher priority call be initiated while you are
connected, an upgrade (alternating) tone will be heard,
and the appropriate indicator lamp will flash. If certain
information such as vehicle identification number or
client information is not available, the operator may
need to retransmit. During this time you will hear a chirp and voice contact will be interrupted. Voice
contact will resume once the retransmission is
completed. Once a call is concluded, a chirp will be
heard and the appropriate indicator lamp will stop
flashing. The audio system operation will resume.
Important!
If the indicator lamp continues to flash or the system
does not reset, contact the Response Center at
1-800-756-9018 (in the USA) or 1-888-923-8367 (in
Canada), or Mercedes-Benz Client Assistance at
1-800-FOR-MERCedes (1-800-367-6372) in the USA or
Customer Service at 1-800-387-0100 in Canada.
Notes:
The indicator lamp in the respective button flashes until
the call is concluded and this can only be completed by
a Response Center or Client Assistance Center
representative.
When a Tele Aid call has been initiated, the audio
system is muted and the selected mode (radio, tape or
CD) pauses. The optional cellular phone (if installed)
switches off. If you must use this phone, the vehicle
must be parked. Disconnect the coiled cord and place
the call.