Page 175 of 302

171 Automatic transmission
Te ch n ica l
data Instruments
and controlsOperationDrivingInstrument
cluster displayPractical hints Car care Index Upshift through 2nd gear only. For driving in
mountainous regions or under extreme operating
conditions. This gear selection will allow use of
the engine’s braking power when descending
steep grades.
Use this position, which makes maximum use of
the engine’s braking effect, while descending
very steep or lengthy downgrades and only at
speeds below 40 mph (60 km/h).
Important!
With selector lever in position “D”, “4” or “3”, upshifting
from 1st to 2nd to 3rd gear is delayed depending on
vehicle speed and engine temperature. This allows the
catalytic converter to heat up more q uickly to operating
temperatures.
During the brief warm-up period this delayed upshift
and increased engine noise might be perceived as a
malfunction. However, neither the engine nor
transmission are negatively affected by this mode of
operation.
The delayed upshift is effective with vehicle speeds
below 31 mph (50 km/h) at partial throttle and engine
temperatures below 95°F (35°C).To avoid overrevving the engine when the selector lever
is moved to a lower driving range, the transmission will
not shift to a lower gear, if the engine’s speed limit
would be exceeded. In this case there will be no
downshift, even when the vehicle speed reaches the
engine’s speed limit of that gear, e.g. by applying the
service brakes. Continue driving in the usual manner.
The transmission will then shift down automatically.
To prevent the engine from laboring at low RPM when
driving uphill gradients or with your vehicle heavily
loaded, the automatic transmission will downshift when
necessary to maintain engine RPM within the best
torque range.
Wa r n i n g !
On slippery road surfaces, never downshift in order
to obtain braking action. This could result in drive
wheel slip and reduced vehicle control. Your
vehicle’ s ABS will not prevent this type of loss of
control.
Page 196 of 302

192 Driving systems
Te ch n ica l
data Instruments
and controlsOperationDrivingInstrument
cluster displayPractical hints Car care Index
Electronic stability program (ESP)
The ESP enhances directional control and reduces
driving wheel spin of the vehicle under various driving
conditions.
Over/understeering of the vehicle is counteracted by
applying brakes to the appropriate wheel to create a
countervailing vehicle movement. Engine torque is also
limited. The ESP warning lamp, located in the
speedometer dial, starts to flash when ESP is in
operation.Important!
If the ESP warning lampv flashes:
• During take-off apply as little throttle as possible.
• While driving ease up on the accelerator.
• Adapt your speed and driving to the prevailing road
conditions.
• Do not switch off the ESP.
Caution!
If the vehicle is towed with the front axle raised
(see page 241), the engine must be shut off (key in
steering lock position 0 or 1). Otherwise, the ESP will
immediately be engaged and will apply the rear wheel
brakes.
Wa r n i n g !
ESP cannot prevent the natural laws of physics
from acting on the vehicle, nor can it increase the
traction afforded. The ESP cannot prevent
accidents, including those resulting from excessive
speed in turns, or aquaplaning. Only a safe,
attentive, and skillful driver can prevent accidents.
The capabilities of an ESP equipped vehicle must
never be exploited in a reckless or dangerous
manner which could jeopardize the user’s safety or
the safety of others.
Page 198 of 302

194 Driving systems
Te ch n ica l
data Instruments
and controlsOperationDrivingInstrument
cluster displayPractical hints Car care Index
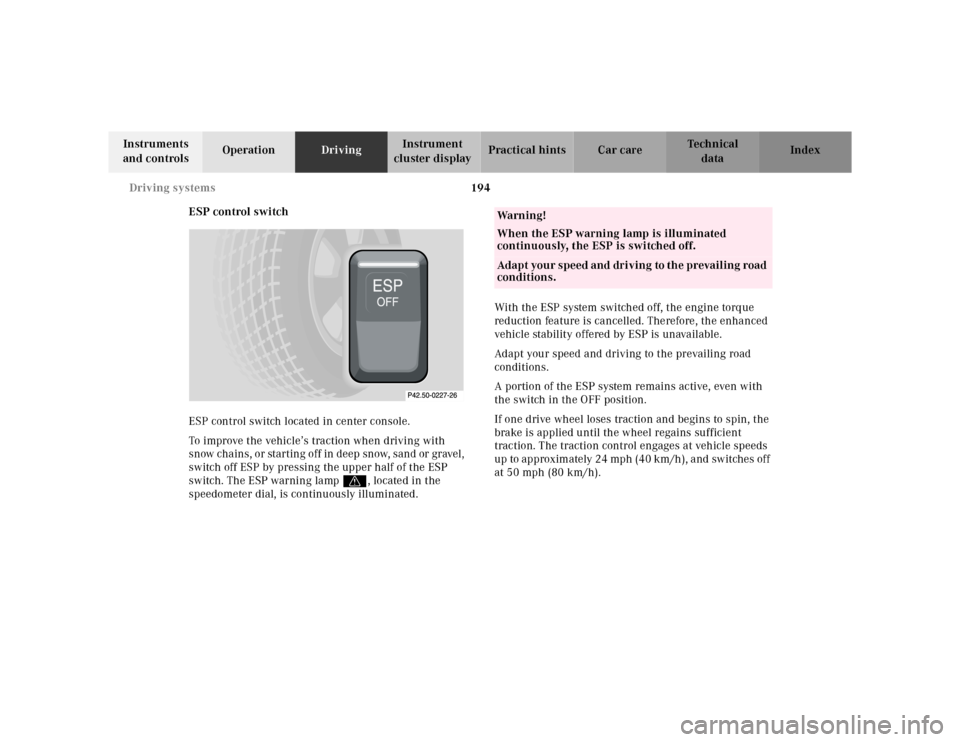
ESP control switch
ESP control switch located in center console.
To improve the vehicle’s traction when driving with
snow chains, or starting off in deep snow, sand or gravel,
switch off ESP by pressing the upper half of the ESP
switch. The ESP warning lampv, located in the
speedometer dial, is continuously illuminated.With the ESP system switched off, the engine torque
reduction feature is cancelled. Therefore, the enhanced
vehicle stability offered by ESP is unavailable.
Adapt your speed and driving to the prevailing road
conditions.
A portion of the ESP system remains active, even with
the switch in the OFF position.
If one drive wheel loses traction and begins to spin, the
brake is applied until the wheel regains sufficient
traction. The traction control engages at vehicle speeds
up to approxim ately 24 mph (40 km /h ), a nd sw itches of f
at 50 mph (80 km/h).
Wa r n i n g !
When the ESP warning lamp is illuminated
continuously, the ESP is switched off. Adapt your speed and driving to the prevailing road
conditions.
Page 231 of 302

227 Tires, Wheels
Te ch n ica l
data Instruments
and controlsOperation DrivingInstrument
cluster displayPractical hintsCar care Index Wheels
Replace rims or tires with the same designation,
manufacturer and type as shown on the original part.
See your authorized Mercedes-Benz Center for further
information.
See your authorized Mercedes-Benz Center for
information on tested and recommended rims and tires
for summer and winter operation. They can also offer
advice concerning tire service and purchase.Tire replacement
Front and rear tires should be replaced in sets.
Furthermore - in the event of tire replacement - the
spare wheel (except Sport Package version), if possible,
should be used on the rear axle. Rims and tires must be
of the correct size and type. For dimensions, see
page 274.
We recommend that you break in new tires for approx.
60 miles (100 km) at moderate speed.
It is imperative that the wheel mounting bolts be
fastened to a tightening torque of 80 ft.lb. (110 Nm)
whenever wheels are mounted.
For rim and tire specifications, see page 274.
Page 238 of 302

234 Tires, Wheels
Te ch n ica l
data Instruments
and controlsOperation DrivingInstrument
cluster displayPractical hintsCar care Index
13. Lower vehicle. Remove jack and insert jack tube
cover.
Before storing the jack, the jack arm must be
lowered almost to the base of the jack.
Store the spare wheel first and then the vehicle jack.
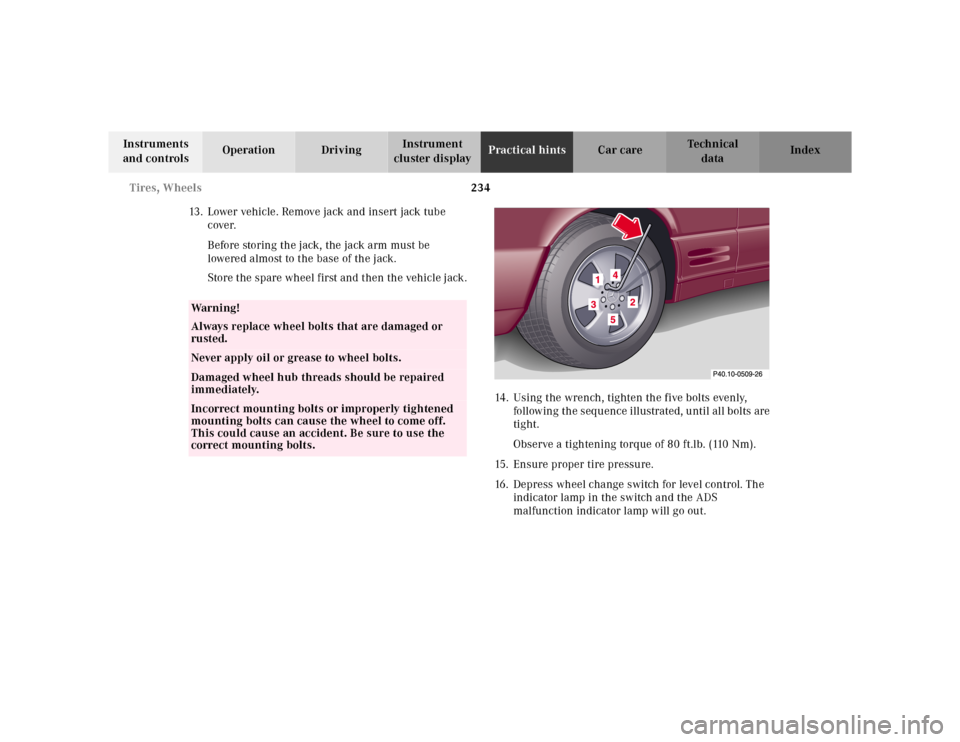
14. Using the wrench, tighten the five bolts evenly,
following the sequence illustrated, until all bolts are
tight.
Observe a tightening torque of 80 ft.lb. (110 Nm).
15. Ensure proper tire pressure.
16. Depress wheel change switch for level control. The
indicator lamp in the switch and the ADS
malfunction indicator lamp will go out.
Wa r n i n g !
Always replace wheel bolts that are damaged or
rusted.Never apply oil or grease to wheel bolts.Damaged wheel hub threads should be repaired
immediately.Incorrect mounting bolts or improperly tightened
mounting bolts can cause the wheel to come off.
This could cause an accident. Be sure to use the
correct mounting bolts.
Page 280 of 302
276 Technical data
Te ch n ica l
data Instruments
and controlsOperation DrivingInstrument
cluster displayPractical hints Car care Index
Electrical system Weights
(see certification tag)
Main dimensions Generator (alternator) 14 V/150 A
Battery 12V/100 Ah
Starter motor
SL 500:
SL 600:12 V / 1. 7 k W
12V/2.2 kW
Spark plugs
SL 500:
SL 600:
Electrode gap
Tightening torqueBosch F 8 DPER
Beru 14 FGH 8 DPUR X 2
Beru 14 FGH 8 DPUR X 2
0.039 in (1.0 mm)
15 – 22 ft.lb (20 – 30 Nm)Hardtop load max. 66 lb (30 kg)
Trunk load max. 220 lb (100 kg)
Overall vehicle length 177.1 in (4499 mm)
O ve r a l l v e h i c l e w i d t h 71.3 in ( 1812 m m )
Overall height 51.3 in (1303 mm)
Wheel base 99.0 in (2515 mm)
Track, front 60.4 in (1535 mm)
Track, rear 60.0 in (1523 mm)