Page 209 of 302

205 Malfunction and indicator lamps
Te ch n ica l
data Instruments
and controlsOperation DrivingInstrument
cluster displayPractical hints Car care Index An on-board diagnostic connector is located in the
passenger compartment near the engine hood release,
allowing the accurate identification of system
malfunctions through the readout of diagnostic trouble
codes.
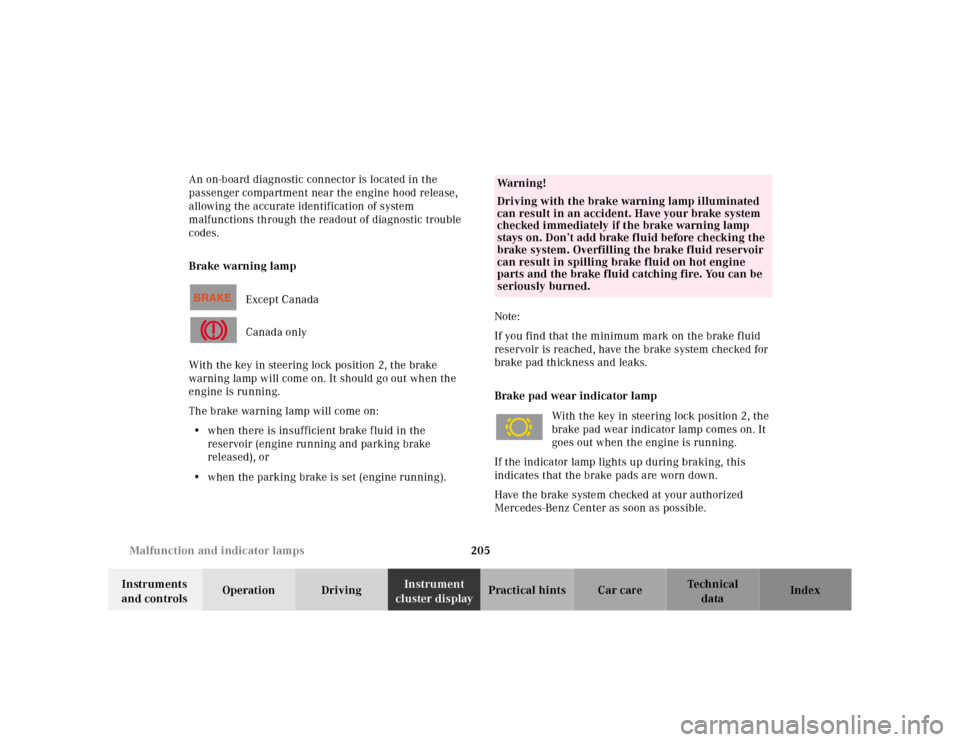
Brake warning lamp
Except Canada
Canada only
With the key in steering lock position 2, the brake
warning lamp will come on. It should go out when the
engine is running.
The brake warning lamp will come on:
• when there is insufficient brake fluid in the
reservoir (engine running and parking brake
released), or
• when the parking brake is set (engine running).Note:
If you find that the minimum mark on the brake fluid
reservoir is reached, have the brake system checked for
brake pad thickness and leaks.
Brake pad wear indicator lamp
With the key in steering lock position 2, the
brake pad wear indicator lamp comes on. It
goes out when the engine is running.
If the indicator lamp lights up during braking, this
indicates that the brake pads are worn down.
Have the brake system checked at your authorized
Mercedes-Benz Center as soon as possible.
Wa r n i n g !
Driving with the brake warning lamp illuminated
can result in an accident. Have your brake system
checked immediately if the brake warning lamp
stays on. Don’t add brake fluid before checking the
brake system. Overfilling the brake fluid reservoir
can result in spilling brake fluid on hot engine
parts and the brake fluid catching fire. You can be
seriously burned.
Page 211 of 302

207 Malfunction and indicator lamps
Te ch n ica l
data Instruments
and controlsOperation DrivingInstrument
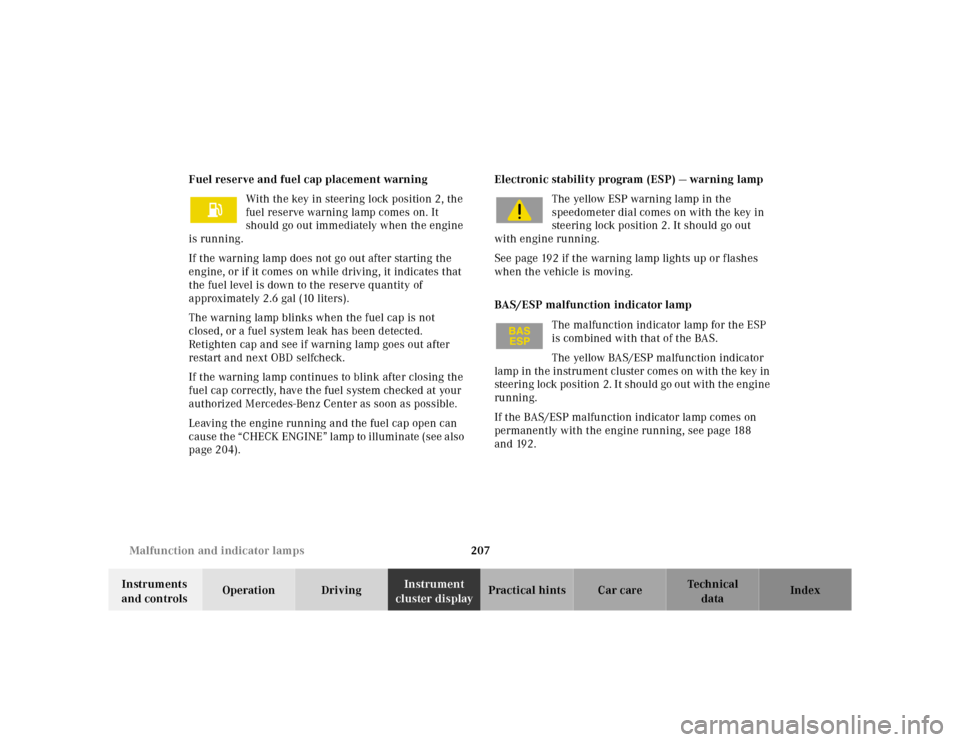
cluster displayPractical hints Car care Index Fuel reserve and fuel cap placement warning
With the key in steering lock position 2, the
fuel reserve warning lamp comes on. It
should go out immediately when the engine
is running.
If the warning lamp does not go out after starting the
engine, or if it comes on while driving, it indicates that
the fuel level is down to the reserve quantity of
approximately 2.6 gal (10 liters).
The warning lamp blinks when the fuel cap is not
closed, or a fuel system leak has been detected.
Retighten cap and see if warning lamp goes out after
restart and next OBD selfcheck.
If the warning lamp continues to blink after closing the
fuel cap correctly, have the fuel system checked at your
authorized Mercedes-Benz Center as soon as possible.
Leaving the engine running and the fuel cap open can
cause the “CHECK ENGINE” lamp to illuminate (see also
page 204).Electronic stability program (ESP) — warning lamp
The yellow ESP warning lamp in the
speedometer dial comes on with the key in
steering lock position 2. It should go out
with engine running.
See page 192 if the warning lamp lights up or flashes
when the vehicle is moving.
BAS/ESP malfunction indicator lamp
The malfunction indicator lamp for the ESP
is combined with that of the BAS.
The yellow BAS/ESP malfunction indicator
lamp in the instrument cluster comes on with the key in
steering lock position 2. It should go out with the engine
running.
If the BAS/ESP malfunction indicator lamp comes on
permanently with the engine running, see page 188
and 192.
Page 244 of 302

240 Jump starting
Te ch n ica l
data Instruments
and controlsOperation DrivingInstrument
cluster displayPractical hintsCar care Index
Proceed as follows:
1. Position the vehicle with the charged battery so that
the jumper cables will reach, but never let the
vehicles touch. Make sure the jumper cables do not
have loose or missing unsulation.
2. On both vehicles:
• Turn off engine and all lights and accessories,
except hazard warning flashers or work lights.
• Apply parking brake and shift selector lever to
position “P”.
Important!
3. Clamp one end of the first jumper cable to the
positive (+) terminal of the discharged battery and
the other end to the positive (+) terminal of the
charged battery. Make sure the cable clamps do not
touch any other metal parts.
4. Clamp one end of the second jumper cable to the
grounded negative (-) terminal of the charged
battery and the final connection to the negative (-)
terminal of the discharged battery.Important!
5. Start engine of the vehicle with the charged battery
and run at high idle. Make sure the cables are not
on or near pulleys, fans, or other parts that will
move when the engine is started. Allow the
discharged battery to charge for a few minutes. Start
engine of the disabled vehicle in the usual manner.
6. After the engine has started, remove jumper cables
by exactly reversing the above installation
sequence, starting with the last connection made
first. When removing each clamp, make sure that it
does not touch any other metal while the other end
is still attached.
Note:
If engine does not run after several unsuccessful
starting attempts, have it checked at the nearest
authorized Mercedes-Benz Center.
Excessive unburned fuel may damage the catalytic
converter.