2002 MERCEDES-BENZ S500 ESP
[x] Cancel search: ESPPage 67 of 430
64 Seats
Te ch n i c a l
data Instruments
and controlsOperationDrivingInstrument
cluster displayPractical hints Car care Index
Front seat adjustment
To operate the front power seat adjustment switches,
turn the electronic key in starter switch to position 1
or 2 (with a front door open, the respective power seats
can also be operated with the electronic key removed or
in starter switch position 0).
Wa r n i n g !
Do not adjust the driver’s seat while driving.
Adjusting the seat while driving could cause the
driver to lose control of the vehicle.Never ride in a moving vehicle with the seat back
reclined. Sitting in an excessively reclined position
can be dangerous. You could slide under the seat
belt in a collision. If you slide under it, the belt
would apply force at the abdomen or neck. That
could cause serious or fatal injuries. The seat back
and seat belts provide the best restraint when the
wearer is in an upright position and belts are
properly positioned on the body.Never place hands under seat or near any moving
parts while a seat is being adjusted.
When leaving the vehicle always remove the
electronic key from the starter switch, take the
KEYLESS-GO-card (if so equipped) with you, and
lock your vehicle. The power seats can also be operated with the
driver’s or front passenger door open. Do not leave
children unattended in the vehicle, or with access
to an unlocked vehicle. Unsupervised use of vehicle
equipment may cause serious personal injury.
Page 81 of 430
78 Seats
Te ch n i c a l
data Instruments
and controlsOperationDrivingInstrument
cluster displayPractical hints Car care Index
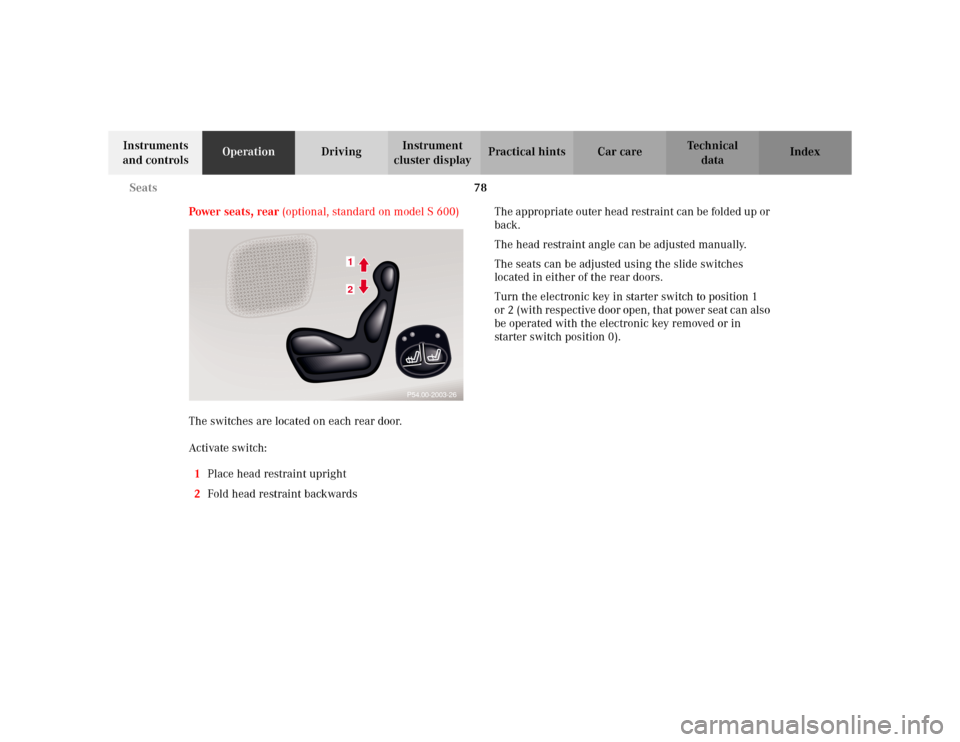
Power seats, rear (optional, standard on model S 600)
The switches are located on each rear door.
Activate switch:
1Place head restraint upright
2Fold head restraint backwardsThe appropriate outer head restraint can be folded up or
back.
The head restraint angle can be adjusted manually.
The seats can be adjusted using the slide switches
located in either of the rear doors.
Turn the electronic key in starter switch to position 1
or 2 (with respective door open, that power seat can also
be operated with the electronic key removed or in
starter switch position 0).
21
P54.00-2003-26
Page 99 of 430
96 Restraint systems
Te ch n i c a l
data Instruments
and controlsOperationDrivingInstrument
cluster displayPractical hints Car care Index
• Occupants, especially children, should never
lean their heads in the area of the door where
the side airbag inflates. This could result in
serious injuries or death should the airbag be
triggered. Always sit upright, properly use the
seatbelts and appropriate size infant or child
restraint system• Children 12 years old and under must never
ride in the front seat, except in a
Mercedes-Benz authorized BabySmart
TM
compatible child seat, which operates with the
BabySmart
TM system installed in the vehicle to
deactivate the passenger-side front airbag
when it is properly installed. Otherwise they
will be struck by the airbag when it inflates in
a crash. If this happens, serious or fatal injury
can result.
Failure to follow these instructions can result in
severe injuries to you or other occupants.
Wa r n i n g !
Accident research shows that the safest place for
children in an automobile is in the rear seat.
Should you choose to place a child 12 years old or
under in the front passenger seat of your vehicle,
you must properly use a BabySmart
TM child
restraint which will turn off the passenger side
front airbag. BabySmart
TM will not, however, turn
off the vehicle’s side impact airbag.
It should be noted that with respect to both front
and rear side impact airbags there is a possibility
for a side airbag related injury if occupants,
especially children, are not properly seated or
restrained when next to a side airbag which needs
to deploy rapidly in a side impact in order to do its
job.To help avoid the possibility of injury, please follow
these guidelines: (1) occupants, especially
children, should never place their bodies or lean
their heads in the area of the door where the side
airbag inflates. This could result in serious
injuries or death should the side airbag be
activated; (2) always sit upright, properly use the
seat belts and use an appropriately sized infant or
child restraint system for all children 12 years old
or under; and (3) always wear seat belts properly.
Page 106 of 430

103 Rear view mirrors
Te ch n i c a l
data Instruments
and controlsOperationDrivingInstrument
cluster displayPractical hints Car care Index Rear view mirrors
Inside rear view mirror
Manually adjust the inside rear view mirror.
Storing inside rear view mirror positions
The inside rear view mirror positions are stored in
memory with the seat / steering wheel / exterior rear
view mirror positions and can be recalled when
necessary. See page 108 for notes on the memory
function.
Inside rear view mirror, automatic antiglare
Antiglare mode:
With the electronic key in starter switch position 2, the
mirror reflection brightness responds to changes in
light sensitivity.
With the gear selection lever in position “R”, or with the
interior light switched on, the mirror brightness does
not respond to changes in light sensitivity.Note:
The automatic antiglare function does not react, if
incoming light is not aimed directly at sensors in the
inside rear view mirror.
The automatic antiglare function will not react for
example, if the rear window sun shade is in the raised
position.
Wa r n i n g !
In the case of an accident liquid electrolyte may
escape the mirror housing when the mirror glass
breaks.Electrolyte has an irritating effect. Do not allow the
liquid to come into contact with eyes, skin,
clothing, or respiratory system. In cases it does,
immediately flush affected area with water, and
seek medical help if necessary.
Page 110 of 430
107 Rear view mirrors
Te ch n i c a l
data Instruments
and controlsOperationDrivingInstrument
cluster displayPractical hints Car care Index Driver’s side exterior rear view mirror, antiglare
mode
Antiglare mode:
With the electronic key in starter switch position 2, the
mirror reflection brightness responds to changes in
light sensitivity.
With the gear selector lever in position “R”, or with the
interior light switched on, the mirror brightness does
not respond to changes in light sensitivity.
Note:
The automatic antiglare function does not react, if
incoming light is not aimed directly at sensors in the
inside rear view mirror.
The automatic antiglare function will not react for
example, if the rear window sun shade is in the raised
position.Important!
Electrolyte drops coming into contact with the vehicle
paint finish can only be completely removed while in
their liquid state, by applying plenty of water.
Wa r n i n g !
In the case of an accident liquid electrolyte may
escape the mirror housing when the mirror glass
breaks.Electrolyte has an irritating effect. Do not allow the
liquid to come into contact with eyes, skin,
clothing, or respiratory system. In cases it does,
immediately flush affected area with water, and
seek medical help if necessary.
Page 116 of 430
113 Instrument cluster
Te ch n i c a l
data Instruments
and controlsOperationDrivingInstrument
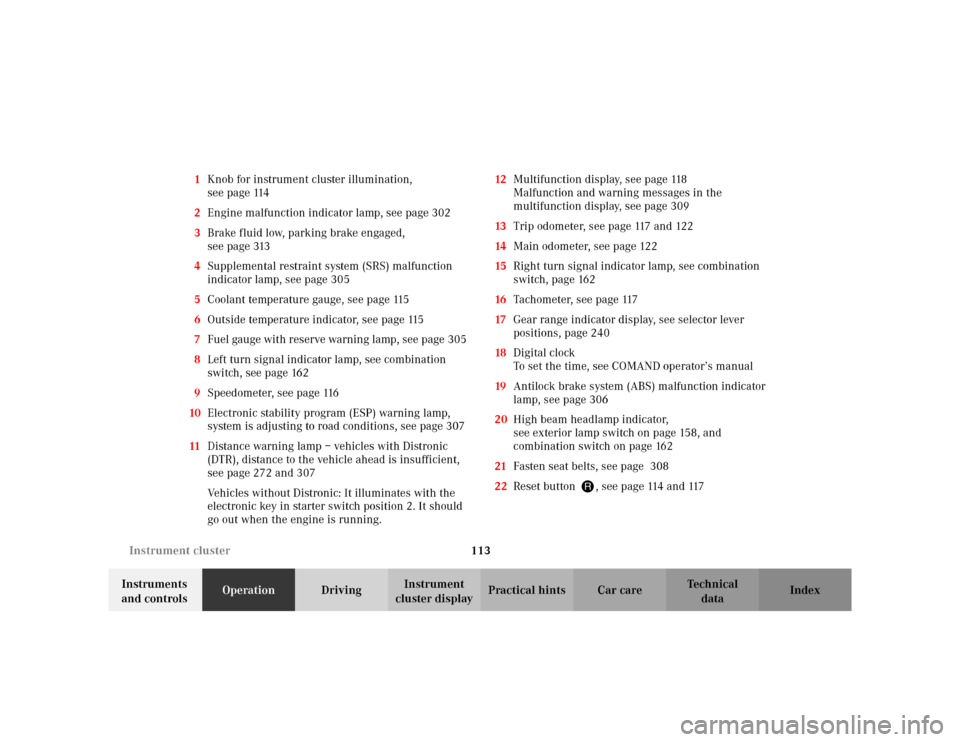
cluster displayPractical hints Car care Index 1Knob for instrument cluster illumination,
seepage114
2Engine malfunction indicator lamp, see page 302
3Brake fluid low, parking brake engaged,
seepage313
4Supplemental restraint system (SRS) malfunction
indicator lamp, see page 305
5Coolant temperature gauge, see page 115
6Outside temperature indicator, see page 115
7Fuel gauge with reserve warning lamp, see page 305
8Left turn signal indicator lamp, see combination
switch, see page 162
9Speedometer, see page 116
10Electronic stability program (ESP) warning lamp,
system is adjusting to road conditions, see page 307
11Distance warning lamp – vehicles with Distronic
(DTR), distance to the vehicle ahead is insufficient,
see page 272 and 307
Vehicles without Distronic: It illuminates with the
electronic key in starter switch position 2. It should
go out when the engine is running.12Multifunction display, see page 118
Malfunction and warning messages in the
multifunction display, see page 309
13Trip odometer, see page 117 and 122
14Main odometer, see page 122
15Right turn signal indicator lamp, see combination
switch, page 162
16Tachometer, see page 117
17Gear range indicator display, see selector lever
positions, page 240
18Digital clock
To set the time, see COMAND operator’s manual
19Antilock brake system (ABS) malfunction indicator
lamp, see page 306
20High beam headlamp indicator,
see exterior lamp switch on page 158, and
combination switch on page 162
21Fasten seat belts, see page 308
22Reset button J, see page 114 and 117
Page 140 of 430

137 Multifunction steering wheel, multifunction display
Te ch n i c a l
data Instruments
and controlsOperationDrivingInstrument
cluster displayPractical hints Car care Index Important!
Malfunction and warning messages are only indicated
for certain systems and displayed to a low level of detail.
The malfunction and warning messages are simply a
reminder with respect to the operation of certain
systems and do not replace the driver’s responsibility to
maintain the vehicle’s operating safety by having all
required maintenance and safety checks performed on
the vehicle and by bringing the vehicle to an authorized
Mercedes-Benz Center to address the malfunction and
warning messages. See page 309.
Page 162 of 430
159 Exterior lamp switch
Te ch n i c a l
data Instruments
and controlsOperationDrivingInstrument
cluster displayPractical hints Car care Index Headlamp mode
Manual headlamp mode
The low beam headlamps and parking lamps can be
switched on and off with the exterior lamp switch. For
exterior lamp switch, see page 158.
Note:
With the daytime running lamp mode activated and the
engine running, the low beam headlamps cannot be
switched off manually. See page 160 for notes on the
daytime running lamp mode.Automatic headlamp mode
Turn exterior lamp switch to positionU.
•Electronic key in starter switch position 1:
The parking lamps switch on and off automatically
depending on the brightness of the ambient light.
•Electronic key in starter switch position 2 and the
engine running:
The low beam headlamps and parking lamps are
switched on and off automatically depending on the
brightness of the ambient light.
The low beam headlamps and parking lamps can
still be switched on and off manually using the
exterior lamp switch.
Note:
With the daytime running lamp mode activated, the low
beam headlamps cannot be switched off automatically.
The headlamps will not be automatically switched on
under foggy conditions.
Front fog lamps and rear fog lamp cannot be switched
on manually with exterior lamp switch in positionU.
To activate the fog lamps turn exterior lamp switch to
positionB.
Wa r n i n g !
The driver is responsible for the operation of the
vehicle’s lights at all times. The automatic
headlamp feature is only an aid to the driver.
Switch on the vehicle lights by hand when driving
or traffic conditions require you to do so.