2002 MERCEDES-BENZ S430 ECO mode
[x] Cancel search: ECO modePage 161 of 430
158 Exterior lamp switch
Te ch n i c a l
data Instruments
and controlsOperationDrivingInstrument
cluster displayPractical hints Car care Index
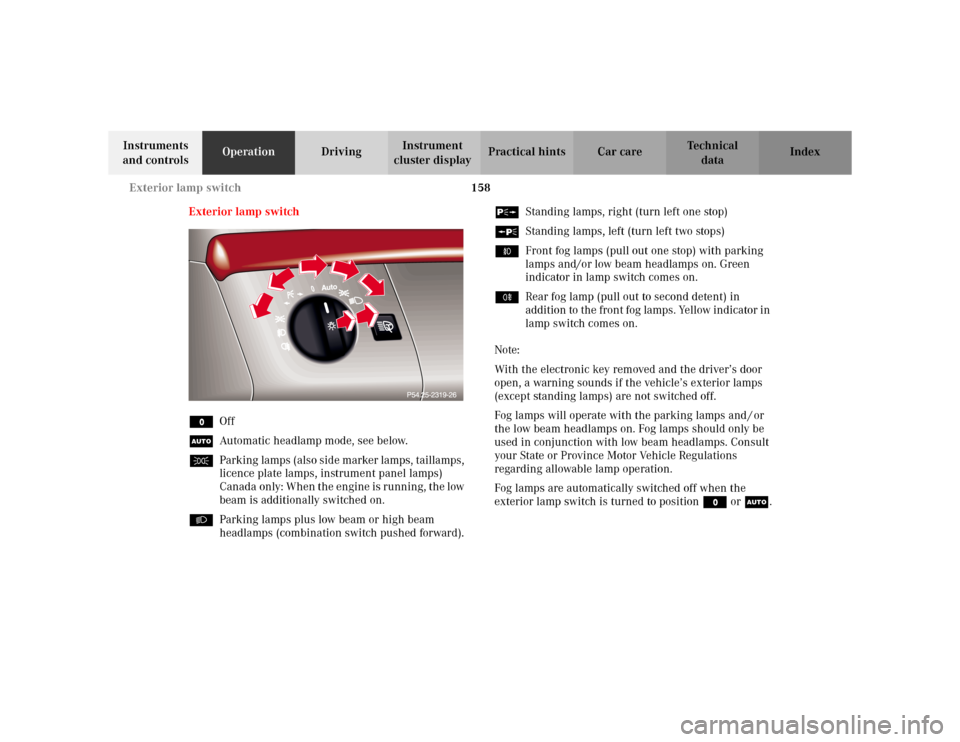
Exterior lamp switch
MOff
UAutomatic headlamp mode, see below.
CParking lamps (also side marker lamps, taillamps,
licence plate lamps, instrument panel lamps)
Canada only: When the engine is running, the low
beam is additionally switched on.
BParking lamps plus low beam or high beam
headlamps (combination switch pushed forward).ˆStanding lamps, right (turn left one stop)
‚Standing lamps, left (turn left two stops)
‡Front fog lamps (pull out one stop) with parking
lamps and/or low beam headlamps on. Green
indicator in lamp switch comes on.
†Rear fog lamp (pull out to second detent) in
addition to the front fog lamps. Yellow indicator in
lamp switch comes on.
Note:
With the electronic key removed and the driver’s door
open, a warning sounds if the vehicle’s exterior lamps
(except standing lamps) are not switched off.
Fog lamps will operate with the parking lamps and / or
the low beam headlamps on. Fog lamps should only be
used in conjunction with low beam headlamps. Consult
your State or Province Motor Vehicle Regulations
regarding allowable lamp operation.
Fog lamps are automatically switched off when the
exterior lamp switch is turned to position M or U.
Page 163 of 430

160 Exterior lamp switch
Te ch n i c a l
data Instruments
and controlsOperationDrivingInstrument
cluster displayPractical hints Car care Index
Daytime running lamp mode
Turn exterior lamp switch to positionM orU.
When the engine is running, the low beam headlamps
are automatically switched on. In low ambient light
conditions the parking lamps will also switch on.
•Canada only:
When shifting from a driving position to
position “N” or “P”, the low beam switches off
(3 minutes delay).
For nighttime driving the exterior lamp switch
should be turned to position B to permit
activation of the high beam headlamps.
•USA only:
The high beam headlamps can also be activated
when driving with the daytime running lamp mode
activated and exterior lamp switch in positionM.
To activate the daytime running lamp mode, see the
individual setting menu “LIGHTING” – “LAMP
CIRCUIT HEADLAMP” on page 142.
Note:
See page 158 for notes on the exterior lamp switch.Night security illumination
Turn exterior lamp switch to positionU.
At low ambient light conditions and with the engine
having been turned off, the exterior lamps (fog lamps
and parking lamps) switch on for added illumination.
After the last door has been closed the lamp-on time
period commences.
To activate the function see the individual setting menu
“LIGHTING” –“HEADLAMPS DELAYED SHUT-OFF” on
page 142.
The lamp-on time period for night security illumination
can be set at several different timed levels from 0 (off) to
60 seconds.
Note:
Within 10 minutes after closing the last door the night
security illumination can be reactivated by opening a
door.
If after switching the engine off, no doors are opened or
if after opening the doors they are not closed, the night
security illumination will switch off automatically after
approximately 60 seconds.
Page 164 of 430
161 Exterior lamp switch
Te ch n i c a l
data Instruments
and controlsOperationDrivingInstrument
cluster displayPractical hints Car care Index Deactivating night security illumination temporarily:
Turn the electronic key in starter switch to position 0
then to position 2 and back to position 0 again before
getting out of the vehicle. The night security
illumination will not be activated when the door is
opened.
Locator lighting
Turn exterior lamp switch to positionU.
After unlocking the vehicle with the electronic key
during darkness the fog lamps and parking lamps
switch on for a approx. 40 seconds.
The exterior lamps will be switched off when opening
the driver’s door.
To activate the function see the individual setting menu
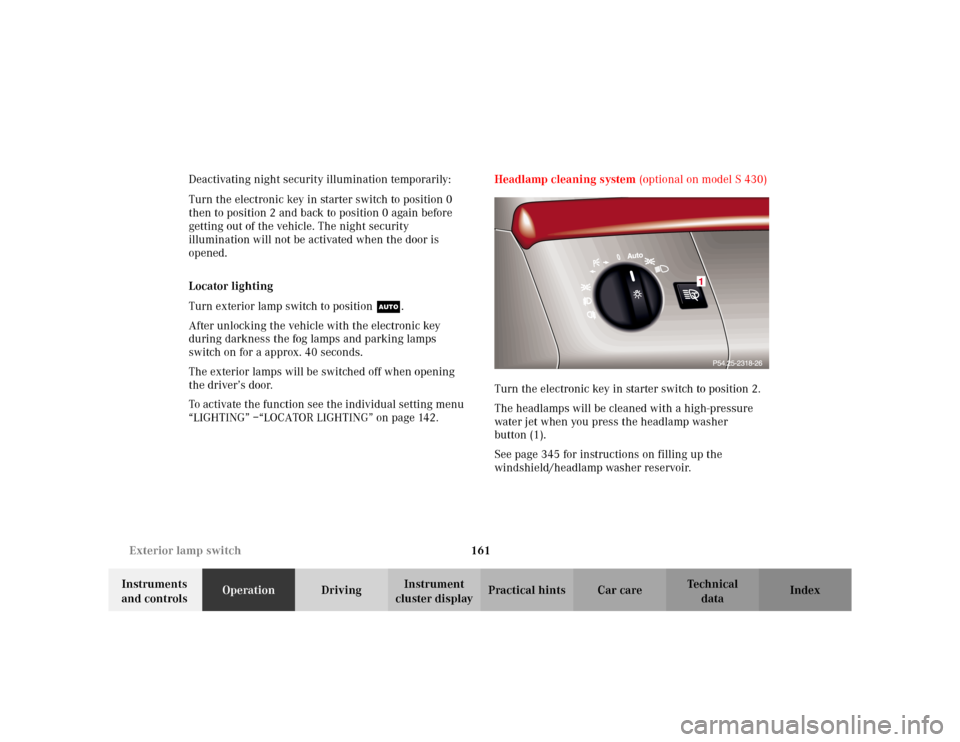
“LIGHTING” –“LOCATOR LIGHTING” on page 142.Headlamp cleaning system (optional on model S 430)
Turn the electronic key in starter switch to position 2.
The headlamps will be cleaned with a high-pressure
water jet when you press the headlamp washer
button (1).
See page 345 for instructions on filling up the
windshield/headlamp washer reservoir.
Auto
1
Page 170 of 430
167 Automatic climate control
Te ch n i c a l
data Instruments
and controlsOperationDrivingInstrument
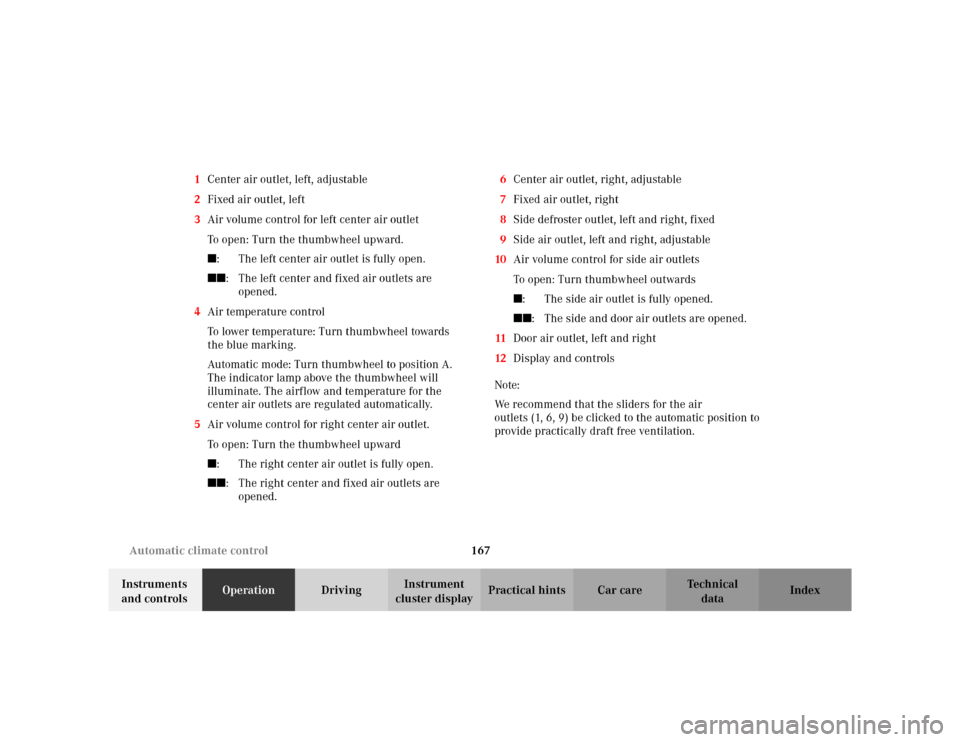
cluster displayPractical hints Car care Index 1Center air outlet, left, adjustable
2Fixed air outlet, left
3Air volume control for left center air outlet
To open: Turn the thumbwheel upward.
�: The left center air outlet is fully open.��
: The left center and fixed air outlets are
opened.
4Air temperature control
To lower temperature: Turn thumbwheel towards
the blue marking.
Automatic mode: Turn thumbwheel to position A.
The indicator lamp above the thumbwheel will
illuminate. The airflow and temperature for the
center air outlets are regulated automatically.
5Air volume control for right center air outlet.
To open: Turn the thumbwheel upward
�: The right center air outlet is fully open.��
: The right center and fixed air outlets are
opened.6Center air outlet, right, adjustable
7Fixed air outlet, right
8Side defroster outlet, left and right, fixed
9Side air outlet, left and right, adjustable
10Air volume control for side air outlets
To open: Turn thumbwheel outwards
�: The side air outlet is fully opened.��
: The side and door air outlets are opened.
11Door air outlet, left and right
12Display and controls
Note:
We recommend that the sliders for the air
outlets (1, 6, 9) be clicked to the automatic position to
provide practically draft free ventilation.
Page 171 of 430
168 Automatic climate control
Te ch n i c a l
data Instruments
and controlsOperationDrivingInstrument
cluster displayPractical hints Car care Index
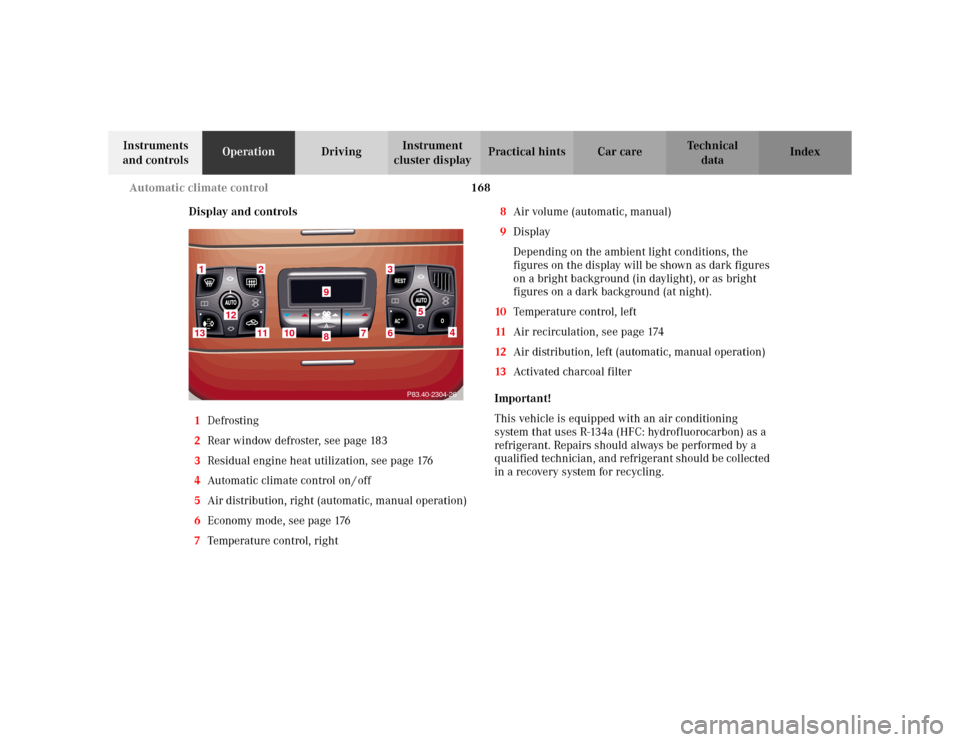
Display and controls
1Defrosting
2Rear window defroster, see page 183
3Residual engine heat utilization, see page 176
4Automatic climate control on / off
5Air distribution, right (automatic, manual operation)
6Economy mode, see page 176
7Temperature control, right8Air volume (automatic, manual)
9Display
Depending on the ambient light conditions, the
figures on the display will be shown as dark figures
on a bright background (in daylight), or as bright
figures on a dark background (at night).
10Temperature control, left
11Air recirculation, see page 174
12Air distribution, left (automatic, manual operation)
13Activated charcoal filter
Important!
This vehicle is equipped with an air conditioning
system that uses R-134a (HFC: hydrofluorocarbon) as a
refrigerant. Repairs should always be performed by a
qualified technician, and refrigerant should be collected
in a recovery system for recycling.
1
2
3
4
6
7
10
11
13
12
98
5P83.40-2304-26
Page 172 of 430

169 Automatic climate control
Te ch n i c a l
data Instruments
and controlsOperationDrivingInstrument
cluster displayPractical hints Car care Index Automatic climate control
The system is always at operational readiness, except
when manually switched off.
The automatic climate control only operates with the
engine running.
The temperature selector should be left at the desired
temperature setting. The temperature selected is
reached as quickly as possible.
The system will not heat or cool any quicker by setting a
higher or lower temperature.
The desired interior temperature and air distribution
can be selected separately for the left and right side of
the passenger compartment. Adjust the temperature
settings in small increments.
The automatic climate control removes considerable
moisture from the air during operation in the cooling
mode. It is normal for water to drip on the ground
through ducts in the underbody.
The air conditioning will not engage (no cooling) if the
economy mode AC
OFF
is selected, see page 176. Notes:
The current settings (Temperature, Air volume, AC
OFF,
Activated charcoal filter, ON / OFF) are stored for each
electronic key before the electronic key is removed from
the starter switch or when the vehicle is locked using
the KEYLESS-GO-card (vehicles with keyless-go), see
key dependent memory settings on page 111.
Do not obstruct the air flow by placing objects on the air
flow-through exhaust slots below the rear window.
Also keep the air intake grill in front of the windshield
free of snow and debris.
The storage compartment between the front seats can be
ventilated. See page 178 for notes on ventilating the
storage space under the armrest in the center console.
The air conditioner switches itself off for its own
protection if refrigerant is lost. No cooling will then take
place. Economy mode AC
OFF
cannot be switched off.
Have the air conditioner checked by a Mercedes-Benz
Center should this happen.
If the vehicle interior has been heated by direct sunlight
and is very hot, ventilate the interior (open door or
windows for a short period) before driving off.
Page 174 of 430
171 Automatic climate control
Te ch n i c a l
data Instruments
and controlsOperationDrivingInstrument
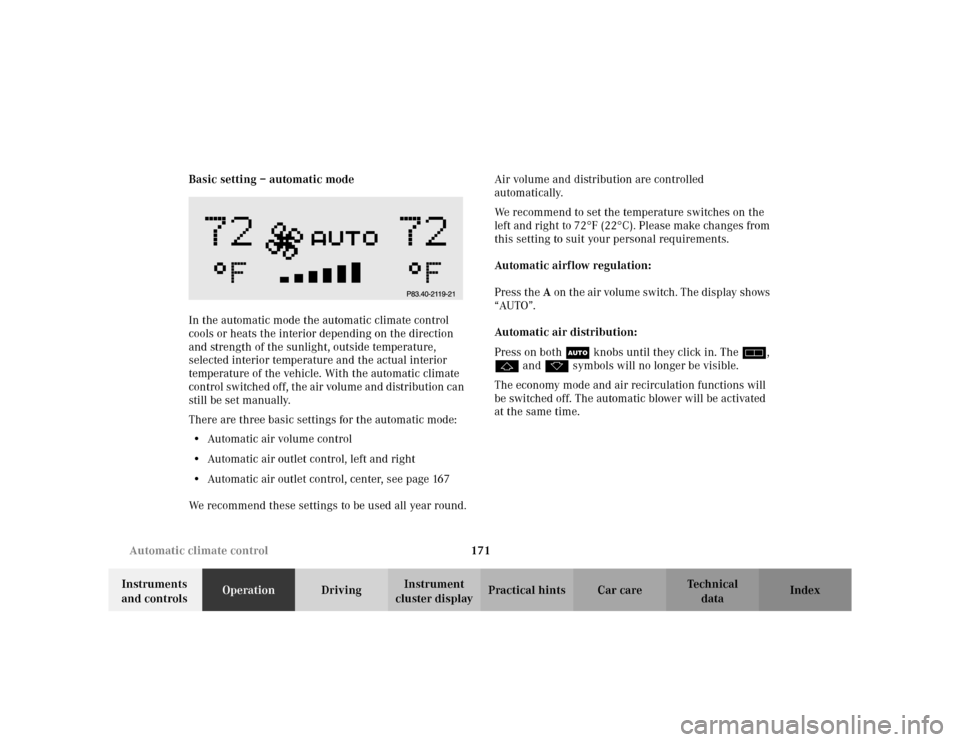
cluster displayPractical hints Car care Index Basic setting – automatic mode
In the automatic mode the automatic climate control
cools or heats the interior depending on the direction
and strength of the sunlight, outside temperature,
selected interior temperature and the actual interior
temperature of the vehicle. With the automatic climate
control switched off, the air volume and distribution can
still be set manually.
There are three basic settings for the automatic mode:
•Automatic air volume control
•Automatic air outlet control, left and right
•Automatic air outlet control, center, see page 167
We recommend these settings to be used all year round.Air volume and distribution are controlled
automatically.
We recommend to set the temperature switches on the
left and right to 72
°F (22
°C). Please make changes from
this setting to suit your personal requirements.
Automat ic airf low regu lation:
Press the A on the air volume switch. The display shows
“AUTO”.
Automatic air distribution:
Press on both U knobs until they click in. The h,
j and k symbols will no longer be visible.
The economy mode and air recirculation functions will
be switched off. The automatic blower will be activated
at the same time.
Page 176 of 430
173 Automatic climate control
Te ch n i c a l
data Instruments
and controlsOperationDrivingInstrument
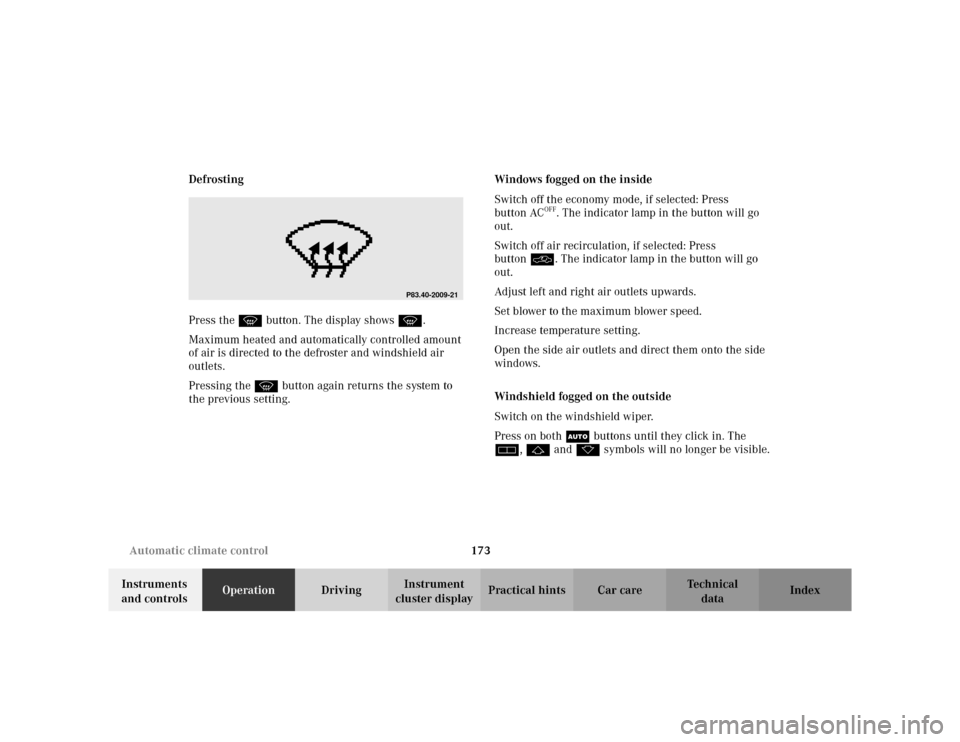
cluster displayPractical hints Car care Index Defrosting
Press the P button. The display shows P.
Maximum heated and automatically controlled amount
of air is directed to the defroster and windshield air
outlets.
Pressing the Pbutton again returns the system to
the previous setting.Windows fogged on the inside
Switch off the economy mode, if selected: Press
button AC
OFF
. The indicator lamp in the button will go
out.
Switch off air recirculation, if selected: Press
buttonO. The indicator lamp in the button will go
out.
Adjust left and right air outlets upwards.
Set blower to the maximum blower speed.
Increase temperature setting.
Open the side air outlets and direct them onto the side
windows.
Windshield fogged on the outside
Switch on the windshield wiper.
Press on both U buttons until they click in. The
h, j and k symbols will no longer be visible.
P83.40-2009-21