2002 MERCEDES-BENZ ML55AMG warning light
[x] Cancel search: warning lightPage 246 of 342

243 Malfunction and indicator lamps
Te ch n i c a l
data Instruments
and controlsOperation DrivingInstrument
cluster displayPractical hints Car care Index Electronic stability program (ESP)/Electronic
traction system (4-ETS+) — warning lamp
The yellow warning lamp in the
speedometer dial comes on with the key in
steering lock position 2. It should go out
with engine running.
See page 221 for 4-ETS+ and page 223 for ESP if the
warning lamp lights up or flashes when the vehicle is
moving.
BAS/ESP malfunction indicator lamp
The malfunction indicator lamp for the ESP
is combined with that of the BAS.
The yellow BAS / ESP malfunction indicator
lamp in the instrument cluster comes on with the key in
steering lock position 2. It should go out with the engine
running.
If the BAS / ESP malfunction indicator lamp remains
illuminated with the engine running, see page 217 for
BAS and page 223 for ESP.4-ETS+ malfunction indicator lamp
The yellow ETS malfunction indicator lamp
in the instrument cluster comes on with the
key in steering lock position 2. It should go
out with the engine running.
If the ETS malfunction indicator lamp remains
illuminated with the engine running a malfunction has
been detected, see page 221 for 4-ETS+.
LOW RANGE indicator lamp
The yellow LOW RANGE indicator lamp in
the instrument cluster comes on with the
key in steering lock position 2. With the
LOW RANGE mode deactivated it should go out with the
engine running.
With the LOW RANGE mode activated the LOW RANGE
indicator lamp is illuminated continuously.
If the indicator lamp blinks fast, one or more switching
conditions were not observed, or the LOW RANGE mode
is defective, see page 227 for LOW RANGE mode.
BAS
ESP
ETSLOW
RANGE
Page 248 of 342
245 Malfunction and indicator lamps
Te ch n i c a l
data Instruments
and controlsOperation DrivingInstrument
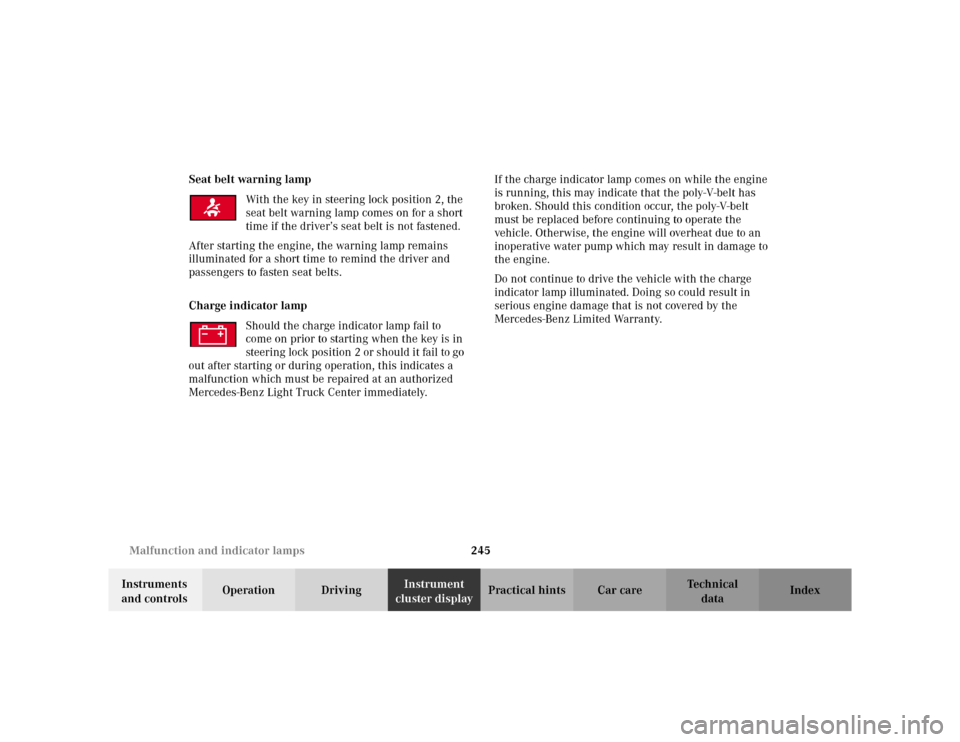
cluster displayPractical hints Car care Index Seat belt warning lamp
With the key in steering lock position 2, the
seat belt warning lamp comes on for a short
time if the driver’s seat belt is not fastened.
After starting the engine, the warning lamp remains
illuminated for a short time to remind the driver and
passengers to fasten seat belts.
Charge indicator lamp
Should the charge indicator lamp fail to
come on prior to starting when the key is in
steering lock position 2 or should it fail to go
out after starting or during operation, this indicates a
malfunction which must be repaired at an authorized
Mercedes-Benz Light Truck Center immediately.If the charge indicator lamp comes on while the engine
is running, this may indicate that the poly-V-belt has
broken. Should this condition occur, the poly-V-belt
must be replaced before continuing to operate the
vehicle. Otherwise, the engine will overheat due to an
inoperative water pump which may result in damage to
the engine.
Do not continue to drive the vehicle with the charge
indicator lamp illuminated. Doing so could result in
serious engine damage that is not covered by the
Mercedes-Benz Limited Warranty.
Page 249 of 342

246 Malfunction and indicator lamps
Te ch n i c a l
data Instruments
and controlsOperation DrivingInstrument
cluster displayPractical hints Car care Index
Low engine oil level warning lamp
With the key in steering lock position 2, the
oil level warning lamp comes on and should
go out when the engine is running.
If the warning lamp does not go out after starting the
engine, or comes on with the engine running and at
operating temperature, the engine oil level has dropped
to approximately the minimum mark on the dipstick.
When this occurs, the warning lamp will first come on
intermittently and then stay on if the oil level drops
further.
If no oil leaks are noted, continue to drive to the nearest
service station where the engine oil should be topped to
the “full” mark on the dipstick with an approved oil.
The low engine oil level warning light should not be
ignored. Extended driving with the light illuminated
could result in serious engine damage that is not
covered by the Mercedes-Benz Limited Warranty.
In addition to the warning lamp, the engine oil level
should be periodically checked with the dipstick or via
the oil level indicator in the odometer display field, for
example during a fuel stop, or before a long trip (see
engine oil level indicator on page 96 and checking
engine oil on page 255).Low engine coolant level warning
When the coolant level warning lamp comes
on while driving, then the coolant level has
dropped below the required level, or the
coolant temperature is in the red zone. If no leaks are
noticeable and the engine temperature does not
increase, continue to drive to the nearest service station
and have coolant added to the coolant system, see
page 256. If the engine temperature reaches the red
zone, move vehicle to an area which is in a safe distance
from the roadway and turn off the engine. Also see
coolant temperature gauge on page 87.
The low engine coolant level warning should not be
ignored. Extended driving with the symbol displayed
may cause serious engine damage not covered by the
Mercedes-Benz Limited Warranty.
In cases of major or frequent minor coolant loss, have
the cooling system checked at your authorized
Mercedes-Benz Light Truck Center as soon as possible.
Notes:
Do not drive without coolant in the cooling system. The
engine will overheat causing major engine damage.
Monitor the coolant temperature gauge while driving.
Page 250 of 342
247 Malfunction and indicator lamps
Te ch n i c a l
data Instruments
and controlsOperation DrivingInstrument
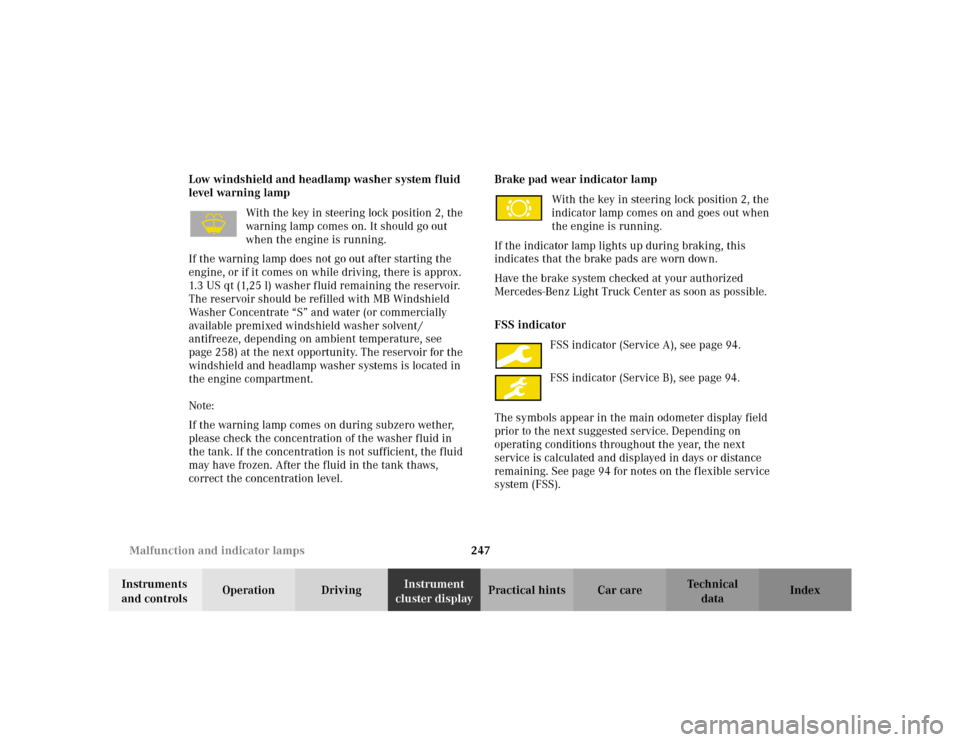
cluster displayPractical hints Car care Index Low windshield and headlamp washer system fluid
level warning lamp
With the key in steering lock position 2, the
warning lamp comes on. It should go out
when the engine is running.
If the warning lamp does not go out after starting the
engine, or if it comes on while driving, there is approx.
1.3 US qt (1,25 l) washer fluid remaining the reservoir.
The reservoir should be refilled with MB Windshield
Washer Concentrate “S” and water (or commercially
available premixed windshield washer solvent /
antifreeze, depending on ambient temperature, see
page 258) at the next opportunity. The reservoir for the
windshield and headlamp washer systems is located in
the engine compartment.
Note:
If the warning lamp comes on during subzero wether,
please check the concentration of the washer fluid in
the tank. If the concentration is not sufficient, the fluid
may have frozen. After the fluid in the tank thaws,
correct the concentration level. Brake pad wear indicator lamp
With the key in steering lock position 2, the
indicator lamp comes on and goes out when
the engine is running.
If the indicator lamp lights up during braking, this
indicates that the brake pads are worn down.
Have the brake system checked at your authorized
Mercedes-Benz Light Truck Center as soon as possible.
FSS indicator
FSS indicator (Service A), see page 94.
FSS indicator (Service B), see page 94.
The symbols appear in the main odometer display field
prior to the next suggested service. Depending on
operating conditions throughout the year, the next
service is calculated and displayed in days or distance
remaining. See page 94 for notes on the flexible service
system (FSS).
Page 279 of 342
276 Jump starting
Te ch n i c a l
data Instruments
and controlsOperation DrivingInstrument
cluster displayPractical hintsCar care Index
The battery is located on the right side in the engine
compartment.
Proceed as follows:
1. Position the vehicle with the charged battery so that
the jumper cables will reach, but never let the
vehicles touch. Make sure the jumper cables do not
have loose or missing insulation.
2. On both vehicles:
•Turn off engine and all lights and accessories,
except hazard warning flashers or work lights.
•Apply parking brake and shift selector lever to
position “P”.
Important!
3. Clamp one end of the first jumper cable to the
positive (+) under hood terminal of the discharged
battery and the other end to the positive (+) terminal
of the charged battery. Make sure the cable clamps
do not touch any other metal parts.
4. Clamp one end of the second jumper cable to the
grounded negative (–) terminal of the charged
battery and the final connection to the negative (–)
terminal of the discharged battery.Important!
5. Start engine of the vehicle with the charged battery
and run at high idle. Make sure the cables are not
on or near pulleys, fans, or other parts that move
when the engine is started. Allow the discharged
battery to charge for a few minutes. Start engine of
the disabled vehicle in the usual manner.
6. After the engine has started, remove jumper cables
by exactly reversing the above installation
sequence, starting with the last connection made
first. When removing each clamp, make sure that it
does not touch any other metal while the other end
is still attached.
Notes:
If engine does not run after several unsuccessful
starting attempts, have it checked at the nearest
authorized Mercedes-Benz Light Truck Center.
Excessive unburned fuel may damage the catalytic
converter.
Page 330 of 342
327 Index
Te ch n i c a l
data Instruments
and controlsOperation DrivingInstrument
cluster displayPractical hints Car careIndex Fuel reserve warning ....................................................242
Fuels, coolants, lubricants etc. - Capacities .............. 314
Fuse boxes ....................................................................... 251
Fuses, electrical ............................................................. 250
GGarage door opener ....................................................... 158
Gasoline
Additives .................................................................... 318
Fuel requirements .................................................... 317
Premium unleaded ................................................... 317
General notes on the central locking system .............. 25
Glass breakage sensor .................................................... 37
Glove box ......................................................................... 133HHazard warning flasher switch ................................... 104
Head restraints
Adjusting ...................................................................... 45
Front ............................................................................. 45
Front, removal ............................................................. 45
Rear ............................................................................. 143
Removal ............................................................... 45, 143Headlamp aim, adjusting ............................................. 290
Headlamp assembly
BiXenon ..................................................................... 284
Halogen ...................................................................... 283
Headlamp cleaning system ........................................... 104
Headlamp mode ................................................................99
Headlights ......................................................................... 97
Heated seats ......................................................................46
High beam
See Exterior lamp switch ...........................................97
Hood ................................................................................ 253
Hooks ............................................................................... 151
IIdentification labels ...................................................... 307
Illuminated vanity mirrors ........................................... 131
Indicator lamps in the instrument cluster ...................84
Infant and child restraint system
Installation ................................................................... 70
Infant and child restraint systems ................................68
Child seat mounts - LATCH type ..............................72
Inflating the space-saver tire ....................................... 271
Information call
See Tele Aid ............................................................... 166
Page 332 of 342
329 Index
Te ch n i c a l
data Instruments
and controlsOperation DrivingInstrument
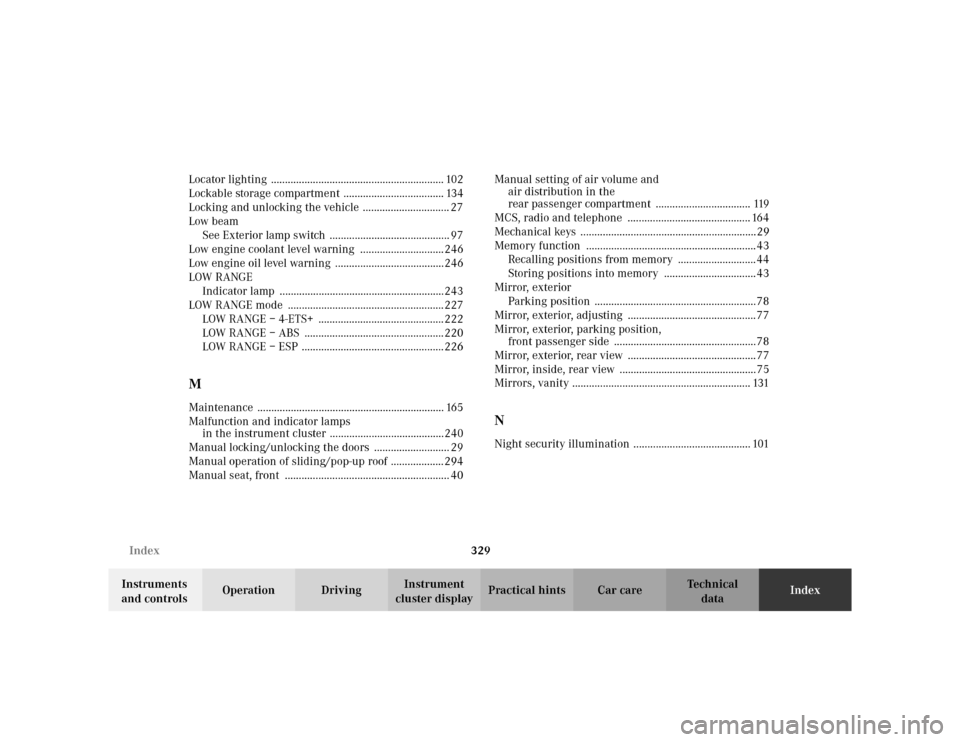
cluster displayPractical hints Car careIndex Locator lighting .............................................................. 102
Lockable storage compartment .................................... 134
Locking and unlocking the vehicle ............................... 27
Low beam
See Exterior lamp switch ........................................... 97
Low engine coolant level warning .............................. 246
Low engine oil level warning .......................................246
LOW RANGE
Indicator lamp ...........................................................243
LOW RANGE mode ........................................................ 227
LOW RANGE – 4-ETS+ ............................................. 222
LOW RANGE – ABS .................................................. 220
LOW RANGE – ESP ................................................... 226
MMaintenance ................................................................... 165
Malfunction and indicator lamps
in the instrument cluster .........................................240
Manual locking/unlocking the doors ........................... 29
Manual operation of sliding/pop-up roof ................... 294
Manual seat, front ........................................................... 40Manual setting of air volume and
air distribution in the
rear passenger compartment .................................. 119
MCS, radio and telephone ............................................ 164
Mechanical keys ...............................................................29
Memory function ............................................................. 43
Recalling positions from memory ............................ 44
Storing positions into memory ................................. 43
Mirror, exterior
Parking position ..........................................................78
Mirror, exterior, adjusting .............................................. 77
Mirror, exterior, parking position,
front passenger side ...................................................78
Mirror, exterior, rear view .............................................. 77
Mirror, inside, rear view .................................................75
Mirrors, vanity ................................................................ 131
NNight security illumination .......................................... 101
Page 337 of 342
334 Index
Te ch n i c a l
data Instruments
and controlsOperation DrivingInstrument
cluster displayPractical hints Car careIndex
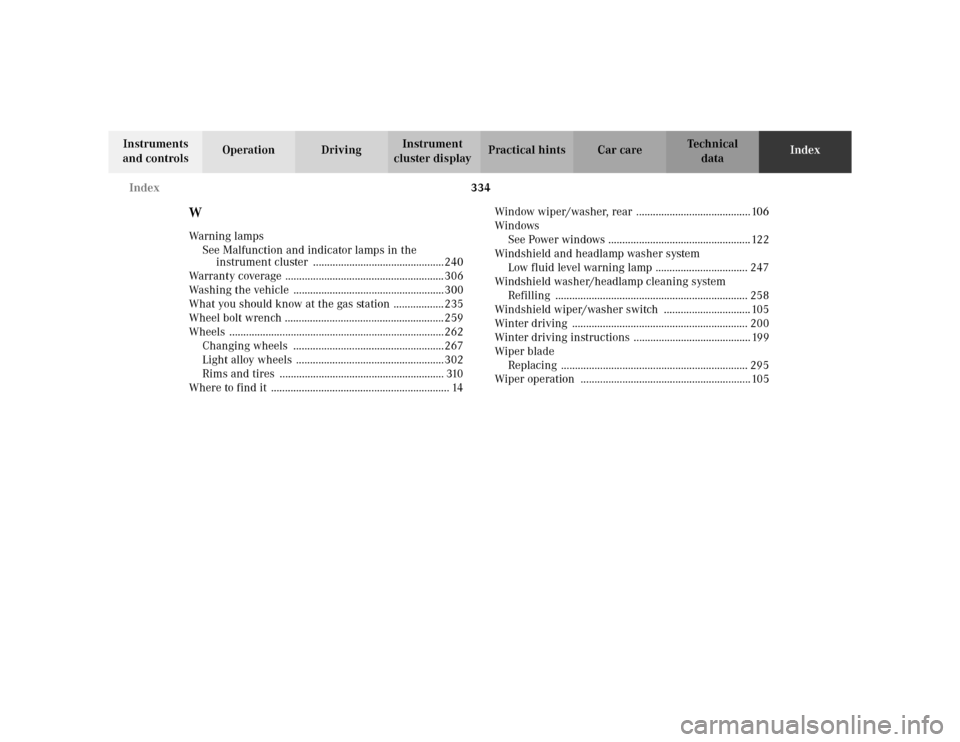
WWa r n i n g l a mp s
See Malfunction and indicator lamps in the
instrument cluster ...............................................240
Warranty coverage ......................................................... 306
Washing the vehicle ......................................................300
What you should know at the gas station .................. 235
Wheel bolt wrench ......................................................... 259
Wheels .............................................................................262
Changing wheels ......................................................267
Light alloy wheels .....................................................302
Rims and tires ........................................................... 310
Where to find it ................................................................ 14Window wiper/washer, rear ......................................... 106
Windows
See Power windows ................................................... 122
Windshield and headlamp washer system
Low fluid level warning lamp ................................. 247
Windshield washer/headlamp cleaning system
Refilling ..................................................................... 258
Windshield wiper/washer switch ............................... 105
Winter driving ............................................................... 200
Winter driving instructions .......................................... 199
Wiper blade
Replacing ................................................................... 295
Wiper operation ............................................................. 105