2002 MERCEDES-BENZ ML430 tow
[x] Cancel search: towPage 215 of 342

212 Driving instructions
Te ch n i c a l
data Instruments
and controlsOperationDrivingInstrument
cluster displayPractical hints Car care Index
Towing a trailer
There are many different laws, including speed limit
restrictions, having to do with trailer towing. Make sure
that your rig will be legal, not only for where you reside,
but also for where you will be driving. A good source for
this information can be the police or local authorities.
Before you start driving with the trailer, check the
trailer hitch, break-away switch, safety chains, electrical
connections, lighting and tires. Also adjust the mirrors
to permit unobstructed view beyond rear of trailer.
If the trailer has electric brakes, start your vehicle and
trailer moving slowly, and then apply only the trailer
brake controller by hand to be sure the brakes are
working properly.
When towing a trailer, check occasionally to be sure that
the load is secure, and that lighting and trailer brakes
(if so equipped) are functioning properly.
Always secure items in the trailer to prevent load shifts
while driving.
Take into consideration that when towing a trailer, the
handling characteristics are different and less stable
from those when operating the vehicle without a trailer.
It is important to avoid sudden maneuvers.The vehicle and trailer combination is heavier, and
therefore is limited in acceleration and climbing ability,
and requires longer stopping distances. It is more prone
to reacting to side wind gusts, and requires more
sensitive steering input.
In order to gain skill and an understanding of the
vehicle’s behavior, you should practice turning,
stopping and backing up in an area which is free from
traffic.
If possible, do not brake abruptly, but rather engage the
brake slightly at first to permit the trailer to activate its
brake. Then increase the braking force.
Caution!
If the trailer should begin to sway, reduce the vehicle’s
speed and use the brake controller by hand to straighten
out the vehicle and trailer. In no case should you
attempt to straighten out the tow vehicle and trailer by
increasing the speed or oversteering and stepping on
the brakes.
If the transmission hunts between gears on inclines,
manually shift to a lower gear (select “4”, “3”, “2”
or “1”). A lower gear and reduction of speed reduces the
chance of engine overloading and / or overheating.
Page 216 of 342
213 Driving instructions
Te ch n i c a l
data Instruments
and controlsOperationDrivingInstrument
cluster displayPractical hints Car care Index At very steep inclines, not manageable with selector
lever in position “1”, switch transfer case to LOW
RANGE, see page 227 for instructions on how to engage
LOW RANGE.
When going down a long hill, shift into a lower gear and
use the engine’s braking effect. Avoid riding the brakes,
thus overheating the vehicle and trailer brakes.
If the engine coolant rises to an extremely high
temperature (coolant temperature needle approaching
the red zone) when the air conditioner is on, turn off the
air conditioner. Engine coolant heat can be additionally
vented by opening the windows, switching the climate
control fan speed to high and setting the temperature
control to the maximum hot position.
Extreme care must be exercised since your vehicle with
a trailer will require additional passing distance ahead
than when driving without a trailer. Because your
vehicle and trailer is longer than your vehicle alone, you
will also need to go much farther ahead of the passed
vehicle before you can return to your lane.Parking
Wa r n i n g !
To reduce the risk of personal injury, or damage to
the vehicle powertrain, as a result of vehicle/trailer
movement, always:1. Keep right foot on brake pedal.2. Shift gear selector lever to position “N”.3. Have a second person place wheel chocks on
downhill side of left and right trailer wheels.4. Slowly release brake pedal and let vehicle and
trailer roll into chocks until stopped.5. Firmly depress parking brake pedal.6. Move gear selector lever to position “P”.7. On inclines turn front wheels towards the road
curb.
Page 219 of 342
216 Driving systems
Te ch n i c a l
data Instruments
and controlsOperationDrivingInstrument
cluster displayPractical hints Car care Index
Notes:
If the engine does not brake the vehicle sufficiently
while driving on a downgrade, the speed you set on the
cruise control may be exceeded. In this case the
automatic transmission shifts down (max. to 3rd gear)
to maintain the set cruise control speed by using the
engine’s braking power.
As soon as the grade eases, the automatic transmission
shifts up again dependent on the selector lever position.
Nevertheless, in some cases you may have to step on the
brake pedal to slow down. In this case the cruise control
is switched off.
Use the lever to resume the previously set speed.Transmission in LOW RANGE mode
The cruise control should not be activated during off-
road driving in the LOW RANGE mode. Doing so could
reduce driving comfort.
Trailer operation
When towing a trailer, do not allow engine speed to drop
too low on inclines. Select a lower range (“3”, “2” or “1”)
in time, depending on the degree of the incline. This is
also valid with cruise control activated.
At extreme inclines switch to LOW RANGE mode, see
page 227.
Note:
For detailed information see trailer towing on page 209.
Page 224 of 342
221 Driving systems
Te ch n i c a l
data Instruments
and controlsOperationDrivingInstrument
cluster displayPractical hints Car care Index Four-wheel electronic traction system (4-ETS+)
With the key in steering lock position 2, the yellow
4-ETS+ malfunction indicator lamp{ and the 4-ETS+
warning lampv come on and should go out when
the engine is running.
The 4-ETS+ improves vehicle’s ability to utilize available
traction, especially under slippery road conditions. The
brakes are applied to the spinning wheel and power is
transferred to the wheel(s) with traction.
The traction control engages at vehicle speeds up to
approx. 24 mph (40 km / h), and switches off at
50 mph (80 km / h).
The 4-ETS+ warning lampv, located in the
speedometer dial, starts to flash at any vehicle speed, as
soon as the tires lose traction and the wheels begin to
spin.
Important!
If the 4-ETS+ warning lampv flashes:
•During take-off, apply as little throttle as possible.
•While driving, ease up on the accelerator.
•Adapt your speed and driving to the prevailing road
conditions.4-ETS+ Control
If the yellow 4-ETS+ malfunction indicator lamp{
comes on while the 4-ETS+ warning lampv flashes,
the electronic traction system is being switched off
temporarily to prevent overheating of the drive wheel
brakes.
If the 4-ETS+ malfunction indicator lamp{ comes on
with the engine running, a malfunction has been
detected.
Have the 4-ETS+ checked at your authorized
Mercedes-Benz Light Truck Center as soon as possible.
With the ABS malfunctioning, the 4-ETS+ is also
switched off.
Caution!
If the vehicle is towed with the front axle raised (see
towing the vehicle on page 277), or when testing the
parking brake on a brake test dynamometer, the engine
must be shut off (key in steering lock position 0 or 1).
Otherwise, the electronic traction system will
immediately be engaged and will apply the rear wheel
brakes.
Page 226 of 342
223 Driving systems
Te ch n i c a l
data Instruments
and controlsOperationDrivingInstrument
cluster displayPractical hints Car care Index Electronic stability program (ESP)
The ESP enhances directional control and reduces
driving wheel spin of the vehicle under various driving
conditions.
Over-/understeering of the vehicle is counteracted by
applying brakes to the appropriate wheel to create a
countervailing vehicle movement. Engine torque is also
limited. The ESP warning lamp, located in the
speedometer dial, starts to flash when ESP is in
operation.Important!
If the ESP warning lampv flashes:
•During take-off apply as little throttle as possible.
•While driving ease up on the accelerator.
•Adapt your speed and driving to the prevailing road
conditions.
•Do not switch off the ESP.
Caution!
If the vehicle is towed with the front axle raised (see
towing the vehicle on page 277), the engine must be
shut off (key in steering lock position 0 or 1). Otherwise,
the ESP will immediately be engaged and will apply the
rear wheel brakes.
Notes:
The malfunction indicator lamp for the ESP is combined
with that of the BAS.
The yellow BAS / ESP malfunction indicator lamp¿
in the instrument cluster and the yellow ESP warning
lampv in the speedometer dial come on with the
key in steering lock position 2. They should go out with
the engine running.
Wa r n i n g !
ESP cannot prevent the natural laws of physics
from acting on the vehicle, nor can it increase the
traction afforded. The ESP cannot prevent
accidents, including those resulting from excessive
speed in turns, or aquaplaning. Only a safe,
attentive, and skillful driver can prevent accidents.
The capabilities of an ESP equipped vehicle must
never be exploited in a reckless or dangerous
manner which could jeopardize the user’s safety or
the safety of others.
Page 230 of 342
227 Driving systems
Te ch n i c a l
data Instruments
and controlsOperationDrivingInstrument
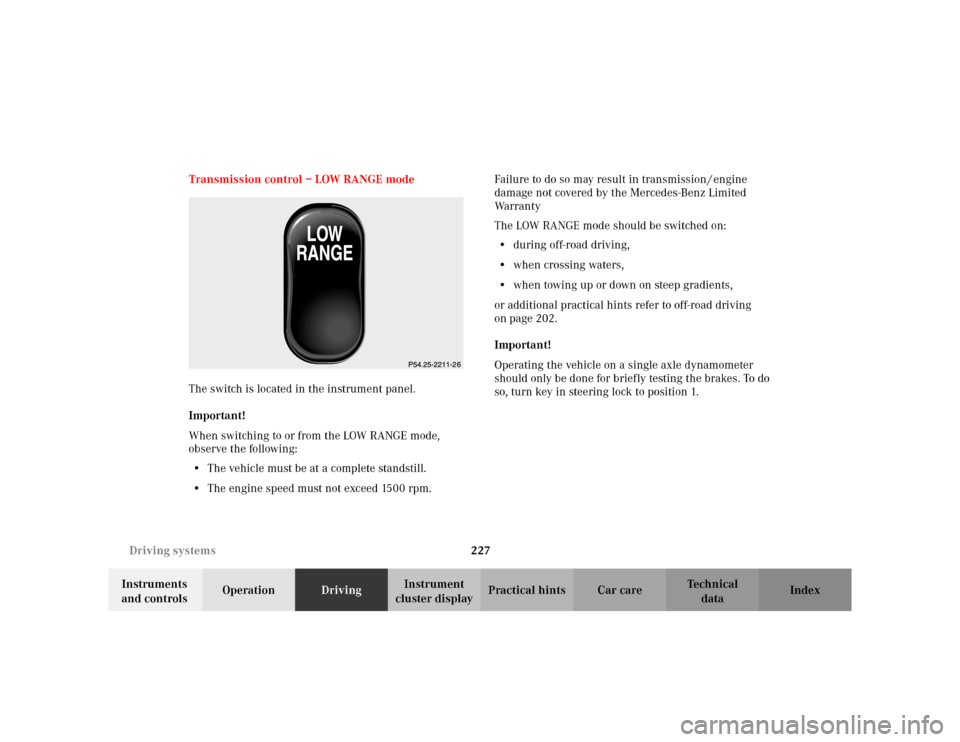
cluster displayPractical hints Car care Index Transmission control – LOW RANGE mode
The switch is located in the instrument panel.
Important!
When switching to or from the LOW RANGE mode,
observe the following:
•The vehicle must be at a complete standstill.
•The engine speed must not exceed 1500 rpm.Failure to do so may result in transmission / engine
damage not covered by the Mercedes-Benz Limited
Warranty
The LOW RANGE mode should be switched on:
•during off-road driving,
•when crossing waters,
•when towing up or down on steep gradients,
or additional practical hints refer to off-road driving
on page 202.
Important!
Operating the vehicle on a single axle dynamometer
should only be done for briefly testing the brakes. To do
so, turn key in steering lock to position 1.
Page 234 of 342
231 Parking system
Te ch n i c a l
data Instruments
and controlsOperationDrivingInstrument
cluster displayPractical hints Car care Index Sensors
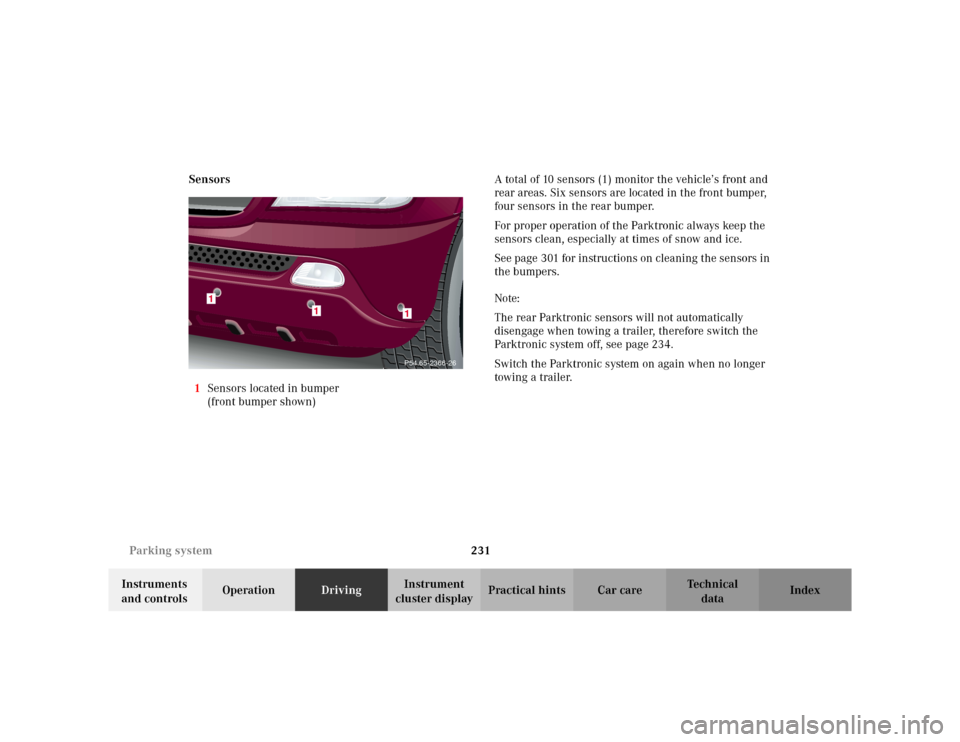
1Sensors located in bumper
(front bumper shown)A total of 10 sensors (1) monitor the vehicle’s front and
rear areas. Six sensors are located in the front bumper,
four sensors in the rear bumper.
For proper operation of the Parktronic always keep the
sensors clean, especially at times of snow and ice.
See page 301 for instructions on cleaning the sensors in
the bumpers.
Note:
The rear Parktronic sensors will not automatically
disengage when towing a trailer, therefore switch the
Parktronic system off, see page 234.
Switch the Parktronic system on again when no longer
towing a trailer.
1
1
1P54.65-2366-26
Page 252 of 342
249 Contents - Practical hints
Te ch n i c a l
data Instruments
and controlsOperation DrivingInstrument
cluster displayPractical hintsCar care Index
Practical hintsFirst aid kit .....................................250
Fuses ................................................250
Electrical outlet ..............................252
Stowing items in the vehicle ........252
Hood .................................................253
Checking engine oil level .............255
Automatic transmission
fluid level ...................................256
Engine oil consumption ................256
Coolant level ...................................256
Adding coolant ...........................257
Windshield washer/headlamp
cleaning system .........................258
Windshield and headlamp
washer fluid mixing ratio .........259Ve h i c l e j a c k ,
wheel bolt wrench and
screwdriver ............................... 259
Air pump ......................................... 261
Wheels ............................................ 262
Tire replacement ....................... 262
Rotating wheels ......................... 263
Spare wheel .................................... 264
Changing wheels ........................... 267
Tire inflation pressure ................. 272
Battery ............................................. 273
Jump starting ................................. 275
Towing the vehicle ........................ 277
Transmission selector lever,
manually unlocking .................. 281
Stranded vehicle ............................ 281Exterior lamps ................................282
Headlamp assembly ...................283
Taillamp assemblies ..................287
Adjusting headlamp aim ...............290
Remote control battery
replacement ...............................292
Synchronizing
remote control ............................293
Emergency operation of
sliding/pop-up roof ...................294
Manual release for
fuel filler flap .............................295
Replacing wiper blades .................295
Roof rack .........................................296