2002 MERCEDES-BENZ E WAGON fuse
[x] Cancel search: fusePage 7 of 354

4 Contents
Malfunction and warning
messages in the
multifunction display ...............250
DISPLAY DEFECTIVE ................ 251
BATTERY / ALTERNATOR .........252
ABS-SYSTEM ...............................253
BRAKE ASSIST ...........................253
BRAKE LINING WEAR ..............254
BRAKE FLUID .............................254
PARKING BRAKE .......................255
ENGINE FAN ...............................255
COOLANT (coolant level) ..........256
COOLANT TEMP. ........................257
LIGHTING SYSTEM ....................258
LIGHT SENSOR ...........................259
REMOVE KEY .............................259
STEERING GEAR OIL .................260
ENGINE OIL LEVEL ................... 261
WASHER FLUID ..........................262
ELEC. STABIL. PROG.
(Electronic stability program) ..263
TELE AID .....................................263
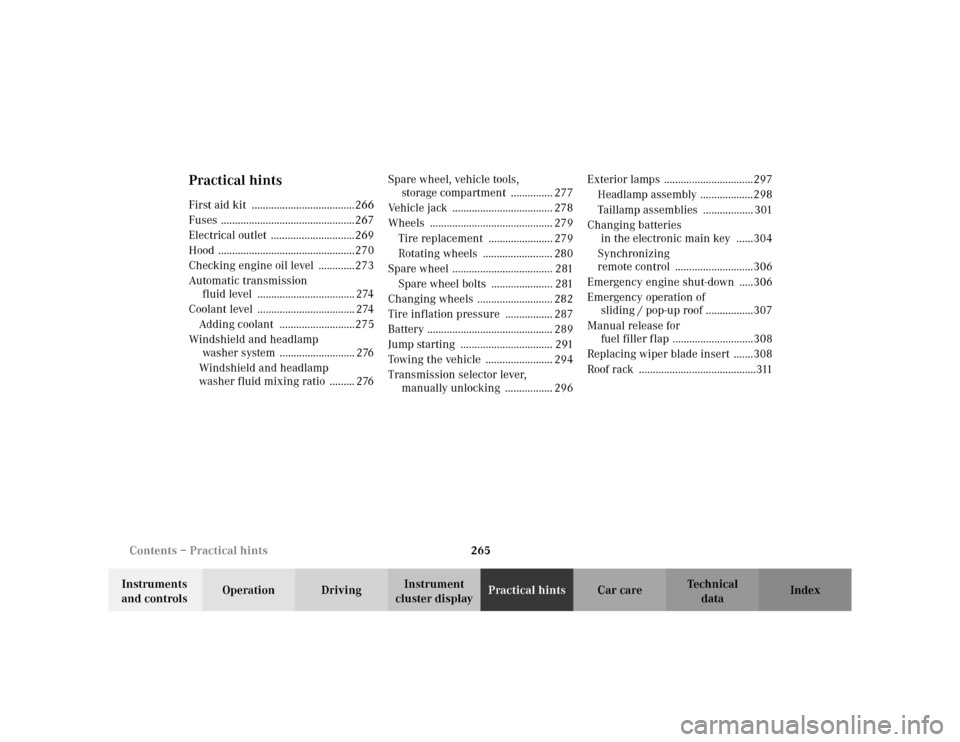
Practical hintsFirst aid kit ..................................... 266
Fuses ............................................... 267
Electrical outlet ............................. 269
Hood ................................................ 270
Checking engine oil level ............. 273
Automatic transmission
fluid level ....................................274
Coolant level ....................................274
Adding coolant ........................... 275
Windshield and headlamp
washer system ...........................276
Windshield and headlamp
washer fluid mixing ratio .........276
Spare wheel, vehicle tools,
storage compartment ............... 277
Vehicle jack .................................... 278
Wheels ............................................ 279
Tire replacement ....................... 279
Rotating wheels ......................... 280
Spare wheel .................................... 281
Spare wheel bolts ...................... 281Changing wheels ...........................282
Tire inflation pressure ..................287
Battery .............................................289
Jump starting .................................. 291
Towing the vehicle .........................294
Transmission selector lever,
manually unlocking ..................296
Exterior lamps ................................297
Headlamp assembly ...................298
Taillamp assemblies .................. 301
Changing batteries
in the electronic main key ......304
Synchronizing
remote control ............................306
Emergency engine shut-down .....306
Emergency operation of
sliding / pop-up roof .................307
Manual release for
fuel filler flap .............................308
Replacing wiper blade insert .......308
Roof rack ..........................................311
Page 261 of 354

258 Malfunction and warning messages
Te ch n i c a l
data Instruments
and controlsOperation DrivingInstrument
cluster displayPractical hints Car care Index
LIGHTING SYSTEMWhen the message appears after starting the engine, or
if it come on while driving, this indicates a failure in the
parking lamp, taillamp, stop lamp, or low beam
headlamp. See page 297 for instructions on replacing
bulbs.
If an exterior lamp fails, the message will appear only
when that lamp is switched on.
If a brake lamp fails, the message will appear when
applying the brake and stays on until the engine is
turned off.
Note:
If additional lighting is installed (e.g. auxiliary
headlamps etc.) be certain to connect into the fuse
before the failure indicator monitoring unit order to
avoid damaging the system.
Line 1 Line 2
LAMP DEFECTIVE CHECK LAMPS!
DISPLAY DEFECTIVE VISIT WORKSHOP!
Page 268 of 354

265 Contents – Practical hints
Te ch n i c a l
data Instruments
and controlsOperation DrivingInstrument
cluster displayPractical hintsCar care Index
Practical hintsFirst aid kit .....................................266
Fuses ................................................267
Electrical outlet ..............................269
Hood .................................................270
Checking engine oil level .............273
Automatic transmission
fluid level ................................... 274
Coolant level ................................... 274
Adding coolant ...........................275
Windshield and headlamp
washer system ........................... 276
Windshield and headlamp
washer fluid mixing ratio ......... 276Spare wheel, vehicle tools,
storage compartment ............... 277
Vehicle jack .................................... 278
Wheels ............................................ 279
Tire replacement ....................... 279
Rotating wheels ......................... 280
Spare wheel .................................... 281
Spare wheel bolts ...................... 281
Changing wheels ........................... 282
Tire inflation pressure ................. 287
Battery ............................................. 289
Jump starting ................................. 291
Towing the vehicle ........................ 294
Transmission selector lever,
manually unlocking ................. 296Exterior lamps ................................297
Headlamp assembly ...................298
Taillamp assemblies .................. 301
Changing batteries
in the electronic main key ......304
Synchronizing
remote control ............................306
Emergency engine shut-down .....306
Emergency operation of
sliding / pop-up roof .................307
Manual release for
fuel filler flap .............................308
Replacing wiper blade insert .......308
Roof rack ..........................................311
Page 270 of 354

267 Fuses
Te ch n i c a l
data Instruments
and controlsOperation DrivingInstrument
cluster displayPractical hintsCar care Index Fuses
Before replacing a blown fuse, determine the cause of
the short circuit.
Spare fuses are supplied inside the main fuse box.
Observe amperage and color of fuse.
A special fuse puller is supplied with the vehicle tools.
Always use a new fuse for replacement. Never attempt to
repair or bridge a blown fuse.
A fuse chart can be found inside the corresponding fuse
box cover.
1Main fuses box in engine compartment
To gain access to the main fuse box (1), release clamp
(arrow), lift the fuse box cover up and remove it.
To close the main fuse box, engage right end of cover
and secure with clamp.
P54.15-2068-26
1
Page 271 of 354

268 Fuses
Te ch n i c a l
data Instruments
and controlsOperation DrivingInstrument
cluster displayPractical hintsCar care Index
2Lock for auxiliary fuse box and battery cover
3Fuse box and battery cover4Auxiliary fuse box below right rear bench seat
To gain access, fold seat cushion forward. Rotate lock (2)
counterclockwise and remove cover.
Note:
When reinstalling cover (3) make certain that tabs
(arrows) are inserted.
4
P54.15-2128-26
Page 272 of 354

269 Fuses
Te ch n i c a l
data Instruments
and controlsOperation DrivingInstrument
cluster displayPractical hintsCar care Index 5Auxiliary fuse box to left of exterior lamp switch
To again access, open door, pry off cover and
remove.Electrical outlet
The electrical outlet is located in the rear compartment
on the left side.
To gain access, flip cover up. If locked, first unlock by
inserting for instance a small coin and turning it to the
left.
Note:
The cover is lockable by inserting, for instance a small
coin and turning it to the right.
Maximum capacity: 180 W.
5
P82.00-2029-26
Page 309 of 354

306 Electronic key
Te ch n i c a l
data Instruments
and controlsOperation DrivingInstrument
cluster displayPractical hintsCar care Index
Important!
Batteries contain materials that can harm the
environment if disposed of improperly. Recycling of
batteries is the preferred method of disposal. For
disposal, please follow manufacturer’s recommendation
on battery package.
Replacement Battery:
Lithium, type CR 2025 or equivalent.
Synchronizing remote control
The remote control may have to be resynchronized, if
the vehicle cannot be locked or unlocked.
To synchronize insert electronic key in starter switch.
The remote control should once again be operational.Emergency engine shut-down
If the engine can no longer be stopped using the
electronic key, the engine can be turned off by removing
two fuses.
For easy removal of fuses use the fuse extractor
(supplied with vehicle tool kit) to pull out the fuses
marked on the fuse chart as “ENGINE EMERGENCY
OFF”.
The fuse chart is also located in the vehicle tool kit,
seepage277.
For fuses see page 267.
Page 319 of 354

316 Cleaning and care of the vehicle
Te ch n i c a l
data Instruments
and controlsOperation DrivingInstrument
cluster displayPractical hintsCar careIndex
Engine cleaning
Prior to cleaning the engine compartment make sure to
protect electrical components and connectors from the
intrusion of water and cleaning agents.
Corrosion protection, such as MB Anticorrosion Wax
should be applied to the engine compartment after
every engine cleaning. Before applying, all control
linkage bushings and joints should be lubricated. The
poly-V-belt and all pulleys should be protected from any
wax.
Ve h i c l e w a s h i n g
Do not use hot water or wash your vehicle in direct
sunlight. Use only a mild car wash detergent, such as
Mercedes-Benz approved Car Shampoo.
Thoroughly spray the vehicle with a diffused jet of
water. Direct only a very weak spray towards the
ventilation intake. Use plenty of water and rinse the
sponge and chamois frequently.
Rinse with clear water and thoroughly wipe dry with a
chamois. Do not allow cleaning agents to dry on the
finish.Due to the width of the vehicle, prior to running the
vehicle through an automatic car wash, fold back the
outside mirrors to prevent them from getting damaged.
In the winter, thoroughly remove all traces of road salt
as soon as possible.
When washing the underbody, do not forget to clean the
inner sides of the wheels.
Ornamental moldings
For regular cleaning and care of very dirty chrome-
plated parts, use a chrome cleaner.
Headlamps, taillamps, turn signal lenses
Use a mild car wash detergent, such as Mercedes-Benz
approved Car Shampoo, with plenty of water.
To prevent scratches, never apply strong force and use
only a soft, non-scratchy cloth when cleaning the lenses.
Do not attempt to wipe dirty lenses with a dry cloth or
sponge.