2002 MERCEDES-BENZ CLK55AMG CABRIOLET warning
[x] Cancel search: warningPage 248 of 346

245 Malfunction and warning messages
Technical
data Instruments
and controlsOperation DrivingInstrument
cluster displayPractical hints Car care Index ELEC. STABIL. PROG.
(Electronic stability program)
1 A malfunction has been detected in the system. Pressing the
accelerator pedal will require greater effort. Only partial engine
output will be available.
2 This message may be displayed if the power supply was
interrupted (battery disconnected or empty).
3 Synchronize ESP. See page 221
REMOVE KEY
This message plus an audible alarm indicate that the
electronic key is in steering lock position 0 or 1, and the
driver’s door is open.
Line 1 Line 2
DISPLAY DEFECTIVE VISIT WORKSHOP!
ELEC. STABIL. PROG. VISIT WORKSHOP!
1, 2, 3
Line 1 Line 2
REMOVE KEY!
P54.30-3573-21
J_A208.book Seite 245 Donnerstag, 31. Mai 2001 9:35 09
Page 249 of 346
246 Malfunction and warning messages
Technical
data Instruments
and controlsOperation DrivingInstrument
cluster displayPractical hints Car care Index
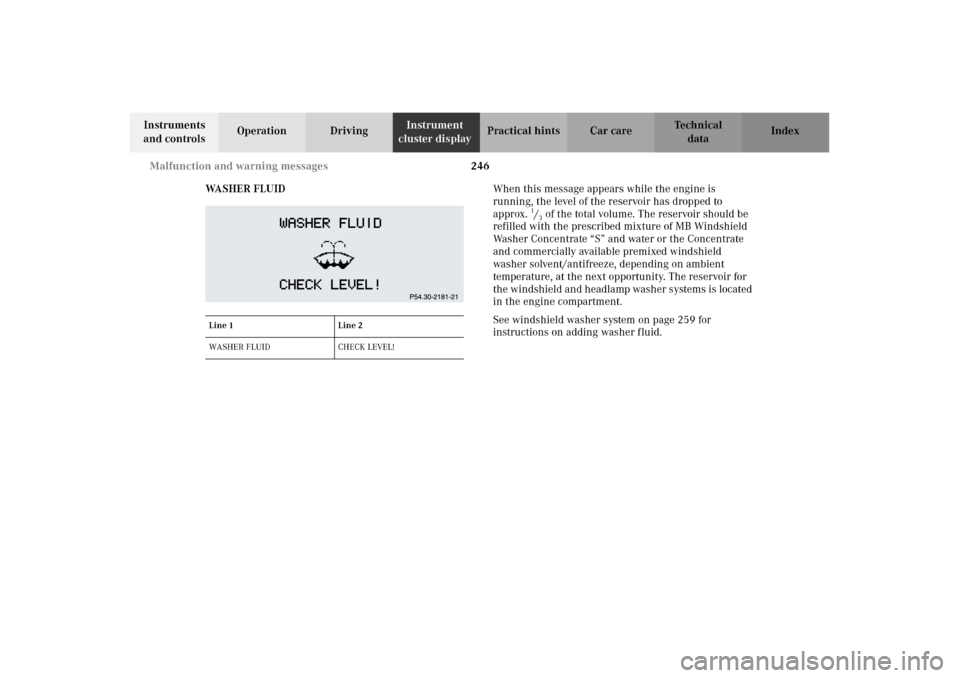
WA S H E R F L U I DWhen this message appears while the engine is
running, the level of the reservoir has dropped to
approx.
1/3 of the total volume. The reservoir should be
refilled with the prescribed mixture of MB Windshield
Washer Concentrate “S” and water or the Concentrate
and commercially available premixed windshield
washer solvent/antifreeze, depending on ambient
temperature, at the next opportunity. The reservoir for
the windshield and headlamp washer systems is located
in the engine compartment.
See windshield washer system on page 259 for
instructions on adding washer fluid.
Line 1 Line 2
WASHER FLUID CHECK LEVEL!
J_A208.book Seite 246 Donnerstag, 31. Mai 2001 9:35 09
Page 250 of 346

247 Malfunction and warning messages
Technical
data Instruments
and controlsOperation DrivingInstrument
cluster displayPractical hints Car care Index TELE AID
1 When this message appears, a malfunction has been detected in
the Tele Aid system. In some cases it may not be possible to initiate
an Emergency, Roadside Assistance or Information call.
See page 182 for notes on the Tele Aid.If a malfunction is indicated as outlined above, have the
system checked at the nearest Mercedes-Benz Center as
soon as possible.Line 1 Line 2
TELE AID VISIT WORKSHOP!
1
J_A208.book Seite 247 Donnerstag, 31. Mai 2001 9:35 09
Page 259 of 346

256 Engine compartment
Technical
data Instruments
and controlsOperation DrivingInstrument
cluster displayPractical hintsCar care Index
Checking engine oil level (CLK 320 shown)
1Oil dipstick
2Oil filler cap
To check the engine oil level, park vehicle on level
ground, with engine at normal operational temperature.
Check engine oil level approximately 5 minutes after
stopping the engine, allowing for the oil to return to the
oil pan.Wipe oil dipstick clean prior to checking the engine oil
level. Fully insert dipstick in tube, and remove after
three seconds to obtain accurate reading.
Oil level must be between the
lower (min) and upper (max) mark of
the dipstick.
Fill quantity between upper and lower dipstick marking
level is approximately 2.0 US qt (2.0 l).
Do not overfill the engine.
Excessive oil must be drained
or siphoned. It could cause damage to engine and
catalytic converter not covered by the Mercedes-Benz
Limited Warranty.
See malfunction and warning messages on page 234 if
an engine oil level display appears on the multifunction
display when the engine is running.
Note:
See page 112 for engine oil level indicator.
Mercedes-Benz
Mercedes-Benz
2
1
J_A208.book Seite 256 Donnerstag, 31. Mai 2001 9:35 09
Page 269 of 346

266 Tires, Wheels
Technical
data Instruments
and controlsOperation DrivingInstrument
cluster displayPractical hintsCar care Index
Changing wheelsMove vehicle to a level area which is a safe distance
from the roadway.
1. Set parking brake and turn on hazard warning
flasher.
2. Move selector lever to position “P” and turn off
engine.
3. Prevent vehicle from rolling away by blocking
wheels with wheel chocks (not supplied with
vehicle) or sizable wood block or stone. When
changing a wheel on a hill, place chocks on the
downhill side blocking both wheels of the other
axle. On a level road, place one chock in front of and
one behind the wheel that is diagonally opposite to
the wheel being changed.
Wa r n i n g !
The jack is designed exclusively for jacking up the
vehicle at the jack tubes built into either side of the
vehicle. To help avoid personal injury, use the jack
only to lift the vehicle during a wheel change.
Never get beneath the vehicle while it is supported
by t he j ack . Keep han ds a nd feet away from t he a rea
under the lifted vehicle. Always firmly set parking
brake and block wheels before raising vehicle with
jack.Do n ot d is engage parki n g brake w hil e t he vehi c le i s
raised. Be certain that the jack is always vertical
when in use, especially on hills. Always try to use
the jack on level surface. Be sure that the jack arm
is fully inserted in the jack tube. Always lower the
vehicle onto sufficient capacity jackstands before
working under the vehicle.
Wa r n i n g !
Before working on the vehicle, e.g. when changing
wheels, the roll bar should be raised with the
switch, and the electronic key be removed from the
steering lock, to prevent possible injury.
J_A208.book Seite 266 Donnerstag, 31. Mai 2001 9:35 09
Page 278 of 346
275 Jump starting
Technical
data Instruments
and controlsOperation DrivingInstrument
cluster displayPractical hintsCar care Index Proceed as follows:
1. Position the vehicle with the charged battery so that
the jumper cables will reach, but never let the
vehicles touch. Make sure the jumper cables do not
have loose or missing insulation.
2. On both vehicles:
•Turn off engine and all lights and accessories,
except hazard warning flashers or work lights.
•Apply parking brake and shift selector lever to
position “P”.
Important!
3. Clamp one end of the first jumper cable to the
positive (+) under hood terminal of the discharged
battery and the other end to the positive (+) terminal
of the charged battery. Make sure the cable clamps
do not touch any other metal parts.
4. Clamp one end of the second jumper cable to the
grounded negative (–) terminal of the charged
battery and the final connection to the negative (–)
terminal (2) of the discharged battery.Important!
5. Start engine of the vehicle with the charged battery
and run at high idle. Make sure the cables are not
on or near pulleys, fans, or other parts that move
when the engine is started. Allow the discharged
battery to charge for a few minutes. Start engine of
the disabled vehicle in the usual manner.
6. After the engine has started, remove jumper cables
by exactly reversing the above installation
sequence, starting with the last connection made
first. When removing each clamp, make sure that it
does not touch any other metal while the other end
is still attached.
Notes:
If engine does not run after several unsuccessful
starting attempts, have it checked at the nearest
authorized Mercedes-Benz Center.
Excessive unburned fuel may damage the catalytic
converter.
J_A208.book Seite 275 Donnerstag, 31. Mai 2001 9:35 09
Page 281 of 346
278 Towing
Technical
data Instruments
and controlsOperation DrivingInstrument
cluster displayPractical hintsCar care Index
We recommend that the vehicle be transported using
flat bed equipment. This method is preferable to other
types of towing.
The vehicle may be towed with all wheels on the ground
and the selector lever in position “N” for distances up to
30 miles (50 km) and at a speed not to exceed 30 mph
(50 km/h). The electronic key must be in steering lock
position 2.
To be certain to avoid a possibility of damage to the
transmission, however, we recommend the drive shaft
be disconnected at the rear axle drive flange for any
towing beyond a short tow to a nearby garage.
Do not tow with sling-type equipment. Towing with
sling-type equipment over bumpy roads will damage
radiator and supports.
Use wheel lift, dolly, or flat bed equipment, with
electronic key in steering lock turned to position 0.Note:
To signal turns while being towed with hazard warning
flasher in use, turn electronic key in steering lock to
position 2 and activate combination switch for left or
right turn signal in usual manner – only the selected
turn signal will operate.
Upon canceling the turn signal, the hazard warning
flasher will operate again.
Caution!
If the vehicle is towed with the front axle raised, the
engine must be shut off (electronic key in steering lock
position 0 or 1). Otherwise, the ESP will immediately be
engaged and will apply the rear wheel brakes. Switch off
the tow-away alarm (see page 44) as well as the ESP (see
page 222).
Wa r n i n g !
With the engine not running, there is no power
assistance for the braking and steering systems. In
this case, it is important to keep in mind that a
considerably higher degree of effort is necessary to
brake and steer the vehicle.
J_A208.book Seite 278 Donnerstag, 31. Mai 2001 9:35 09
Page 329 of 346

326 Index
Technical
data Instruments
and controlsOperation DrivingInstrument
cluster displayPractical hints Car careIndex
Index
AABS (Antilock brake system) ....................................... 218
Malfunction indicator lamp ..................................... 231
ABS-SYSTEM - malfunction
and warning messages ............................................ 237
Adjusting headlamp aim ...............................................285
Adjusting telescoping steering column ........................ 77
Air conditioner refrigerant ........................................... 320
Air distribution .............................................................. 124
Air volume ...................................................................... 124
Airbag deactivation system ............................................ 64
Airbag OFF indicator lamp ........................................... 232
Airbags .............................................................................. 67
Alarm system ............................................................. 43, 44
Antenna
Removal ...................................................................... 298
Anticorrosion/antifreeze .................... 212, 258, 318, 323
Antiglare night position ................................................. 78
Antilock brake system (ABS) ....................................... 218
Malfunction indicator lamp ..................................... 231
Antitheft alarm system ................................................... 43
Aquaplaning ...................................................................209Armrest, rear bench ....................................................... 156
Ashtray
Center console, front ................................................ 154
Audio system ..................................................................127
Anti-theft system .......................................................129
Button and soft key operation ................................. 130
Cassette mode ............................................................ 135
CD changer ................................................................. 140
CD mode ..................................................................... 139
Operating and display elements .............................128
Operating safety ........................................................127
Operation .................................................................... 131
Operation – audio and telephone ........................... 127
Radio mode ................................................................ 133
Telephone operation ................................................. 143
Audio systems ................................................................... 93
Cassette player ............................................................ 95
CD player ......................................................................94
Radio .............................................................................93
Automatic central locking .............................................. 36
Automatic climate control ............................................ 120
Air distribution .......................................................... 124
Air recirculation ........................................................125
Air volume ..................................................................124
Basic setting ............................................................... 122
Defogging windows ................................................... 123
J_A208.book Seite 326 Donnerstag, 31. Mai 2001 9:35 09