Page 126 of 346
123 Automatic climate control
Technical
data Instruments
and controlsOperationDrivingInstrument
cluster displayPractical hints Car care Index Economy
The function of this setting corresponds to the
automatic mode. However, because the air conditioning
compressor will not engage (fuel savings), it is not
possible to air condition in this setting.
Press S button to activate.
Press S button once again to return to previous
setting.
Special settings (use only for short duration)
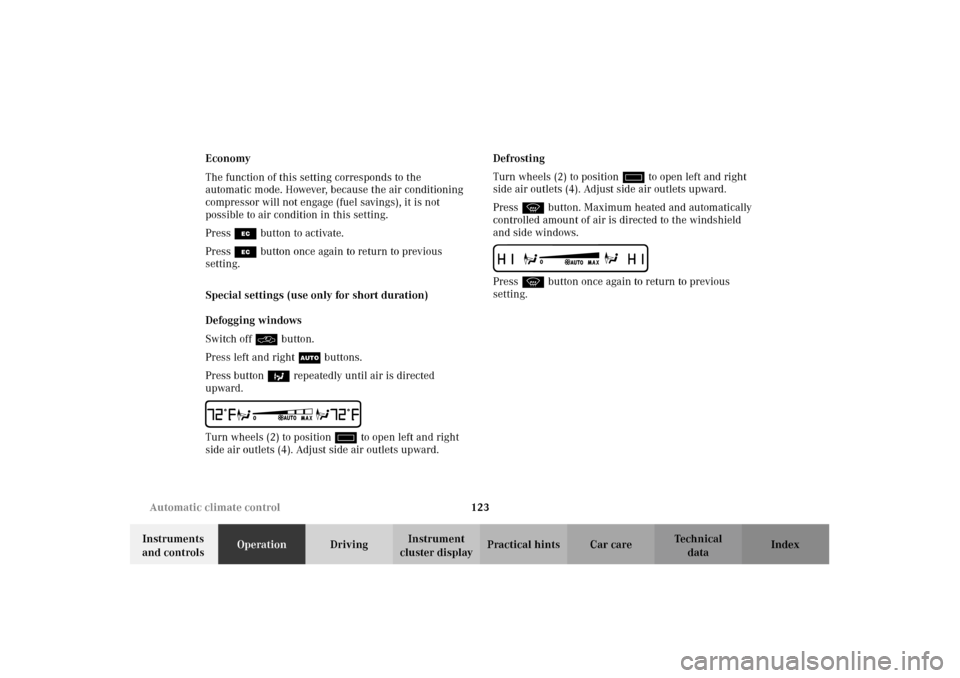
Defogging windows
Switch off O button.
Press left and right U buttons.
Press button b repeatedly until air is directed
upward.
UTurn wheels (2) to position i to open left and right
side air outlets (4). Adjust side air outlets upward.Defrosting
Turn wheels (2) to position i to open left and right
side air outlets (4). Adjust side air outlets upward.
Press P button. Maximum heated and automatically
controlled amount of air is directed to the windshield
and side windows.
PPress P button once again to return to previous
setting.
J_A208.book Seite 123 Donnerstag, 31. Mai 2001 9:35 09
Page 137 of 346
134 Audio system
Technical
data Instruments
and controlsOperationDrivingInstrument
cluster displayPractical hints Car care Index
Scan tuning
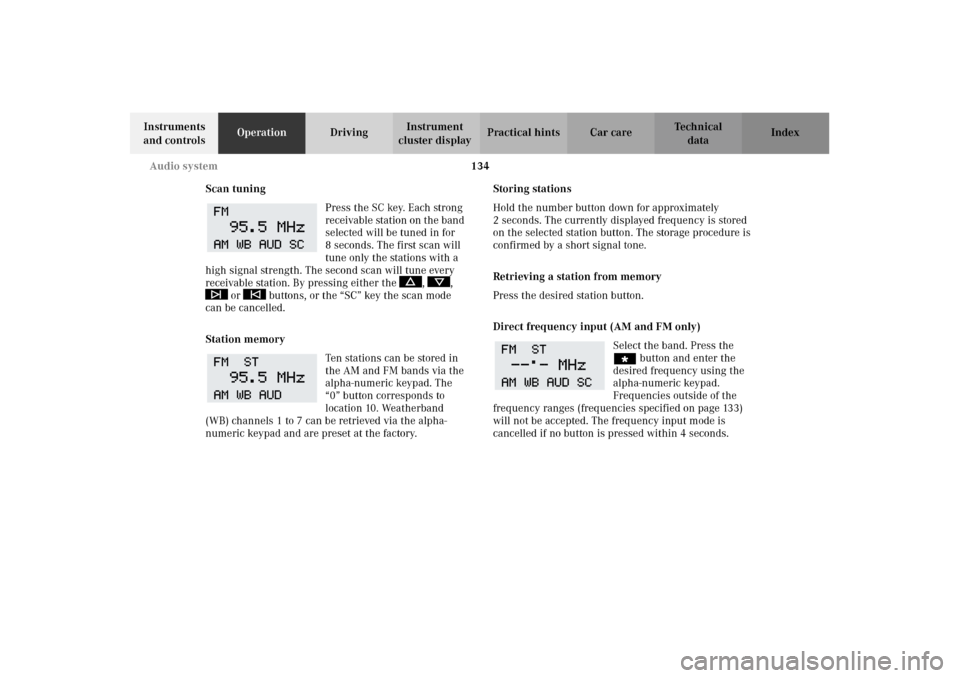
Press the SC key. Each strong
receivable station on the band
selected will be tuned in for
8 seconds. The first scan will
tune only the stations with a
high signal strength. The second scan will tune every
receivable station. By pressing either the , ,
or buttons, or the “SC” key the scan mode
can be cancelled.
Station memory
Ten stations can be stored in
the AM and FM bands via the
alpha-numeric keypad. The
“0” button corresponds to
location 10. Weatherband
(WB) channels 1 to 7 can be retrieved via the alpha-
numeric keypad and are preset at the factory.Storing stations
Hold the number button down for approximately
2 seconds. The currently displayed frequency is stored
on the selected station button. The storage procedure is
confirmed by a short signal tone.
Retrieving a station from memory
Press the desired station button.
Direct frequency input (AM and FM only)
Select the band. Press the
“ button and enter the
desired frequency using the
alpha-numeric keypad.
Frequencies outside of the
frequency ranges (frequencies specified on page 133)
will not be accepted. The frequency input mode is
cancelled if no button is pressed within 4 seconds.
J_A208.book Seite 134 Donnerstag, 31. Mai 2001 9:35 09
Page 138 of 346
135 Audio system
Technical
data Instruments
and controlsOperationDrivingInstrument
cluster displayPractical hints Car care Index Cassette mode
Note:
Vehicles equipped with the COMAND system do not
come with a factory installed cassette mechanism.
A standard 1/8” stereo phono plug for auxiliary audio
input (located in glove box) is provided for connection of
a portable battery operated cassette player or any other
portable device which uses a headphone output. Please
refer to the COMAND operating manual for information
concerning the activation of the audio input.
Playing cassettes
Press the “TAPE” button. When the eject (EJ) key is
pressed, the display folds down and the cassette slot
becomes visible. Push the cassette into the slot until it
engages. The cassette will be pulled in automatically.Note:
Do not press directly on the radio display face.
Return the display panel to its normal position by
folding it back up and pressing gently on the display
frame to lock in place.
When playing mono recorded tapes (e.g. books) through
a stereo system the sound from one track might bleed to
the other track, despite setting the balance to the full
left or full right speakers.
Important!
If the display is in the down position for more than
20 seconds, 2 successive beeps will be heard. This will
continue at 5 second intervals until the display is
returned to its normal position.
J_A208.book Seite 135 Donnerstag, 31. Mai 2001 9:35 09
Page 144 of 346

141 Audio system
Technical
data Instruments
and controlsOperationDrivingInstrument
cluster displayPractical hints Car care Index If there is no CD in the
selected magazine slot,
“NO CD” and the
corresponding slot number
will be displayed
(e.g.“NO CD3”). After the last track on a CD has been
played, the next CD will automatically be selected and
played.
Skipping tracks forwards/backwards
Press the button. The next track on the CD will be
played.
Press the button. If the track has been playing for
more than 10 seconds, it will revert to the start of that
track. If it has been playing for less than ten seconds it
will revert to the preceding track. To skip several tracks,
the respective button must be pressed until the desired
track is reached. If the beginning or end of the CD is
reached during the search, the first or last track will be
played.Fa st fo rwa rd/ r eve rse
Press the button and hold it down for audible fast
forward.
Press the button and hold it down for audible
reverse.
The search will stop when the
button is released. The
relative time of the track will
be displayed during the
search. The search mode will
cancel if the beginning or end of the CD is reached.
Scanning
Press the SC key. Each track will be played for 8 seconds
in ascending order. The search will stop at the track in
question if the , , , buttons or the
“SC” key is pressed.
J_A208.book Seite 141 Donnerstag, 31. Mai 2001 9:35 09
Page 156 of 346
153 Interior equipment
Technical
data Instruments
and controlsOperationDrivingInstrument
cluster displayPractical hints Car care Index Cup holder in center console
To open cup holder:
Briefly press button (7). The cup holder opens
automatically.
To store cup holder:
Push button (7) down until cup holder engages. Close
cover (6).Notes:
The right claw is adjustable to accommodate most
container sizes.
An additional second (smaller size) container can be
placed in the cup holder.
Spilling liquids (e.g. soda or coffee) could restrict the
movement of the claw. Refer to page 306 for cleaning
the cup holder.
Caution!
Keep cup holder closed while traveling. Place only
containers that fit into the cup holder to prevent spills.
Do not fill containers to a height where the contents
could spill during vehicle maneuvers, especially hot
liquids.
J_A208.book Seite 153 Donnerstag, 31. Mai 2001 9:35 09
Page 168 of 346
165 Soft top
Technical
data Instruments
and controlsOperationDrivingInstrument
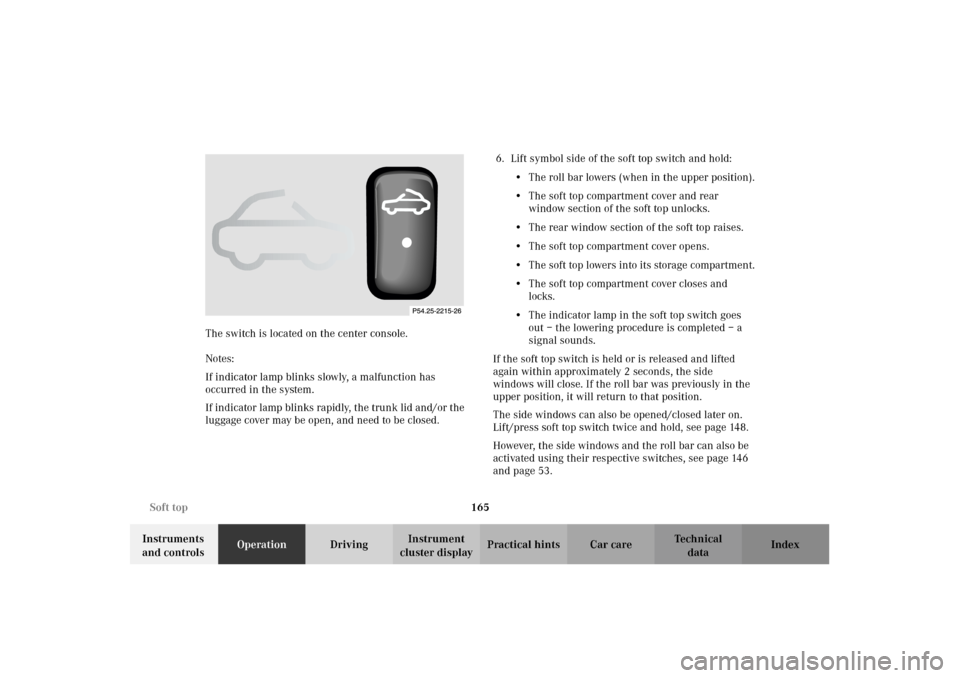
cluster displayPractical hints Car care Index The switch is located on the center console.
Notes:
If indicator lamp blinks slowly, a malfunction has
occurred in the system.
If indicator lamp blinks rapidly, the trunk lid and/or the
luggage cover may be open, and need to be closed.6. Lift symbol side of the soft top switch and hold:
•The roll bar lowers (when in the upper position).
•The soft top compartment cover and rear
window section of the soft top unlocks.
•The rear window section of the soft top raises.
•The soft top compartment cover opens.
•The soft top lowers into its storage compartment.
•The soft top compartment cover closes and
locks.
•The indicator lamp in the soft top switch goes
out – the lowering procedure is completed – a
signal sounds.
If the soft top switch is held or is released and lifted
again within approximately 2 seconds, the side
windows will close. If the roll bar was previously in the
upper position, it will return to that position.
The side windows can also be opened/closed later on.
Lift/press soft top switch twice and hold, see page 148.
However, the side windows and the roll bar can also be
activated using their respective switches, see page 146
and page 53.
J_A208.book Seite 165 Donnerstag, 31. Mai 2001 9:35 09
Page 170 of 346
167 Soft top
Technical
data Instruments
and controlsOperationDrivingInstrument
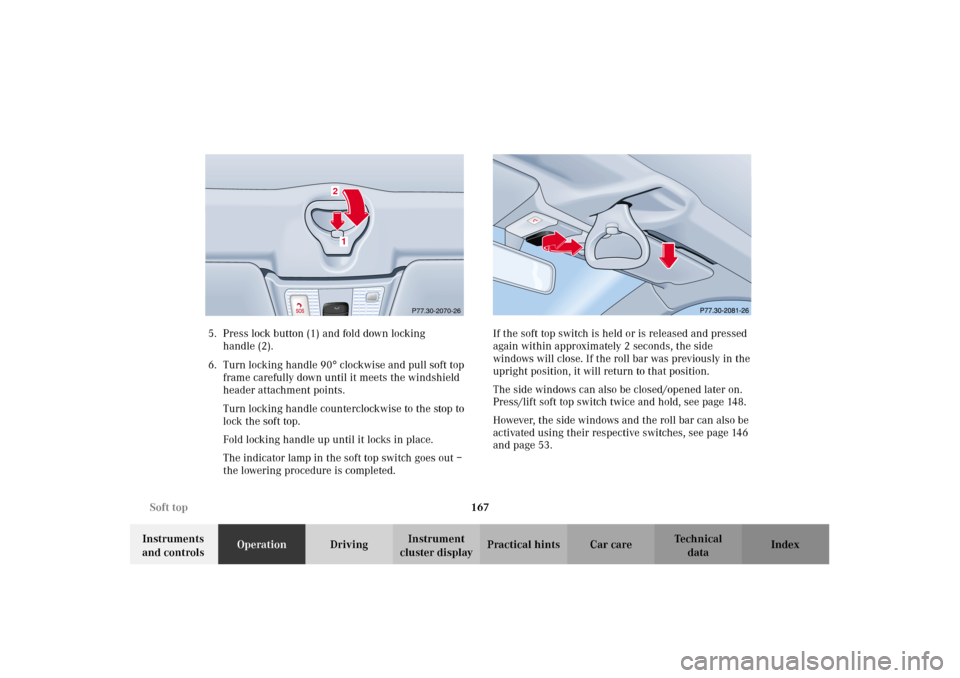
cluster displayPractical hints Car care Index 5. Press lock button (1) and fold down locking
handle (2).
6. Turn locking handle 90
° clockwise and pull soft top
frame carefully down until it meets the windshield
header attachment points.
Turn locking handle counterclockwise to the stop to
lock the soft top.
Fold locking handle up until it locks in place.
The indicator lamp in the soft top switch goes out –
the lowering procedure is completed. If the soft top switch is held or is released and pressed
again within approximately 2 seconds, the side
windows will close. If the roll bar was previously in the
upright position, it will return to that position.
The side windows can also be closed/opened later on.
Press/lift soft top switch twice and hold, see page 148.
However, the side windows and the roll bar can also be
activated using their respective switches, see page 146
and page 53.
P77.30-2070-26
12
J_A208.book Seite 167 Donnerstag, 31. Mai 2001 9:35 09
Page 180 of 346
177 Contents – Driving
Technical
data Instruments
and controlsOperationDrivingInstrument
cluster displayPractical hints Car care Index
DrivingControl and operation of
radio transmitters ..................... 178
The first 1 000 miles
(1 500 km) ................................. 179
Maintenance ................................... 179
Catalytic converter ........................ 180
Emission control ............................ 181
Tele Aid ........................................... 182
Steering lock ................................... 192
Starting and turning off
the engine .................................. 194
Automatic transmission ............... 195
Parking brake .................................204Driving instructions ...................... 205
Drive sensibly –
save fuel ...................................... 205
Drinking and driving ................ 205
Pedals .......................................... 205
Power assistance ........................ 206
Brakes .......................................... 206
Driving off ................................... 207
Parking ........................................ 208
Tires ............................................. 208
Snow chains ................................ 211
Winter driving
instructions ................................. 211
Deep water ...................................213
Passenger compartment ............ 213
Traveling abroad ......................... 213Cruise control ................................. 214
Brake assist system
(BAS) ........................................... 216
Antilock brake system
(ABS) ........................................... 218
Electronic stability program
(ESP) ...........................................220
What you should know
at the gas station .......................224
Check regularly and
before a long trip ......................226
J_A208.book Seite 177 Donnerstag, 31. Mai 2001 9:35 09