Page 127 of 256
3. Locate the correct anchor for
the selected seating position.
NOTE:There are three tether
anchors located on the headliner at
the rear of the vehicle.
WARNING: If the tether strap
is clipped incorrectly, the child
safety seat may not be
retained properly in the event
of a collision. If the safety seat
is not anchored properly, the
risk of a child being injured in
a collision greatly increases.
4. Clip the tether strap to the
anchor as shown.
The arrow in the above graphic
points toward the front of the
vehicle.
5. Refer to theInstalling child
safety seats in combination
lap and shoulder belt seating
positionssection of this chapter
for further instructions to
secure the child safety seat.
6. Tighten the child safety seat
tether strap according to the
manufacturer's instructions.
Seating and Safety Restraints
127
Page 128 of 256

Attaching safety seats with LATCH (Lower Anchors and Tethers for
Children) attachments for child seat anchors
Some child safety seats have two rigid or webbing mounted attachments
that connect to two anchors at certain seating positions in your vehicle.
When properly installed, this type of seat eliminates the need to use seat
belts to attach the child seat. For forward-facing child seats, the tether
strap must also be attached to the proper tether anchor. SeeAttaching
safety seats with tether strapsin this chapter.
Your vehicle has LATCH anchors for child seat installation as shown in
the illustration. There are none in the front passenger seat.
The anchors closest to the center
rear seat are provided primarily for
child seats at the outboard seating
positions. These anchors are farther
apart than the pairs of lower
anchors for child seat installation at
the outboard seats.
While the anchors closest to the
center seat may also be usable, special precautions must be followed.
First, if those anchors are already in use by a LATCH equipped child seat
on either outboard seat,you must not attach two LATCH seats to
the same anchor pointÐ it will overload the anchor point. Either
spread the two LATCH equipped seats to the outboard positions or use
the regular lap belt on the center one (If the seat has a tether, be sure to
also attach it to the center tether anchor).
Secondly, those LATCH equipped child seatswith rigid LATCH
attachmentswill not latch in the center rear position because those two
middle anchors are too far apart. You can only attach the rigid LATCH
equipped child seats to the outboard seat LATCH anchors that have the
proper spacing for that type of child seat. If your child seat has flexible
LATCH attachments, be sure that the manufacturer's instructions say
that it can reach to anchors spaced at least 500 mm (19 in) apart.
WARNING: Never attach two LATCH child safety seats to the
same anchor. In a crash, one anchor may not be strong enough
to hold two child safety seat attachments and may break,
causing serious injury or death.
Seating and Safety Restraints
128
Page 131 of 256
WARNING: If you smell exhaust fumes inside your vehicle,
have your authorized Mazda dealer inspect your vehicle
immediately. Do not drive if you smell exhaust fumes.
Important safety precautions
A computer system controls the engine's idle revolutions per minute
(RPM). When the engine starts, the idle RPM runs higher than normal in
order to warm the engine. If the engine idle speed does not slow down
automatically, have the vehicle checked by your authorized Mazda
dealership.
Before starting the vehicle:
1. Make sure all vehicle occupants have buckled their safety belts. For
more information on safety belts and their proper usage, refer to the
Seating and safety restraintschapter.
2. Make sure the headlamps and vehicle accessories are off.
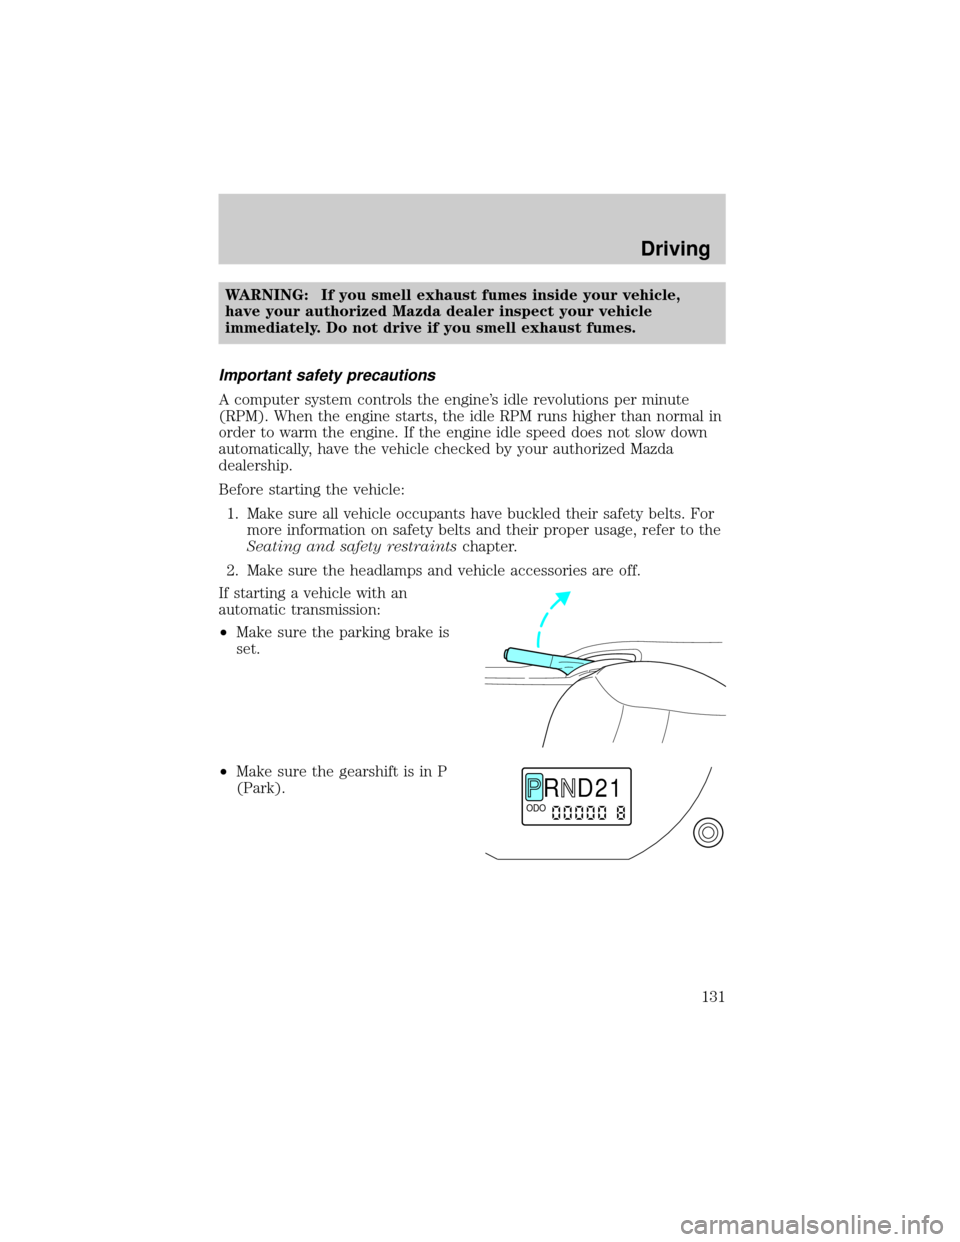
If starting a vehicle with an
automatic transmission:
²Make sure the parking brake is
set.
²Make sure the gearshift is in P
(Park).
R D 2 1ODO
Driving
131
Page 132 of 256
If starting a vehicle with a manual
transmission:
²Make sure the parking brake is
set.
²Push the clutch pedal to the
floor.
3. Turn the key to 3 (ON) without
turning the key to 4 (START).
Make sure the corresponding lights illuminate or illuminate briefly. If a
light fails to illuminate, have the vehicle serviced.
Note:If the driver's safety belt is fastened, the
light may not
illuminate.
Starting the engine
Note:Whenever you start your vehicle, release the key as soon as the
engine starts. Excessive cranking could damage the starter.
BRAKEO/D
OFF
CHECK
FUEL
CAP
Driving
132
Page 138 of 256

²Uneven vehicle loading
²High crown in center of road
²High crosswinds
²Wheels out of alignment
²Loose or worn suspension components
PREPARING TO DRIVE YOUR VEHICLE
WARNING: Utility vehicles have a significantly higher rollover
rate than other types of vehicles.
WARNING: In a rollover crash, an unbelted person is
significantly more likely to die than a person wearing a seat
belt.
Your vehicle has special design and equipment features to make it
capable of performing in a wide variety of circumstances. These special
design features, such as larger tires and increased ground clearance, give
the vehicle a higher center of gravity than a passenger car.
WARNING: Vehicles with a higher center of gravity such as
utility and four-wheel drive vehicles handle differently than
vehicles with a lower center of gravity. Utility and four-wheel
drive vehicles are not designed for cornering at speeds as high
as passenger cars. Avoid sharp turns, excessive speed and
abrupt maneuvers in these vehicles. Failure to drive cautiously
could result in an increased risk of vehicle rollover, personal
injury and death.
WARNING: Loaded vehicles, with a higher center of gravity,
may handle differently than unloaded vehicles. Extra
precautions, such as slower speeds and increased stopping
distance, should be taken when driving a heavily loaded vehicle.
Your vehicle has the capability to haul more cargo and people than most
passenger cars. Depending upon the type and placement of the load,
hauling people and cargo may raise the center of gravity of the vehicle.
Use extra caution while becoming familiar with your vehicle. Know the
capabilities and limitations of both you as a driver and your vehicle.
Driving
138
Page 183 of 256
4. Make the final connection of the negative (-) cable to an exposed
metal part of the disabled vehicle's engine, away from the battery
and the fuel injection system.NOTE: Do notuse fuel lines, engine
rocker covers or the intake manifold asgroundingpoints.
WARNING: Do not connect the end of the second cable to the
negative (-) terminal of the battery to be jumped. A spark may
cause an explosion of the gases that surround the battery.
5. Ensure that the cables are clear of fan blades, belts, moving parts of
both engines, or any fuel delivery system parts.
Jump starting
1. Start the engine of the booster vehicle and run the engine at
moderately increased speed.
2. Start the engine of the disabled vehicle.
3. Once the disabled vehicle has been started, run both engines for an
additional three minutes before disconnecting the jumper cables.
+–+–
Roadside Emergencies
183
Page 186 of 256
WRECKER TOWING
If you need to have your vehicle towed, contact a professional towing
service or, if you are a member, your roadside assistance center.
It is recommended that your vehicle be towed with a wheel lift and
dollies or flatbed equipment. Do not tow with a slingbelt. Mazda has not
approved a slingbelt towing procedure.
If your vehicle is to be towed from the rear using wheel lift equipment, it
is recommended that the front wheels (drive wheels) be placed on a
dolly to prevent damage to the transaxle.
On 4x4 vehicles, it is recommended that your vehicle be towed with a
wheel lift and dollies or flatbed equipment with all the wheels off the
ground.
If the vehicle is towed by other means or incorrectly, vehicle
damage may occur.
Roadside Emergencies
186
Page 201 of 256

windshield, rear window or the wiper blades may be the cause. These
may include hot wax treatments used by commercial car washes, tree
sap, or other organic contamination. To clean these items, please follow
these tips:
²The windshield or rear window may be cleaned with a non-abrasive
cleaner such as Ultra Clear Spray Glass Cleaner, available from your
local Mazda dealer.
²Do not use abrasives, as they may cause scratches.
²Do not use fuel, kerosene, or paint thinner to clean any parts.
²Wiper blades can be cleaned with isopropyl (rubbing) alcohol or
windshield washer solution. Be sure to replace wiper blades when they
appear worn or do not function properly.
INSTRUMENT PANEL AND CLUSTER LENS
Clean the instrument panel with a damp cloth, then dry with a dry cloth.
²Avoid cleaners or polish that increase the gloss of the upper portion of
the instrument panel. The dull finish in this area helps protect the
driver from undesirable windshield reflection.
WARNING: Do not use chemical solvents or strong detergents
when cleaning the steering wheel or instrument panel to avoid
contamination of the air bag system.
²Be certain to wash or wipe your hands clean if you have been in
contact with certain products such as insect repellent and suntan
lotion in order to avoid possible damage to the painted surfaces.
WOOD-TONE TRIM
²Clean the area with a damp cloth, then dry by wiping with a dry, soft,
clean cloth.
²Do not use household or glass cleaners as these may damage the
finish.
INTERIOR
For fabric, carpets, cloth seats, safety belts and seats equipped with side
air bags:
²Remove dust and loose dirt with a vacuum cleaner.
²Remove light stains and soil with Extra Strength Upholstery Cleaner,
available at your local Mazda dealer.
Cleaning
201