Page 5 of 240

This Owner's Guide describes every option and model variant
available and therefore some of the items covered may not apply
to your particular vehicle. Furthermore, due to printing cycles it may
describe options before they are generally available.
Remember to pass on the Owner's Guide when reselling the
vehicle. It is an integral part of the vehicle.
Fuel pump shut-off switchIn the event of an accident the
safety switch will automatically cut off the fuel supply to the
engine. The switch can also be activated through sudden vibration (e.g.
collision when parking). To reset the switch, refer to theFuel pump
shut-off switchin theRoadside emergencieschapter.
SAFETY AND ENVIRONMENT PROTECTION
Warning symbols in this guide
How can you reduce the risk of personal injury and prevent possible
damage to others, your vehicle and its equipment? In this guide, answers
to such questions are contained in comments highlighted by the warning
triangle symbol. These comments should be read and observed.
Warning symbols on your vehicle
When you see this symbol, it is
imperative that you consult the
relevant section of this guide before
touching or attempting adjustment
of any kind.
Introduction
5
Page 8 of 240
These are some of the symbols you may see on your vehicle.
Vehicle Symbol Glossary
Safety Alert
See Owner's Guide
Fasten Safety BeltAir Bag-Front
Air Bag-SideChild Seat
Child Seat Installation
WarningChild Seat Tether
Anchorage
Brake SystemAnti-Lock Brake System
Brake Fluid -
Non-Petroleum BasedTraction Control
Master Lighting SwitchHazard Warning Flasher
Fog Lamps-FrontFuse Compartment
Fuel Pump ResetWindshield Wash/Wipe
Windshield
Defrost/DemistRear Window
Defrost/Demist
Power Windows
Front/RearPower Window Lockout
Introduction
8
Page 18 of 240
With the radio on, press and hold
the volume control for five seconds,
then press:
²
to increase volume
compensation
²
to decrease or shut off the
volume compensation
AM/FM select
The AM/FM select control works in
radio, tape and CD modes (if
equipped).
AM/FM select in radio mode
This control allows you to select AM or FM frequency bands. Press the
control to switch between AM, FM1 or FM2 memory preset stations.
AM/FM select in tape mode
Press this control to stop tape play and begin radio play.
AM/FM select in CD mode (if equipped)
Press this control to stop CD play and begin radio play.
Tune adjust
The tune control works in radio or CD mode (if equipped).
VOL
PUSH ON
SEL
AM
FM
Entertainment Systems
18
Page 20 of 240

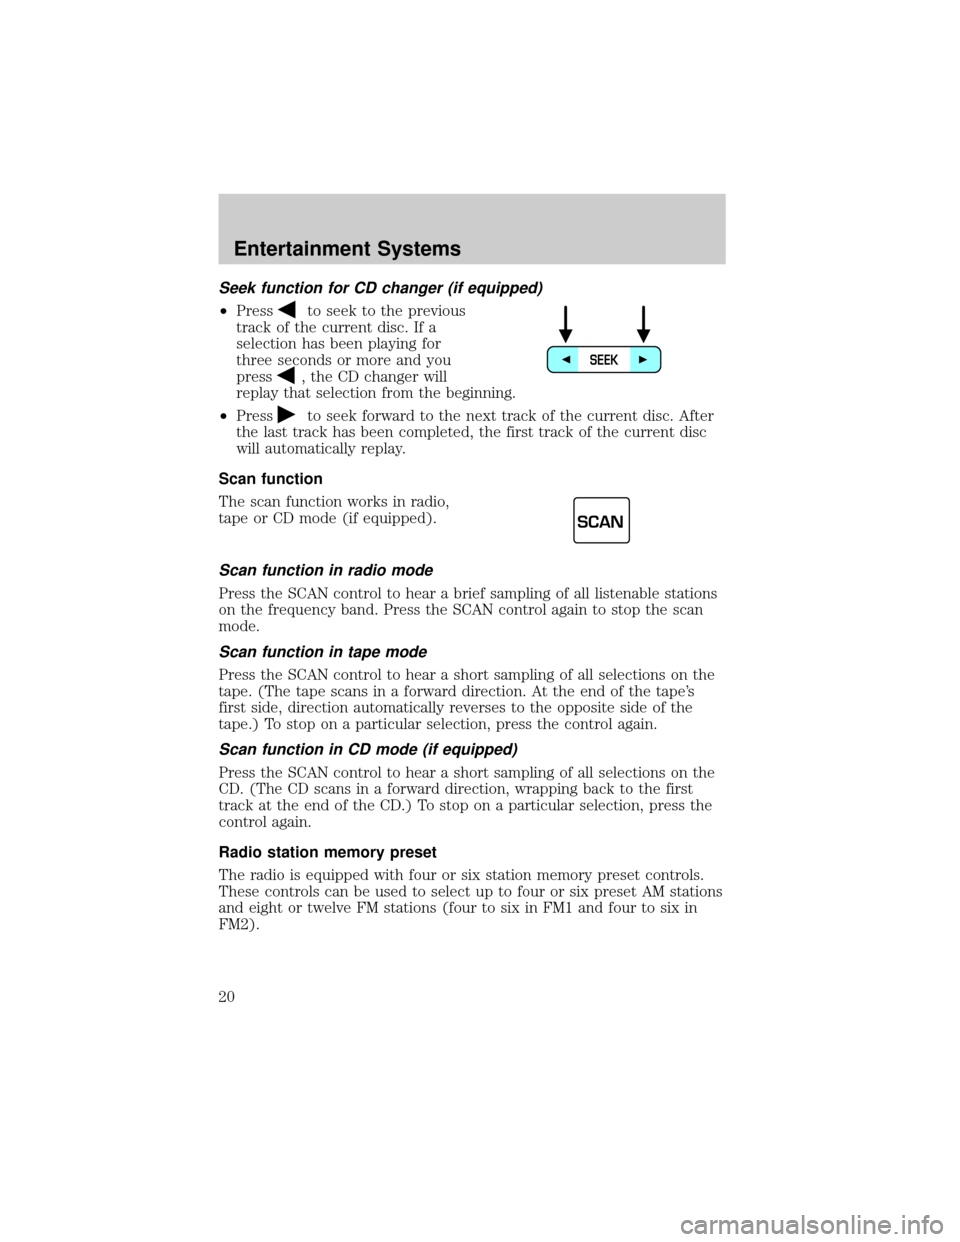
Seek function for CD changer (if equipped)
²Pressto seek to the previous
track of the current disc. If a
selection has been playing for
three seconds or more and you
press
, the CD changer will
replay that selection from the beginning.
²Press
to seek forward to the next track of the current disc. After
the last track has been completed, the first track of the current disc
will automatically replay.
Scan function
The scan function works in radio,
tape or CD mode (if equipped).
Scan function in radio mode
Press the SCAN control to hear a brief sampling of all listenable stations
on the frequency band. Press the SCAN control again to stop the scan
mode.
Scan function in tape mode
Press the SCAN control to hear a short sampling of all selections on the
tape. (The tape scans in a forward direction. At the end of the tape's
first side, direction automatically reverses to the opposite side of the
tape.) To stop on a particular selection, press the control again.
Scan function in CD mode (if equipped)
Press the SCAN control to hear a short sampling of all selections on the
CD. (The CD scans in a forward direction, wrapping back to the first
track at the end of the CD.) To stop on a particular selection, press the
control again.
Radio station memory preset
The radio is equipped with four or six station memory preset controls.
These controls can be used to select up to four or six preset AM stations
and eight or twelve FM stations (four to six in FM1 and four to six in
FM2).
SEEK
SCAN
Entertainment Systems
20
Page 21 of 240

Setting memory preset stations
1. Select the frequency band with the AM/FM select control.
2. Select a station. Refer toTune adjustorSeek functionfor more
information on selecting a station.
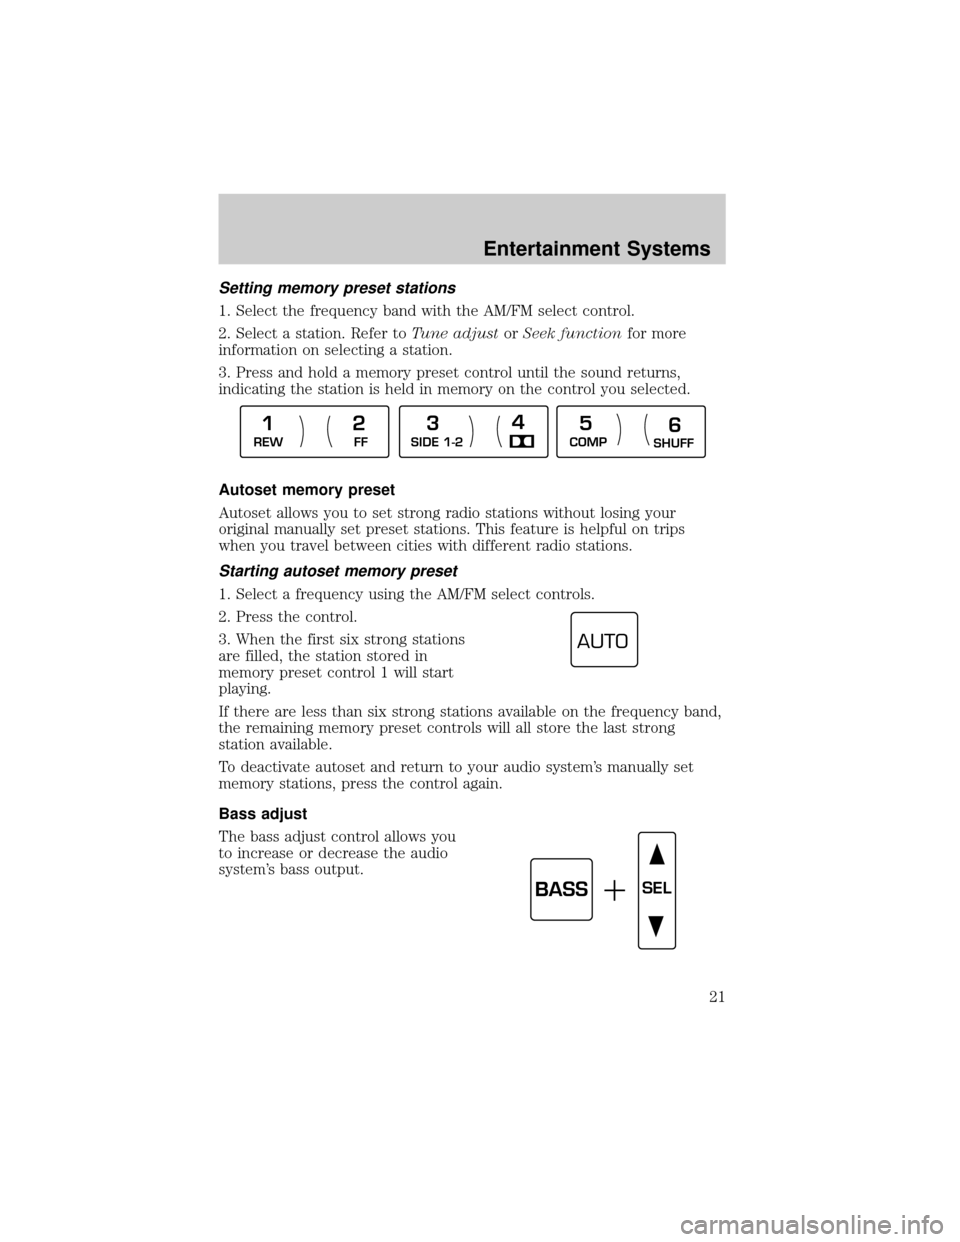
3. Press and hold a memory preset control until the sound returns,
indicating the station is held in memory on the control you selected.
Autoset memory preset
Autoset allows you to set strong radio stations without losing your
original manually set preset stations. This feature is helpful on trips
when you travel between cities with different radio stations.
Starting autoset memory preset
1. Select a frequency using the AM/FM select controls.
2. Press the control.
3. When the first six strong stations
are filled, the station stored in
memory preset control 1 will start
playing.
If there are less than six strong stations available on the frequency band,
the remaining memory preset controls will all store the last strong
station available.
To deactivate autoset and return to your audio system's manually set
memory stations, press the control again.
Bass adjust
The bass adjust control allows you
to increase or decrease the audio
system's bass output.
REW
FFSIDE 1-2
COMP
SHUFF
1
234
5
6
AUTO
BASSSEL
Entertainment Systems
21
Page 67 of 240
STEERING WHEEL CONTROLS (IF EQUIPPED)
Radio control features
²Press BAND/MODE to select AM,
FM1, FM2, TAPE or CD (if
equipped).
In Radio mode:
²Press MEM/NEXT to select a
preset station from memory.
In Tape mode:
²Press MEM/NEXT to listen to the next selection on the tape.
In CD mode:
²Press MEM/NEXT to listen to the next track on the disc.
In any mode:
²Press VOL up or down to adjust the volume.
Climate control features
²Press TEMP up or down to adjust temperature.
²Press FAN up or down to adjust fan speed.
NEXT
MODE
Driver Controls
67
Page 76 of 240

Drivers have the responsibility to pay primary attention to the road and
drive safely. A driver may want to pull over to a safe parking spot before
using Vehicle Communication System services. Drivers who allow
themselves to become distracted may cause an accident. Please use this
technology responsibly.
Due to the specialized Lincoln software contained within the phone, your
local Sprint PCS store is unable to provide service or replacement units.
Issues or questions about equipment including the wireless phone should
be directed to your Lincoln dealer.
Phone accessories can be purchased at Sprint PCS stores. Billing or
services issues should be directed to Sprint PCS at 1±866±PCS-AUTO
(1±866±727±2886). Select ª2º for Client Services.
ELECTRONIC MESSAGE CENTER
The electronic message center only
works when the ignition is in the
ON position.
The message center tells you about
the condition of your vehicle by two
methods:
²operator selectable features
²continuous warning reporting of
monitored systems
You can select different features for
the message center to display by
using the message center controls
located to the right of the
instrument cluster. You will hear a tone when you press one of these
controls. However, the message center will display the appropriate
warning message if it detects a warning from any of the monitored
systems.
If you have a vehicle with the Driver
Select System, which allows you to
save operator selectable features to
DRIVER 1 or DRIVER 2, you have a
DRIVER ID control in place of the E/M control.
SYSTEM
E/M
MENU
TRIP
RESETSELECT
DISPLAY
DTE ECON VEHICLE HANDLING
DRIVER ID
Driver Controls
76
Page 78 of 240

If Memory position 1 or Memory
position 2 wishes to make
temporary changes to their seat or
outside mirror positions without
affecting their preferred positions
they may do so by:
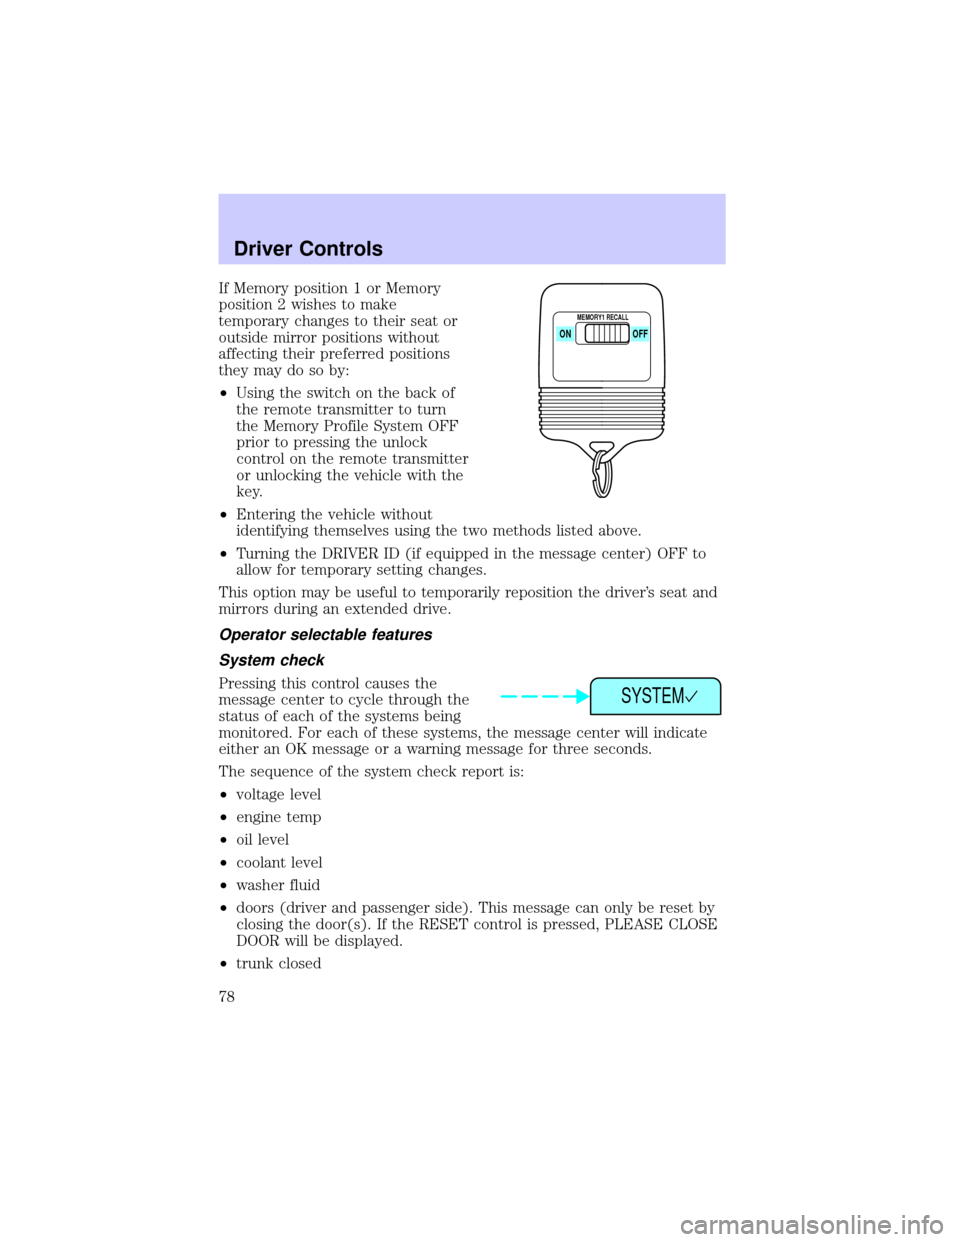
²Using the switch on the back of
the remote transmitter to turn
the Memory Profile System OFF
prior to pressing the unlock
control on the remote transmitter
or unlocking the vehicle with the
key.
²Entering the vehicle without
identifying themselves using the two methods listed above.
²Turning the DRIVER ID (if equipped in the message center) OFF to
allow for temporary setting changes.
This option may be useful to temporarily reposition the driver's seat and
mirrors during an extended drive.
Operator selectable features
System check
Pressing this control causes the
message center to cycle through the
status of each of the systems being
monitored. For each of these systems, the message center will indicate
either an OK message or a warning message for three seconds.
The sequence of the system check report is:
²voltage level
²engine temp
²oil level
²coolant level
²washer fluid
²doors (driver and passenger side). This message can only be reset by
closing the door(s). If the RESET control is pressed, PLEASE CLOSE
DOOR will be displayed.
²trunk closed
ON
MEMORY1 RECALL
OFF
SYSTEM
Driver Controls
78