Page 132 of 399
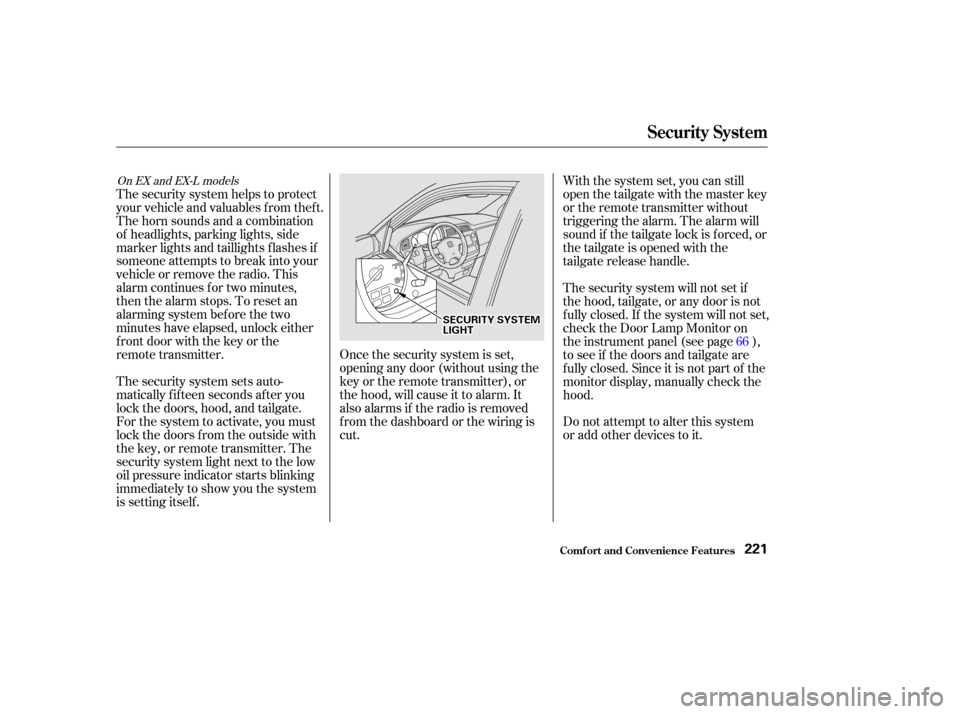
Turn on the f ront individual map
lights by pushing the button next to
each light. Push the button again to
turn it off. You can also operate
these lights with the light control
switch (see page ).Turn on each rear individual map
light by pushing the lens when the
ignition switch is in the
ACCESSORY (I) or ON (II) position.
Push the lens again to turn it off.
You can also operate these lights
with the light control switch (see
page ).The cargo area light has a three-
position switch. In the OFF position,
the light does not come on. In the
center position, it comes on when
you open the tailgate. In the ON
position, it stays on continuously.
This light also works with the light
control switch (see page ).
127
127 127
Inst rument s and Cont rols
Interior Lights
Individual Map L ights Cargo A rea L ight
129
F FRRO ON NTT R
RE
EA
A R
R
O
ONN O
OF
FFF
Page 224 of 399

Once the security system is set,
opening any door (without using the
key or the remote transmitter), or
the hood, will cause it to alarm. It
also alarms if the radio is removed
f rom the dashboard or the wiring is
cut.Do not attempt to alter this system
or add other devices to it.
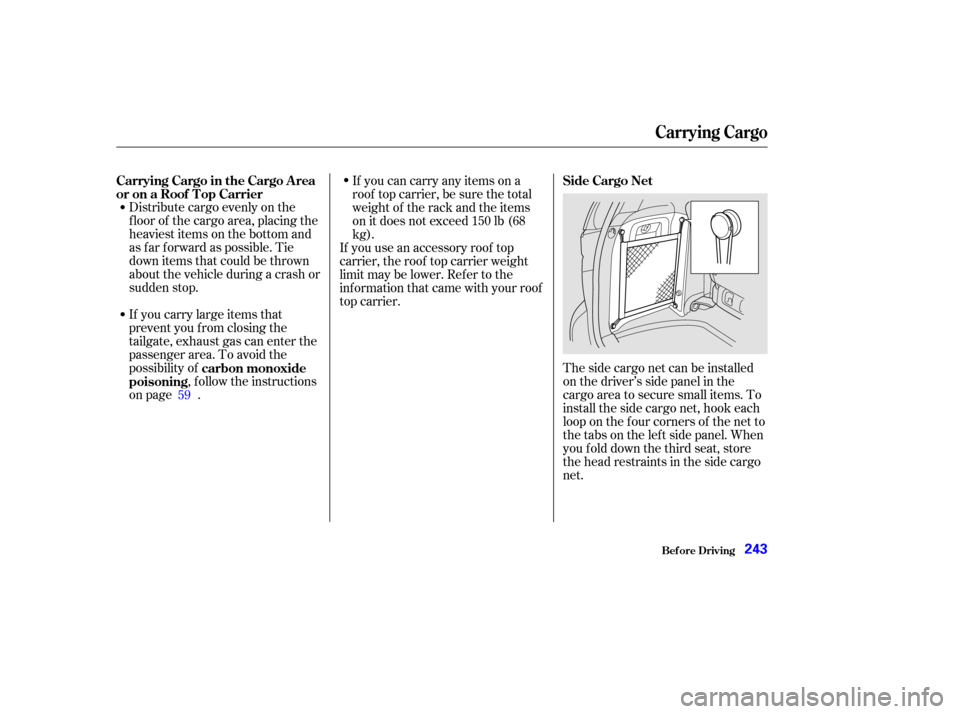
The security system helps to protect
your vehicle and valuables f rom thef t.
The horn sounds and a combination
of headlights, parking lights, side
marker lights and taillights f lashes if
someone attempts to break into your
vehicleorremovetheradio.This
alarm continues f or two minutes,
then the alarm stops. To reset an
alarming system before the two
minutes have elapsed, unlock either
f ront door with the key or the
remote transmitter.
The security system sets auto-
matically fifteen seconds after you
lock the doors, hood, and tailgate.
For the system to activate, you must
lock the doors f rom the outside with
the key, or remote transmitter. The
security system light next to the low
oil pressure indicator starts blinking
immediately to show you the system
is setting itself . With the system set, you can still
open the tailgate with the master key
or the remote transmitter without
triggering the alarm. The alarm will
sound if the tailgate lock is f orced, or
the tailgate is opened with the
tailgate release handle.
The security system will not set if
the hood, tailgate, or any door is not
f ully closed. If the system will not set,
check the Door Lamp Monitor on
the instrument panel (see page ),
to see if the doors and tailgate are
f ully closed. Since it is not part of the
monitor display, manually check the
hood.
66
On EX and EX-L models
Security System
Comf ort and Convenience Feat ures221
S SE
EC
CU UR RIITT Y
Y S
SYYSSTTE
EM
M
L
LI IGGH HT
T
Page 246 of 399

Distribute cargo evenly on the
f loor of the cargo area, placing the
heaviest items on the bottom and
as far forward as possible. Tie
down items that could be thrown
about the vehicle during a crash or
sudden stop.
If you carry large items that
prevent you f rom closing the
tailgate, exhaust gas can enter the
passenger area. To avoid the
possibility of, f ollow the instructions
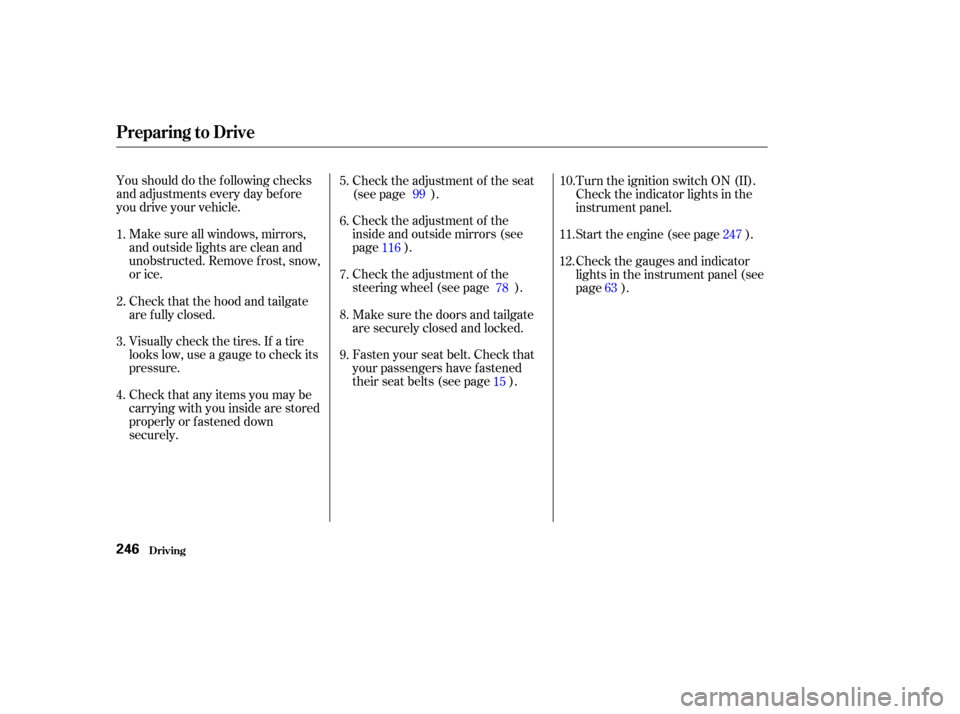
on page . The side cargo net can be installed
on the driver’s side panel in the
cargo area to secure small items. To
install the side cargo net, hook each
loop on the f our corners of the net to
the tabs on the lef t side panel. When
youfolddownthethirdseat,store
the head restraints in the side cargo
net.
If you can carry any items on a
roof top carrier, be sure the total
weight of the rack and the items
on it does not exceed 150 lb (68
kg).
If you use an accessory roof top
carrier, the roof top carrier weight
limit may be lower. Ref er to the
inf ormation that came with your roof
top carrier.
59 carbon monoxide
poisoning Side Cargo Net
Carrying Cargo in the Cargo A rea
or on a Roof T op Carrier
Carrying Cargo
Bef ore Driving243
Page 247 of 399
You can use the cargo net to secure
items in the cargo area, and store
small items between the two halves
of the net. To install the cargo net,
hook the loops on the f our corners of
the net to the tabs at both sides of
the tailgate sill.There are cargo hooks under the
f ront passenger’s armrest and on the
back of the third row seat. They are
designed to hold light items. Heavy
objects may damage the hooks.
On EX and EX-L models
Carrying Cargo
Cargo Net
Cargo Hooks
Bef ore Driving244
Page 249 of 399

Youshoulddothefollowingchecks
and adjustments every day bef ore
you drive your vehicle.Make sure all windows, mirrors,
and outside lights are clean and
unobstructed. Remove f rost, snow,
or ice. Check the adjustment of the seat
(see page ).
Check the adjustment of the
inside and outside mirrors (see
page ).
Check the adjustment of the
steering wheel (see page ).
Fasten your seat belt. Check that
your passengers have f astened
their seat belts (see page ).Turn the ignition switch ON (II).
Check the indicator lights in the
instrument panel.
Start the engine (see page ).
Check the gauges and indicator
lights in the instrument panel (see
page ).
Check that any items you may be
carrying with you inside are stored
properly or f astened down
securely. Visually check the tires. If a tire
looks low, use a gauge to check its
pressure. Check that the hood and tailgate
arefullyclosed. Makesurethedoorsandtailgate
are securely closed and locked.
3. 2.
1.
4. 5.
6.
7.
8.
9. 11.
12. 10.
15
99
116 78 247
63
Preparing to Drive
Driving246
Page 323 of 399

Remove the socket from the
headlight assembly by turning it
one-quarter turn counterclockwise.
Remove the burned out bulb f rom
thesocketbypushingitinand
turning the bulb counterclockwise
until it unlocks.
Install the new bulb in the socket.
Turn it clockwise to lock it in place.
Insert the socket back into the
headlight assembly. Turn it
clockwise to lock it in place.
Testthelightstomakesurethe
new bulb is working.
Put the inner f ender in place.
Install the two holding clips. Lock
each clip in place by pushing on
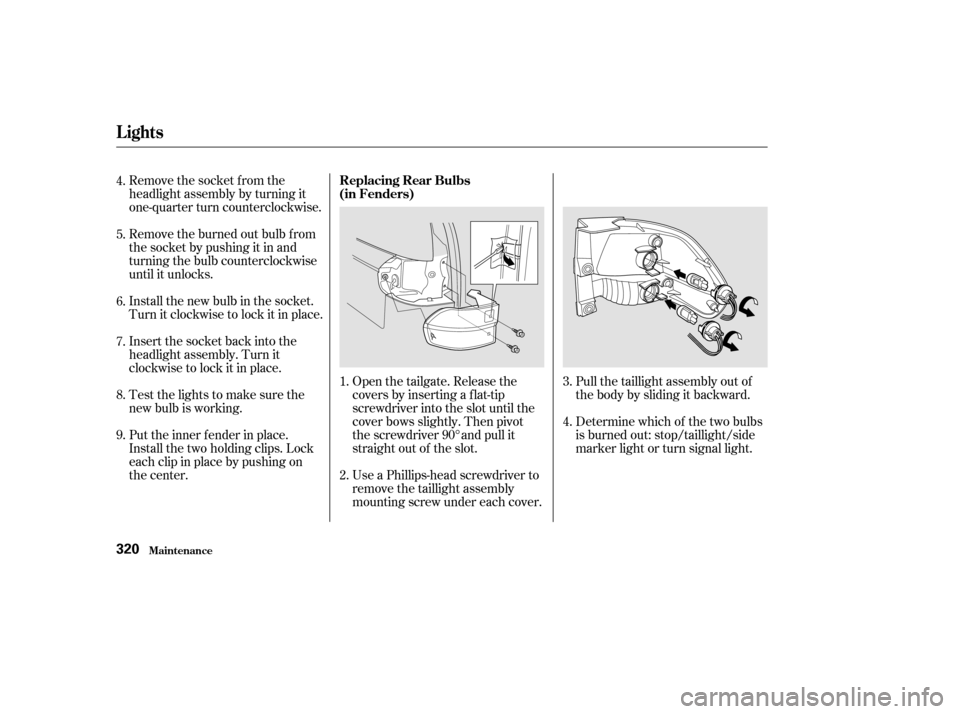
the center.Determine which of the two bulbs
is burned out: stop/taillight/side
marker light or turn signal light. Pull the taillight assembly out of
thebodybyslidingitbackward.
Use a Phillips-head screwdriver to
remove the taillight assembly
mounting screw under each cover. Open the tailgate. Release the
covers by inserting a f lat-tip
screwdriver into the slot until the
cover bows slightly. Then pivot
the screwdriver 90° and pull it
straight out of the slot.
1.
2. 3.
4.
4.
5.
6.
7.
8.
9.
Lights
Maint enance
Replacing Rear Bulbs
(in Fenders)
320
Page 324 of 399
Remove the socket by turning it
one-quarter turn counterclockwise.
Pull the bulb straight out of its
socket.
Push the new bulb straight into
the socket until it bottoms.
Reinstall the socket into the light
assembly by turning it clockwise
until it locks.
Testthelightstomakesurethe
new bulb is working.
When reinstalling the taillight
assembly, align and pop the snap
f asteners in place. Tighten the two
mounting screws and reinstall the
covers in place.Open the tailgate. Place a cloth on
the edge of the taillight cover.
Remove it by caref ully prying in
the notch on its edge with a small
f lat-tipped screwdriver.Determine which of the two bulbs
is burned out: taillight or back-up
light.
Remove the socket by turning it
one-quarter turn counterclockwise.
2.
3.
5.
6.
7.
8.
9.
1.
CONT INUED
Lights
Maint enance
Replacing Rear Bulbs
(in Tailgate)
321
T TA
A I
ILLL LIIGGH HT
T C
COOV VE
ER
R
Page 325 of 399
Pull the bulb straight out of its
socket.
Push the new bulb straight into
the socket until it bottoms.
Insert the socket back into the
light assembly. Turn it clockwise
to lock it in place.
Testthelightstomakesurethe
new bulb is working.
Reinstall the taillight cover.Pull the light assembly out of the
tailgate.
Remove the socket f rom the light
assembly by turning it one-quarter
turn counterclockwise.
Pull the bulb straight out of its
socket.
Push the new bulb straight into
the socket until it bottoms.
Place a cloth on the edge of the
lens segment on the passenger’s
side. Remove that lens segment by
caref ully prying on its edge with a
small f lat-tipped screwdriver.
Use a Phillips-head screwdriver to
remove the screw under the lens.
1.
2.
3.
4.
5.
6.
7.
4.
5.
Lights
Maint enance
Replacing a High-mount Brake
Light Bulb
322
S SCCRREEW
W