Page 181 of 321
Your Honda’s transmission has f our
f orward speeds, and is electronically
controlled f or smoother shif ting. It
also has a ‘‘lock-up’’ torque converter
forbetterfueleconomy.Youmay
f eel what seems like another shif t
when the converter locks.This indicator on the instrument
panel shows which position the shif t
lever is in.The ‘‘D’’ indicator comes on f or a
f ew seconds when you turn the
ignition switch ON (II). If it f lashes
while driving (in any shif t position),
it indicates a possible problem in the
transmission. Avoid rapid acceler-
ation and have the transmission
checkedbyanauthorizedHonda
dealer as soon as possible.
Automatic Transmission
Driving
Shif t L ever Position Indicator
182
EEXXaannddLLXXDDXX
Page 216 of 321

CONT INUED
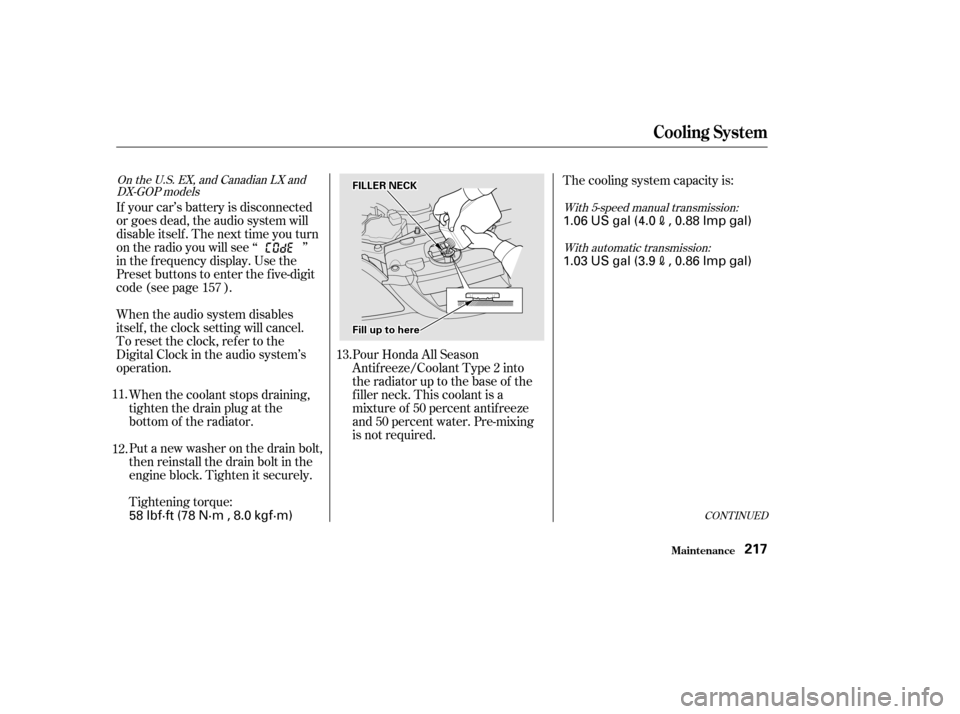
Pour Honda All Season
Antif reeze/Coolant Type 2 into
the radiator up to the base of the
f iller neck. This coolant is a
mixture of 50 percent antif reeze
and 50 percent water. Pre-mixing
is not required.The cooling system capacity is:
Tightening torque:
Put a new washer on the drain bolt,
then reinstall the drain bolt in the
engine block. Tighten it securely.
When the coolant stops draining,
tightenthedrainplugatthe
bottom of the radiator.
When the audio system disables
itself , the clock setting will cancel.
To reset the clock, ref er to the
Digital Clock in the audio system’s
operation.
If your car’s battery is disconnected
or goes dead, the audio system will
disableitself.Thenexttimeyouturn
on the radio you will see ‘‘ ’’
in the f requency display. Use the
Preset buttons to enter the five-digit
code (see page ).
12.
11.
13.
157
With 5-speed manual transmission:
With automatic transmission:
On the U.S. EX, and Canadian LX and
DX-GOP models
Cooling Syst em
Maint enance217
FFIILLLLEERRNNEECCKK
FFiilllluuppttoohheerree
1.06 US gal (4.0, 0.88 Imp gal)
1.03 US gal (3.9
, 0.86 Imp gal)
58 lbf·ft (78 N·m , 8.0 kgf·m)
Page 227 of 321
Put the new spark plug into the
socket; then screw it into the hole.
Screw it in by hand so you do not
crossthread it.Torque the spark plug. (If you do
not have a torque wrench, tighten
the spark plug two-thirds of a turn
after it contacts the cylinder head.)
Tightening torque:
Remove the spark plug with
a f ive-eighths inch (16 mm) spark
plug socket.
Use a wrench to remove the nut
holding the ignition coil. Remove
the ignition coil by pulling it
straight out.
4. 5. 6.
7.
Spark Plugs
Maint enance228
NNUUTT
13 lbf·ft (18 N·m , 1.8 kgf·m)
Page 270 of 321
Store the wheel cover in the trunk.
Make sure it does not get
scratched or damaged.
Tighten the wheel nuts securely in
the same crisscross pattern. Have
the wheel nut torque checked at
the nearest automotive service
f acility.
Tighten the wheel nuts to: Place the flat tire face down in the
spare tire well.
Remove the spacer cone f rom the
wing bolt, turn it over, and put it
back on the bolt.
Securetheflattirebyscrewing
the wing bolt back into its hole.Store the jack in the trunk with the
end bracket on the lef t side. Turn
the jack’s end bracket to lock it in
place. Store the tool kit.
Lower the trunk f loor and trunk
floor mat, then close the trunk lid.
15. 16.
17.
18. 19.
20.
21.
Changing a Flat T ire
T aking Care of t he Unexpect ed271
WWIINNGGBBOOLLTTSSPPAACCEERRCCOONNEE
80 lbf·ft (108 N·m , 11 kgf·m) Loose items can fly around the
interiorinacrashandcould
seriously injure the occupants.
Store the wheel, jack, and tools
securely before driving.