Page 189 of 319
. If one")
The hydraulic system that operates
the brakes has two separate circuits.
Each circuit works diagonally across
the vehicle (the lef t-f ront brake is
connected with the right-rear brake,
etc.). If one circuit should develop a
problem, you will still have braking
at two wheels.this defeats the
purpose of the ABS. Let the ABS
work f or you by always keeping f irm,
steady pressure on the brake pedal
as you steer away from the hazard.
This is sometimes ref erred to as
You will f eel a pulsation in the brake
pedal when the ABS activates, and
you may hear some noise. This is
normal, it is the ABS rapidly
pumping the brakes.
The U.S. EX model and Canadian
Si-G model have an Anti-lock Brake
System (ABS) as standard
equipment.
When the f ront tires skid, you lose
steering control; the car continues
straightaheadeventhoughyouturn
the steering wheel. The ABS helps to
prevent lock-up and helps you retain
steering control by pumping the
brakes rapidly; much f aster than a
person can do it.
ABS helps to prevent the wheels
f rom locking up and skidding during
hard braking, allowing you to retain
steering control.
‘‘stomp and steer.’’
Brake System Design A nti-lock Brakes You should never pump the
brake pedal,
The Braking System
Driving190
FFrroonntt
Page 190 of 319

on loose or
uneven surf aces, such as gravel or
snow, than a vehicle without anti-
lock. Slow down and allow a greater
distance between vehicles under
those conditions.
it
only helps with steering control
during braking. You should always
maintain a saf e f ollowing distance
f rom other vehicles.
such as trying to take a
corner too f ast or making a sudden
lane change. Always drive at a safe,
prudent speed f or the road and
weather conditions.
Always steer moderately
when you are braking hard. Severe
or sharp steering wheel movement
can still cause your car to veer into
oncoming traffic or off the road.
Activation varies with the amount of
traction your tires have. On dry
pavement, you will need to press on
thebrakepedalveryhardbeforeyou
activate the ABS. However, you may
feel the ABS activate immediately if
you are trying to stop on snow or ice.
CONT INUED
A vehicle with A BS may require a
longer distance to stop
A BS does not reduce the time or
distance it takes to stop the car,
A BS will not prevent a skid that
results f rom changing direction
abruptly,
A BS cannot prevent a loss of
stability.Import ant Saf et y Reminders
The Braking System
Driving191
Page 191 of 319
�Î�Î
�Î�Î
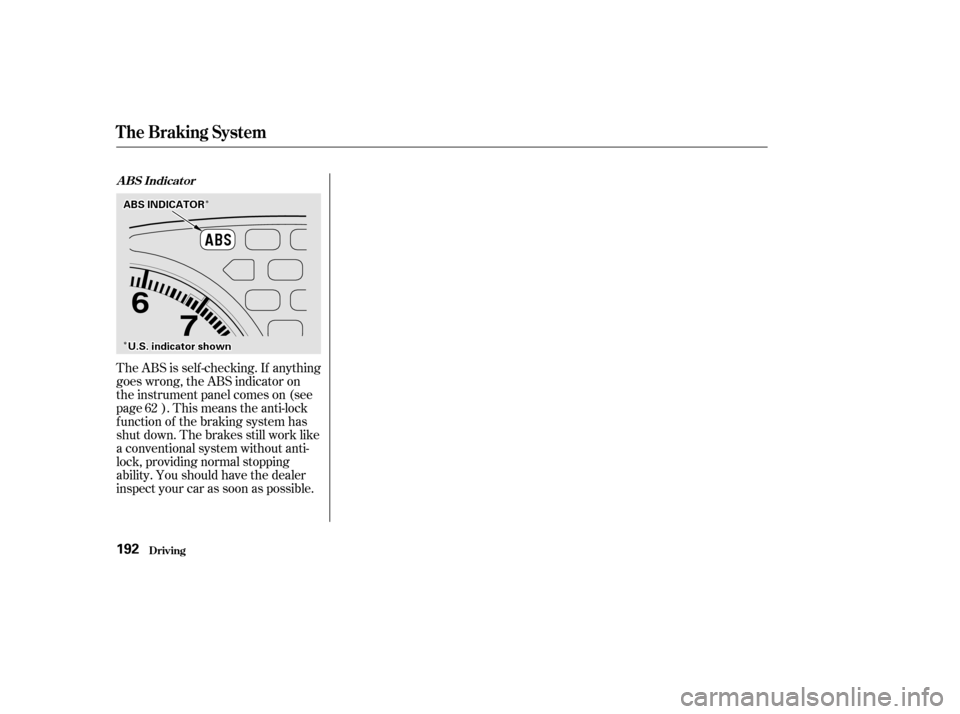
The ABS is self -checking. If anything
goes wrong, the ABS indicator on
the instrument panel comes on (see
page ). This means the anti-lock
f unction of the braking system has
shut down. The brakes still work like
a conventional system without anti-
lock, providing normal stopping
ability. You should have the dealer
inspect your car as soon as possible.62
A BS Indicat or
The Braking System
Driving192
UU..SS..iinnddiiccaattoorrsshhoowwnn
AABBSSIINNDDIICCAATTOORR
Page 193 of 319
. In the
winter, mount snow tires on all f")
�µCheck your tires
f requently f or wear and proper
pressure. Both are important in
preventing ‘‘hydroplaning’’ (loss of
traction on a wet surface). In the
winter, mount snow tires on all f our
wheels f or the best handling.
Watch road conditions caref ully,
they can change f rom moment to
moment. Wet leaves can be as slip-
pery as ice. ‘‘Clear’’ roads can have
patches of ice. Driving conditions
can be very hazardous when the
outside temperature is near f reezing.
The road surf ace can become
covered with areas of water puddles
mixed with areas of ice, so your
traction can change without warning.
Be caref ul when downshif ting. If
traction is low, you can lock up the
drive wheels f or a moment and cause
askid. Be very cautious when passing, or
beingpassedbyothervehicles.The
spray f rom large vehicles reduces
your visibility, and the wind buf f eting
can cause you to lose control.Your vehicle is not designed to tow a
trailer. Attempting to do so can void
your warranties.
Towing a Trailer
Traction
Driving in Bad Weather, Towing a Trailer
Driving194
Page 201 of 319
 or 6 months")
�µ
�Î �Î�Î�Ì�Î
�Ì�Ì
�Î
�Ì�Î
Maint enance202
Service at the indicated distance or time whichever comes first. miles x 1,000
km x 1,000
months Replace every 5,000 miles (8,000 km) or 6 months
At 120,000 miles (192,000 km) or 10 years,
then every 60,000 miles (96,000 km) or 5 years Every 110,000 miles (176,000 km) or 7 years
Inspect every 110,000 miles (176,000 km), otherwise adjust only if noisy Every 110,000 miles (176,000 km)
Every 15,000 miles (24,000 km) in dusty conditions,
otherwise use normal schedule
Service the following items at the recommended intervals.
2032
1016 30484064 5080 70
112 80
128 90
144 100160110176 120192
6096
Check oil and coolant at each fuel stop
See information on maintenance and emissions warranty, last column, page .
Refer to page for replacement information under special driving conditions.
Refer to page for replacement information under special driving conditions.
Every 3 years (independent of mileage)
Replace engine oil
Rotate tires (Check tire inflation and condition at least once per month)
Replace engine oil filter
Inspect front and rear brakes
Lubricate all hinges, locks and latches
Visually inspect the following items:
Tie rod ends, steering gear box and boots, Suspension components
Driveshaft boots
Check engine oil and coolant
Visually inspect the following items: Brake hoses and lines (including ABS)
All fluid levels and condition of fluidsExhaust system, Fuel lines and connections
Lights and controls, Vehicle underbody
Check parking brake adjustment
Inspect and adjust drive belts
Replace dust and pollen filter
Replace transmission fluid
Replace air cleaner element
Replace spark plugs
Inspect valve clearance
Replace timing belt , and inspect water pump
Inspect idle speed
Replace engine coolant
Replace brake fluid
Replace at 60,000 miles (96,000 km) or 3 years, then every 40,000 miles (64,000 km) or 2 years. 24 48 72
12 36 60
1: 2:3: : 235
237
199
M/T
A/TCVT
3
1
2
Maintenance Schedule for Severe Conditions
Page 202 of 319

�µ�µ
�Ø �Ø�Ø �Ø �Ø �Ø�Ø�Ø �Ø �Ø�Ø�Ø �Ø �Ø�Ø �Ø �Ø�Ø�Ø�Ø�Ø
�Ì�Ì
�Î
CONT INUED
Maint enance203
U.S. Owners
Canadian Owners B
A
C
D E
Service at the indicated distance or time, whichever comes first.
Refer to page to determine which schedule to use.Use the Maintenance Schedule for Severe Conditions.
Do items in A.
Do items in A, B.
Do items in A, C.
DoitemsinA,B,D.
Do items in A.
DoitemsinA,B,C,E.
Do items in A.
DoitemsinA,B,D.Replace brake fluid (independent of mileage)
Do items in A, C.
Do items in A, B.
Do items in A. Replace transmission fluid (CVT).
Replace transmission fluid (M/T, A/T).
DoitemsinA,B,C,D,E.
Do items in A.
Do items in A, B.
Do items in A, C.
DoitemsinA,B,D.
Do items in A.
Replace transmission fluid (A/T).
DoitemsinA,B,C,E. Replace engine oil.
Inspect front and rear brakes.
Rotate tires (follow pattern on page 241 ).
Lubricate all hinges, locks, and latches include thehood.
Inspect tie rod ends, steering gear box and boots.
Inspect suspension components.
Inspect driveshaft boots.
Replace air cleaner element.Every 15,000mi/24,000
km (independent of time) under dusty conditions,
otherwise use Normal Conditions schedule.
Check parking brake adjustment.
Inspect brake hoses and lines (including ABS).
Check all fluid levels, condition of fluids, and check
for leaks.
Inspect exhaust system.
Inspect fuel lines and connections.
Check all lights.
Inspect the underbody.
Inspect and adjust drive belts.
Replace dust and pollen filter .
5,000 mi/8,000 km/6 mos
10,000 mi/16,000 km/1 yr
15,000 mi/24,000 km/1-½ yrs
20,000 mi/32,000 km/1 yr
25,000 mi/40,000 km/2 yrs
30,000 mi/48,000 km/2 yrs
35,000 mi/56,000 km/2-½ yrs
40,000 mi/64,000 km/2 yrs
3yrs
45,000 mi/72,000 km/3 yrs
50,000 mi/80,000 km/3 yrs
55,000 mi/88,000 km/3-½ yrs
At 60,000 mi/96,000 km
or 3 yrs,
then every 40,000 mi/
64,000 km or 2 yrs
60,000 mi/96,000 km/3 yrs
65,000 mi/104,000 km/4 yrs
70,000 mi/112,000 km/4 yrs
75,000 mi/120,000 km/4-½ yrs
80,000 mi/128,000 km/4 yrs
85,000 mi/136,000 km/5 yrs
90,000 mi/144,000 km/5 yrs 198
1
Maintenance Schedule for Severe Conditions (listed by distance/time)
Page 213 of 319
Remove the radiator cap by
pushing down and turning
counterclockwise.
Turn the radiator cap counter-
clockwise, without pressing down
on it, until it stops. This relieves
any pressure remaining in the
cooling system.
Pour coolant into the reserve tank.
Fill it to half way between the MAX
and MIN marks. Put the cap back
on the reserve tank.
Put the radiator cap back on.
Tighten it f ully.
The coolant level should be up to
the base of the f iller neck. Add
coolant if it is low. Do not add any rust inhibitors or
other additives to your car’s cooling
system. They may not be compatible
with the coolant or engine compo-
nents.
2. 3. 4. 5. 6.
Cooling Syst em
Maint enance214
RRAADDIIAATTOORRCCAAPPRREESSEERRVVEETTAANNKK
Page 214 of 319
CONT INUED
Remove the radiator cap.
Turn the ignition ON (II). Turn
the temperature control dial to
maximum heat. Turn of f the
ignition. Open the hood. Make
sure the engine and radiator are
cool to the touch.
Loosen the drain plug on the
bottom of the radiator. The
coolant will drain through the
splash guard. Remove the drain
bolt and washer f rom the engine
block.
Draining the coolant requires access
to the underside of the car. Unless
you have the tools and knowledge,
you should have this maintenance
done by a skilled mechanic.
Thecoolingsystemshouldbe
completely drained and ref illed with
new coolant according to the time
and distance recommendations in
the maintenance schedule. Only use
Honda All Season Antif reeze/
Coolant Type 2.
1.3.
2.
Replacing Engine Coolant
Cooling Syst em
Maint enance215

. Turn
the temperature control dial to
maximum heat. Turn of f the
ignition. Open the hood. Make
sure the engine and radiator are
cool to")