Page 19 of 264
AM/FM STEREO CASSETTE
1.Balance:Press to shift sound to
the left/right speakers.
2.Fade:Press to shift sound to the
rear/front speakers.
3.CLK:To set the hour, press and
hold CLK. Then press SEEK to
decrease
or increasethe
hours.
To set the minute, press and hold CLK and press TUNE to decrease
or increasethe minutes.
4.Tape AMS:In tape mode, press
and hold to activate Automatic
Music Search (allows you to quickly
locate the beginning of the tape selection being played or to skip to the
SCAN
BASS TREB BAL FADE
SIDE
EJ
REW FF1 - 2TAPE
AMS
SEEK
TUNE
AM
FMCLK
12 3456
FM1ST
13141516171234
VOL - PUSH ON
12
11
10
9
65
87
CLK
TAPE
AMS
Entertainment Systems
19
Page 24 of 264
10.Balance:Press BAL; then press
SEL
/to shift sound to the
left/right speakers.
Fade:Press FADE; then press
SEL
/to shift sound to the
rear/front speakers.
11.Memory preset buttons:To
set a station: Select frequency band
AM/FM1/FM2; tune to a station,
press and hold a preset button until sound returns.
12.Shuffle (CD):Press to play
tracks in random order.
13.Compression (CD):Press to
bring soft and loud passages
together for a more consistent
listening level.
14.
Dolby�noise reduction:
Works in tape mode only. Reduces
tape noise and hiss; press to
activate/deactivate.
15.Side 1–2:Works in tape mode
only. Press to play reverse side of
the tape.
16.Fast Forward (FF):Press for
a slow advance, press and hold for a
fast advance.
17.Rewind (REW):Press for a
slow rewind, press and hold for a
fast rewind.
FF2
REW1
Entertainment Systems
24
Page 27 of 264

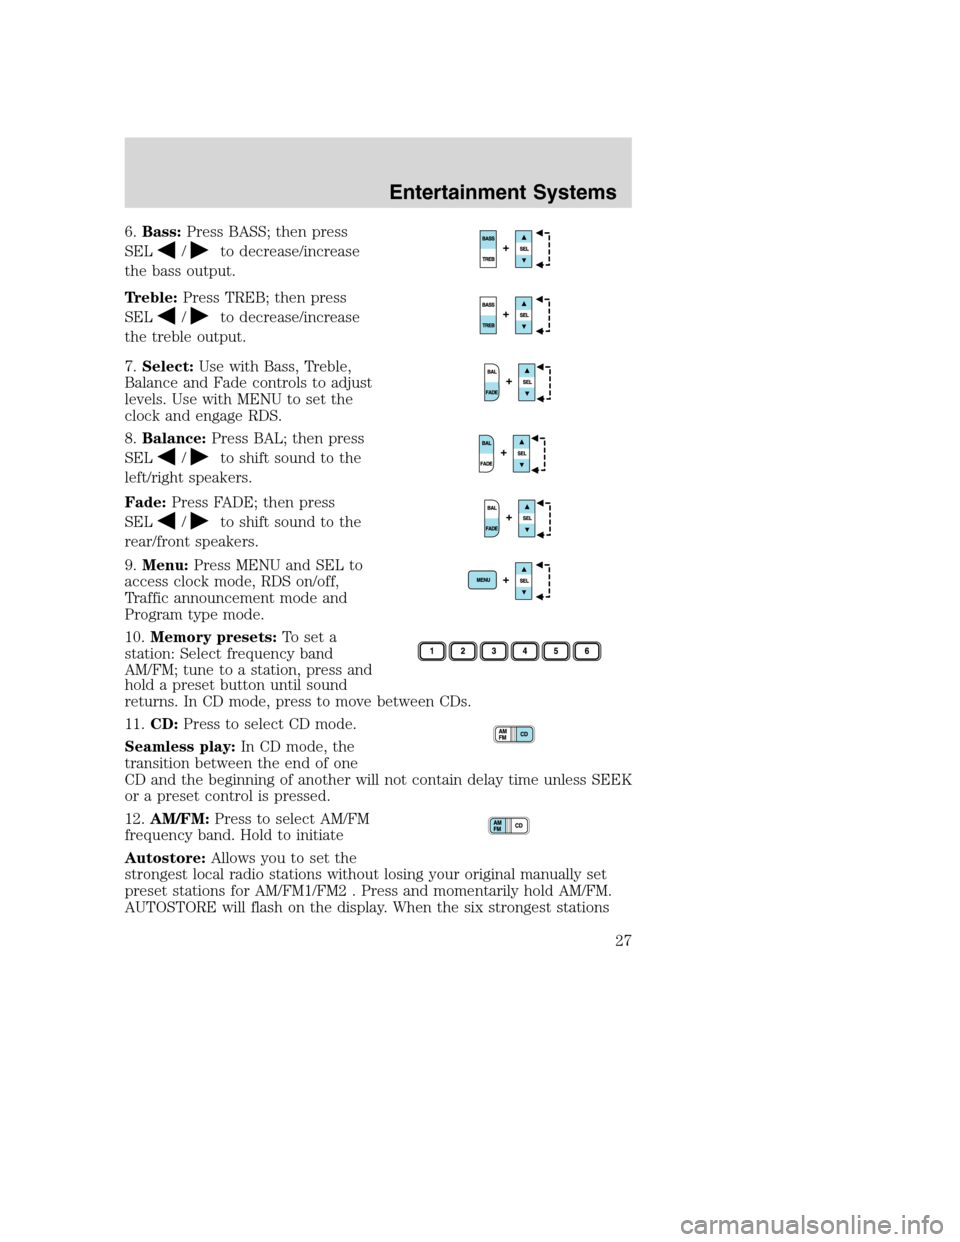
6.Bass:Press BASS; then press
SEL
/to decrease/increase
the bass output.
Treble:Press TREB; then press
SEL
/to decrease/increase
the treble output.
7.Select:Use with Bass, Treble,
Balance and Fade controls to adjust
levels. Use with MENU to set the
clock and engage RDS.
8.Balance:Press BAL; then press
SEL
/to shift sound to the
left/right speakers.
Fade:Press FADE; then press
SEL
/to shift sound to the
rear/front speakers.
9.Menu:Press MENU and SEL to
access clock mode, RDS on/off,
Traffic announcement mode and
Program type mode.
10.Memory presets:To set a
station: Select frequency band
AM/FM; tune to a station, press and
hold a preset button until sound
returns. In CD mode, press to move between CDs.
11.CD:Press to select CD mode.
Seamless play:In CD mode, the
transition between the end of one
CD and the beginning of another will not contain delay time unless SEEK
or a preset control is pressed.
12.AM/FM:Press to select AM/FM
frequency band. Hold to initiate
Autostore:Allows you to set the
strongest local radio stations without losing your original manually set
preset stations for AM/FM1/FM2 . Press and momentarily hold AM/FM.
AUTOSTORE will flash on the display. When the six strongest stations
Entertainment Systems
27
Page 28 of 264

are filled, the station stored in preset 1 will begin playing. If there are
less than six strong stations, the system will store the last one in the
remaining presets. Press again to disengage.
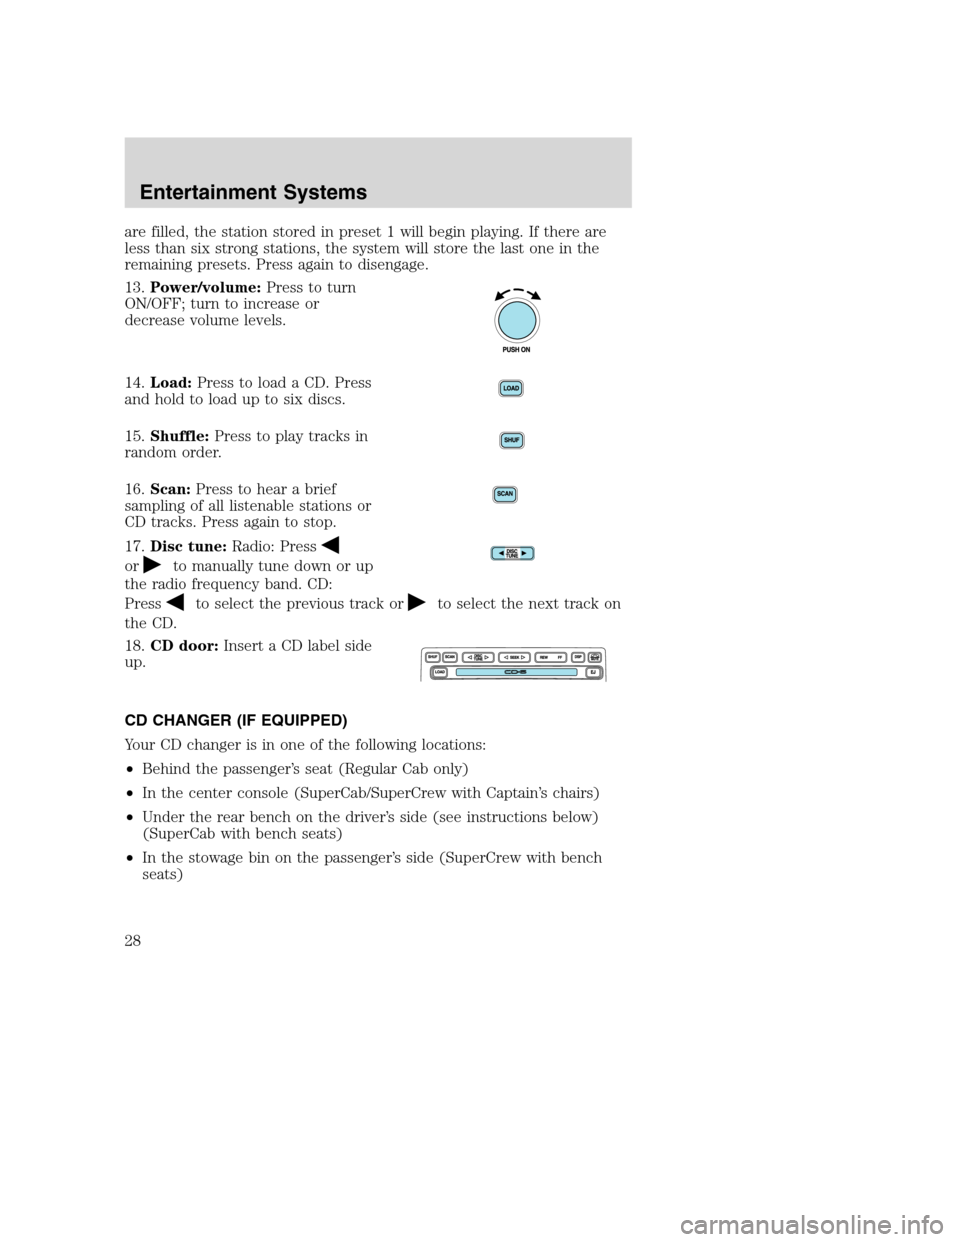
13.Power/volume:Press to turn
ON/OFF; turn to increase or
decrease volume levels.
14.Load:Press to load a CD. Press
and hold to load up to six discs.
15.Shuffle:Press to play tracks in
random order.
16.Scan:Press to hear a brief
sampling of all listenable stations or
CD tracks. Press again to stop.
17.Disc tune:Radio: Press
orto manually tune down or up
the radio frequency band. CD:
Press
to select the previous track orto select the next track on
the CD.
18.CD door:Insert a CD label side
up.
CD CHANGER (IF EQUIPPED)
Your CD changer is in one of the following locations:
•Behind the passenger’s seat (Regular Cab only)
•In the center console (SuperCab/SuperCrew with Captain’s chairs)
•Under the rear bench on the driver’s side (see instructions below)
(SuperCab with bench seats)
•In the stowage bin on the passenger’s side (SuperCrew with bench
seats)
Entertainment Systems
28
Page 30 of 264

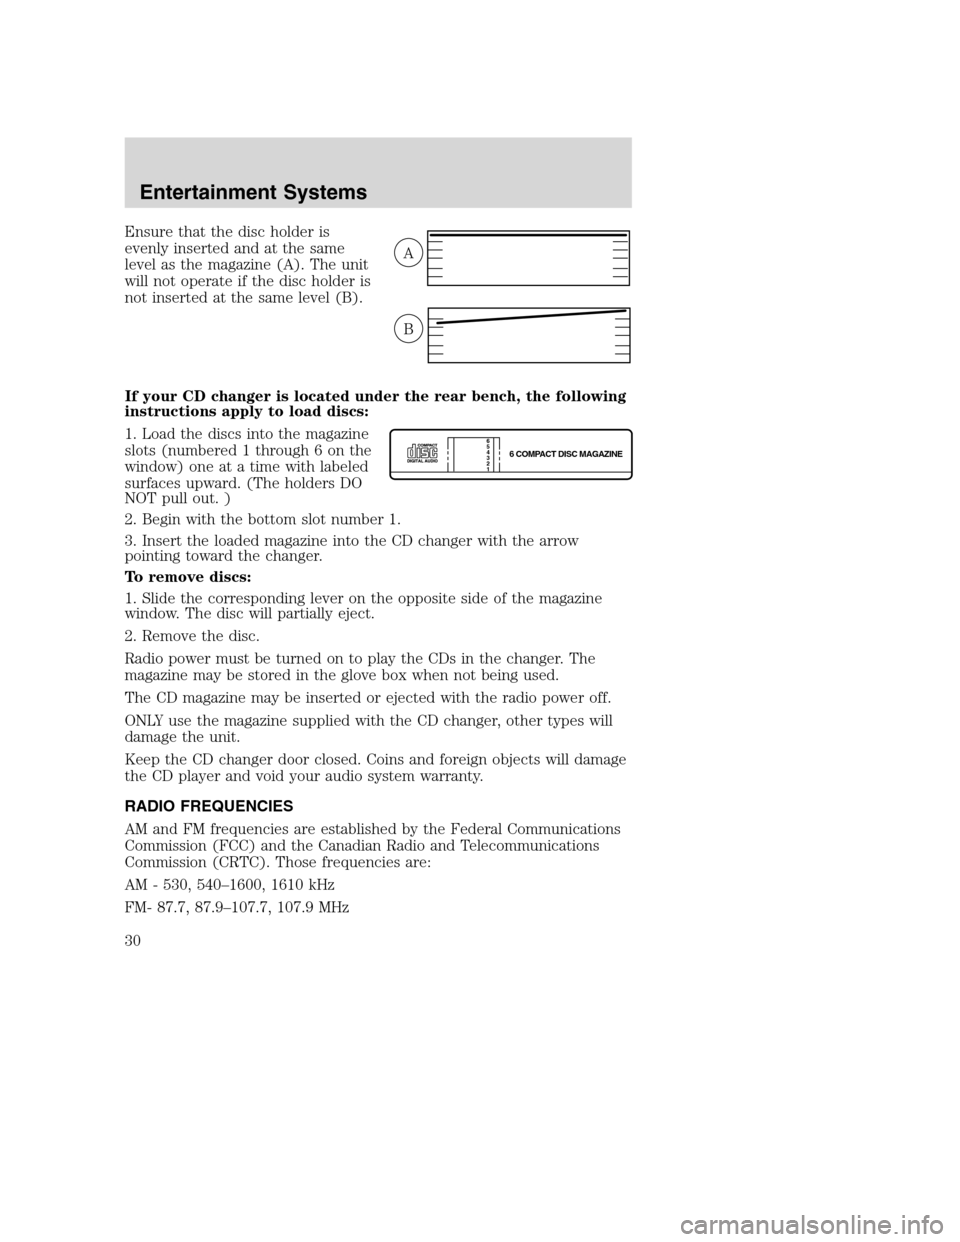
Ensure that the disc holder is
evenly inserted and at the same
level as the magazine (A). The unit
will not operate if the disc holder is
not inserted at the same level (B).
If your CD changer is located under the rear bench, the following
instructions apply to load discs:
1. Load the discs into the magazine
slots (numbered 1 through 6 on the
window) one at a time with labeled
surfaces upward. (The holders DO
NOT pull out. )
2. Begin with the bottom slot number 1.
3. Insert the loaded magazine into the CD changer with the arrow
pointing toward the changer.
To remove discs:
1. Slide the corresponding lever on the opposite side of the magazine
window. The disc will partially eject.
2. Remove the disc.
Radio power must be turned on to play the CDs in the changer. The
magazine may be stored in the glove box when not being used.
The CD magazine may be inserted or ejected with the radio power off.
ONLY use the magazine supplied with the CD changer, other types will
damage the unit.
Keep the CD changer door closed. Coins and foreign objects will damage
the CD player and void your audio system warranty.
RADIO FREQUENCIES
AM and FM frequencies are established by the Federal Communications
Commission (FCC) and the Canadian Radio and Telecommunications
Commission (CRTC). Those frequencies are:
AM - 530, 540–1600, 1610 kHz
FM- 87.7, 87.9–107.7, 107.9 MHz
A
B
6 COMPACT DISC MAGAZINE1 2 3 4 5
6
Entertainment Systems
30