2002 FORD SUPER DUTY brakes
[x] Cancel search: brakesPage 2 of 264
Driving 101
Starting 101
Brakes 105
Transmission operation 109
Trailer towing 130
Roadside Emergencies 158
Getting roadside assistance 158
Fuses and relays 160
Changing tires 165
Jump starting 174
Wrecker towing 179
Customer Assistance 181
Reporting safety defects (U.S. only) 189
Cleaning 190
Maintenance and Specifications 196
Engine compartment 198
Engine oil 199
Battery 202
Fuel information 210
Air filter(s) 227
Part numbers 234
Refill capacities 234
Lubricant specifications 237
Accessories 251
Index 255
All rights reserved. Reproduction by any means, electronic or mechanical
including photocopying, recording or by any information storage and retrieval
system or translation in whole or part is not permitted without written
authorization from Ford Motor Company. Ford may change the contents without
notice and without incurring obligation.
Copyright © 2002 Ford Motor Company
Table of Contents
2
Page 50 of 264
Never adjust the accelerator and brake pedal with feet on pedals
or while the vehicle is moving.
SPEED CONTROL (IF EQUIPPED)
With speed control set, you can maintain a speed of 48 km/h (30 mph)
or more without keeping your foot on the pedal. Speed control does not
work at speeds below 48 km/h (30 mph).
Do not use the speed control in heavy traffic or on roads that
are winding, slippery or unpaved.
Setting speed control
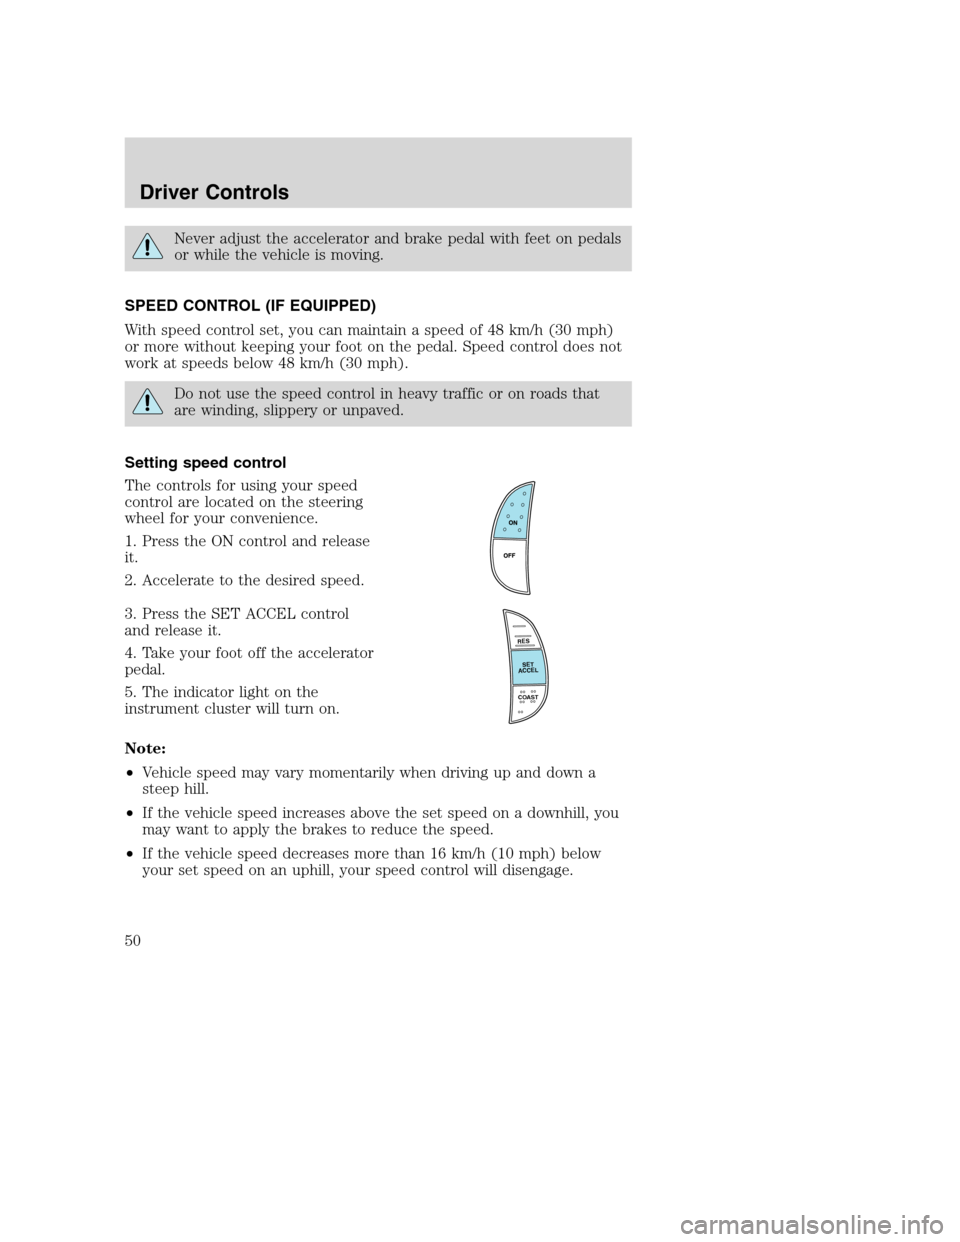
The controls for using your speed
control are located on the steering
wheel for your convenience.
1. Press the ON control and release
it.
2. Accelerate to the desired speed.
3. Press the SET ACCEL control
and release it.
4. Take your foot off the accelerator
pedal.
5. The indicator light on the
instrument cluster will turn on.
Note:
•Vehicle speed may vary momentarily when driving up and down a
steep hill.
•If the vehicle speed increases above the set speed on a downhill, you
may want to apply the brakes to reduce the speed.
•If the vehicle speed decreases more than 16 km/h (10 mph) below
your set speed on an uphill, your speed control will disengage.
R
E
S
S
E
T
A
C
C
E
L
COAST
Driver Controls
50
Page 72 of 264
The front and rear outboard safety restraints in the vehicle are
combination lap and shoulder belts. The front passenger and rear seat
outboard safety belts have two types of locking modes described below:
Vehicle sensitive mode
This is the normal retractor mode, which allows free shoulder belt length
adjustment to your movements and locking in response to vehicle
movement. For example, if the driver brakes suddenly or turns a corner
sharply, or the vehicle receives an impact of approximately 8 km/h
(5 mph) or more, the combination safety belts will lock to help reduce
forward movement of the driver and passengers.
On SuperCab and CrewCab models, the front seat belt system can also
be made to lock manually by quickly pulling on the shoulder belt.
Rear seat belts (if equipped) cannot be made to lock up by pulling
quickly on the belt.
Automatic locking mode
The automatic locking mode is not available on the driver safety belt.
When to use the automatic locking mode
In this mode, the shoulder belt is automatically pre-locked. The belt will
still retract to remove any slack in the shoulder belt. The automatic
locking mode is not available on the driver safety belt.
This mode should be usedany timea child safety seat is installed in a
passenger front or outboard rear seating position (if equipped). Children
12 years old and under should be properly restrained in the rear seat
whenever possible. Refer toSafety restraints for childrenorSafety
seats for childrenlater in this chapter.
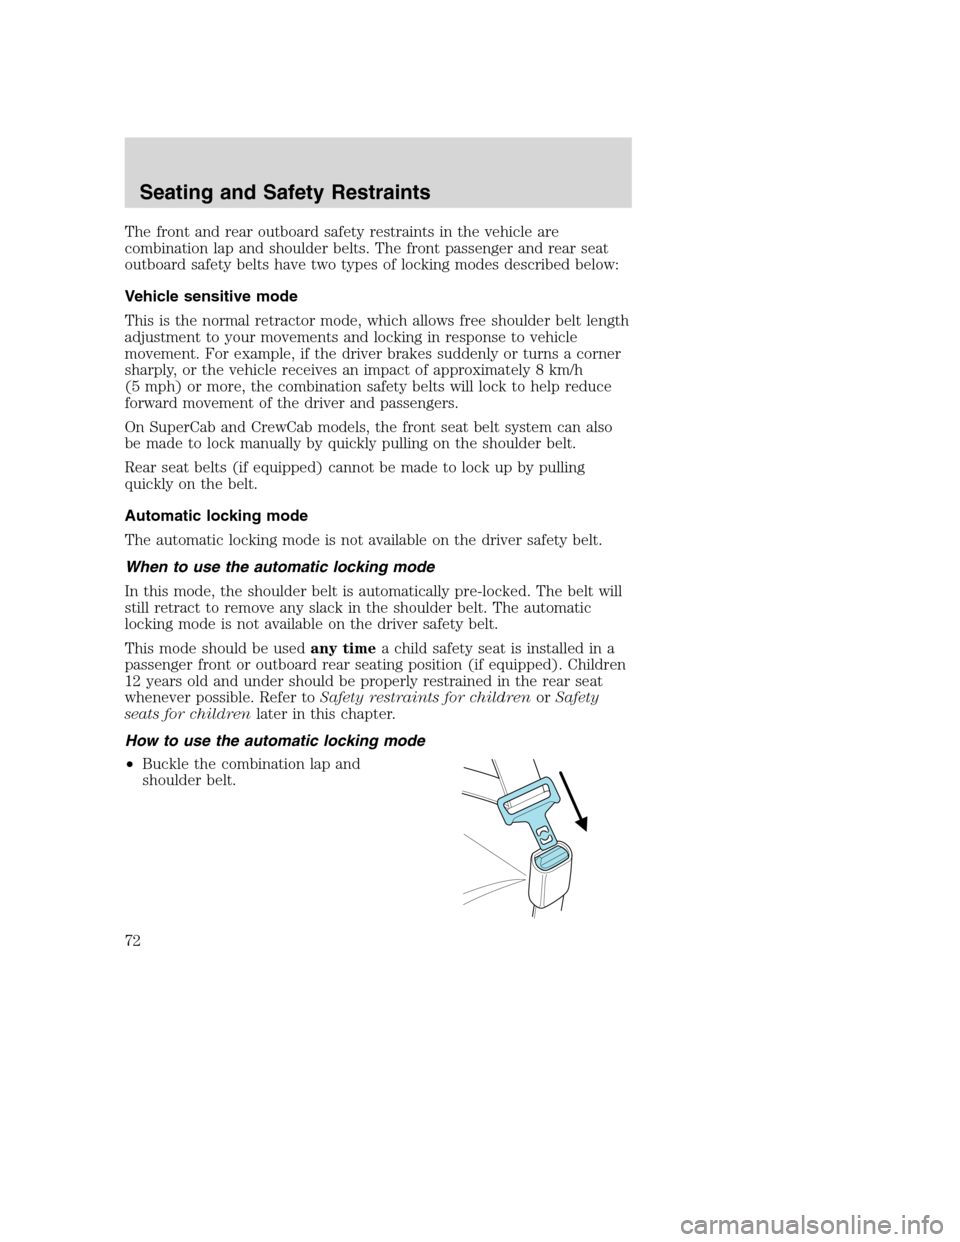
How to use the automatic locking mode
•Buckle the combination lap and
shoulder belt.
Seating and Safety Restraints
72
Page 105 of 264
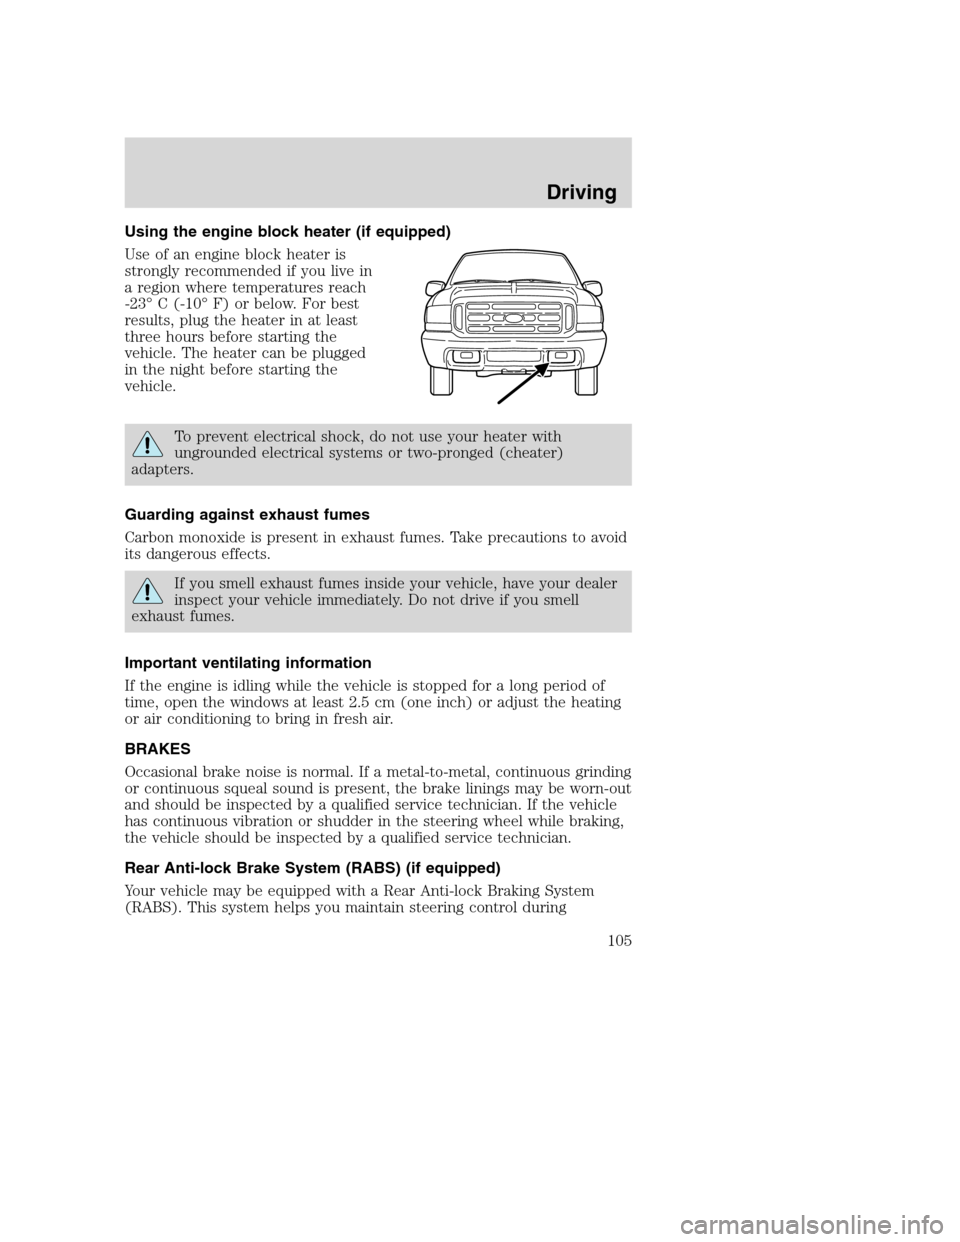
Using the engine block heater (if equipped)
Use of an engine block heater is
strongly recommended if you live in
a region where temperatures reach
-23° C (-10° F) or below. For best
results, plug the heater in at least
three hours before starting the
vehicle. The heater can be plugged
in the night before starting the
vehicle.
To prevent electrical shock, do not use your heater with
ungrounded electrical systems or two-pronged (cheater)
adapters.
Guarding against exhaust fumes
Carbon monoxide is present in exhaust fumes. Take precautions to avoid
its dangerous effects.
If you smell exhaust fumes inside your vehicle, have your dealer
inspect your vehicle immediately. Do not drive if you smell
exhaust fumes.
Important ventilating information
If the engine is idling while the vehicle is stopped for a long period of
time, open the windows at least 2.5 cm (one inch) or adjust the heating
or air conditioning to bring in fresh air.
BRAKES
Occasional brake noise is normal. If a metal-to-metal, continuous grinding
or continuous squeal sound is present, the brake linings may be worn-out
and should be inspected by a qualified service technician. If the vehicle
has continuous vibration or shudder in the steering wheel while braking,
the vehicle should be inspected by a qualified service technician.
Rear Anti-lock Brake System (RABS) (if equipped)
Your vehicle may be equipped with a Rear Anti-lock Braking System
(RABS). This system helps you maintain steering control during
Driving
105
Page 106 of 264
emergency stops by keeping the rear brakes from locking. The front
wheels, however, may still lock since they are not controlled by the
RABS. Noise from the ABS pump motor and brake pedal pulsation may
be observed during ABS braking; this is normal.
RABS warning lamp
The
ABSwarning lamp in the instrument cluster momentarily illuminates
when the ignition is turned to the ON position. If the light does not
illuminate momentarily at start up, remains on or continues to flash, the
ABS needs to be serviced.
With the ABS light on, the anti-lock
brake system is disabled and normal
braking is still effective unless the
brake warning light also remains
illuminated with parking brake released. (If your brake warning lamp
illuminates, have your vehicle serviced immediately.)
Using RABS
In an emergency, applying full pressure may cause the front wheels to
lock.If the front brakes lock, the vehicle cannot be steered.Yo u
should apply the brakes with steadily increasing force, as if “squeezing”
the brakes. If you feel the front wheels begin to lock, momentarily
release the pedal and repeat the “squeeze” technique.
Four-wheel anti-lock brake system (ABS)
Your vehicle is equipped with an Anti-lock Braking System (ABS). This
system helps you maintain steering control during emergency stops by
keeping the brakes from locking. Noise from the ABS pump motor and
brake pedal pulsation may be observed during ABS braking; any
pulsations or mechanical noise you may feel or hear is normal.
ABS warning lamp
ABS
TheABSlamp in the instrument cluster momentarily illuminates when
the ignition is turned to ON. If the light does not illuminate during start
up, remains on or flashes, the ABS may be disabled and the ABS may
need to be serviced
Even when the ABS is disabled,
normal braking is still effective. (If
your BRAKE warning lamp
illuminates with the parking brake
released, have your brake system serviced immediately.)
Driving
106
Page 110 of 264
Do not drive your vehicle until you verify that the brakelamps
are working.
Always set the parking brake fully and make sure the gearshift is
latched in P (Park). Turn the ignition to the LOCK position and
remove the key whenever you leave your vehicle.
If the parking brake is fully released, but the brake warning lamp
remains illuminated, the brakes may not be working properly.
See your dealer or a qualified service technician.
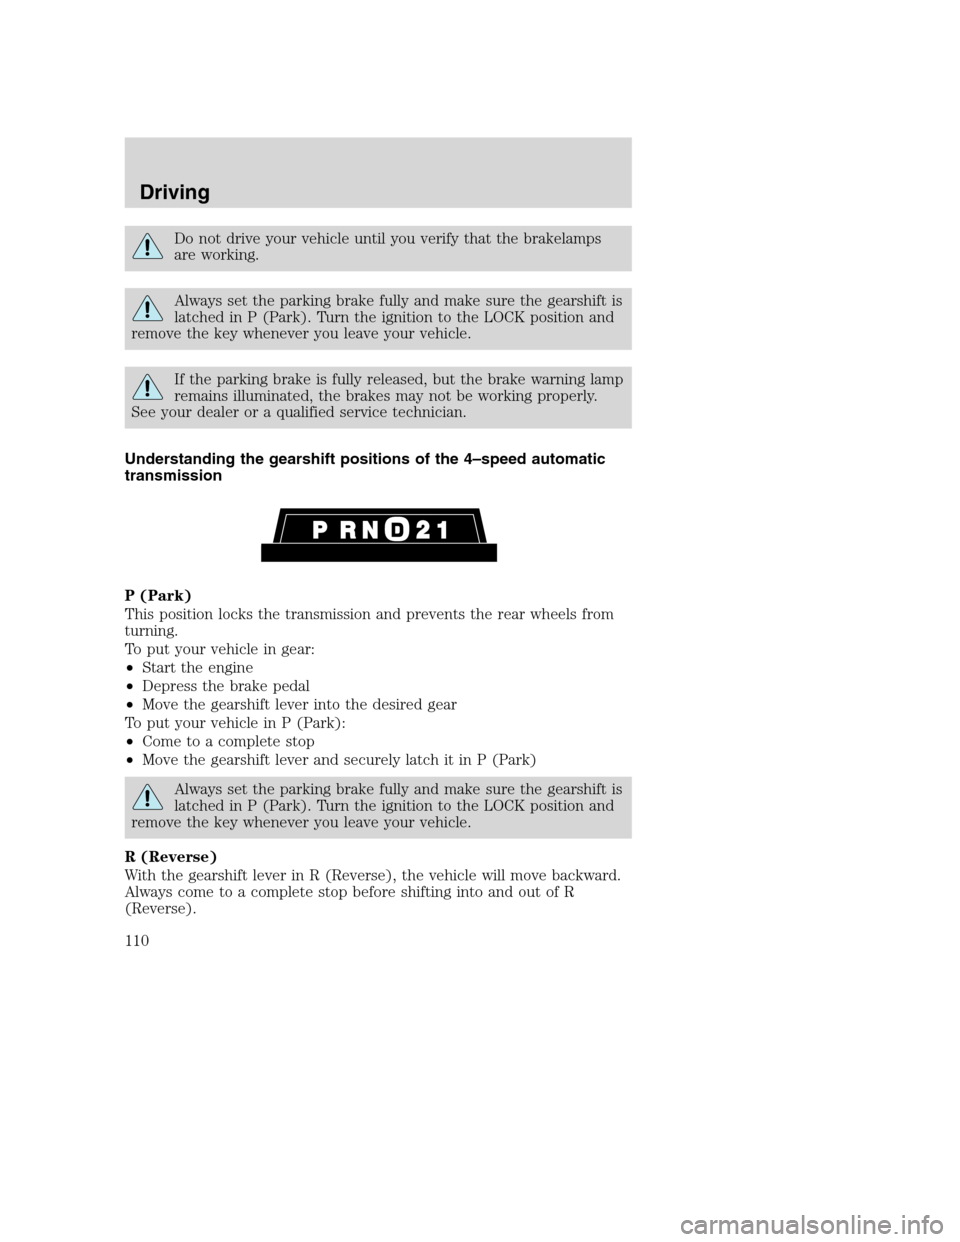
Understanding the gearshift positions of the 4–speed automatic
transmission
P (Park)
This position locks the transmission and prevents the rear wheels from
turning.
To put your vehicle in gear:
•Start the engine
•Depress the brake pedal
•Move the gearshift lever into the desired gear
To put your vehicle in P (Park):
•Come to a complete stop
•Move the gearshift lever and securely latch it in P (Park)
Always set the parking brake fully and make sure the gearshift is
latched in P (Park). Turn the ignition to the LOCK position and
remove the key whenever you leave your vehicle.
R (Reverse)
With the gearshift lever in R (Reverse), the vehicle will move backward.
Always come to a complete stop before shifting into and out of R
(Reverse).
Driving
110
Page 121 of 264
If your vehicle gets stuck
If your vehicle gets stuck in mud or snow it may be rocked out by
shifting between forward and reverse gears, stopping between shifts, in a
steady pattern. Press lightly on the accelerator in each gear.
Do not rock the vehicle if the engine is not at normal operating
temperature or damage to the transmission may occur.
Do not rock the vehicle for more than a few minutes or damage
to the transmission and tires may occur or the engine may
overheat.
Always set the parking brake fully and make sure the gearshift is
latched in P (Park). Turn the ignition to the LOCK position and
remove the key whenever you leave your vehicle.
If the parking brake is fully released, but the brake warning lamp
remains illuminated, the brakes may not be working properly.
See your dealer or a qualified service technician.
Do not spin the wheels at over 56 km/h (35 mph). The tires may
fail and injure a passenger or bystander.
Refer toTransmission temperature gaugein theInstrument cluster
chapter for transmission fluid temperature information.
Emergency maneuvers
•In an unavoidable emergency situation where a sudden sharp turn
must be made, remember to avoid “over-driving” your vehicle, i.e.,
turn the steering wheel only as rapidly and as far as required to avoid
the emergency. Excessive steering will result in less vehicle control,
not more. Additionally, smooth variations of the accelerator and/or
brake pedal pressure should be utilized if changes in vehicle speed are
called for. Avoid abrupt steering, acceleration or braking which could
result in an increased risk of loss of vehicle control, vehicle rollover
and/or personal injury. Use all available road surface to return the
vehicle to a safe direction of travel.
•In the event of an emergency stop, avoid skidding the tires and do not
attempt any sharp steering wheel movements.
Driving
121
Page 123 of 264
sounds. This is the front drivetrain coming up to speed and the
automatic locking hubs engaging and is not cause for concern.
Sand
When driving over sand, try to keep all four wheels on the most solid
area of the trail. Avoid reducing the tire pressures but shift to a lower
gear and drive steadily through the terrain. Apply the accelerator slowly
and avoid spinning the wheels.
If you must reduce the tire pressure for whatever reason in sand, make
sure you re-inflate the tires as soon as possible.
Avoid excessive speed because vehicle momentum can work against you
and cause the vehicle to become stuck to the point that assistance may
be required from another vehicle. Remember, you may be able to back
out the way you came if you proceed with caution.
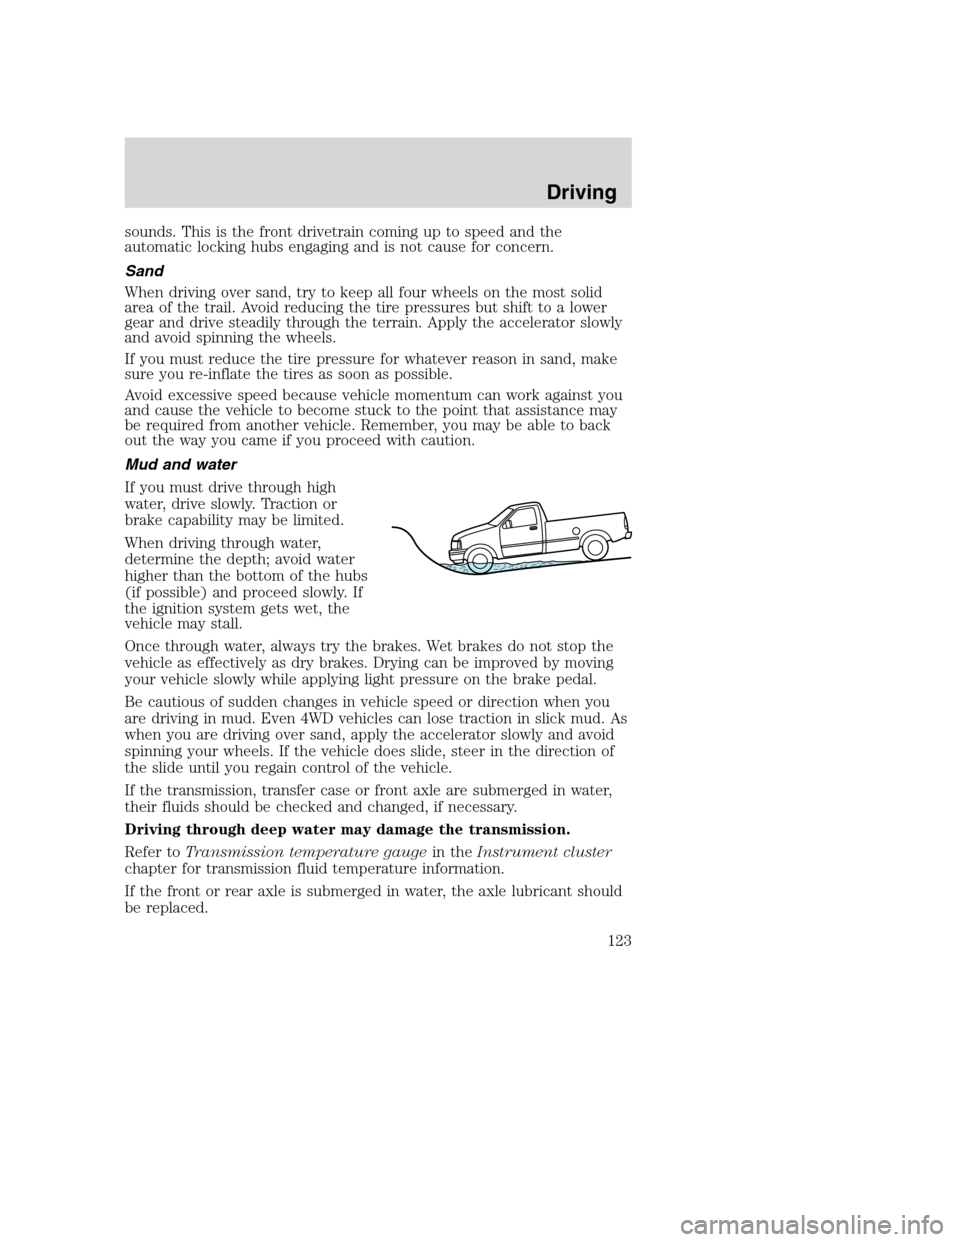
Mud and water
If you must drive through high
water, drive slowly. Traction or
brake capability may be limited.
When driving through water,
determine the depth; avoid water
higher than the bottom of the hubs
(if possible) and proceed slowly. If
the ignition system gets wet, the
vehicle may stall.
Once through water, always try the brakes. Wet brakes do not stop the
vehicle as effectively as dry brakes. Drying can be improved by moving
your vehicle slowly while applying light pressure on the brake pedal.
Be cautious of sudden changes in vehicle speed or direction when you
are driving in mud. Even 4WD vehicles can lose traction in slick mud. As
when you are driving over sand, apply the accelerator slowly and avoid
spinning your wheels. If the vehicle does slide, steer in the direction of
the slide until you regain control of the vehicle.
If the transmission, transfer case or front axle are submerged in water,
their fluids should be checked and changed, if necessary.
Driving through deep water may damage the transmission.
Refer toTransmission temperature gaugein theInstrument cluster
chapter for transmission fluid temperature information.
If the front or rear axle is submerged in water, the axle lubricant should
be replaced.
Driving
123