2002 FORD F150 change time
[x] Cancel search: change timePage 24 of 320

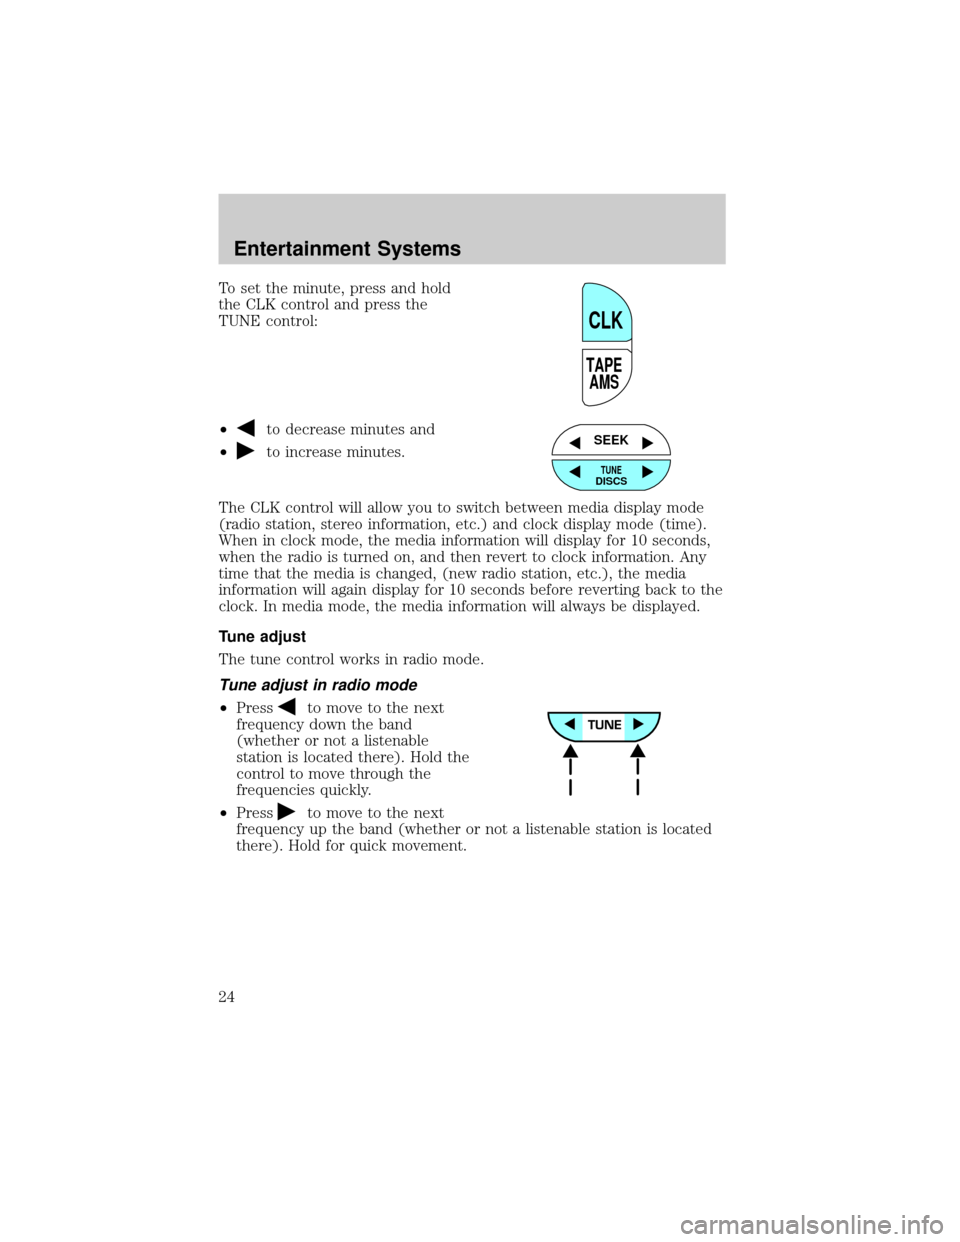
To set the minute, press and hold
the CLK control and press the
TUNE control:
²
to decrease minutes and
²
to increase minutes.
The CLK control will allow you to switch between media display mode
(radio station, stereo information, etc.) and clock display mode (time).
When in clock mode, the media information will display for 10 seconds,
when the radio is turned on, and then revert to clock information. Any
time that the media is changed, (new radio station, etc.), the media
information will again display for 10 seconds before reverting back to the
clock. In media mode, the media information will always be displayed.
Tune adjust
The tune control works in radio mode.
Tune adjust in radio mode
²Pressto move to the next
frequency down the band
(whether or not a listenable
station is located there). Hold the
control to move through the
frequencies quickly.
²Press
to move to the next
frequency up the band (whether or not a listenable station is located
there). Hold for quick movement.
TAPE
AMS
CLK
SEEK
TUNEDISCS
Entertainment Systems
24
Page 32 of 320

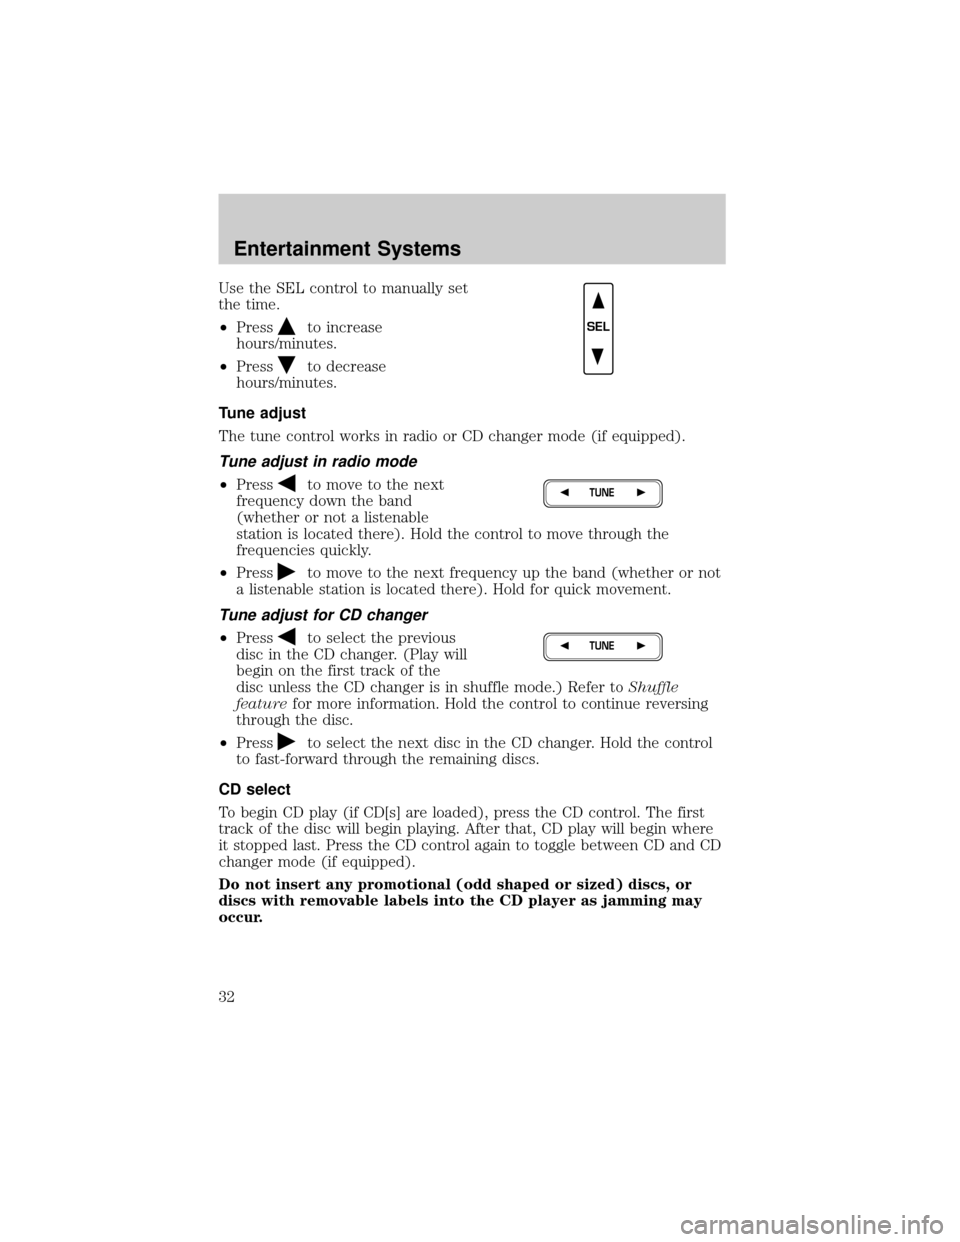
Use the SEL control to manually set
the time.
²Press
to increase
hours/minutes.
²Press
to decrease
hours/minutes.
Tune adjust
The tune control works in radio or CD changer mode (if equipped).
Tune adjust in radio mode
²Pressto move to the next
frequency down the band
(whether or not a listenable
station is located there). Hold the control to move through the
frequencies quickly.
²Press
to move to the next frequency up the band (whether or not
a listenable station is located there). Hold for quick movement.
Tune adjust for CD changer
²Pressto select the previous
disc in the CD changer. (Play will
begin on the first track of the
disc unless the CD changer is in shuffle mode.) Refer toShuffle
featurefor more information. Hold the control to continue reversing
through the disc.
²Press
to select the next disc in the CD changer. Hold the control
to fast-forward through the remaining discs.
CD select
To begin CD play (if CD[s] are loaded), press the CD control. The first
track of the disc will begin playing. After that, CD play will begin where
it stopped last. Press the CD control again to toggle between CD and CD
changer mode (if equipped).
Do not insert any promotional (odd shaped or sized) discs, or
discs with removable labels into the CD player as jamming may
occur.
SEL
TUNE
TUNE
Entertainment Systems
32
Page 46 of 320

Show
²With RDS activated, press the
RDS control until SHOW is
displayed.
²Use the SEL control to select
TYPE (the display shows the
program type), NAME (the
display shows the call letters of
the station) or NONE.
HARLEY-DAVIDSON REAR SEAT CONTROLS (IF EQUIPPED)
The rear seat controls allow the
middle seat passengers to operate
the radio, tape, CD or CD changer
(if equipped).
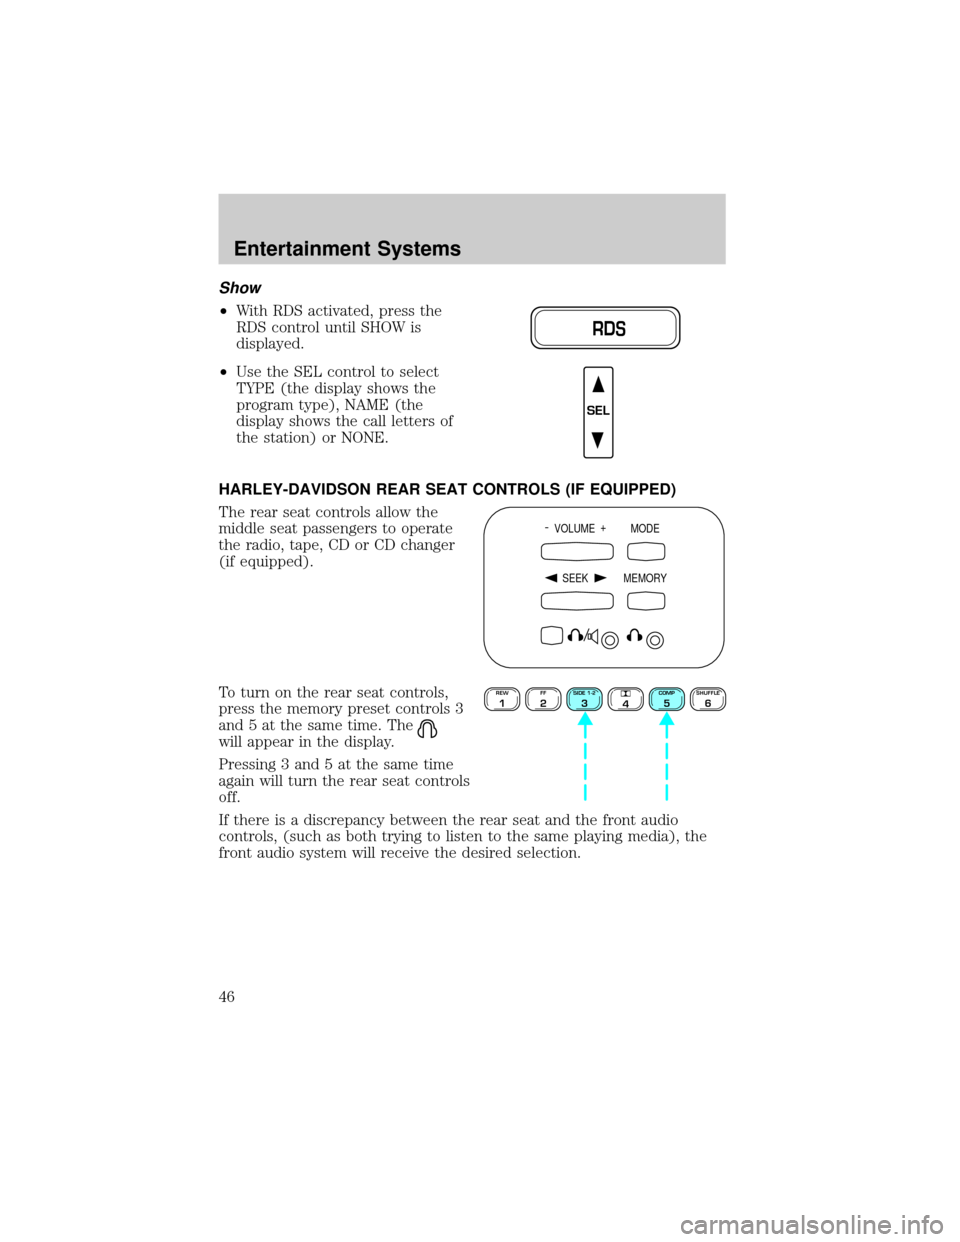
To turn on the rear seat controls,
press the memory preset controls 3
and 5 at the same time. The
will appear in the display.
Pressing 3 and 5 at the same time
again will turn the rear seat controls
off.
If there is a discrepancy between the rear seat and the front audio
controls, (such as both trying to listen to the same playing media), the
front audio system will receive the desired selection.
RDS
SEL
- VOLUME +
MODE
SEEK MEMORY
REW1FF2SIDE 1-23
4COMP5SHUFFLE6
Entertainment Systems
46
Page 51 of 320

If your CD changer is located under the rear bench, the following
instructions apply for loading discs:
1. The holders DO NOT pull out.
Load the discs into the magazine
slots (numbered 1 through 6 on the
window) one at a time with labeled
surfaces upward.
2. Start with the bottom slot
number 1.
3. Insert the loaded magazine into
the CD changer with the arrow on
the top of the magazine pointing
toward the changer.
To remove discs:
1. Slide the corresponding lever on
the opposite side of the magazine
window. The disc will partially eject.
2. Remove the disc.
Radio power must be turned on to
play the CDs in the changer. The
magazine may be stored in the glove
box when not being used.
The CD magazine may be inserted or ejected with the radio power off.
ONLY use the magazine supplied with the CD changer, other types will
damage the unit.
Keep the CD changer door closed. Coins and foreign objects will damage
the CD player and void your audio system warranty.
Do not insert any promotional (odd shaped or sized) discs, or discs
with removable labels into the CD player as jamming may occur.
TROUBLESHOOTING THE CD CHANGER (IF EQUIPPED)
The laser beam used in the compact disc player is harmful to the
eyes. Do not attempt to disassemble the case.
If sound skips:
²
You may be traveling on a rough road, playing badly scratched discs or the
disc may be dirty. Skipping will not scratch the discs or damage the player.
6 COMPACT DISC MAGAZINE1 2 3 4 5
6
INSERT IN THIS DIRECTION
INSERT EACH COMPACT DISC
WITH THE LABEL SURFACE
FACING UP
Entertainment Systems
51
Page 52 of 320

If your changer does not work, it may be that:
²A disc is already loaded where you want to insert a disc.
²The disc is inserted with the label surface downward.
²The disc is dusty or defective.
²The player's internal temperature is above 60ÉC (140ÉF). Allow the
player to cool down before operating.
²A disc with format and dimensions not within industry standards is
inserted.
CLEANING COMPACT DISCS
Inspect all discs for contamination before playing. If necessary, clean
discs only with an approved CD cleaner and wipe from the center out to
the edge. Do not use circular motion.
CD AND CD CHANGER CARE
²Handle discs by their edges only. Never touch the playing surface.
²Do not expose discs to direct sunlight or heat sources for extended
periods of time.
²Do not insert more than one disc into each slot of the CD changer
magazine.
Do not insert any promotional (odd shaped or sized) discs, or
discs with removable labels into the CD player as jamming may
occur.
CLEANING CASSETTE PLAYER (IF EQUIPPED)
Clean the tape player head with a cassette cleaning cartridge after 10 to
12 hours of play in order to maintain the best sound and operation.
CASSETTE AND CASSETTE PLAYER CARE
²Use only cassettes that are 90 minutes long or less.
²Do not expose tapes to direct sunlight, high humidity, extreme heat or
extreme cold. Allow tapes that may have been exposed to extreme
temperatures to reach a moderate temperature before playing.
²Tighten very loose tapes by inserting a finger or pencil into the hole
and turning the hub.
²Remove loose labels before inserting tapes.
Entertainment Systems
52
Page 61 of 320

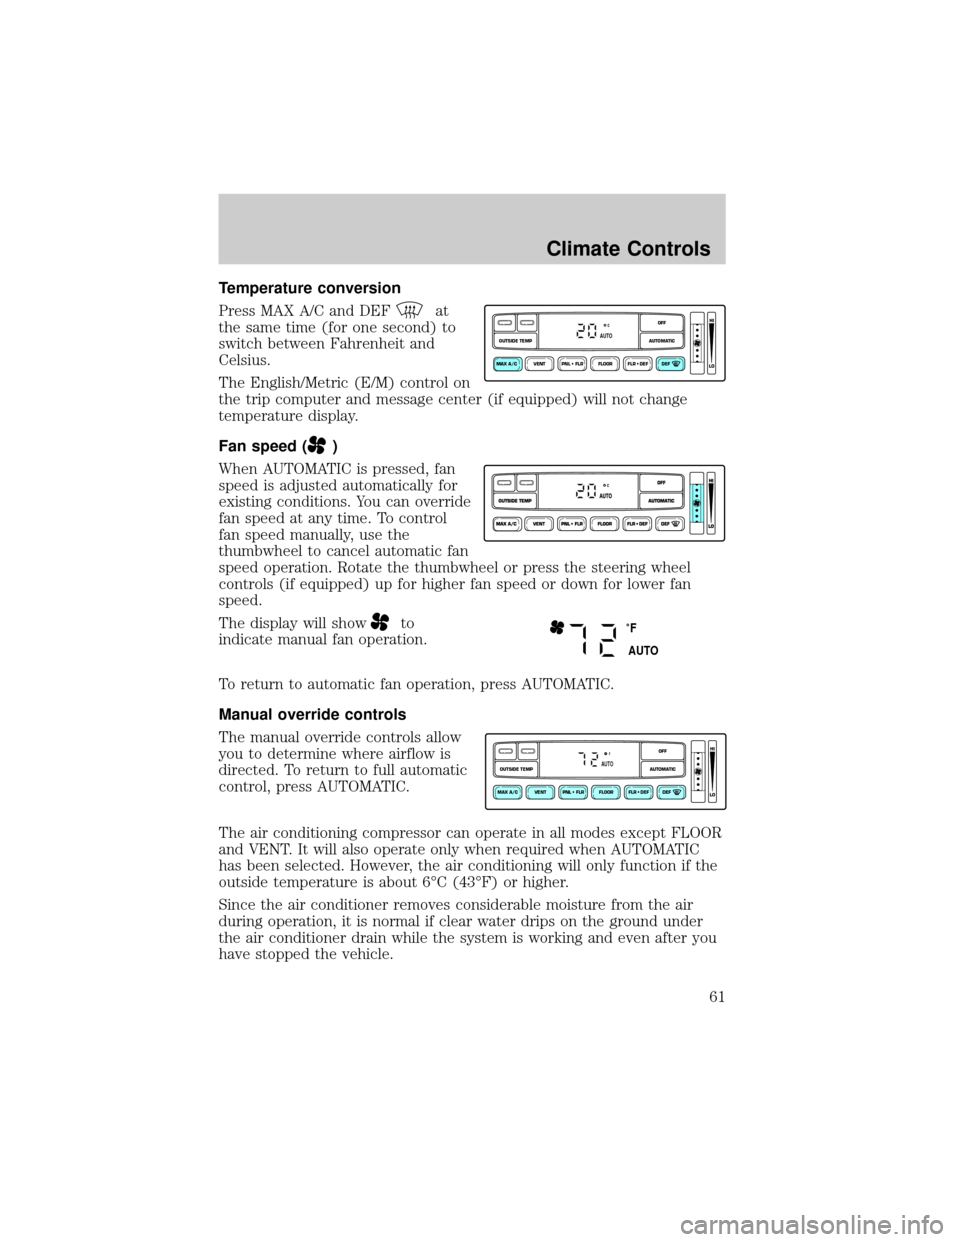
Temperature conversion
Press MAX A/C and DEF
at
the same time (for one second) to
switch between Fahrenheit and
Celsius.
The English/Metric (E/M) control on
the trip computer and message center (if equipped) will not change
temperature display.
Fan speed (
)
When AUTOMATIC is pressed, fan
speed is adjusted automatically for
existing conditions. You can override
fan speed at any time. To control
fan speed manually, use the
thumbwheel to cancel automatic fan
speed operation. Rotate the thumbwheel or press the steering wheel
controls (if equipped) up for higher fan speed or down for lower fan
speed.
The display will show
to
indicate manual fan operation.
To return to automatic fan operation, press AUTOMATIC.
Manual override controls
The manual override controls allow
you to determine where airflow is
directed. To return to full automatic
control, press AUTOMATIC.
The air conditioning compressor can operate in all modes except FLOOR
and VENT. It will also operate only when required when AUTOMATIC
has been selected. However, the air conditioning will only function if the
outside temperature is about 6ÉC (43ÉF) or higher.
Since the air conditioner removes considerable moisture from the air
during operation, it is normal if clear water drips on the ground under
the air conditioner drain while the system is working and even after you
have stopped the vehicle.
VENT PNL • FLR FLOOR FLR • DEF DEF
HI
LO
MAX A/C
OUTSIDE TEMP AUTOMATICOFFAUTO
˚F
AUTO
VENT PNL • FLR FLOOR FLR • DEF DEF
HI
LO
MAX A/C
OUTSIDE TEMP AUTOMATICOFFFAUTO
Climate Controls
61
Page 96 of 320

4. The HomeLinktindicator light will flash, first slowly and then rapidly.
When the indicator light begins to flash rapidly, release both buttons.
The previous device has now been erased and the new device can be
activated by pushing the HomeLinktbutton that has just been
programmed.
Canadian Programming
During programming, your hand-held transmitter may automatically stop
transmitting after two seconds which may not be long enough to
program the HomeLinktUniversal Transceiver.
To program your hand-held
transmitters:
²Continue to hold the button on
the HomeLinktUniversal
Transceiver.
²Press and re-press the hand-held
transmitter button every two
seconds until the red light changes from a slow to a fast flash.
Operating TravelNoteT
TravelNotetrecords and stores messages for up to three minutes in total
length with simple controls. When you get an idea or remember
something important while you're driving, you don't have to try to
scribble it down or pull off the side of the road. All you have to do is
push a button and begin speaking.
To record a message:
1. Press and release theREC
buttonone timeto start recording.
(An audible tone will sound,
confirming the onset of recording).
2. Press and release theREC
buttona second timeto end
recording. (An audible tone will
sound again, confirming the end of recording and the red indicator light
will turn off.)
3.
While a message is being recorded, the indicator light will be a solid red.
4. If the message exceeds the available memory space, two tones will
sound, the indicator light will flash amber and recording will end.
The indicator light will flash amber and an ªerrorº tone will sound if the
RECbutton is pressed when memory is full.
REC DEL PLAY
REC DEL PLAY
Driver Controls
96
Page 108 of 320

To open the tonneau cover from the
inside, pull the ªTº shaped handle
and push up on the tonneau cover
panel. The material that the handle
is made of will glow for hours in the
darkness of the pickup box following
brief exposure to ambient light.
The ªTº shaped handle is located on
the tonneau cover panel.
Keep vehicle doors and tonneau cover locked and keep keys out
of a child's reach. Unsupervised children could lock themselves
in an open pickup box and risk injury. Children should be taught not to
play in vehicles.
On hot days, the temperature in the pickup box can rise very
quickly. Exposure of people or animals to these high
temperatures for even a short time can cause death or serious
heat-related injuries, including brain damage. Small children are
particularly at risk.
REMOTE ENTRY SYSTEM (IF EQUIPPED)
This device complies with part 15 of the FCC rules and with RS-210 of
Industry Canada. Operation is subject to the following two conditions:
(1) This device may not cause harmful interference, and (2) This device
must accept any interference received, including interference that may
cause undesired operation.
Changes or modifications not expressly approved by the party
responsible for compliance could void the user's authority to
operate the equipment.
Locks and Security
108