Page 124 of 200

ALL REAR WHEEL DRIVE (RWD) VEHICLES WITH AUTOMATIC
TRANSMISSIONS:
•Place the transmission in N (Neutral).
•Maximum speed is 56 km/h (35 mph).
•Maximum distance is 80 km (50 miles).
If a distance of 80 km (50 miles) or a speed of 56 km/h (35 mph)
must be exceeded, you must disconnect the driveshaft. Ford
recommends the driveshaft be removed/installed only by a
qualified technician. Improper removal/installation of the
driveshaft can cause transmission fluid loss, damage to the
driveshaft and internal transmission components.
In case of a roadside emergency with a disabled vehicle (without access
to wheel dollies, a car hauling trailer or a flatbed transport vehicle), your
vehicle can be flat towed (all wheels on the ground) under the following
conditions:
•Release the parking brake.
•Turn the ignition to the OFF position.
•Place the transmission in N (Neutral).
•Do not exceed a distance of 80 km (50 miles).
•Do not exceed 56 km/h (35 mph) vehicle speed.
RWD VEHICLES WITH 4X4 ELECTRONIC SHIFT TRANSFER CASE
AND AUTOMATIC TRANSMISSION:
4x4 vehicles with electronic shift on the fly cannot be towed with any
wheels on the ground (with the exception of moving it as a disabled
vehicle off the road out of traffic).
Driving
124
Page 126 of 200

If you need to arrange roadside assistance for yourself, Ford Motor
Company will reimburse a reasonable amount. To obtain reimbursement
information, U.S. Ford or Mercury vehicles customers call
1-800-241-3673; Lincoln vehicle customers call 1–800–521–4140.
Canadian customers who need to obtain reimbursement information, call
1–800–665–2006.
Roadside coverage beyond basic warranty
In the United States, you may purchase additional roadside assistance
coverage beyond this period through the Ford Auto Club by contacting
your Ford or Lincoln Mercury dealer.
Similarly in Canada, for uninterrupted Roadside Assistance coverage, you
may purchase extended coverage prior to your Basic Warranty’s Roadside
Assistance expiring. For more information and enrollment, contact
1–877–294–2582 or visit our website at www.ford.ca.
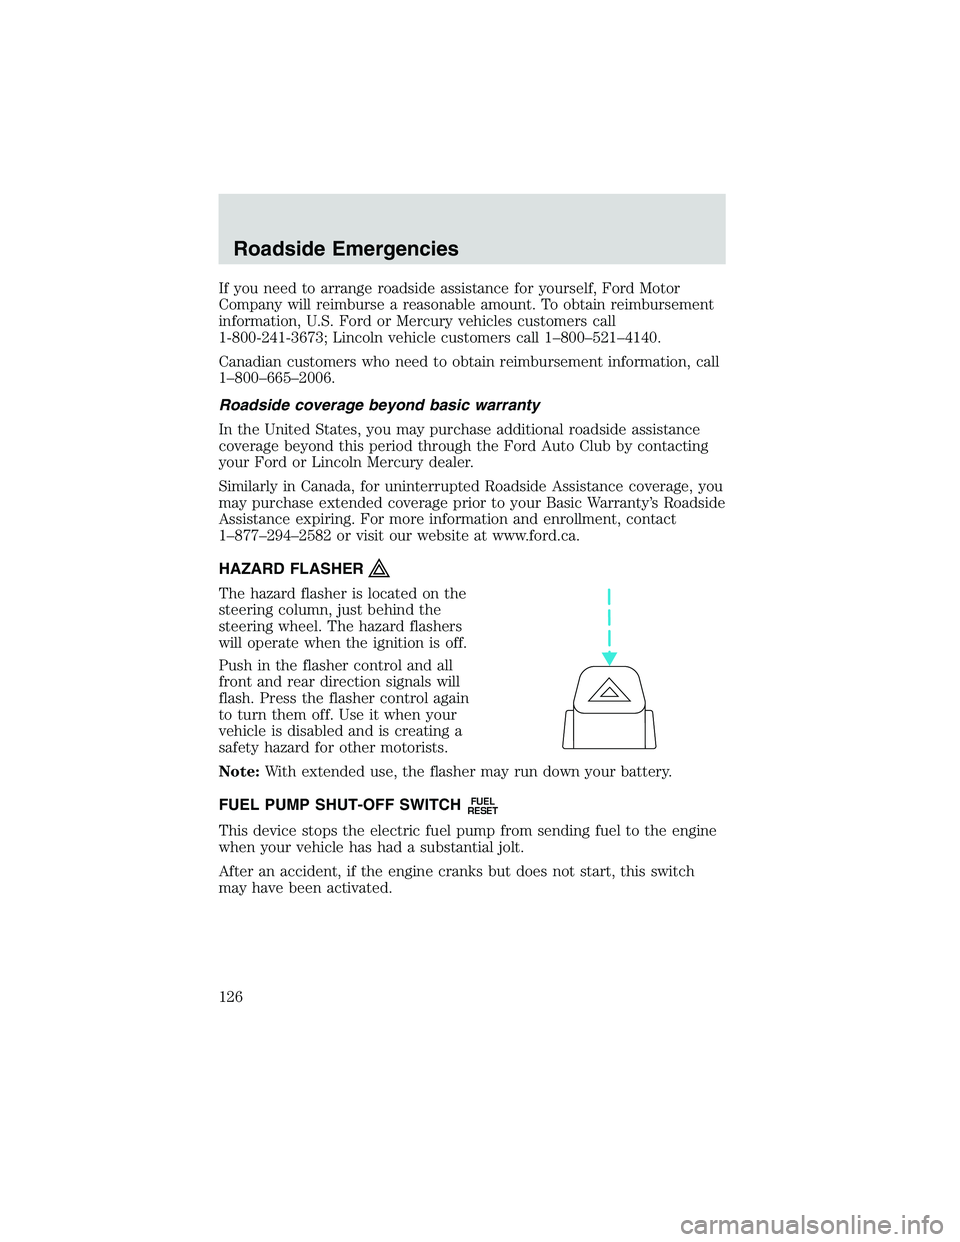
HAZARD FLASHER
The hazard flasher is located on the
steering column, just behind the
steering wheel. The hazard flashers
will operate when the ignition is off.
Push in the flasher control and all
front and rear direction signals will
flash. Press the flasher control again
to turn them off. Use it when your
vehicle is disabled and is creating a
safety hazard for other motorists.
Note:With extended use, the flasher may run down your battery.
FUEL PUMP SHUT-OFF SWITCH
FUEL
RESET
This device stops the electric fuel pump from sending fuel to the engine
when your vehicle has had a substantial jolt.
After an accident, if the engine cranks but does not start, this switch
may have been activated.
Roadside Emergencies
126
Page 135 of 200

Fuse/Relay
LocationFuse Amp
RatingPower Distribution Box Description
50A–Not used
50B–Fuel pump relay
51–Not used
52–Not used
53–PCM diode
54–PCM relay
55–Blower relay
56A–A/C clutch solenoid
56B–Horn relay
CHANGING A FLAT TIRE
If you get a flat tire while driving:
•do not brake heavily.
•gradually decrease the vehicle’s speed.
•hold the steering wheel firmly.
•slowly move to a safe place on the side of the road.
The use of tire sealants is not recommended and may compromise the
integrity of your tires. The use of tire sealants may also affect your tire
pressure monitoring system (if equipped).
Spare tire information
The spare tire can be used as a spare or a regular tire.
Location of the spare tire and tools
The spare tire and tools for your vehicle are stowed in the following
locations:
Tool Location
Spare tire Under the vehicle, just in front of
the rear bumper
Jack, Jack handle, jack handle
extension, wheel lug nut wrenchIn the passenger side rear cab
compartment behind the access
door in trim panel
Roadside Emergencies
135
Page 136 of 200
Removing the jack
To remove the jack, turn the
thumbwheel (1) counterclockwise,
then remove the jack (2), lug
wrench (3) and jack handles (4)
from the bracket.
Installing the jack
To install the jack, place the jack handles (4) in the clips, then replace
the lug wrench (3).Note:The square hole fits over the peg (5) on the
jack stowage bracket. Fully lower the jack (2) by turning the
thumbwheel (1) clockwise, then install the jack (2) by placing the base
of the jack onto the stands (6). Turn the thumbwheel (1) clockwise to
raise the jack between the stands (6) and the top of the lug wrench (3).
Removing the spare tire
1. Assemble the jack handle with the spade end to the lug wrench as
shown in the illustration.
•To assemble, depress button and
slide together.
Roadside Emergencies
136
Page 137 of 200

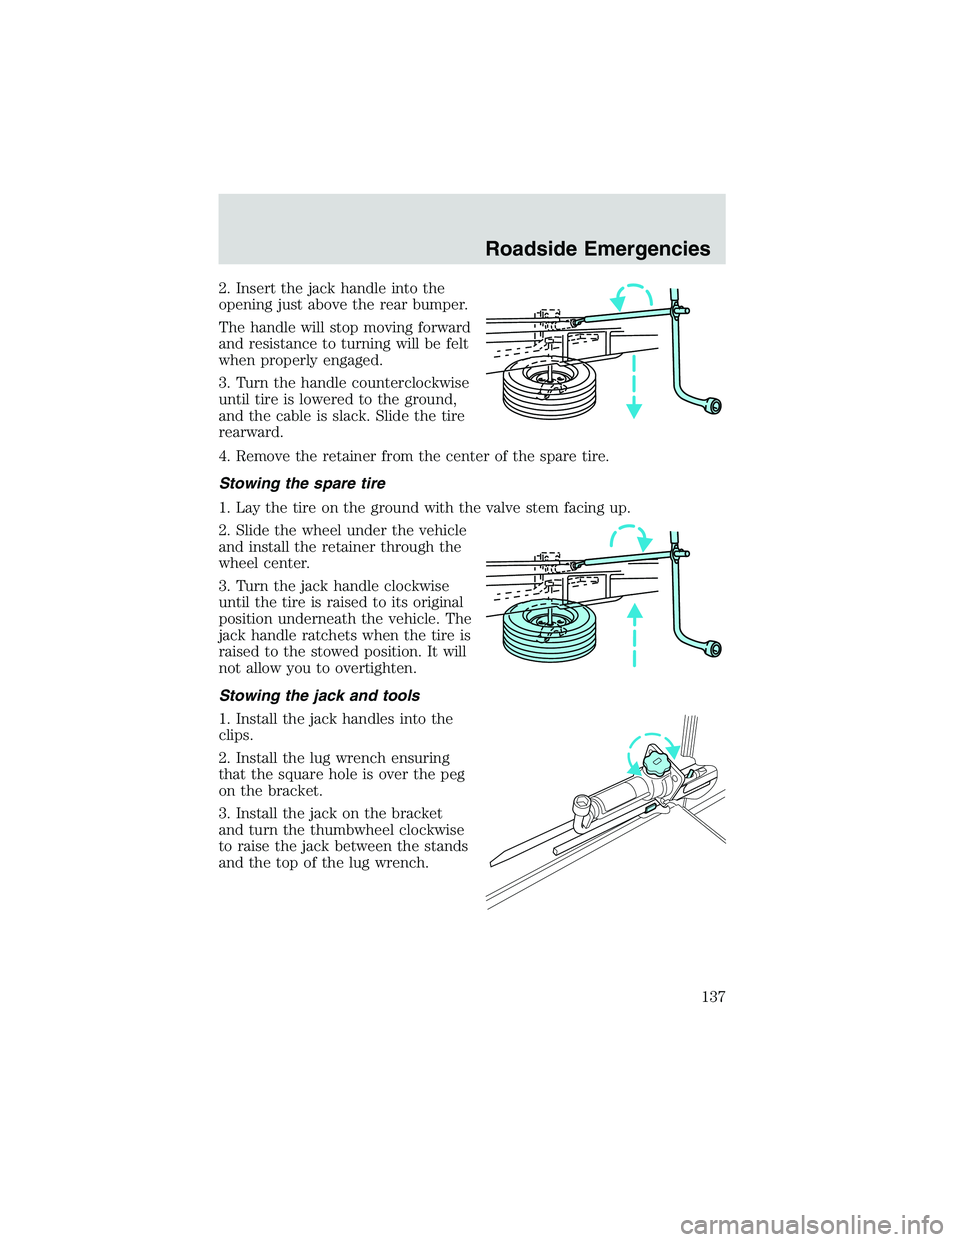
2. Insert the jack handle into the
opening just above the rear bumper.
The handle will stop moving forward
and resistance to turning will be felt
when properly engaged.
3. Turn the handle counterclockwise
until tire is lowered to the ground,
and the cable is slack. Slide the tire
rearward.
4. Remove the retainer from the center of the spare tire.
Stowing the spare tire
1. Lay the tire on the ground with the valve stem facing up.
2. Slide the wheel under the vehicle
and install the retainer through the
wheel center.
3. Turn the jack handle clockwise
until the tire is raised to its original
position underneath the vehicle. The
jack handle ratchets when the tire is
raised to the stowed position. It will
not allow you to overtighten.
Stowing the jack and tools
1. Install the jack handles into the
clips.
2. Install the lug wrench ensuring
that the square hole is over the peg
on the bracket.
3. Install the jack on the bracket
and turn the thumbwheel clockwise
to raise the jack between the stands
and the top of the lug wrench.
Roadside Emergencies
137
Page 138 of 200

How to change a flat tire
When one of the front wheels is off the ground, the transmission
alone will not prevent the vehicle from moving or slipping off the
jack, even if the vehicle is in P (Park) (automatic transmission) or R
(Reverse) (manual transmission).
To prevent the vehicle from moving when you change a tire, be
sure the parking brake is set, then block (in both directions) the
wheel that is diagonally opposite (other side and end of the vehicle) to
the tire being changed.
If the vehicle slips off the jack, you or someone else could be
seriously injured.
Do not attempt to change a tire on the side of the vehicle close
to moving traffic. Pull far enough off the road to avoid the
danger of being hit when operating the jack or changing the wheel.
Before changing the tire:
1. Park on a level surface.
2. Activate the hazard flashers.
3. Place the gearshift lever in P (Park) (automatic transmission) or R
(Reverse) (manual transmission).
4. Set the parking brake.
5. Turn off the ignition.
To change the tire:
Note:Passengers should not remain in the vehicle when the vehicle is
being jacked.
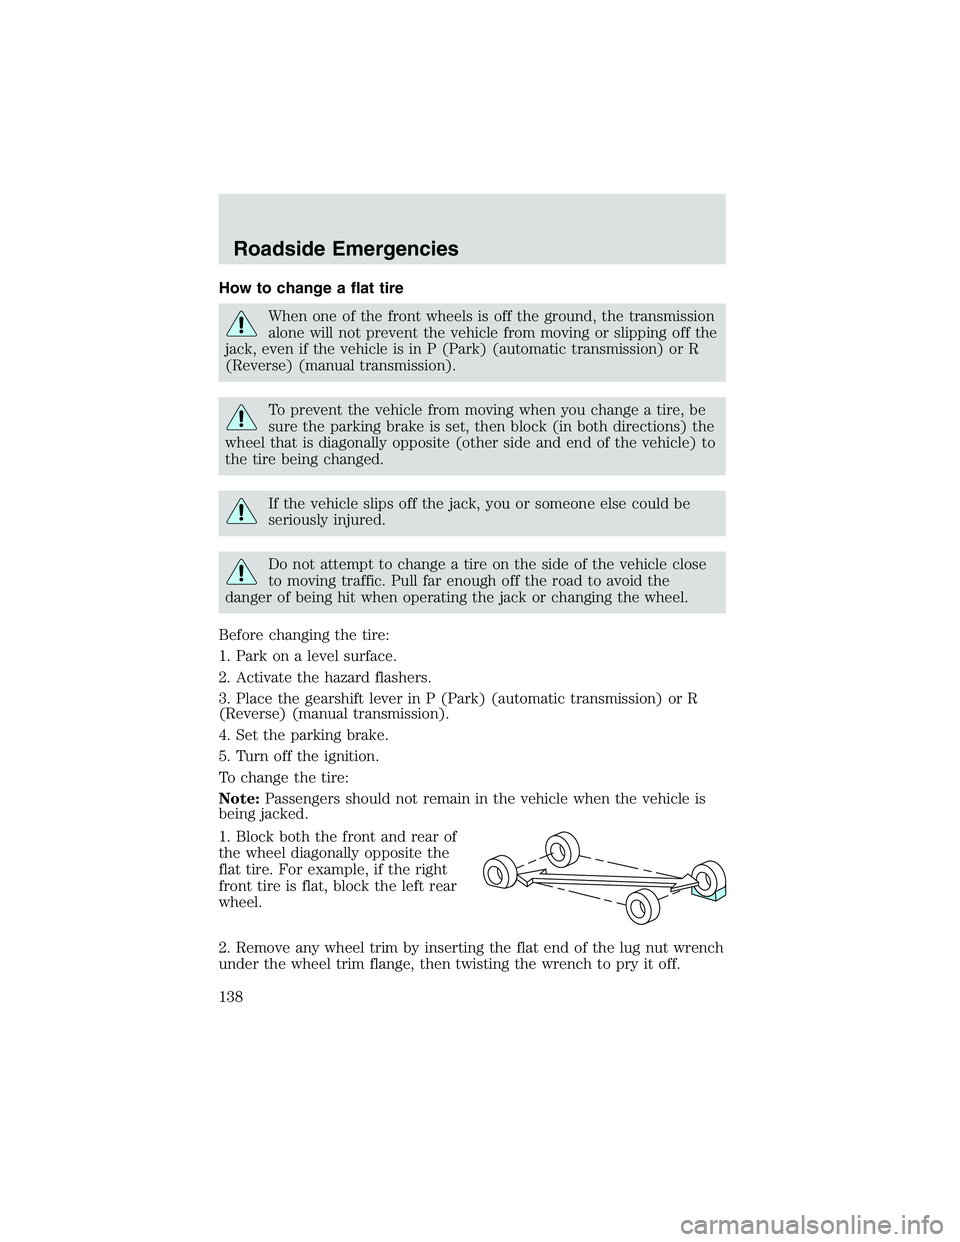
1. Block both the front and rear of
the wheel diagonally opposite the
flat tire. For example, if the right
front tire is flat, block the left rear
wheel.
2. Remove any wheel trim by inserting the flat end of the lug nut wrench
under the wheel trim flange, then twisting the wrench to pry it off.
Roadside Emergencies
138
Page 139 of 200
3. Loosen, but do not remove, the
wheel lug nuts by turning them
one-half turn counterclockwise.
Slide the jack handle extension into
the end of the lug nut wrench. To
disconnect, depress the button and
pull apart.
4. Position the jack properly and turn the handle clockwise until the tire
is a maximum of 25 mm (1 inch) off the ground.
To lessen the risk of personal injury, do not put any part of your
body under the vehicle while changing a tire. Do not start the
engine when your vehicle is on the jack. The jack is only meant for
changing the tire.
•Front
Roadside Emergencies
139
Page 140 of 200
•Rear
To lessen the risk of
personal injury, do not put
any part of your body under the
vehicle while changing a tire. Do
not start the engine when your
vehicle is on the jack. The jack is
only meant for changing the tire.
•Never use the differential as a
jacking point.
5. Remove the wheel lug nuts with the lug nut wrench.
6. Replace the flat tire with the spare tire, making sure the valve stem is
facing outward. Reinstall the lug nuts (cone side in) until the wheel is
snug against the hub. Do not fully tighten the lug nuts until the wheel
has been lowered.
7. Lower the wheel by turning the jack handle counterclockwise.
Roadside Emergencies
140