Page 107 of 312

Reprogramming a single HomeLinkTbutton
To program a device to HomeLinktusing a HomeLinktbutton previously
trained, follow these steps:
1. Press and hold the desired HomeLinktbutton.Do NOTrelease until
step 4has been completed.
2. When the indicator light begins to flash slowly (after 20 seconds),
position the hand-held transmitter 5±14 cm (2 to 5 inches) away from
the HomeLinktsurface.
3. Press and hold the hand-held transmitter button.
4. The HomeLinktindicator light will flash, first slowly and then rapidly.
When the indicator light begins to flash rapidly, release both buttons.
The previous device has now been erased and the new device can be
activated by pushing the HomeLinktbutton that has just been
programmed.
AUTOMATIC DIMMING REAR VIEW MIRROR
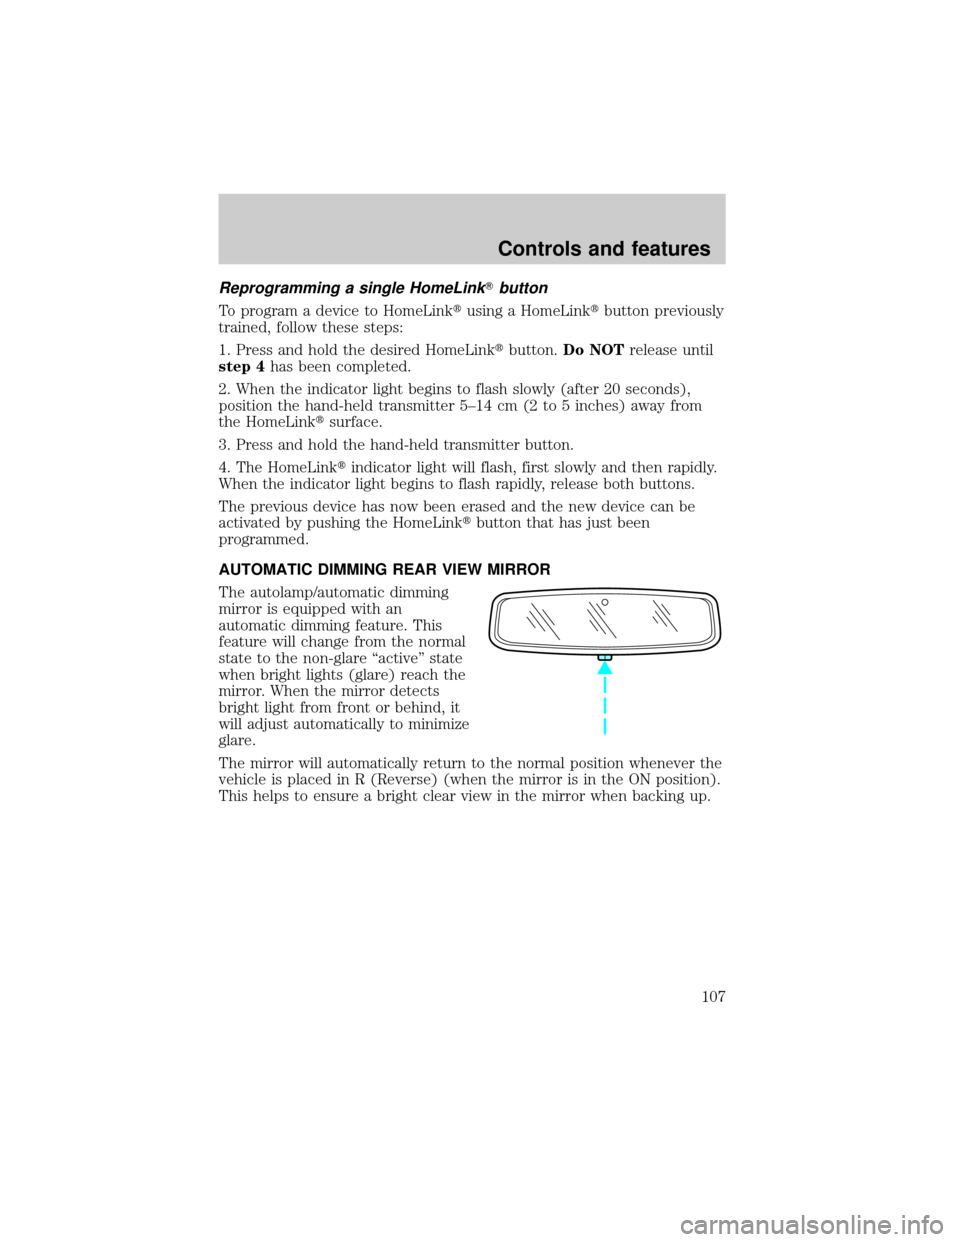
The autolamp/automatic dimming
mirror is equipped with an
automatic dimming feature. This
feature will change from the normal
state to the non-glare ªactiveº state
when bright lights (glare) reach the
mirror. When the mirror detects
bright light from front or behind, it
will adjust automatically to minimize
glare.
The mirror will automatically return to the normal position whenever the
vehicle is placed in R (Reverse) (when the mirror is in the ON position).
This helps to ensure a bright clear view in the mirror when backing up.
Controls and features
107
Page 120 of 312

Programming remote transmitters
It is necessary to haveall(maximum of four Ð original and/or new) of
your remote transmitters available prior to beginning this procedure.
To program the transmitters yourself:
²Insert a key in the ignition and
turn from 1 (LOCK) to 2 (ACC)
and cycle between 2 (ACC) and 3
(ON) eight times in rapid
succession (within 10 seconds)
with the eighth turn ending in the
3 (ON) position. The doors will
lock/unlock to confirm that
programming mode has been
entered.
²Within 20 seconds, program a remote transmitter by pressing any
button on a transmitter. The doors will lock/unlock to confirm that the
remote transmitter has been programmed. (If more than 20 seconds
pass before pressing a remote transmitter button, the programming
mode will exit and the procedure will have to be repeated.)
²Repeat the previous step to program additional remote transmitters.
The doors will lock/unlock to confirm that each remote transmitter has
been programmed.
²When you have completed programming the remote transmitters, turn
the ignition to 2 (ACC) or wait 20 seconds. Again the doors will
lock/unlock to confirm programming has been completed.
Illuminated entry
The interior lamps illuminate when the remote entry system is used to
unlock the door(s).
The system automatically turns off after 25 seconds or when the ignition
is turned to the ON or ACC position. The dome lamp control (if
equipped) mustnotbe set to the OFF position for the illuminated entry
system to operate.
The inside lights will not turn off if:
²they have been turned on with the dimmer control or
²any door is open.
The battery saver will shut off the interior lamps 10 minutes after the
ignition has been turned to the OFF position.
4
3
2
1
Controls and features
120
Page 173 of 312

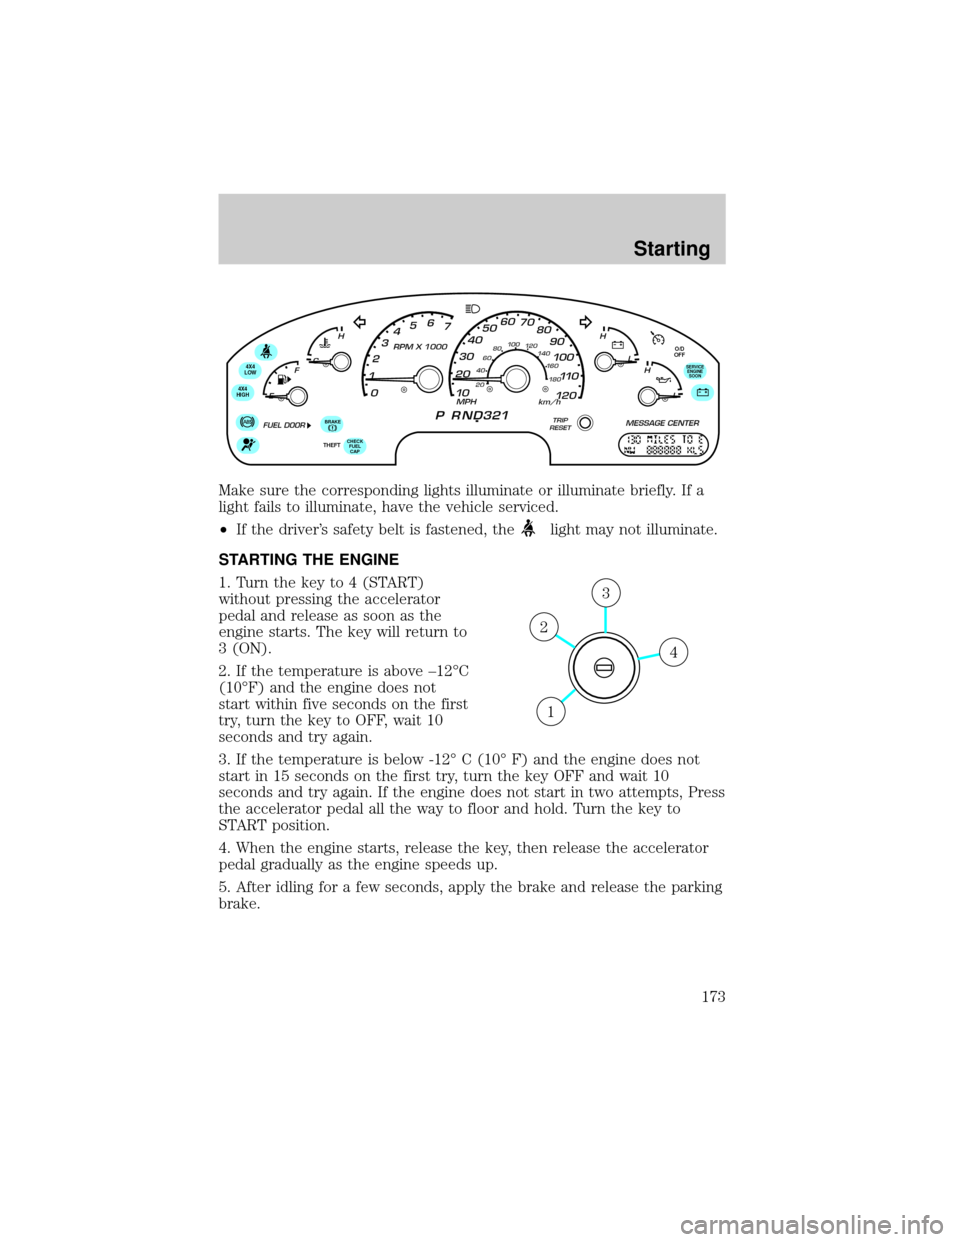
Make sure the corresponding lights illuminate or illuminate briefly. If a
light fails to illuminate, have the vehicle serviced.
²If the driver's safety belt is fastened, the
light may not illuminate.
STARTING THE ENGINE
1. Turn the key to 4 (START)
without pressing the accelerator
pedal and release as soon as the
engine starts. The key will return to
3 (ON).
2. If the temperature is above ±12ÉC
(10ÉF) and the engine does not
start within five seconds on the first
try, turn the key to OFF, wait 10
seconds and try again.
3. If the temperature is below -12É C (10É F) and the engine does not
start in 15 seconds on the first try, turn the key OFF and wait 10
seconds and try again. If the engine does not start in two attempts, Press
the accelerator pedal all the way to floor and hold. Turn the key to
START position.
4. When the engine starts, release the key, then release the accelerator
pedal gradually as the engine speeds up.
5. After idling for a few seconds, apply the brake and release the parking
brake.
O/D
OFF
4X4
LOW
4X4
HIGH
CHECK
FUEL
CAPTHEFT
BRAKE
SERVICE
ENGINE
SOON
4
3
2
1
Starting
173
Page 191 of 312

The 4X4 LOW button will flash if:
1. The system is waiting for driver input (brake and/or neutral gear). OR
2. There is a 4X4 low shift in progress.
If the driver inputs are not engaged, the button selection will time-out
and the 4X4 system will reamin in its current mode.
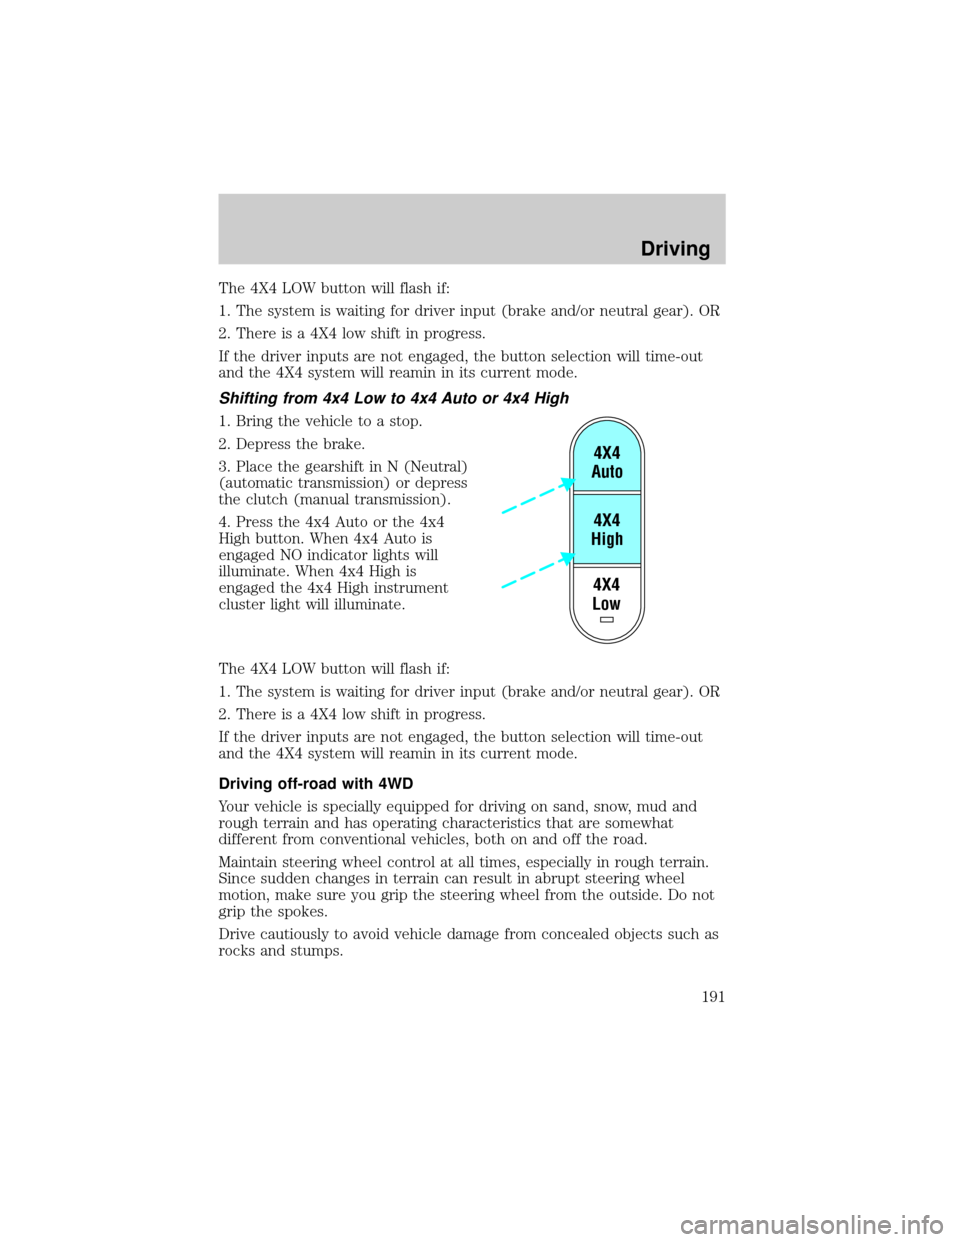
Shifting from 4x4 Low to 4x4 Auto or 4x4 High
1. Bring the vehicle to a stop.
2. Depress the brake.
3. Place the gearshift in N (Neutral)
(automatic transmission) or depress
the clutch (manual transmission).
4. Press the 4x4 Auto or the 4x4
High button. When 4x4 Auto is
engaged NO indicator lights will
illuminate. When 4x4 High is
engaged the 4x4 High instrument
cluster light will illuminate.
The 4X4 LOW button will flash if:
1. The system is waiting for driver input (brake and/or neutral gear). OR
2. There is a 4X4 low shift in progress.
If the driver inputs are not engaged, the button selection will time-out
and the 4X4 system will reamin in its current mode.
Driving off-road with 4WD
Your vehicle is specially equipped for driving on sand, snow, mud and
rough terrain and has operating characteristics that are somewhat
different from conventional vehicles, both on and off the road.
Maintain steering wheel control at all times, especially in rough terrain.
Since sudden changes in terrain can result in abrupt steering wheel
motion, make sure you grip the steering wheel from the outside. Do not
grip the spokes.
Drive cautiously to avoid vehicle damage from concealed objects such as
rocks and stumps.
4X4
Low4X4
High4X4
Auto
Driving
191
Page 206 of 312

Roadside coverage beyond basic warranty
In the United States, you may purchase additional roadside assistance
coverage beyond this period through the Ford Auto Club by contacting
your Ford or Lincoln Mercury dealer.
Similarly in Canada, you may purchase additional coverage beyond the
basic coverage period by consulting the Ford Roadside Assistance Club
brochure or by calling 1±877±294±CLUB (1±877±294±2582).
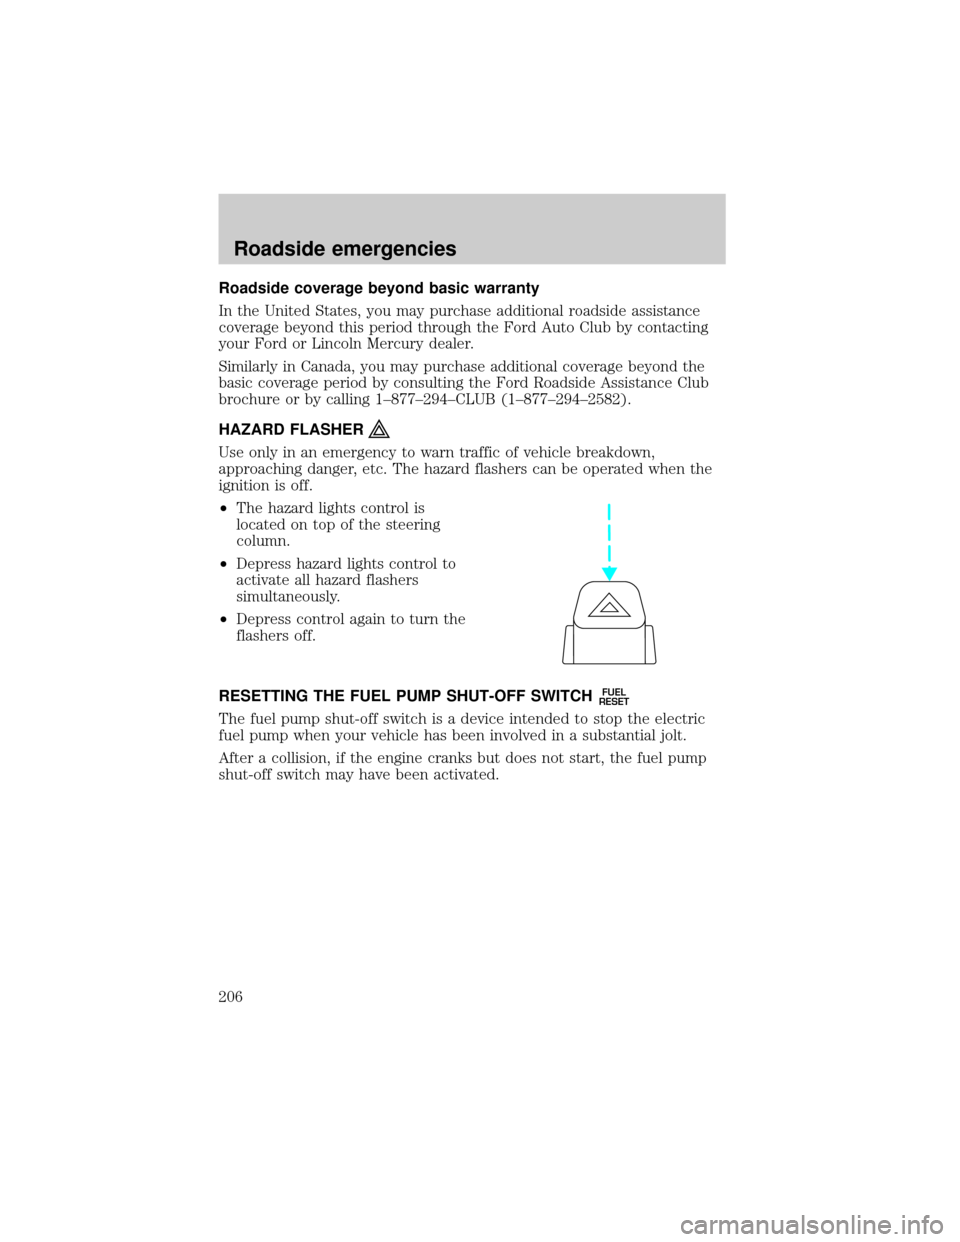
HAZARD FLASHER
Use only in an emergency to warn traffic of vehicle breakdown,
approaching danger, etc. The hazard flashers can be operated when the
ignition is off.
²The hazard lights control is
located on top of the steering
column.
²Depress hazard lights control to
activate all hazard flashers
simultaneously.
²Depress control again to turn the
flashers off.
RESETTING THE FUEL PUMP SHUT-OFF SWITCH
FUEL
RESET
The fuel pump shut-off switch is a device intended to stop the electric
fuel pump when your vehicle has been involved in a substantial jolt.
After a collision, if the engine cranks but does not start, the fuel pump
shut-off switch may have been activated.
Roadside emergencies
206
Page 270 of 312

Readiness for Inspection/Maintenance (I/M) testing
In some localities, it may be a legal requirement to pass an I/M test of
the on-board diagnostics system. If your ªCheck Engine/Service Engine
Soonº light is on, refer to the description in theWarning Lights and
Chimessection of theInstrumentationchapter. Your vehicle may not
pass the I/M test with the ªCheck Engine/Service Engine Soonº light on.
If the vehicle's powertrain system or its battery has just been serviced,
the on-board diagnostics system is reset to a ªnot ready for I/M testº
condition. To ready the on-board diagnostics system for I/M testing, a
minimum of 30 minutes of city and highway driving is necessary as
described below:
²First, at least 10 minutes of driving on an expressway or highway.
²Next, at least 20 minutes driving in stop-and-go, city-type traffic with
at least four idle periods.
Allow the vehicle to sit for at least eight hours without starting the
engine. Then, start the engine and complete the above driving cycle. The
engine must warm up to its normal operating temperature. Once started,
do not turn off the engine until the above driving cycle is complete.
BULBS
Replacing exterior bulbs
Check the operation of the following lamps frequently:
²Headlamps
²Foglamps
²High-mount brakelamp
²Brakelamps
²Turn signals
²License plate lamp
²Tail lamps
²Back-up lamps
Do not remove lamp bulbs unless they can be replaced immediately with
new ones. If a bulb is removed for an extended period of time,
contaminants may enter the lamp housings and affect lamp performance.
Maintenance and care
270
Page 275 of 312
Function Number of bulbs Trade number
Park/turn lamps
(front)2
3157 AK (amber)
Headlamp high beam 2 9005
Headlamp low beam 2 9006
Rear stop/turn/tail
lamps2
3157K
Rear license plate
lamps2
168
Backup lamp 2 3156K
High-mount stop
lamps5
W5W
Fog lamp 2 9145
Cargo lamp 1 211-2
Interior overhead lamp 1 912 (906)
Front door courtesy
lamp1
168
Map lamps 2 168 (T10)
Ashtray lamp 1 161
All replacement bulbs are clear in color except where noted.
To replace all instrument panel lights - see your dealer.
Maintenance and care
275
Page 300 of 312
Comfort and convenience
Cargo net
Cargo organizers
Cargo shade
Cargo tray
Engine block heaters
Tire step
Travel equipment
Automatic headlamps with daytime running lights (DRL)
Cellular phone holder
Daytime running lights (DRL)
Factory luggage rack adaptors (bike and ski)
Heavy-duty battery
Home link visor
Inside mirror, electrochromic compass (with and without temperature
display)
Luggage/Cargo basket
Luggage rack cross bars
Neutral towing transfer case kit
Dog guard
Removable luggage rack adapters (bike and ski)
Running boards/bars
Seatback storage
Smoker's package
Soft luggage cover
Track rider bars (for luggage rack)
Trailer hitch (Class III)
Trailer hitch bars and balls
Trailer hitch mount bike carrier
Trailer hitch receiver cover
Trailer hitch wiring adaptor
Customer assistance
300