Page 128 of 312
Automatic arming
The vehicle is armed immediately
after switching the ignition to the 2
(ACC) position. The
THEFTlight in
the instrument cluster will flash
every two seconds when the vehicle
is armed.
Automatic disarming
Switching the ignition to the 3 (ON) position with acoded keydisarms
the vehicle. The
THEFTlight will illuminate for three seconds and then
go out. If the
THEFTlight stays on for an extended period of time or
flashes rapidly, have the system serviced by your dealership or a
qualified technician.
Key information
Your vehicle is supplied withtwo
coded keys.Only acoded keywill
start your vehicle. Spare coded keys
can be purchased from your
dealership. Your dealership can
program your key or you can ªdo it
yourselfº, refer toProgramming
spare keys.
4
3
2
1
Controls and features
128
Page 150 of 312
Position the shoulder belt height adjusters so that the belt rests
across the middle of your shoulder. Failure to adjust the safety
belt properly could reduce the effectiveness of the seat belt and
increase the risk of injury in a collision.
Safety belt extension assembly
If the safety belt assembly is too short for you, even when fully
extended, 20 cm (8 inches) can be added to the safety belt assembly by
adding a safety belt extension assembly (part number 611C22). Safety
belt extension assemblies can be obtained from your dealer at no cost.
Use only extensions manufactured by the same supplier as the safety
belt. Manufacturer identification is located at the end of the webbing on
the label. Also, use the safety belt extension only if the safety belt is too
short for you when fully extended. Do not use extensions to change the
fit of the shoulder belt across the torso.
Safety belt warning light and indicator chime
The seat belt warning light illuminates in the instrument cluster and a
chime sounds to remind the occupants to fasten their safety belts.
Conditions of operation
If... Then...
The driver's safety belt is not
buckled before the ignition
switch is turned to the ON
position...The safety belt warning light
illuminates 1-2 minutes and the
warning chime sounds 4-8 seconds.
The driver's safety belt is
buckled while the indicator
light is illuminated and the
warning chime is sounding...The safety belt warning light and
warning chime turn off.
The driver's safety belt is
buckled before the ignition
switch is turned to the ON
position...The safety belt warning light and
indicator chime remain off.
Seating and safety restraints
150
Page 151 of 312
Belt minder
The Belt Minder feature is a supplemental warning to the safety belt
warning function. This feature provides additional reminders to the
driver that the driver's safety belt is unbuckled by intermittently
sounding a chime and illuminating the safety belt warning lamp in the
instrument cluster.
If... Then...
The driver's safety belt is not
buckled before the vehicle has
reached at least 5 km/h (3
mph) and 1-2 minutes have
elapsed since the ignition
switch has been turned to
ON...The Belt Minder feature is activated -
the safety belt warning light
illuminates and the warning chime
sounds for 6 seconds every 30
seconds, repeating for approximately
5 minutes or until safety belt is
buckled.
The driver's safety belt is
buckled while the safety belt
indicator light is illuminated
and the safety belt warning
chime is sounding...The Belt Minder feature will not
activate.
The driver's safety belt is
buckled before the ignition
switch is turned to the ON
position...The Belt Minder feature will not
activate.
The purpose of the Belt Minder is to remind occasional wearers to wear
safety belts all of the time.
Seating and safety restraints
151
Page 159 of 312

The SRS consists of:
²driver and passenger air bag modules (which include the inflators and
air bags).
²side air curtains (if equipped). Refer toSide air bag systemlater in
this chapter.
²one or more impact and safing sensors.
²a readiness light and tone.
²diagnostic module.
²and the electrical wiring which connects the components.
The diagnostic module monitors its own internal circuits and the
supplemental air bag electrical system warning (including the impact
sensors), the system wiring, the air bag system readiness light, the air
bag back up power and the air bag ignitors.
Determining if the system is operational
The SRS uses a readiness light in the instrument cluster or a tone to
indicate the condition of the system. Refer to theAir bag readiness
section in theInstrumentationchapter. Routine maintenance of the air
bag is not required.
A difficulty with the system is indicated by one or more of the following:
²The readiness light will either
flash or stay lit.
²The readiness light will not
illuminate immediately after
ignition is turned on.
²A series of five beeps will be heard. The tone pattern will repeat
periodically until the problem and/or light are repaired.
If any of these things happen, even intermittently, have the SRS serviced at
your dealership or by a qualified technician immediately. Unless serviced,
the system may not function properly in the event of a collision.
Side air curtain system (if equipped)
Do not attempt to service, repair, or modify the air bag
Supplemental Restraint System, its fuses or the seat cover on a
seat containing an air bag. See your Ford or Lincoln Mercury dealer.
Seating and safety restraints
159
Page 161 of 312
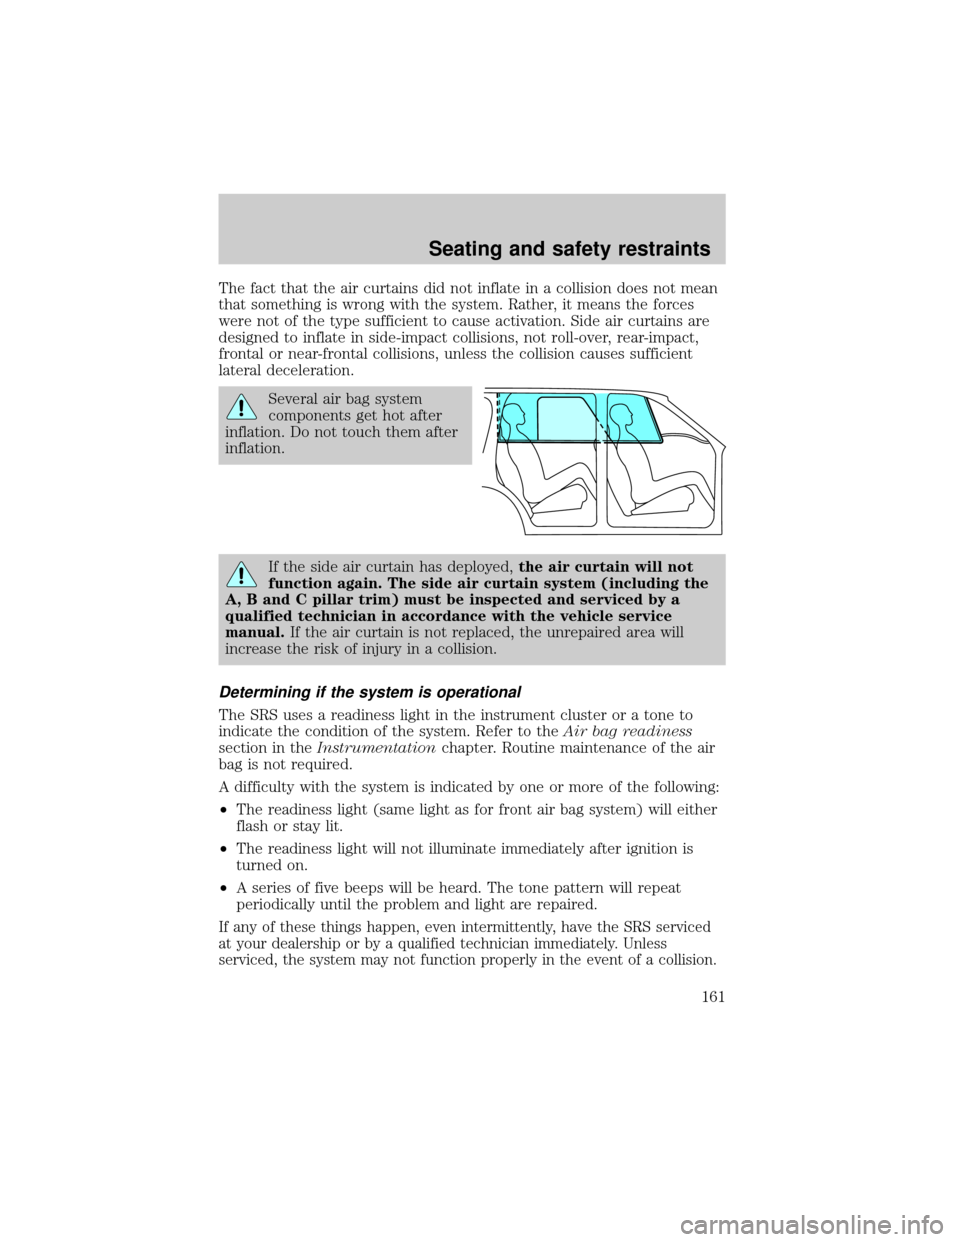
The fact that the air curtains did not inflate in a collision does not mean
that something is wrong with the system. Rather, it means the forces
were not of the type sufficient to cause activation. Side air curtains are
designed to inflate in side-impact collisions, not roll-over, rear-impact,
frontal or near-frontal collisions, unless the collision causes sufficient
lateral deceleration.
Several air bag system
components get hot after
inflation. Do not touch them after
inflation.
If the side air curtain has deployed,the air curtain will not
function again. The side air curtain system (including the
A, B and C pillar trim) must be inspected and serviced by a
qualified technician in accordance with the vehicle service
manual.If the air curtain is not replaced, the unrepaired area will
increase the risk of injury in a collision.
Determining if the system is operational
The SRS uses a readiness light in the instrument cluster or a tone to
indicate the condition of the system. Refer to theAir bag readiness
section in theInstrumentationchapter. Routine maintenance of the air
bag is not required.
A difficulty with the system is indicated by one or more of the following:
²The readiness light (same light as for front air bag system) will either
flash or stay lit.
²The readiness light will not illuminate immediately after ignition is
turned on.
²A series of five beeps will be heard. The tone pattern will repeat
periodically until the problem and light are repaired.
If any of these things happen, even intermittently, have the SRS serviced
at your dealership or by a qualified technician immediately. Unless
serviced, the system may not function properly in the event of a collision.
Seating and safety restraints
161
Page 177 of 312
ABS warning lampABS
TheABSwarning lamp in the instrument cluster momentarily illuminates
when the ignition is turned to the ON position. If the light does not
illuminate momentarily at start up, remains on or continues to flash, the
ABS needs to be serviced.
With the ABS light on, the anti-lock
brake system is disabled and normal
braking is still effective unless the
brake warning light also remains
illuminated with parking brake
released. (If your brake warning lamp illuminates, have your vehicle
serviced immediately.)
Using ABS
²In an emergency or when maximum efficiency from the four wheel
ABS is required, apply continuous force on the brake. The four wheel
ABS will be activated immediately, thus allowing you to retain full
steering control of your vehicle and, providing there is sufficient
space, will enable you to avoid obstacles and bring the vehicle to a
controlled stop.
²The Anti-Lock system does not decrease the time necessary to apply
the brakes or always reduce stopping distance. Always leave enough
room between your vehicle and the vehicle in front of you to stop.
²We recommend that you familiarize yourself with this braking
technique. However, avoid taking any unnecessary risks.
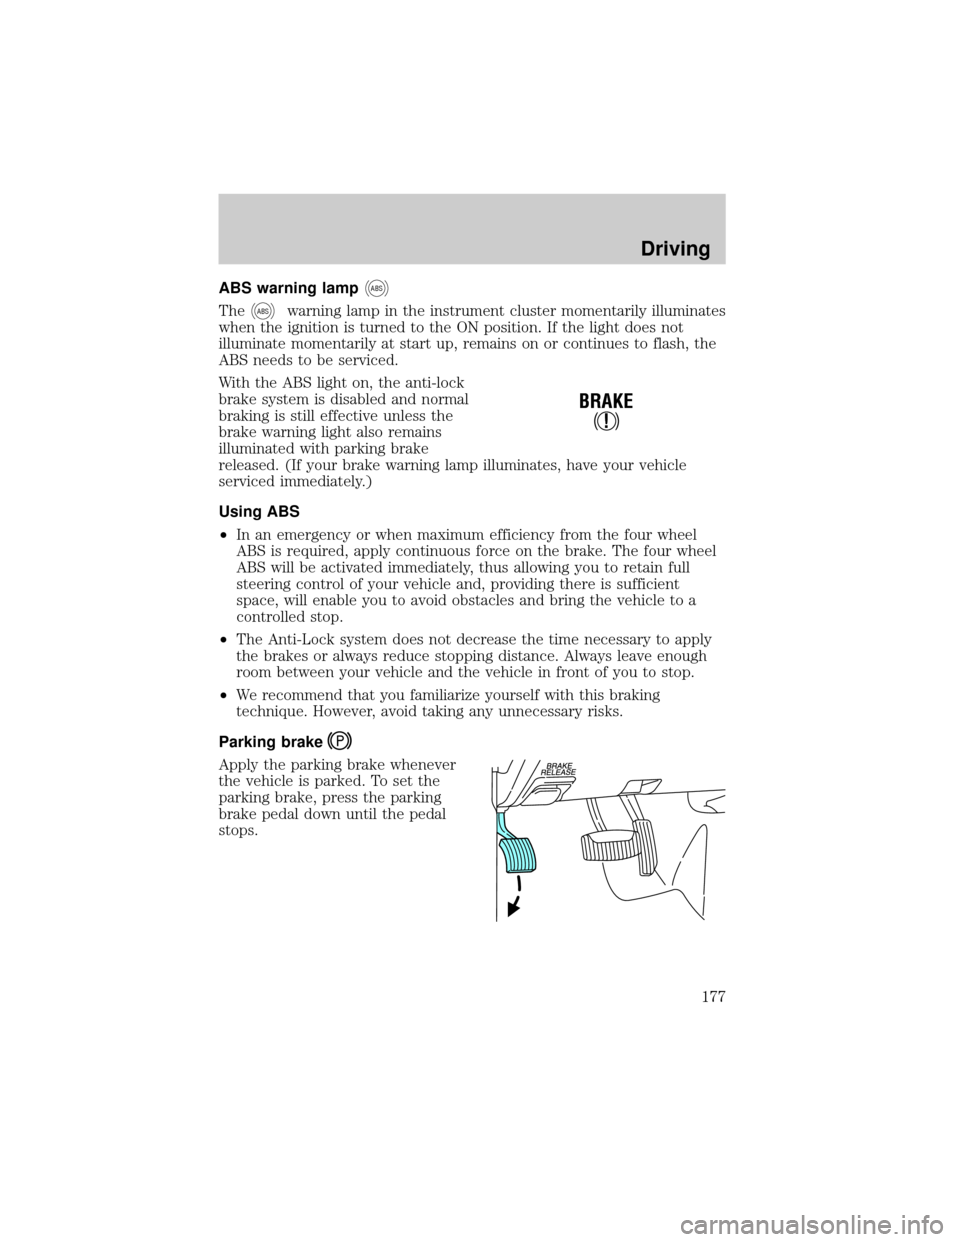
Parking brake
Apply the parking brake whenever
the vehicle is parked. To set the
parking brake, press the parking
brake pedal down until the pedal
stops.
!
BRAKE
Driving
177
Page 178 of 312
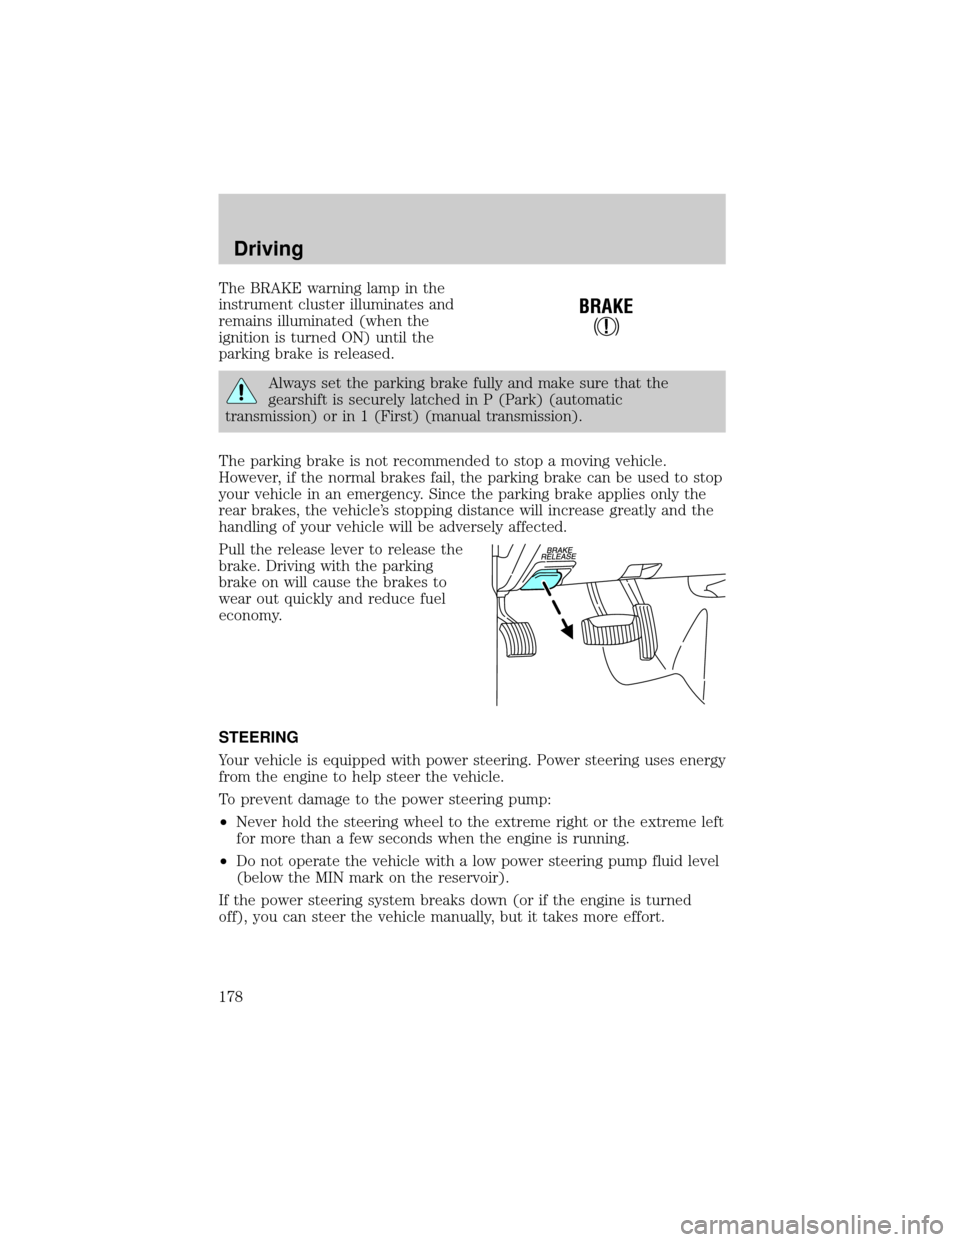
The BRAKE warning lamp in the
instrument cluster illuminates and
remains illuminated (when the
ignition is turned ON) until the
parking brake is released.
Always set the parking brake fully and make sure that the
gearshift is securely latched in P (Park) (automatic
transmission) or in 1 (First) (manual transmission).
The parking brake is not recommended to stop a moving vehicle.
However, if the normal brakes fail, the parking brake can be used to stop
your vehicle in an emergency. Since the parking brake applies only the
rear brakes, the vehicle's stopping distance will increase greatly and the
handling of your vehicle will be adversely affected.
Pull the release lever to release the
brake. Driving with the parking
brake on will cause the brakes to
wear out quickly and reduce fuel
economy.
STEERING
Your vehicle is equipped with power steering. Power steering uses energy
from the engine to help steer the vehicle.
To prevent damage to the power steering pump:
²Never hold the steering wheel to the extreme right or the extreme left
for more than a few seconds when the engine is running.
²Do not operate the vehicle with a low power steering pump fluid level
(below the MIN mark on the reservoir).
If the power steering system breaks down (or if the engine is turned
off), you can steer the vehicle manually, but it takes more effort.
!
BRAKE
Driving
178
Page 184 of 312

The transmission control indicator
light (TCIL) will illuminate on the
instrument cluster.
Drive (overdrive deactivated)
Activate by pressing the
transmission control switch on the
end of the gearshift lever with the
gearshift in the D(Drive) position. The transmission with overdrive off
operates in gears one through four, providing more engine braking than
D(Drive) with Overdrive ON and is useful whenever driving conditions
(i.e., city traffic, hilly terrain, etc.) cause the transmission to excessively
shift between D (Overdrive) and other gears. Deactivate D (Overdrive)
when:
²driving with a heavy load.
²towing a trailer up or down steep hills.
²additional engine braking is desired. If towing a trailer, refer to
Driving while you towin theTrailer Towingchapter.
To return to D (Overdrive) mode, press the transmission control switch.
The TCIL will no longer be illuminated.
Each time the vehicle is started, the transmission will automatically
return to normal D (Overdrive) mode.
3 (Third)
Transmission operates in third gear
only.
Used from improved traction on
slippery roads. Slecting 3 (Third) provides engine braking.
2 (Second)
Use 2 (Second) to start-up on
slippery roads or to provide
additional engine braking on
downgrades.
O/ D
OFF
Driving
184