Page 56 of 280
temperature in the rear of the vehicle through a second control panel
above the second row, or in the floor console.
If your vehicle is equipped with
auxiliary A/C controls, they may be
located in the floor console,
or located in the overhead console.
If your vehicle is equipped with a
moon roof and a navigation system,
you will not have a front auxiliary
A/C- heater control console. All
operation is obtained through the
rear auxiliary A/C-heater control
console.
HI OFF
REARWARM
COOL
PANEL
FLOOR
Climate controls
56
Page 57 of 280

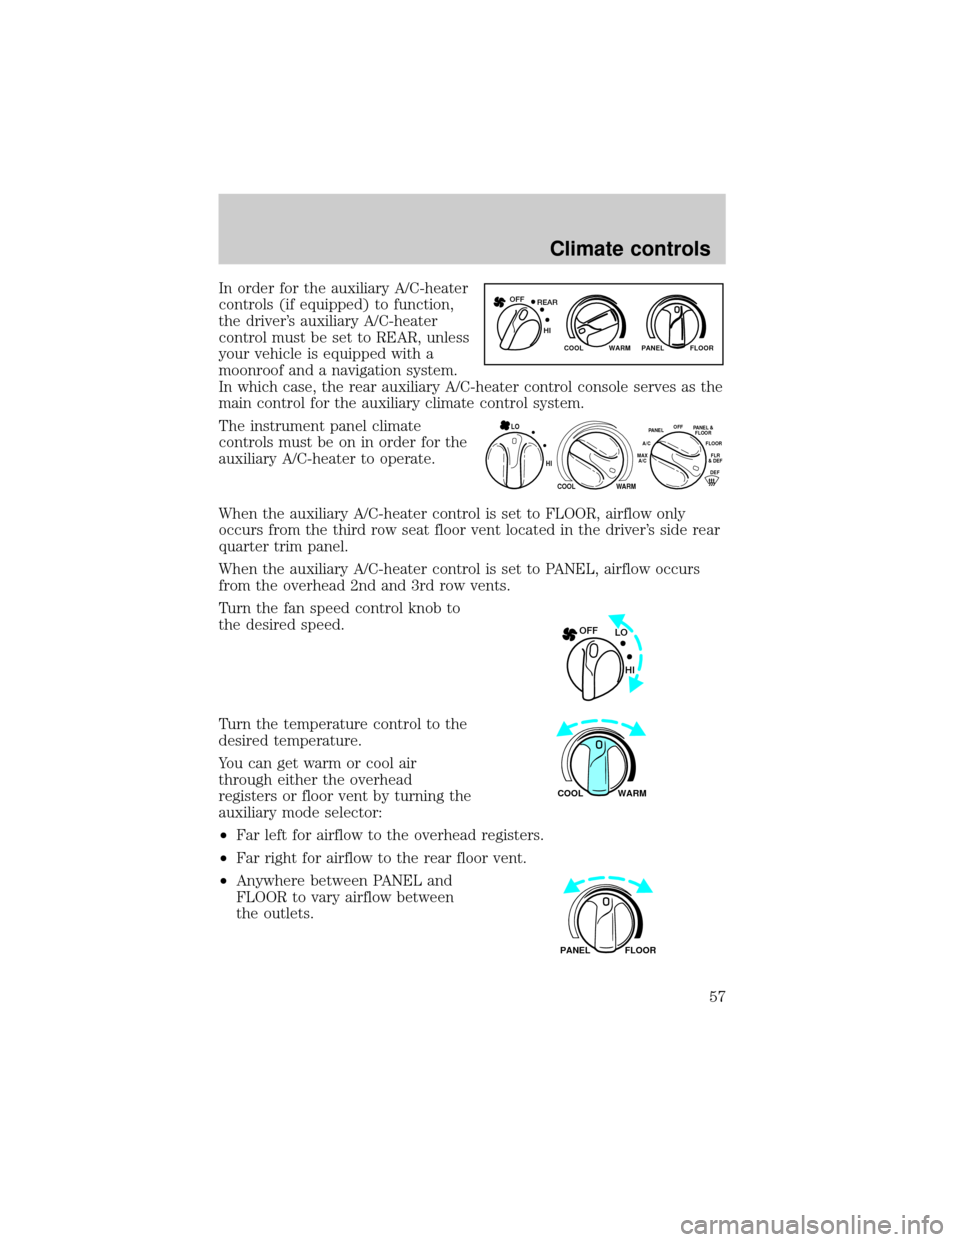
In order for the auxiliary A/C-heater
controls (if equipped) to function,
the driver's auxiliary A/C-heater
control must be set to REAR, unless
your vehicle is equipped with a
moonroof and a navigation system.
In which case, the rear auxiliary A/C-heater control console serves as the
main control for the auxiliary climate control system.
The instrument panel climate
controls must be on in order for the
auxiliary A/C-heater to operate.
When the auxiliary A/C-heater control is set to FLOOR, airflow only
occurs from the third row seat floor vent located in the driver's side rear
quarter trim panel.
When the auxiliary A/C-heater control is set to PANEL, airflow occurs
from the overhead 2nd and 3rd row vents.
Turn the fan speed control knob to
the desired speed.
Turn the temperature control to the
desired temperature.
You can get warm or cool air
through either the overhead
registers or floor vent by turning the
auxiliary mode selector:
²Far left for airflow to the overhead registers.
²Far right for airflow to the rear floor vent.
²Anywhere between PANEL and
FLOOR to vary airflow between
the outlets.
WARM PANEL FLOOR COOL
REAR OFF
HI
HI
COOL WARM
OFFPANELFLOOR
DEFFLR
& DEF A/C
MAX
A/CPANEL &
FLOOR
LO
LO OFF
HI
WARM COOL
FLOOR PANEL
Climate controls
57
Page 61 of 280
AIMING THE HEADLAMPS
The headlamps on your vehicle are properly aimed at the assembly plant.
If your vehicle has been in an accident the alignment of your headlamps
should be checked by a qualified service technician.
TURN SIGNAL CONTROL
²Push down to activate the left
turn signal.
²Push up to activate the right turn
signal.
INTERIOR LAMPS
Map lamps
With trip computer
VENT VENTROOF
Lights
61
Page 62 of 280
Without trip computer
To turn on the map lamps, press the control next to each lamp.
Rear dome lamp
The dome lamp lights when:
²any door is opened.
²the instrument panel dimmer
switch is held up until the
courtesy lamps come on.
²any of the remote entry controls
are pressed and the ignition is
OFF.
With the ignition key in the ACC or ON position, the rear dome lamp can
be turned ON or OFF by sliding the control.
BULBS
Replacing exterior bulbs
Check the operation of the following lamps frequently:
²Headlamps
²Foglamps
²High-mount brakelamp
²Brakelamps
²Parking lamps
²Turn signals
AUTO
ROOF
Lights
62
Page 73 of 280
One-touch moon roof (if equipped)
With trip computer
Without trip computer
²Press and release the rear portion of the moon roof control to open.
²Press and hold (as desired) the front portion of the moon roof control
to close.
²To halt motion at any point during one-touch opening, press the
control a second time.
²The moon roof has a sliding shade that can be manually opened or
closed when the glass panel is shut.
²To close the shade, pull it toward the front of the vehicle.
Do not let children play with the moon roof. They may seriously
hurt themselves.
VENT VENTROOF
AUTO
ROOF
Driver controls
73
Page 74 of 280

Trip computer
For information on the trip computer, refer toTrip computerthis
chapter.
Electronic compass (if equipped)
The compass reading may be affected when you drive near large
buildings, bridges, power lines and powerful broadcast antennas.
Magnetic or metallic objects placed in, on or near the vehicle may also
affect compass accuracy.
Usually, when something affects the compass readings, the compass will
correct itself after a few days of operating your vehicle in normal
conditions. If the compass still appears to be inaccurate, a manual
calibration may be necessary. Refer toCompass calibration
adjustment.
Most geographic areas (zones) have a magnetic north compass point that
varies slightly from the northerly direction on maps. This variation is four
degrees between adjacent zones and will become noticeable as the
vehicle crosses multiple zones. A correct zone setting will eliminate this
error. Refer toCompass zone adjustment.
Electronic compass/temperature display (without trip computer)
Outside air temperature
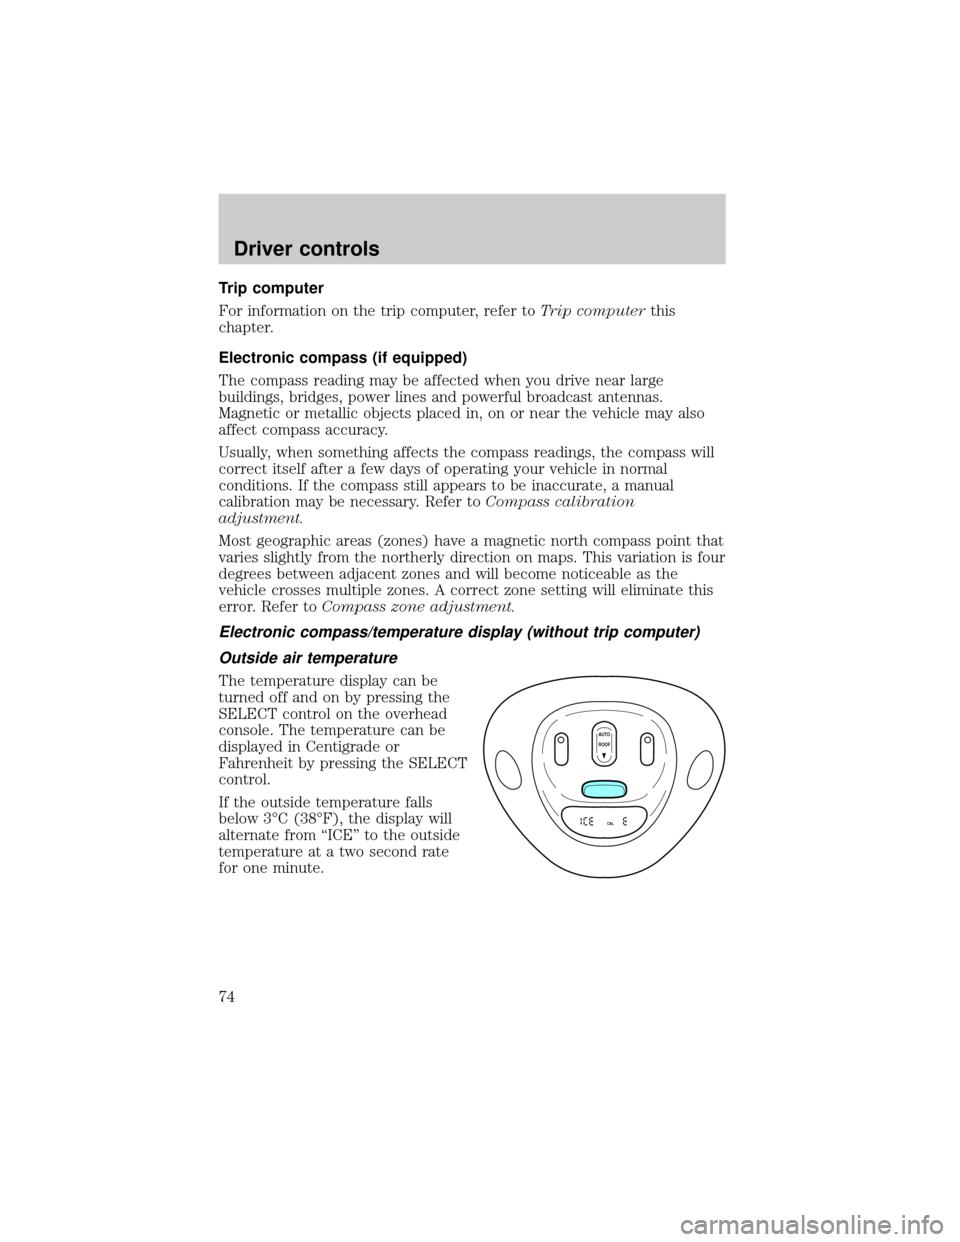
The temperature display can be
turned off and on by pressing the
SELECT control on the overhead
console. The temperature can be
displayed in Centigrade or
Fahrenheit by pressing the SELECT
control.
If the outside temperature falls
below 3ÉC (38ÉF), the display will
alternate from ªICEº to the outside
temperature at a two second rate
for one minute.
AUTO
CAL
ROOF
Driver controls
74
Page 76 of 280

Without trip computer
1. Press and hold the SELECT
control until VAR appears in the
display, then release. The display
should show the current zone
number.
2. Press the SELECT control until
the desired zone number appears.
The display will flash and then
return to normal operation. The
zone is now updated.
Compass calibration adjustment
Perform this adjustment in an open area free from steel structures and
high voltage lines.
For optimum calibration, turn off all electrical accessories (heater/air
conditioning, wipers, etc.) and make sure all vehicle doors are shut.
1. Start the vehicle.
With trip computer
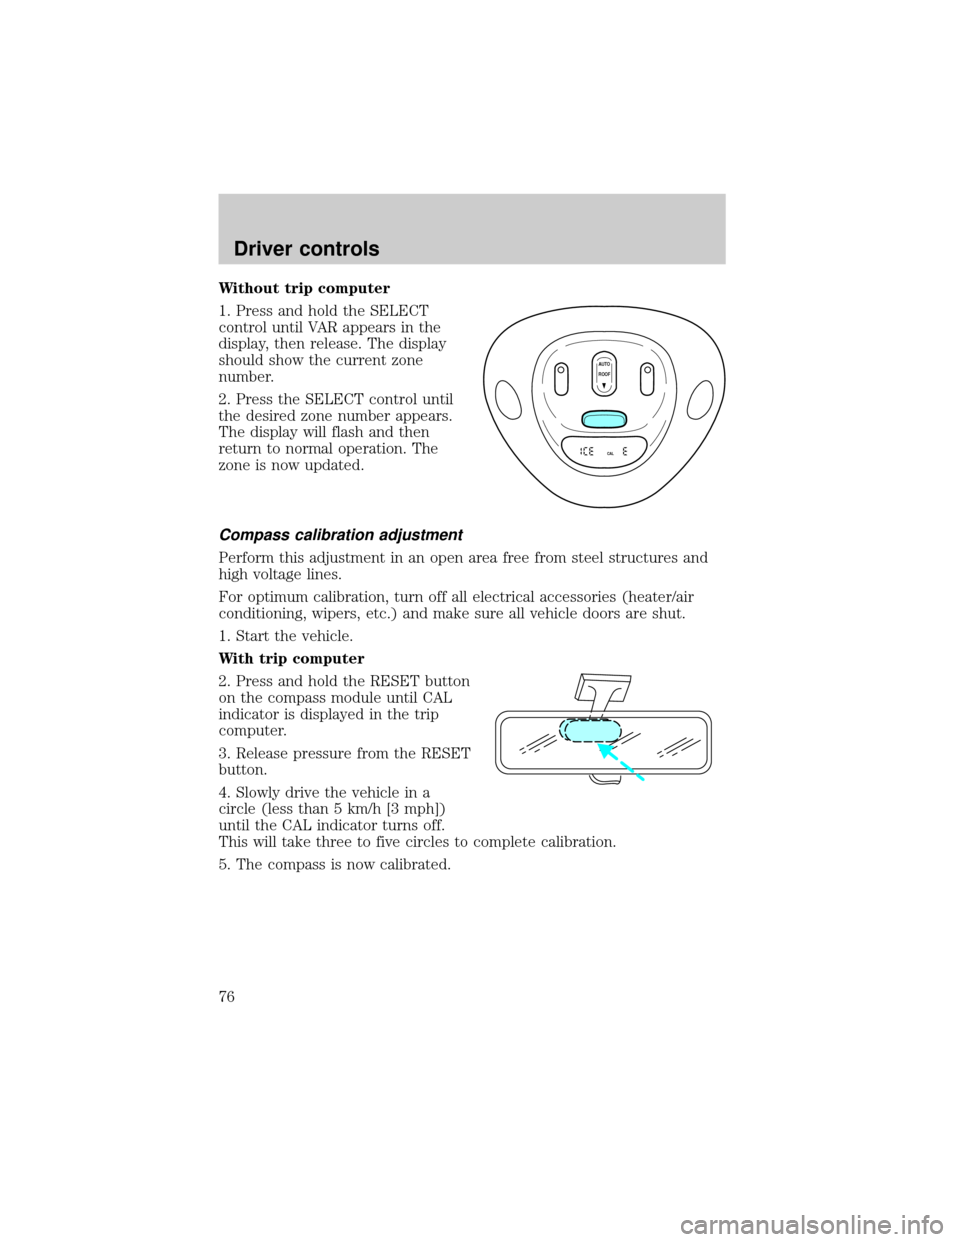
2. Press and hold the RESET button
on the compass module until CAL
indicator is displayed in the trip
computer.
3. Release pressure from the RESET
button.
4. Slowly drive the vehicle in a
circle (less than 5 km/h [3 mph])
until the CAL indicator turns off.
This will take three to five circles to complete calibration.
5. The compass is now calibrated.
AUTO
CAL
ROOF
Driver controls
76
Page 77 of 280
Without trip computer
1. Press and hold the SELECT
control until CAL appears in the
display (approximately eight
seconds) and release.
2. Drive the vehicle slowly (less
than 5 km/h [3 mph]) in circles until
CAL indicator turns off in about 2±3
complete circles.
3. The compass is now calibrated.
Power quarter rear windows (if equipped)
²With out a moon roof
²With a moon roof
AUTO
CAL
ROOF
RESET
VENTVENT
MODE E/M
VENT VENTROOF
Driver controls
77