Page 35 of 280
Starting autoset memory preset
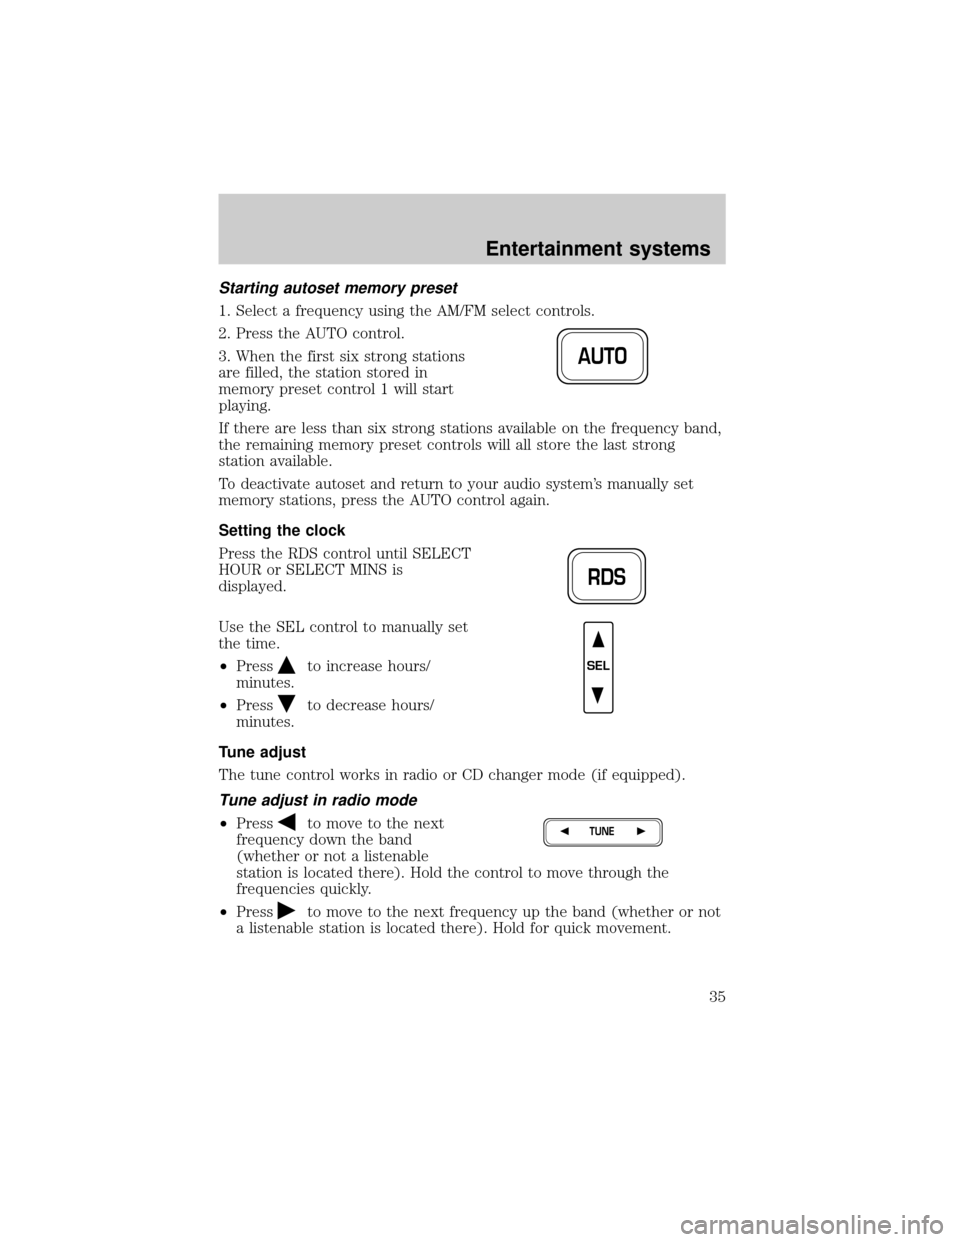
1. Select a frequency using the AM/FM select controls.
2. Press the AUTO control.
3. When the first six strong stations
are filled, the station stored in
memory preset control 1 will start
playing.
If there are less than six strong stations available on the frequency band,
the remaining memory preset controls will all store the last strong
station available.
To deactivate autoset and return to your audio system's manually set
memory stations, press the AUTO control again.
Setting the clock
Press the RDS control until SELECT
HOUR or SELECT MINS is
displayed.
Use the SEL control to manually set
the time.
²Press
to increase hours/
minutes.
²Press
to decrease hours/
minutes.
Tune adjust
The tune control works in radio or CD changer mode (if equipped).
Tune adjust in radio mode
²Pressto move to the next
frequency down the band
(whether or not a listenable
station is located there). Hold the control to move through the
frequencies quickly.
²Press
to move to the next frequency up the band (whether or not
a listenable station is located there). Hold for quick movement.
AUTO
RDS
SEL
TUNE
Entertainment systems
35
Page 39 of 280
Show
²With RDS activated, press the
RDS control until SHOW is
displayed.
²Use the SEL control to select
TYPE, NAME or NONE.
REAR SEAT CONTROLS (IF EQUIPPED)
The Personal Audio System, allows
front and middle seat passengers to
listen to different media sources
(radio, cassette or CD)
simultaneously. However, the front
and middle-seat passengers cannot
listen to two different radio stations
at the same time.
To turn on the rear seat controls, press the memory preset controls 3
and 5 at the same time. The
will appear in the display.
Pressing 3 and 5 at the same time again will turn the rear seat controls
off.
If there is a discrepancy between the rear seat and the front audio
controls, (such as both trying to listen to the same playing media), the
front audio system will receive the desired selection.
RDS
SEL
- VOLUME +
MODE
SEEK MEMORY
REW
1
FF
2
SIDE 1.
2
34
COMP
5
SHUFF
6
Entertainment systems
39
Page 41 of 280
USING HEADPHONES/PERSONAL AUDIO SYSTEM
Plug a 3.5 mm headphone (not included) into the
jack. Press the
speaker on/off control to operate the headphones. DUAL PLAY
illuminates in the radio display and the fade control is disabled.
The rear speakers will cut out once the speaker on/off control is pressed.
The front speaker will remain playing for the front passengers. Press the
control again to deactivate the headphones (Personal Audio System).
SINGLE PLAY illuminates in the radio display and the fade control is
enabled.
For the Personal Audio System to be enabled, the rear seat controls
must be active and
illuminated in the radio display.
MODE SELECT
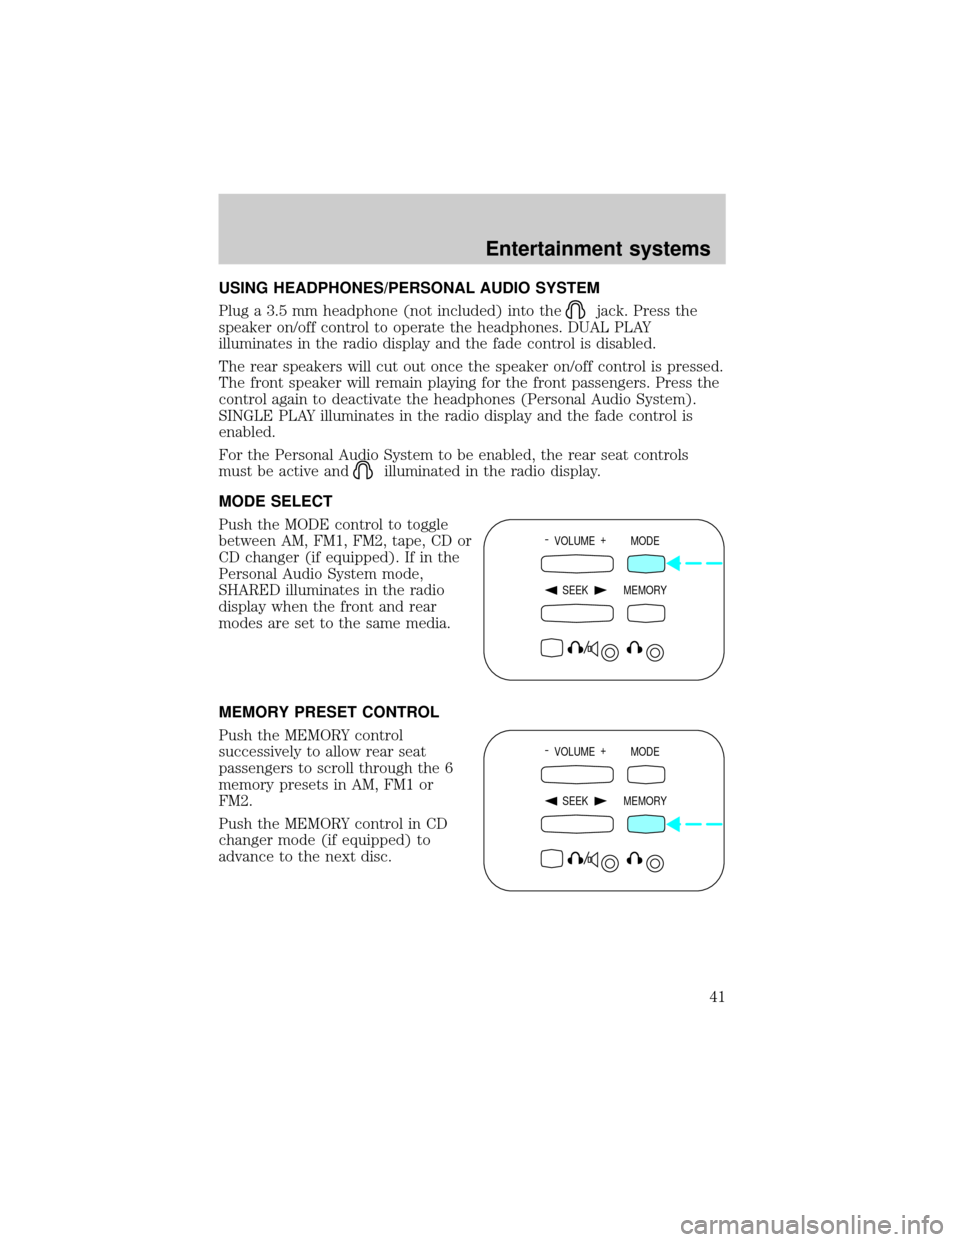
Push the MODE control to toggle
between AM, FM1, FM2, tape, CD or
CD changer (if equipped). If in the
Personal Audio System mode,
SHARED illuminates in the radio
display when the front and rear
modes are set to the same media.
MEMORY PRESET CONTROL
Push the MEMORY control
successively to allow rear seat
passengers to scroll through the 6
memory presets in AM, FM1 or
FM2.
Push the MEMORY control in CD
changer mode (if equipped) to
advance to the next disc.
- VOLUME +
MODE
SEEK MEMORY
- VOLUME +
MODE
SEEK MEMORY
Entertainment systems
41
Page 75 of 280
Compass zone adjustment
1. Determine which magnetic zone
you are in for your geographic
location by referring to the zone
map.
With trip computer
2. Locate the compass module
mounted on the center rear view
mirror post.
3. Turn ignition to the ON position.
4. Press and hold the RESET button
on top of the compass module until
the message display in the trip
computer shows the current zone
setting.
5. Release the RESET button.
6. Press the RESET button until the correct zone is displayed on the trip
computer.
1
2
3
4
5
6
7891011121314 15
Driver controls
75
Page 76 of 280
Without trip computer
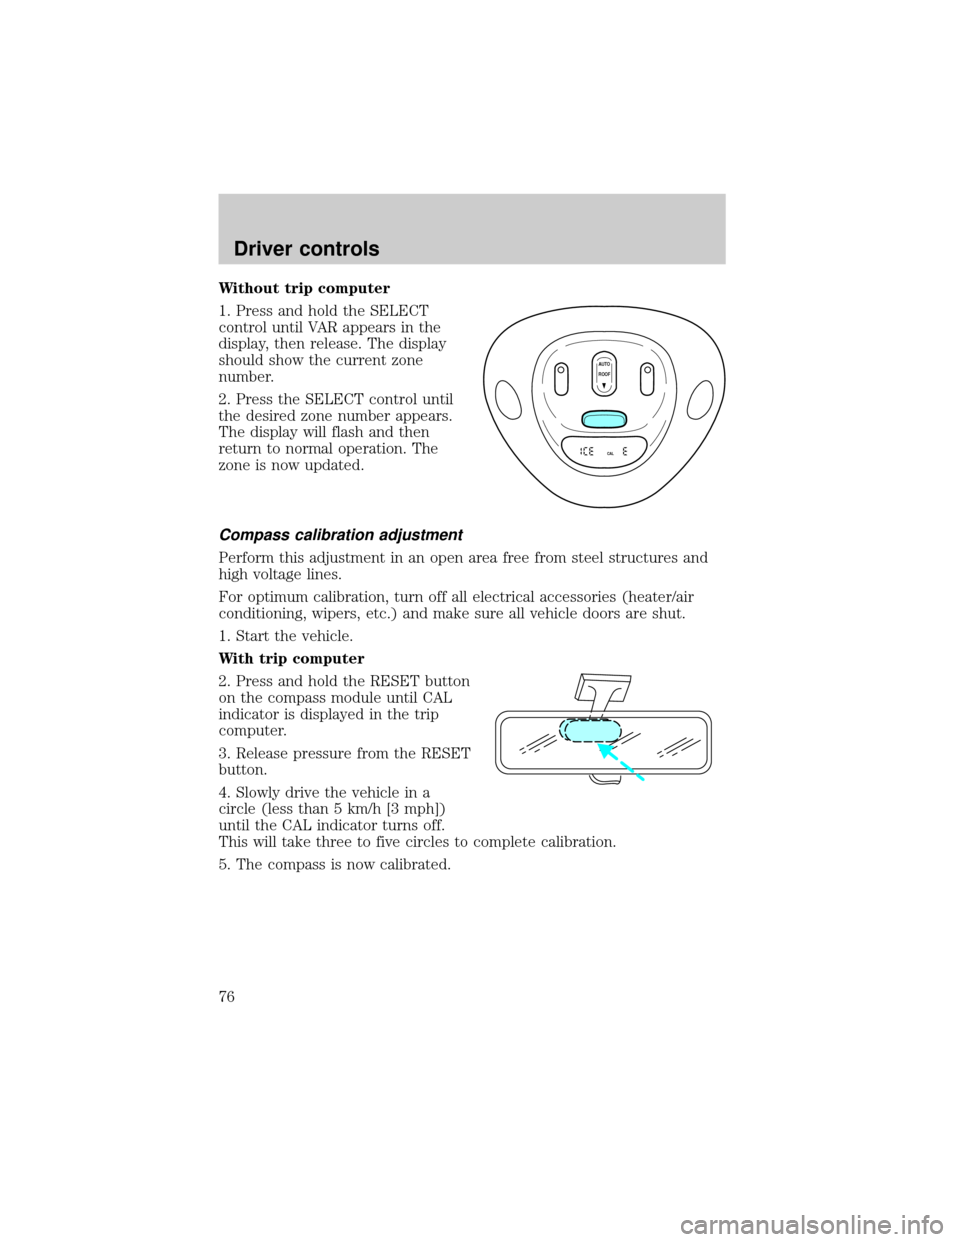
1. Press and hold the SELECT
control until VAR appears in the
display, then release. The display
should show the current zone
number.
2. Press the SELECT control until
the desired zone number appears.
The display will flash and then
return to normal operation. The
zone is now updated.
Compass calibration adjustment
Perform this adjustment in an open area free from steel structures and
high voltage lines.
For optimum calibration, turn off all electrical accessories (heater/air
conditioning, wipers, etc.) and make sure all vehicle doors are shut.
1. Start the vehicle.
With trip computer
2. Press and hold the RESET button
on the compass module until CAL
indicator is displayed in the trip
computer.
3. Release pressure from the RESET
button.
4. Slowly drive the vehicle in a
circle (less than 5 km/h [3 mph])
until the CAL indicator turns off.
This will take three to five circles to complete calibration.
5. The compass is now calibrated.
AUTO
CAL
ROOF
Driver controls
76
Page 77 of 280
Without trip computer
1. Press and hold the SELECT
control until CAL appears in the
display (approximately eight
seconds) and release.
2. Drive the vehicle slowly (less
than 5 km/h [3 mph]) in circles until
CAL indicator turns off in about 2±3
complete circles.
3. The compass is now calibrated.
Power quarter rear windows (if equipped)
²With out a moon roof
²With a moon roof
AUTO
CAL
ROOF
RESET
VENTVENT
MODE E/M
VENT VENTROOF
Driver controls
77
Page 91 of 280
Mode control
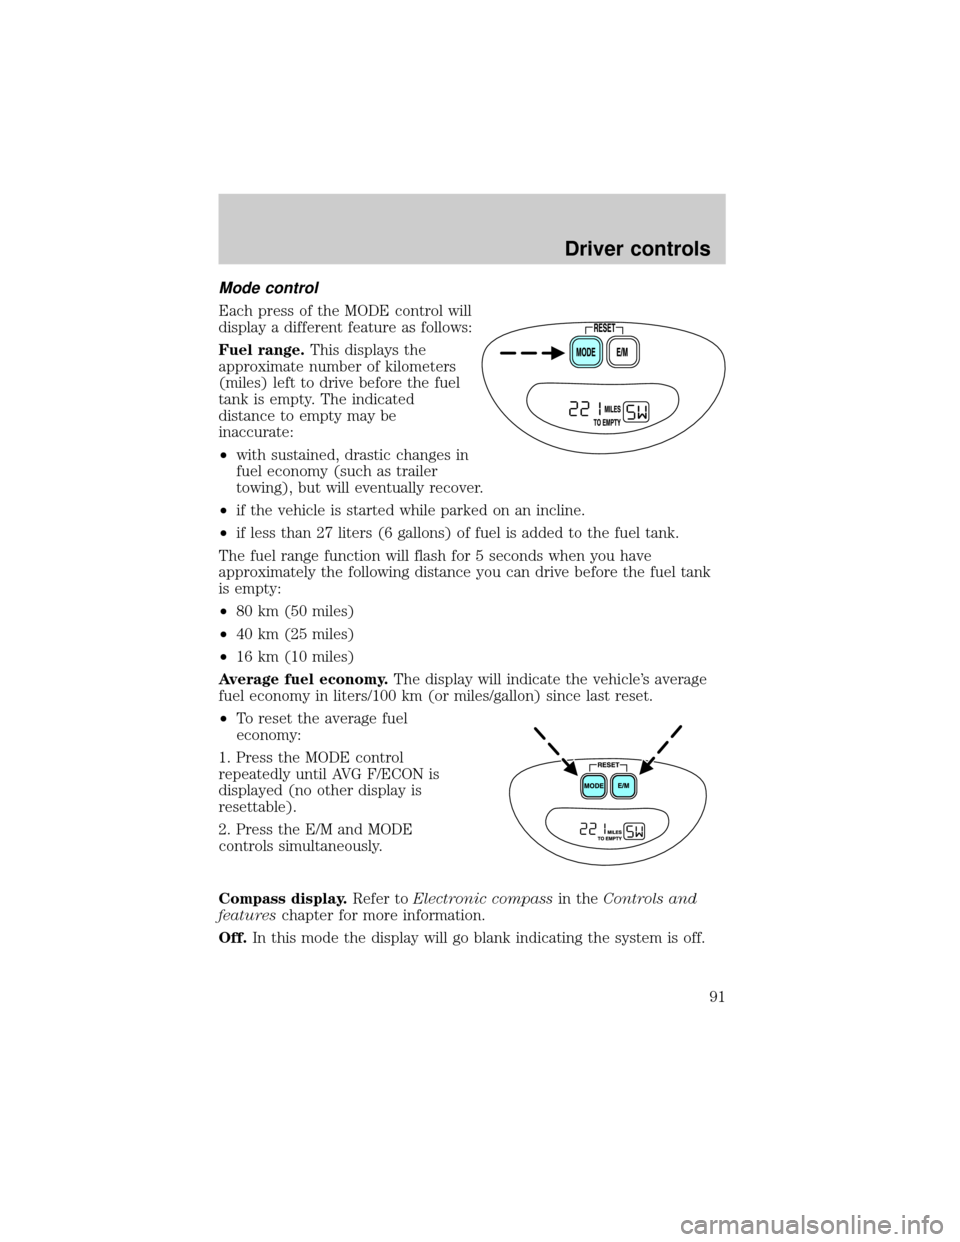
Each press of the MODE control will
display a different feature as follows:
Fuel range.This displays the
approximate number of kilometers
(miles) left to drive before the fuel
tank is empty. The indicated
distance to empty may be
inaccurate:
²with sustained, drastic changes in
fuel economy (such as trailer
towing), but will eventually recover.
²if the vehicle is started while parked on an incline.
²if less than 27 liters (6 gallons) of fuel is added to the fuel tank.
The fuel range function will flash for 5 seconds when you have
approximately the following distance you can drive before the fuel tank
is empty:
²80 km (50 miles)
²40 km (25 miles)
²16 km (10 miles)
Average fuel economy.The display will indicate the vehicle's average
fuel economy in liters/100 km (or miles/gallon) since last reset.
²To reset the average fuel
economy:
1. Press the MODE control
repeatedly until AVG F/ECON is
displayed (no other display is
resettable).
2. Press the E/M and MODE
controls simultaneously.
Compass display.Refer toElectronic compassin theControls and
featureschapter for more information.
Off.In this mode the display will go blank indicating the system is off.
Driver controls
91
Page 187 of 280
Canadian customers who need to obtain reimbursement information, call
1±800±665±2006.
ROADSIDE COVERAGE BEYOND BASIC WARRANTY
In the United States, you may purchase additional roadside assistance
coverage beyond this period through the Ford Auto Club by contacting
your Ford or Lincoln Mercury dealer.
Similarly in Canada, for uninterrupted Roadside Assistance coverage, you
may purchase extended coverage prior to your Basic Warranty's Roadside
Assistance expiring. For more information and enrollment, contact
1±877±294±2582 or visit our website at www.ford.ca.
HAZARD FLASHER
Use only in an emergency to warn traffic of vehicle breakdown,
approaching danger, etc. The hazard flashers can be operated when the
ignition is off.
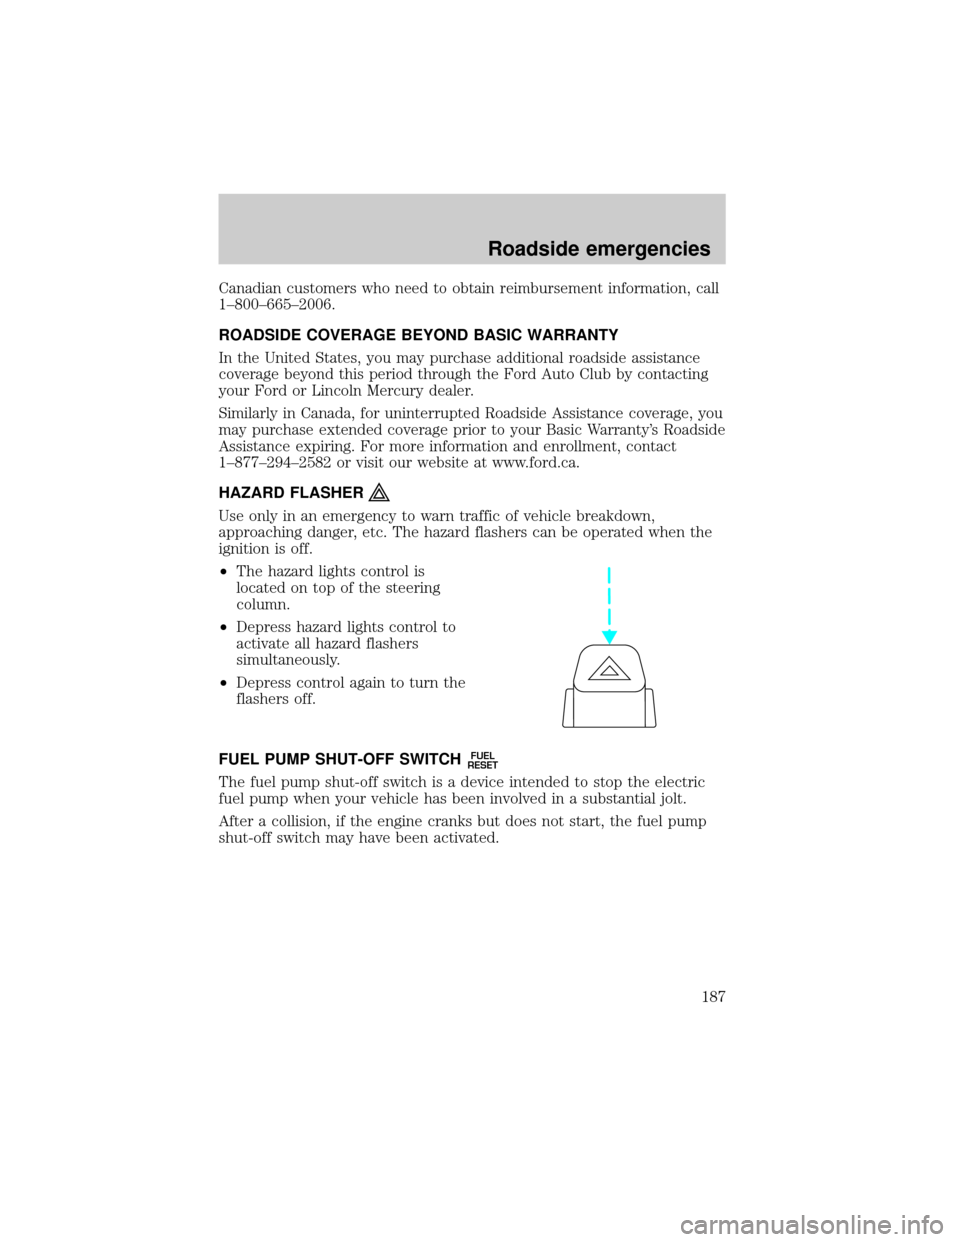
²The hazard lights control is
located on top of the steering
column.
²Depress hazard lights control to
activate all hazard flashers
simultaneously.
²Depress control again to turn the
flashers off.
FUEL PUMP SHUT-OFF SWITCH
FUEL
RESET
The fuel pump shut-off switch is a device intended to stop the electric
fuel pump when your vehicle has been involved in a substantial jolt.
After a collision, if the engine cranks but does not start, the fuel pump
shut-off switch may have been activated.
Roadside emergencies
187