2002 FORD ESCORT ECO mode
[x] Cancel search: ECO modePage 11 of 216

Service engine soon
Illuminates briefly to ensure the
system is functional. If it comes on
after the engine is started, one of
the engine's emission control
systems may be malfunctioning. The
light may illuminate without a
driveability concern being noted. The vehicle will usually be drivable and
will not require towing.
Light turns on solid:
Temporary malfunctions may cause the light to illuminate. Examples are:
1. The vehicle has run out of fuel.
2. Poor fuel quality or water in the fuel.
3. The fuel cap may not have been properly installed and securely
tightened.
These temporary malfunctions can be corrected by filling the fuel tank
with high quality fuel of the recommended octane and/or properly
installing and securely tightening the fuel cap. After three driving cycles
without these or any other temporary malfunctions present, the light
should turn off. (A driving cycle consists of a cold engine startup
followed by mixed city/highway driving.) No additional vehicle service is
required.
If the light remains on, have your vehicle serviced at the first available
opportunity.
Light is blinking:
Engine misfire is occurring which could damage your catalytic converter.
You should drive in a moderate fashion (avoid heavy acceleration and
deceleration) and have your vehicle serviced at the first available
opportunity.
Under engine misfire conditions, excessive exhaust temperatures
could damage the catalytic converter, the fuel system, interior
floor coverings or other vehicle components, possibly causing a fire.
SERVICE
ENGINE
SOON
Instrument Cluster
11
Page 26 of 216
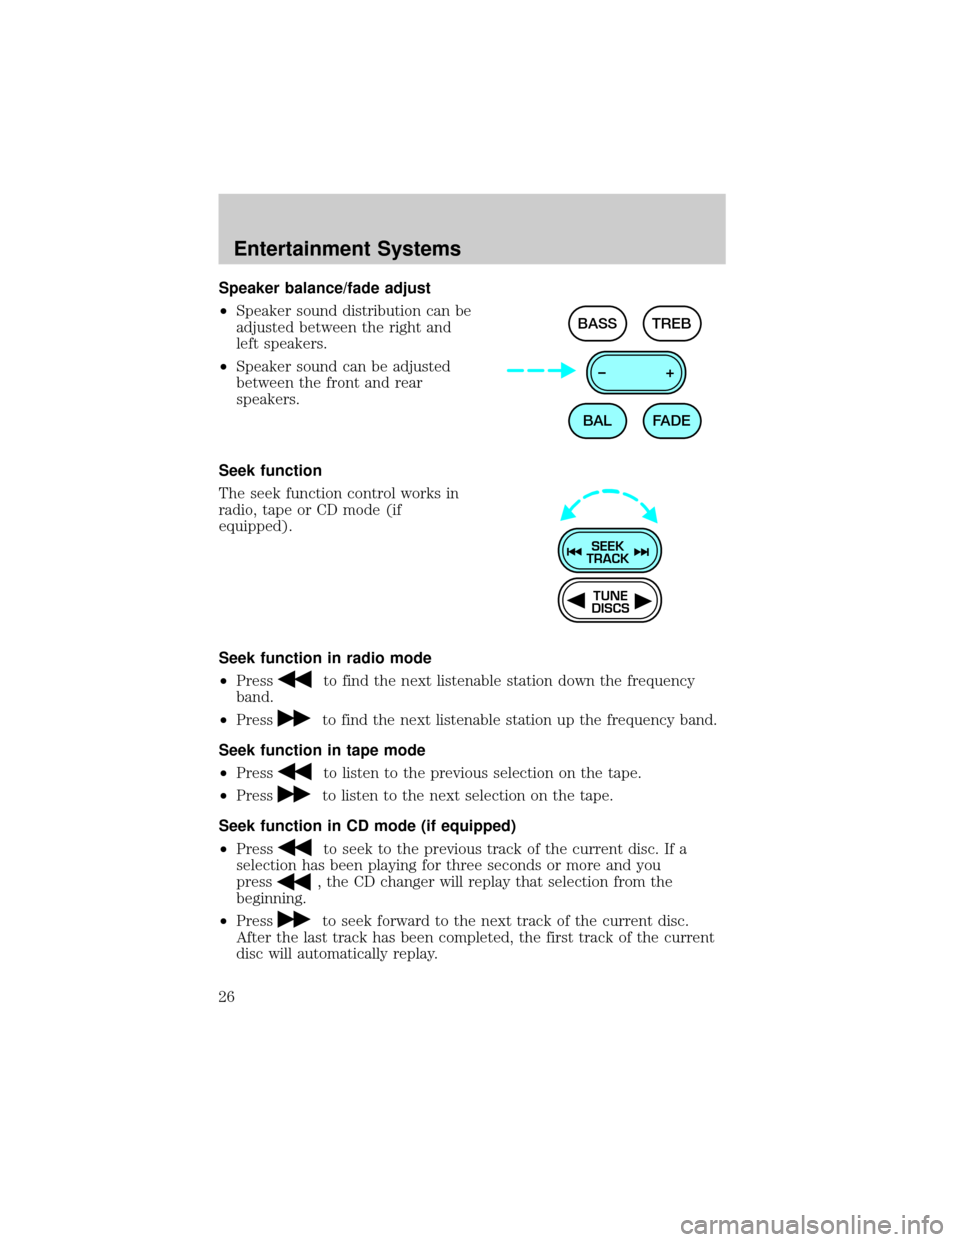
Speaker balance/fade adjust
²Speaker sound distribution can be
adjusted between the right and
left speakers.
²Speaker sound can be adjusted
between the front and rear
speakers.
Seek function
The seek function control works in
radio, tape or CD mode (if
equipped).
Seek function in radio mode
²Press
to find the next listenable station down the frequency
band.
²Press
to find the next listenable station up the frequency band.
Seek function in tape mode
²Press
to listen to the previous selection on the tape.
²Press
to listen to the next selection on the tape.
Seek function in CD mode (if equipped)
²Press
to seek to the previous track of the current disc. If a
selection has been playing for three seconds or more and you
press
, the CD changer will replay that selection from the
beginning.
²Press
to seek forward to the next track of the current disc.
After the last track has been completed, the first track of the current
disc will automatically replay.
BAL BASS TREB
FADE –+
TUNE
DISCS
SEEK
TRACK
Entertainment Systems
26
Page 30 of 216
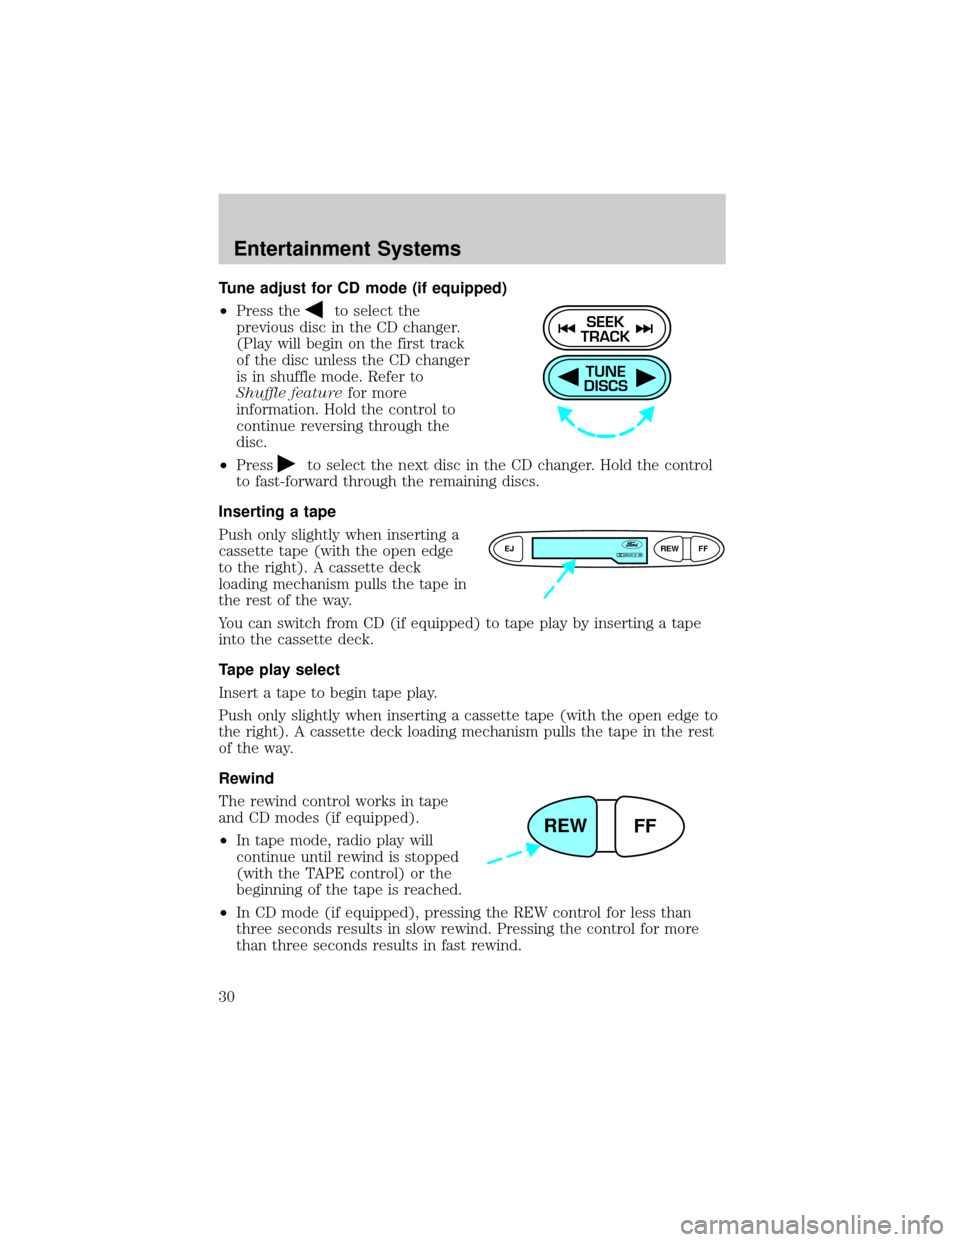
Tune adjust for CD mode (if equipped)
²Press the
to select the
previous disc in the CD changer.
(Play will begin on the first track
of the disc unless the CD changer
is in shuffle mode. Refer to
Shuffle featurefor more
information. Hold the control to
continue reversing through the
disc.
²Press
to select the next disc in the CD changer. Hold the control
to fast-forward through the remaining discs.
Inserting a tape
Push only slightly when inserting a
cassette tape (with the open edge
to the right). A cassette deck
loading mechanism pulls the tape in
the rest of the way.
You can switch from CD (if equipped) to tape play by inserting a tape
into the cassette deck.
Tape play select
Insert a tape to begin tape play.
Push only slightly when inserting a cassette tape (with the open edge to
the right). A cassette deck loading mechanism pulls the tape in the rest
of the way.
Rewind
The rewind control works in tape
and CD modes (if equipped).
²In tape mode, radio play will
continue until rewind is stopped
(with the TAPE control) or the
beginning of the tape is reached.
²In CD mode (if equipped), pressing the REW control for less than
three seconds results in slow rewind. Pressing the control for more
than three seconds results in fast rewind.
TUNE
DISCS
SEEK
TRACK
EJREW
FFDOLBY B NR
REW
FF
Entertainment Systems
30
Page 31 of 216
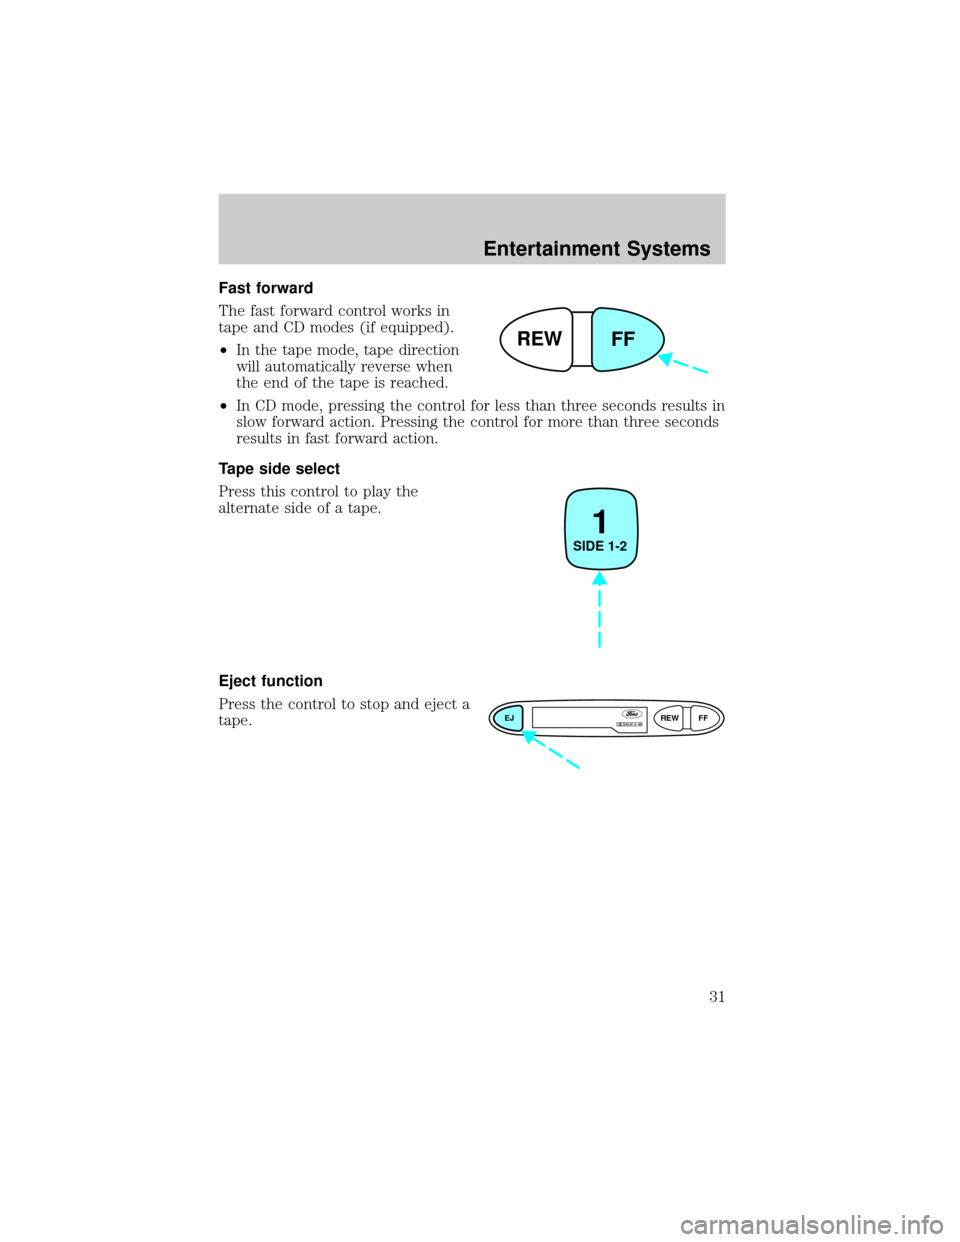
Fast forward
The fast forward control works in
tape and CD modes (if equipped).
²In the tape mode, tape direction
will automatically reverse when
the end of the tape is reached.
²In CD mode, pressing the control for less than three seconds results in
slow forward action. Pressing the control for more than three seconds
results in fast forward action.
Tape side select
Press this control to play the
alternate side of a tape.
Eject function
Press the control to stop and eject a
tape.
REW
FF
1
SIDE 1-2
EJREW
FFDOLBY B NR
Entertainment Systems
31
Page 35 of 216
CLEANING COMPACT DISCS
Inspect all discs for contamination before playing. If necessary, clean
discs only with an approved CD cleaner and wipe from the center out to
the edge. Do not use circular motion.
CD AND CD CHANGER CARE
²Handle discs by their edges only. Never touch the playing surface.
²Do not expose discs to direct sunlight or heat sources for extended
periods of time.
²Do not insert more than one disc into each slot of the CD changer
magazine.
Do not insert any promotional (odd shaped or sized) discs, or
discs with removable labels into the CD player as jamming may
occur.
CLEANING CASSETTE PLAYER (IF EQUIPPED)
Clean the tape player head with a cassette cleaning cartridge after 10 to
12 hours of play in order to maintain the best sound and operation.
CASSETTE AND CASSETTE PLAYER CARE
²Use only cassettes that are 90 minutes long or less.
²Do not expose tapes to direct sunlight, high humidity, extreme heat or
extreme cold. Allow tapes that may have been exposed to extreme
temperatures to reach a moderate temperature before playing.
²Tighten very loose tapes by inserting a finger or pencil into the hole
and turning the hub.
²Remove loose labels before inserting tapes.
²Do not leave tapes in the cassette player for a long time when not
being played.
RADIO FREQUENCY INFORMATION
The Federal Communications Commission (FCC) and the Canadian Radio
and Telecommunications Commission(CRTC) establish the frequencies AM
and FM stations may use for their broadcasts. Allowable frequencies are:
AM 530, 540±1600, 1610 kHz
FM 87.7, 87.9±107.7, 107.9 MHz
Not all frequencies are used in a given area.
Entertainment Systems
35
Page 39 of 216
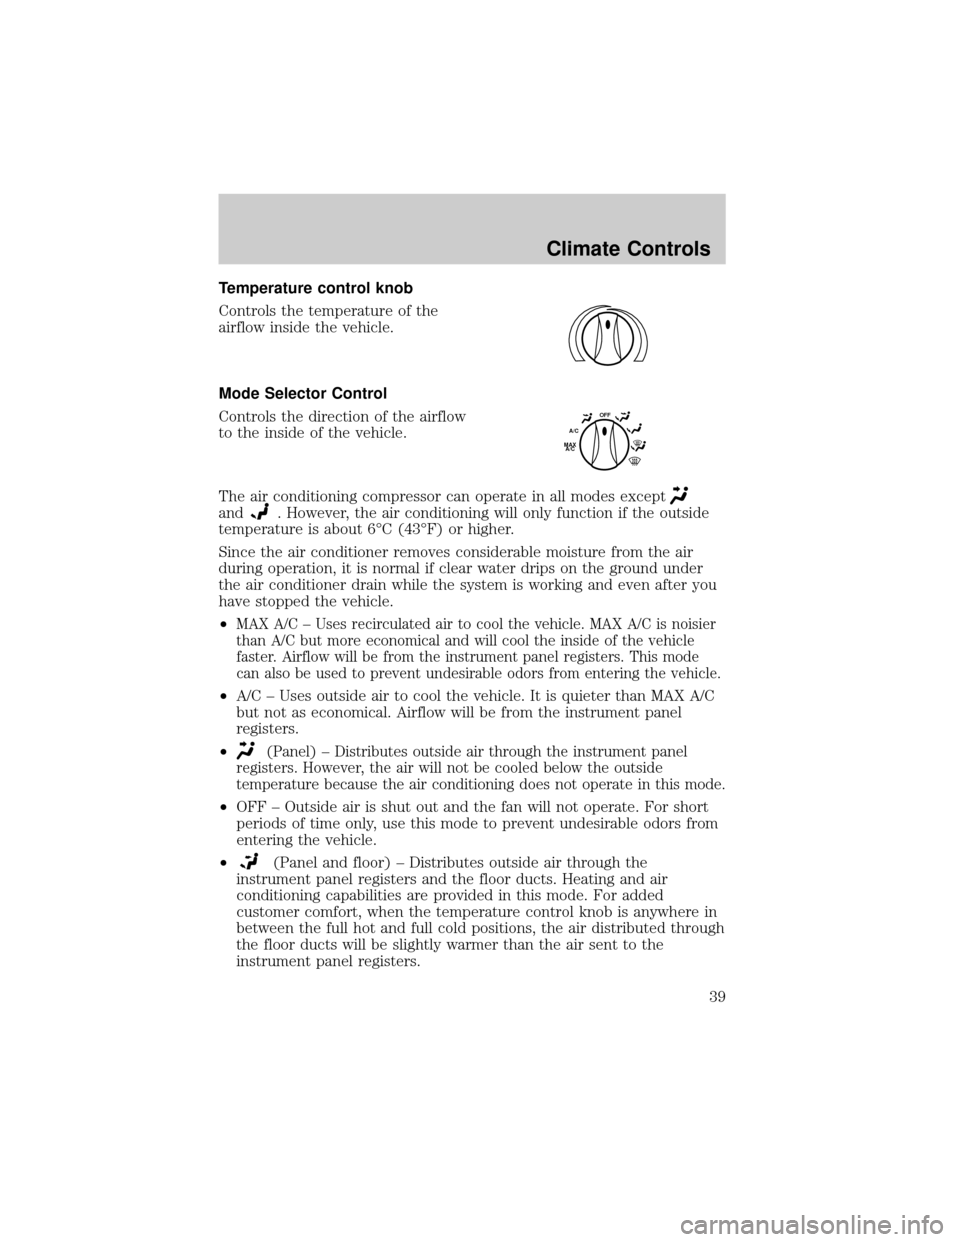
Temperature control knob
Controls the temperature of the
airflow inside the vehicle.
Mode Selector Control
Controls the direction of the airflow
to the inside of the vehicle.
The air conditioning compressor can operate in all modes except
and. However, the air conditioning will only function if the outside
temperature is about 6ÉC (43ÉF) or higher.
Since the air conditioner removes considerable moisture from the air
during operation, it is normal if clear water drips on the ground under
the air conditioner drain while the system is working and even after you
have stopped the vehicle.
²
MAX A/C ± Uses recirculated air to cool the vehicle. MAX A/C is noisier
than A/C but more economical and will cool the inside of the vehicle
faster. Airflow will be from the instrument panel registers. This mode
can also be used to prevent undesirable odors from entering the vehicle.
²A/C ± Uses outside air to cool the vehicle. It is quieter than MAX A/C
but not as economical. Airflow will be from the instrument panel
registers.
²
(Panel) ± Distributes outside air through the instrument panel
registers. However, the air will not be cooled below the outside
temperature because the air conditioning does not operate in this mode.
²OFF ± Outside air is shut out and the fan will not operate. For short
periods of time only, use this mode to prevent undesirable odors from
entering the vehicle.
²
(Panel and floor) ± Distributes outside air through the
instrument panel registers and the floor ducts. Heating and air
conditioning capabilities are provided in this mode. For added
customer comfort, when the temperature control knob is anywhere in
between the full hot and full cold positions, the air distributed through
the floor ducts will be slightly warmer than the air sent to the
instrument panel registers.
OFF
A/C
MAX
A/C
Climate Controls
39
Page 69 of 216
Programming remote transmitters
It is necessary to haveall(maximum of four Ð original and/or new) of
your remote transmitters available prior to beginning this procedure.
To program the transmitters yourself:
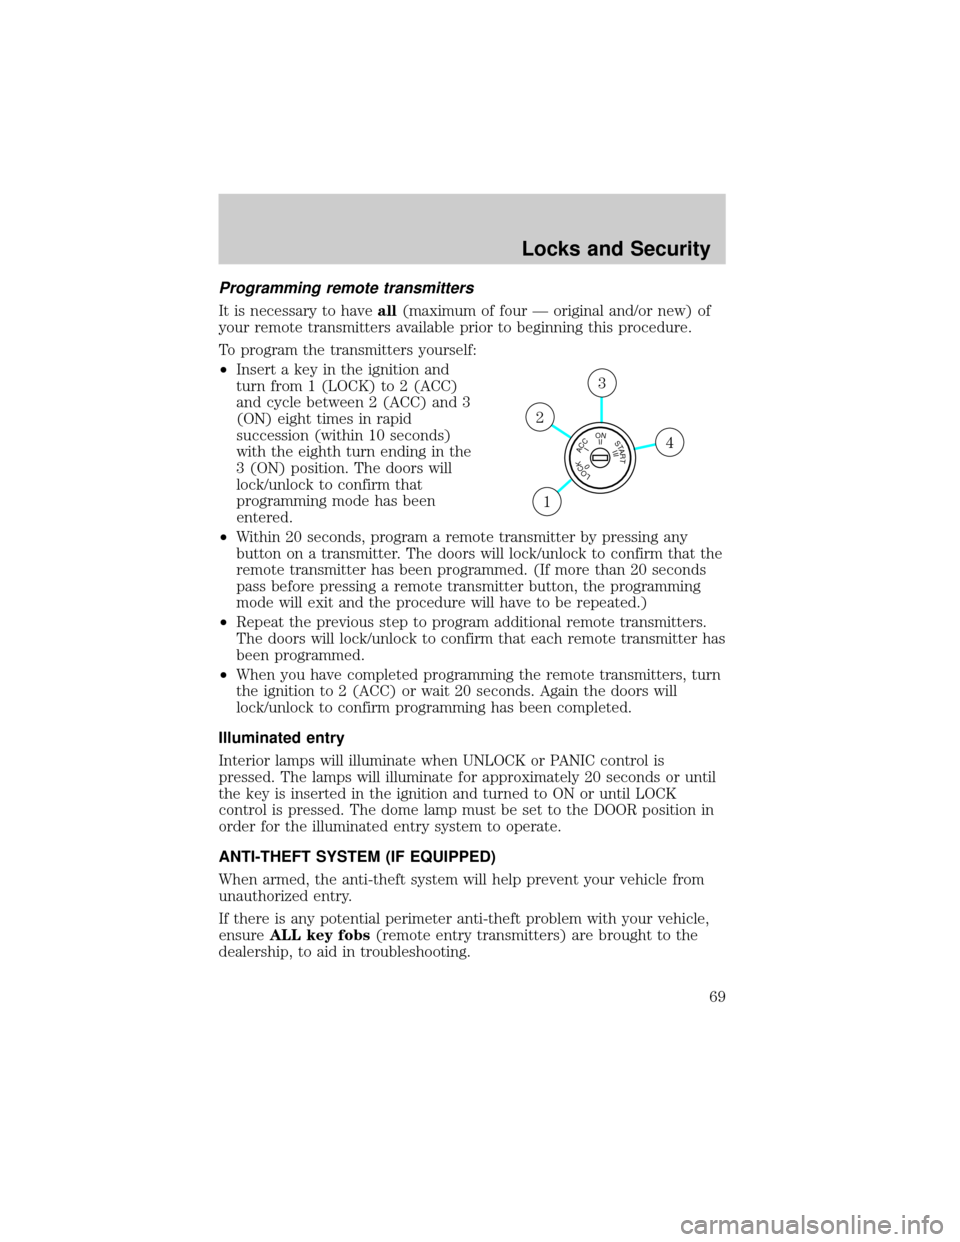
²Insert a key in the ignition and
turn from 1 (LOCK) to 2 (ACC)
and cycle between 2 (ACC) and 3
(ON) eight times in rapid
succession (within 10 seconds)
with the eighth turn ending in the
3 (ON) position. The doors will
lock/unlock to confirm that
programming mode has been
entered.
²Within 20 seconds, program a remote transmitter by pressing any
button on a transmitter. The doors will lock/unlock to confirm that the
remote transmitter has been programmed. (If more than 20 seconds
pass before pressing a remote transmitter button, the programming
mode will exit and the procedure will have to be repeated.)
²Repeat the previous step to program additional remote transmitters.
The doors will lock/unlock to confirm that each remote transmitter has
been programmed.
²When you have completed programming the remote transmitters, turn
the ignition to 2 (ACC) or wait 20 seconds. Again the doors will
lock/unlock to confirm programming has been completed.
Illuminated entry
Interior lamps will illuminate when UNLOCK or PANIC control is
pressed. The lamps will illuminate for approximately 20 seconds or until
the key is inserted in the ignition and turned to ON or until LOCK
control is pressed. The dome lamp must be set to the DOOR position in
order for the illuminated entry system to operate.
ANTI-THEFT SYSTEM (IF EQUIPPED)
When armed, the anti-theft system will help prevent your vehicle from
unauthorized entry.
If there is any potential perimeter anti-theft problem with your vehicle,
ensureALL key fobs(remote entry transmitters) are brought to the
dealership, to aid in troubleshooting.
LOCKACCONSTART0IIIIII4
3
2
1
Locks and Security
69
Page 78 of 216
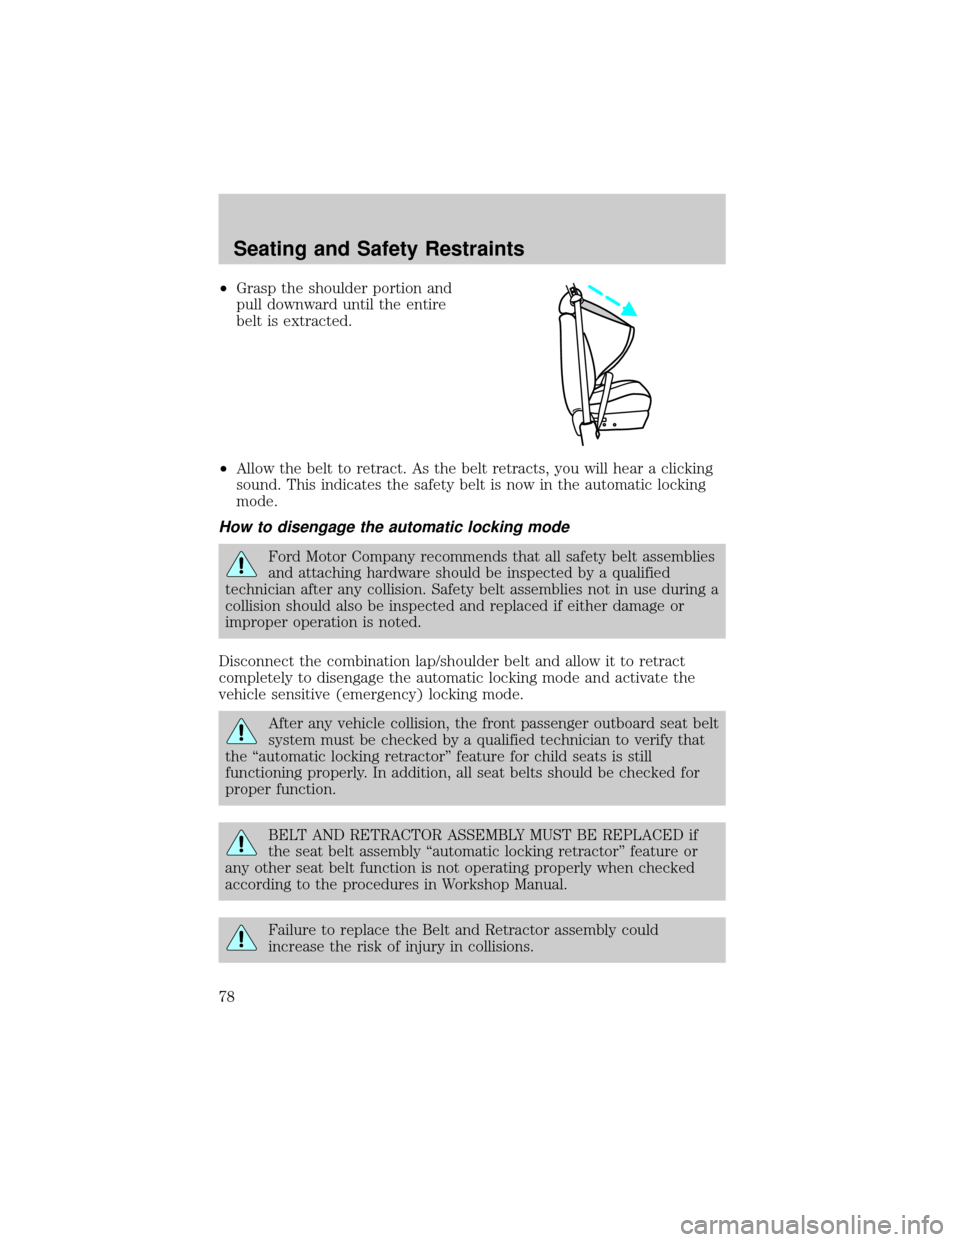
²Grasp the shoulder portion and
pull downward until the entire
belt is extracted.
²Allow the belt to retract. As the belt retracts, you will hear a clicking
sound. This indicates the safety belt is now in the automatic locking
mode.
How to disengage the automatic locking mode
Ford Motor Company recommends that all safety belt assemblies
and attaching hardware should be inspected by a qualified
technician after any collision. Safety belt assemblies not in use during a
collision should also be inspected and replaced if either damage or
improper operation is noted.
Disconnect the combination lap/shoulder belt and allow it to retract
completely to disengage the automatic locking mode and activate the
vehicle sensitive (emergency) locking mode.
After any vehicle collision, the front passenger outboard seat belt
system must be checked by a qualified technician to verify that
the ªautomatic locking retractorº feature for child seats is still
functioning properly. In addition, all seat belts should be checked for
proper function.
BELT AND RETRACTOR ASSEMBLY MUST BE REPLACED if
the seat belt assembly ªautomatic locking retractorº feature or
any other seat belt function is not operating properly when checked
according to the procedures in Workshop Manual.
Failure to replace the Belt and Retractor assembly could
increase the risk of injury in collisions.
Seating and Safety Restraints
78