Page 109 of 280

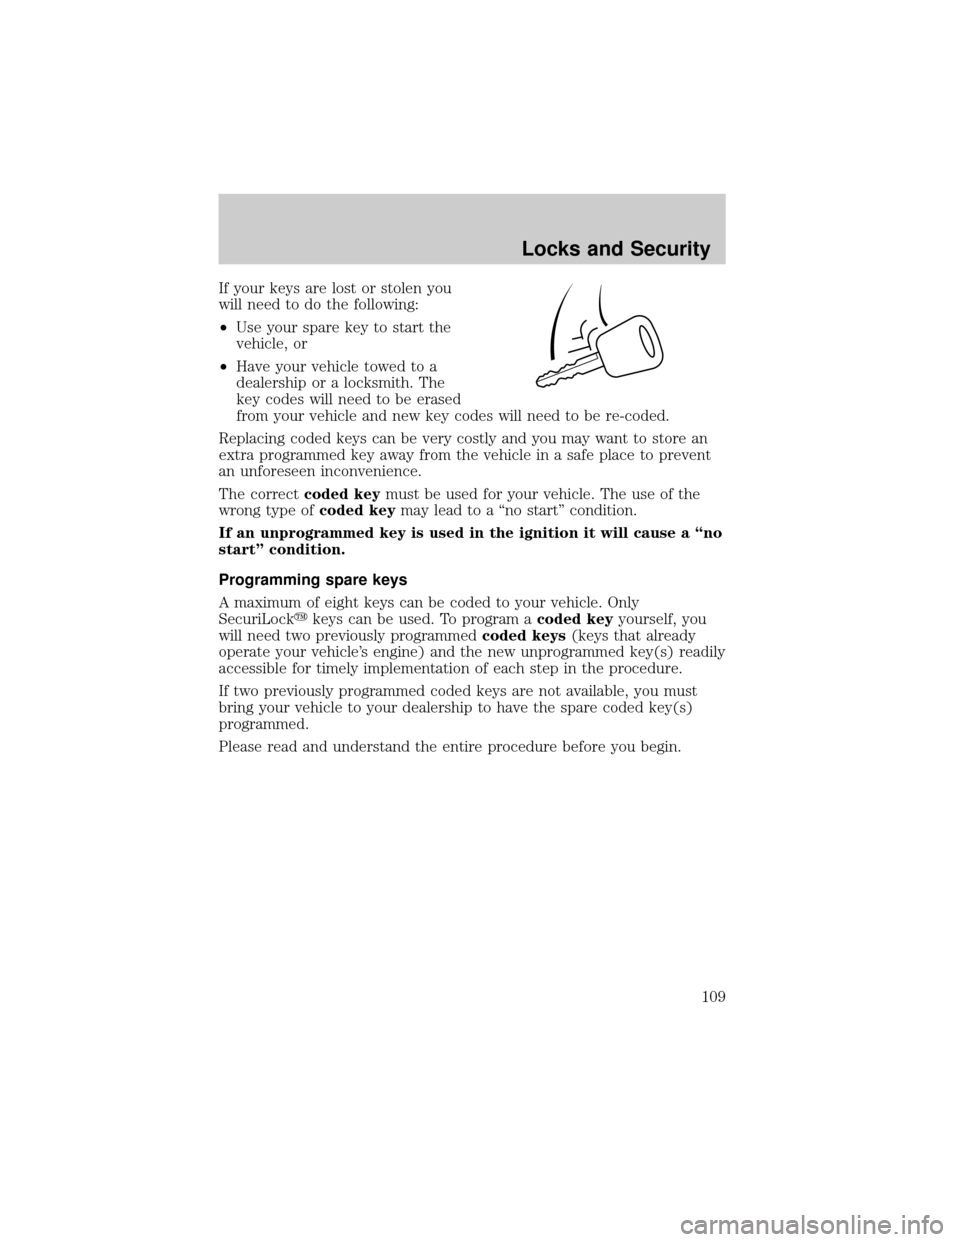
If your keys are lost or stolen you
will need to do the following:
²Use your spare key to start the
vehicle, or
²Have your vehicle towed to a
dealership or a locksmith. The
key codes will need to be erased
from your vehicle and new key codes will need to be re-coded.
Replacing coded keys can be very costly and you may want to store an
extra programmed key away from the vehicle in a safe place to prevent
an unforeseen inconvenience.
The correctcoded keymust be used for your vehicle. The use of the
wrong type ofcoded keymay lead to a ªno startº condition.
If an unprogrammed key is used in the ignition it will cause a ªno
startº condition.
Programming spare keys
A maximum of eight keys can be coded to your vehicle. Only
SecuriLockykeys can be used. To program acoded keyyourself, you
will need two previously programmedcoded keys(keys that already
operate your vehicle's engine) and the new unprogrammed key(s) readily
accessible for timely implementation of each step in the procedure.
If two previously programmed coded keys are not available, you must
bring your vehicle to your dealership to have the spare coded key(s)
programmed.
Please read and understand the entire procedure before you begin.
Locks and Security
109
Page 110 of 280

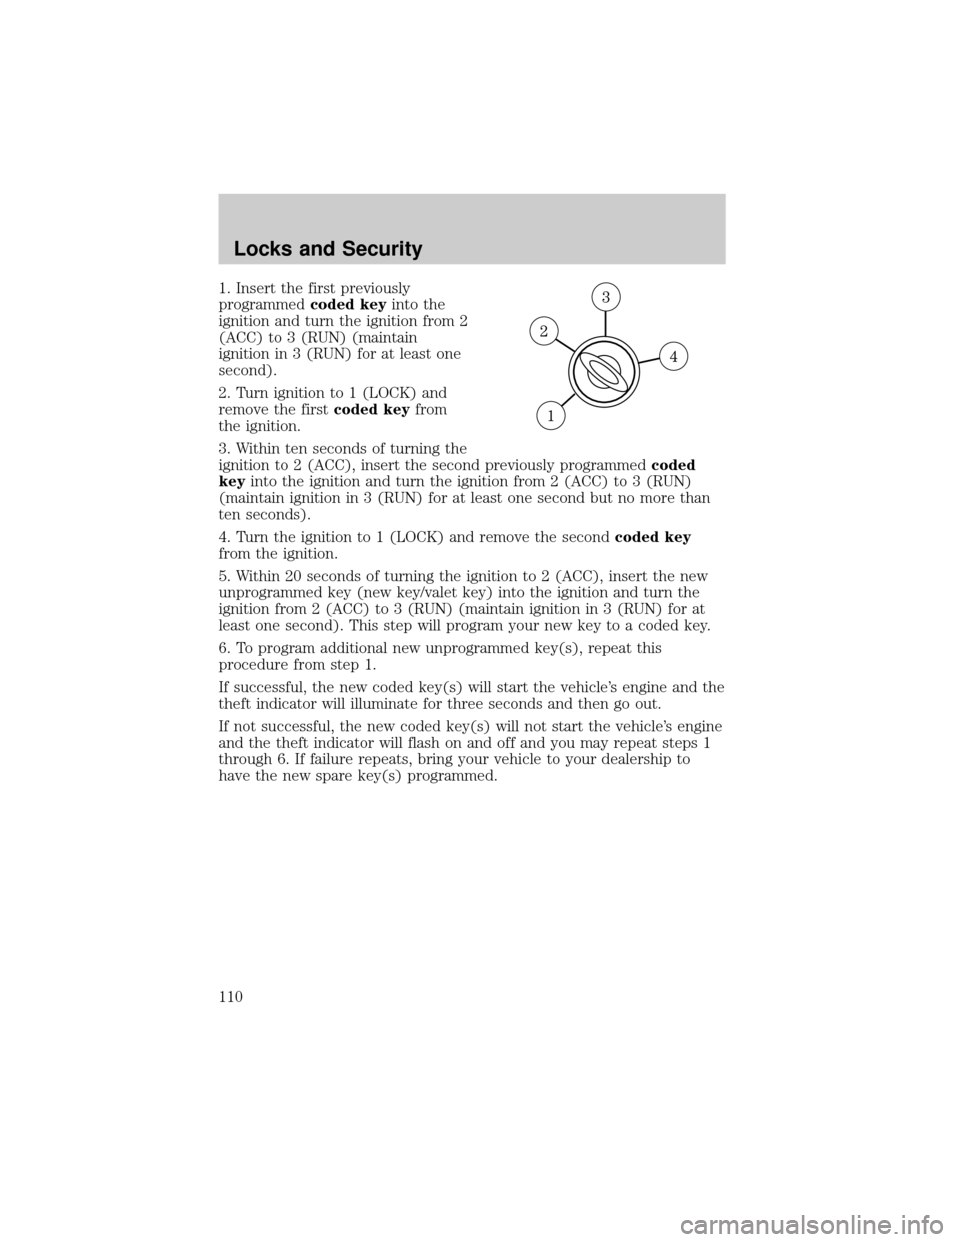
1. Insert the first previously
programmedcoded keyinto the
ignition and turn the ignition from 2
(ACC) to 3 (RUN) (maintain
ignition in 3 (RUN) for at least one
second).
2. Turn ignition to 1 (LOCK) and
remove the firstcoded keyfrom
the ignition.
3. Within ten seconds of turning the
ignition to 2 (ACC), insert the second previously programmedcoded
keyinto the ignition and turn the ignition from 2 (ACC) to 3 (RUN)
(maintain ignition in 3 (RUN) for at least one second but no more than
ten seconds).
4. Turn the ignition to 1 (LOCK) and remove the secondcoded key
from the ignition.
5. Within 20 seconds of turning the ignition to 2 (ACC), insert the new
unprogrammed key (new key/valet key) into the ignition and turn the
ignition from 2 (ACC) to 3 (RUN) (maintain ignition in 3 (RUN) for at
least one second). This step will program your new key to a coded key.
6. To program additional new unprogrammed key(s), repeat this
procedure from step 1.
If successful, the new coded key(s) will start the vehicle's engine and the
theft indicator will illuminate for three seconds and then go out.
If not successful, the new coded key(s) will not start the vehicle's engine
and the theft indicator will flash on and off and you may repeat steps 1
through 6. If failure repeats, bring your vehicle to your dealership to
have the new spare key(s) programmed.
Locks and Security
110
Page 111 of 280

PERIMETER ALARM SYSTEM (IF EQUIPPED)
The perimeter anti-theft system will help prevent your vehicle from
unauthorized entry.
If there is any potential perimeter anti-theft problem with your vehicle,
ensureALL remote entry transmittersare brought to the dealership,
to aid in troubleshooting.
Arming the system
When armed, this system will help protect your vehicle from
unauthorized entry. When unauthorized entry occurs, the system will
flash the headlamps, parking lamps and will sound the horn.
The system is ready to arm whenever the key is removed from the
ignition. Either of the following actions will prearm the alarm system:
²Press the remote entry lock
control.
²Lock the doors using the key.
If a door is open, the system is not armed. The system will become
prearmed when all doors are closed. When the system becomes
prearmed the flashers will flash to confirm the prearming.
Once the system is prearmed, the system will arm in 20 seconds. If any
door is opened during these 20 seconds, the arming will be canceled.
Locks and Security
111
Page 112 of 280
Disarming the system
You can disarm the system by any of the following actions:
²Unlock the doors by using your
remote entry transmitter.
²Unlock the doors with a key.
²Press the panic control on the
remote entry transmitter. This
will disarm the system only if the
alarm is sounding.
Locks and Security
112
Page 115 of 280
Press to raise or lower the rear
portion of the seat cushion.
Press the control to move the seat
forward, backward, up or down.
Using the manual lumbar support (if equipped)
The lumbar support control is
located on the inboard side of the
driver's seat.
Turn the lumbar support control
clockwise to increase firmness.
Turn the lumbar support control
counterclockwise to increase
softness.
Rear seats
Head restraints
Your vehicle's seats may be equipped with head restraints which are
vertically adjustable. The purpose of these head restraints is to help limit
head motion in the event of a rear collision. To properly adjust your head
restraints, lift the head restraint so that it is located directly behind your
head or as close to that position as possible. Refer to the following to
raise and lower the head restraints.
Seating and Safety Restraints
115
Page 119 of 280
6. Rotate seatback down into load
floor position.
Make sure seat belt buckle
heads are not trapped
underneath the seatback and that
the seat belt buckle heads are
fully extended towards the front
of the vehicle. Seat belt buckle
heads may break if they are
trapped underneath the seatback
as the seatback is rotated down.
Returning the rear seats to upright position
1. Pull seatback up and into upright
position making sure seatback locks
into place. While holding the
seatback, pull the release and push
seatback backward into the desired
position.
Seating and Safety Restraints
119
Page 120 of 280
2. Rotate seat cushion down into the
seating position making sure that
the seat cushion is locked into place
and that the seat belt buckles are
exposed.
3. Remove the head restraint stored
under the front seat and return it to
the original position on the seat
back.
Seating and Safety Restraints
120
Page 121 of 280
To remove the rear cushion
1. Pull the Yellow tab
2. Pull the cushion to the outboard
side of the vehicle.
To install the rear cushion
1. Push the cushion to the inboard
side of the vehicle.
2. Make sure that the hinges are
locked into place.
Seating and Safety Restraints
121