Page 159 of 256

Canadian customers who require roadside assistance, call
1–800–665–2006.
If you need to arrange roadside assistance for yourself, Ford Motor
Company will reimburse a reasonable amount. To obtain reimbursement
information, U.S. Ford or Mercury vehicles customers call
1-800-241-3673; Lincoln vehicle customers call 1–800–521–4140.
Canadian customers who need to obtain reimbursement information, call
1–800–665–2006.
ROADSIDE COVERAGE BEYOND BASIC WARRANTY
In the United States, you may purchase additional roadside assistance
coverage beyond this period through the Ford Auto Club by contacting
your Ford or Lincoln Mercury dealer.
Similarly in Canada, for uninterrupted Roadside Assistance coverage, you
may purchase extended coverage prior to your Basic Warranty’s Roadside
Assistance expiring. For more information and enrollment, contact
1–877–294–2582 or visit our website at www.ford.ca.
HAZARD FLASHER
Use only in an emergency to warn traffic of vehicle breakdown,
approaching danger, etc. The hazard flashers can be operated when the
ignition is off.
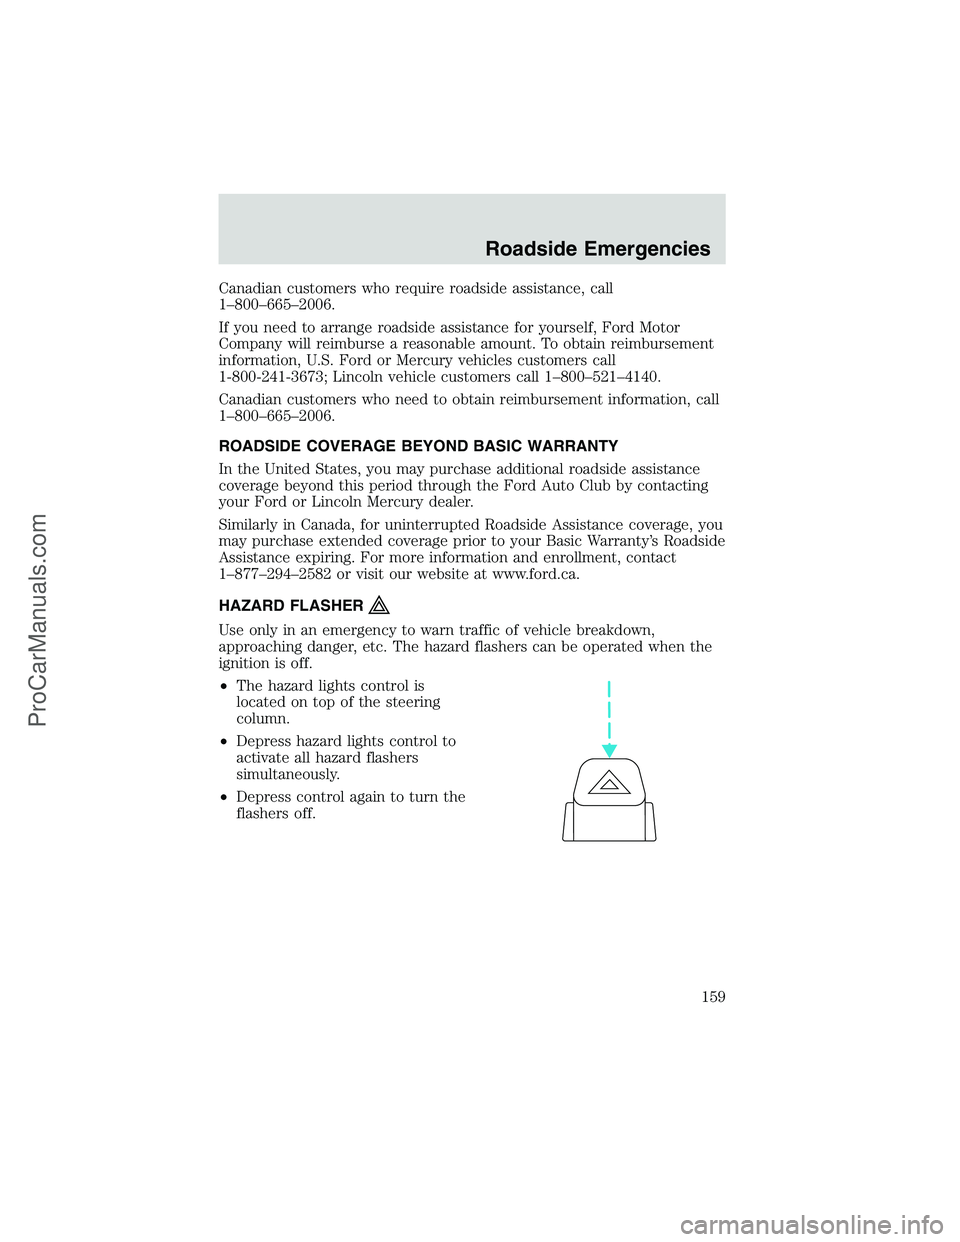
•The hazard lights control is
located on top of the steering
column.
•Depress hazard lights control to
activate all hazard flashers
simultaneously.
•Depress control again to turn the
flashers off.
Roadside Emergencies
159
ProCarManuals.com
Page 162 of 256
Note:Always replace a fuse with one that has the specified amperage
rating. Using a fuse with a higher amperage rating can cause severe wire
damage and could start a fire.
Standard fuse amperage rating and color
COLOR
Fuse
ratingMini
fusesStandard
fusesMaxi
fusesCartridge
maxi
fusesFuse link
cartridge
2A Grey Grey———
3A Violet Violet———
4A Pink Pink———
5A Tan Tan———
7.5A Brown Brown———
10A Red Red———
15A Blue Blue———
20A Yellow Yellow Yellow Blue Blue
25A Natural Natural———
30A Green Green Green Pink Pink
40A——Orange Green Green
50A——Red Red Red
60A——Blue—Yellow
70A——Ta n—Brown
80A——Natural—Black
Passenger compartment fuse panel
The fuse panel is located below and to the left of the steering wheel by
the brake pedal. Remove the panel cover to access the fuses.
To remove a fuse use the fuse puller tool provided on the fuse panel
cover.
Roadside Emergencies
162
ProCarManuals.com
Page 165 of 256

Fuse/Relay
LocationFuse Amp
RatingPassenger Compartment Fuse
Panel Description
23 20A Cigar lighter, Data Link Connector
(DLC)
24—Not used
25 10A Left headlamp (low beam)
26—Not used
27 5A Radio
28 20A Power plug
29—Not used
30 15A Headlamps (high beam indicator),
DRL10A
31 10A Right Headlamp (Low Beam),
DRL
32 5A Power mirrors
33 20A E-Traveler power point #2
34 10A Transmission Range (TR) sensor
35 30A RKE module
36 5A (Cluster, A/C, Illumination,
Radio), Steering column assembly
37 20A Rear power point
38 10A Air bag diagnostic monitor
39 20A E-Traveler power point #1
40 30A Modified vehicle
41 30A Modified vehicle
42—Not used
43 20A C.B. Power windows*
44—Not used
* Either Fuse 21 or Circuit breaker 43 will be present for power
windows.
Power distribution box
The power distribution box is located in the engine compartment. The
power distribution box contains high-current fuses that protect your
vehicle’s main electrical systems from overloads.
Roadside Emergencies
165
ProCarManuals.com
Page 168 of 256
Fuse/Relay
LocationFuse Amp
RatingPower Distribution Box
Description
C—Trailer backup lamps relay
D—Trailer running lamps relay
E—Trailer battery charge relay
F—IDM relay (Diesel only), A/C
clutch relay (4.2L only)
G—PCM relay
H—Blower motor relay
J—Horn relay
K—Fuel pump relay
* Mini fuses ** Maxi fuses
Relays
Relays are located in the power distribution box and should be replaced
by qualified technicians.
CHANGING THE TIRES
If you get a flat tire while driving, do not apply the brake heavily.
Instead, gradually decrease your speed. Hold the steering wheel firmly
and slowly move to a safe place on the side of the road.
The use of tire sealants is not recommended and may
compromise the integrity of your tires.
Spare tire information
The spare tire for your vehicle is stowed under the rear of your vehicle
(except cutaway and stripped chassis models).
Roadside Emergencies
168
ProCarManuals.com
Page 173 of 256

Front axle jacking points - All
models except E-550:
•All models except E-550
Place the jack under thepinon the
front surface of the front axle.
Do not place the jack under or
on the steering linkage.
•Turn the jack handle clockwise
until the wheel is completely off
the ground.
•Remove the lug nuts with the lug
nut wrench.
•Replace the flat tire with the
spare tire.
Front axle jacking points -
E-550:
Place the jack under the front axle
directly below the springs.
Do not place the jack under or
on the steering linkage.
•Slide the notched end of the jack
handle over the release valve and use the handle to slide the jack
under the vehicle. Make sure the valve is closed by turning it
clockwise.
•Insert the jack handle into the
pump linkage.
•Use an up-and-down motion with
the jack handle to raise the wheel
completely off the ground.
If your vehicle has single rear wheels, thread the lug nuts on the studs
with the beveled face toward the wheel.
If your vehicle has dual rear wheels, thread the two element swiveling
lug nuts on the studs with the flange facing toward the wheel.
Roadside Emergencies
173
ProCarManuals.com
Page 194 of 256

Clean the outside of the windshield or rear window with a non-abrasive
cleaner such as Ultra Clear Spray Glass Cleaner (E4AZ-19C507–AA),
available from your authorized Ford, Lincoln or Mercury dealer. If after
cleaning the glass surface, the water sheets from the glass (e.g., does not
bead), then the window is clean.
The windshield, rear window and wiper blades should be cleaned
regularly. Wiper blades can be cleaned with isopropyl (rubbing) alcohol
or windshield washer solution. Be sure to replace wiper blades when
they appear worn or do not function properly.
WINDOWS AND WIPER BLADES
The windshield, rear window and wiper blades should be cleaned
regularly. If the wiper does not wipe properly, substances on the
windshield, rear window or the wiper blades may be the cause. These
may include hot wax treatments used by commercial car washes, tree
sap, or other organic contamination. To clean these items, please follow
these tips:
•The windshield or rear window may be cleaned with a non-abrasive
cleaner such as Motorcraft Ultra Clear Spray Glass Cleaner (ZC-23),
available from your dealer.
•Do not use abrasives, as they may cause scratches.
•Do not use fuel, kerosene, or paint thinner to clean any parts.
•Wiper blades can be cleaned with isopropyl (rubbing) alcohol or
windshield washer solution. Be sure to replace wiper blades when they
appear worn or do not function properly.
INSTRUMENT PANEL AND CLUSTER LENS
Clean the instrument panel with a damp cloth, then dry with a dry cloth.
•Avoid cleaners or polish that increase the gloss of the upper portion of
the instrument panel. The dull finish in this area helps protect the
driver from undesirable windshield reflection.
Do not use chemical solvents or strong detergents when cleaning
the steering wheel or instrument panel to avoid contamination of
the air bag system.
•Be certain to wash or wipe your hands clean if you have been in
contact with certain products such as insect repellent and suntan
lotion in order to avoid possible damage to the painted surfaces.
Cleaning
194
ProCarManuals.com
Page 200 of 256

1. Windshield washer fluid reservoir
2. Engine oil filler cap (except 4.2L
V6 engine)
3. Automatic transmission fluid
dipstick
4. Air filter assembly5. Engine oil dipstick
6. Engine oil filler cap (4.2L V6
engine only)
7. Power steering fluid reservoir
8. Brake fluid reservoir
9. Engine coolant reservoir
10. Battery
WINDSHIELD WASHER FLUID
Check the washer fluid whenever
you stop for fuel. The reservoir is
highlighted with a
symbol.
Add fluid to fill the reservoir if the
level is low. In very cold weather, do
not fill the reservoir completely.
Only use a washer fluid that meets
Ford specification ESR-M17P5–A.
Refer toLubricant specifications
in this chapter.
State or local regulations on volatile organic compounds may restrict the
use of methanol, a common windshield washer antifreeze additive.
Washer fluids containing non-methanol antifreeze agents should be used
only if they provide cold weather protection without damaging the
vehicle’s paint finish, wiper blades or washer system.
12345678
910
Maintenance and Specifications
200
ProCarManuals.com
Page 215 of 256

How fail-safe cooling works
If the engine begins to overheat:
•The engine coolant temperature
gauge will move to the red (hot)
area.
•The
andsymbol will
illuminate.
•TheService Engine Soon
indicator light will illuminate.
If the engine reaches a preset over-temperature condition, the engine
will automatically switch to alternating cylinder operation. Each disabled
cylinder acts as an air pump and cools the engine.
When this occurs the vehicle will still operate. However:
•The engine power will be limited.
•The air conditioning system will be disabled.
Continued operation will increase the engine temperature and the engine
will completely shut down, causing steering and braking effort to
increase.
Once the engine temperature cools, the engine can be re-started. Take
your vehicle to a service facility as soon as possible to minimize engine
damage.
When fail-safe mode is activated
You have limited engine power when in the fail-safe mode, so drive the
vehicle with caution. The vehicle will not be able to maintain high-speed
operation and the engine will run rough. Remember that the engine is
capable of completely shutting down automatically to prevent engine
damage, therefore:
1. Pull off the road as soon as safely possible and turn off the engine.
2. Arrange for the vehicle to be taken to a service facility.
3. If this is not possible, wait a short period for the engine to cool.
4. Check the coolant level and replenish if low.
Never remove the coolant reservoir cap while the engine is
running or hot.
5. Re-start the engine and take your vehicle to a service facility.
H
C
Maintenance and Specifications
215
ProCarManuals.com