Page 9 of 256
Vehicle Symbol Glossary
Power Windows
Front/Rear
Power Window Lockout
Child Safety Door
Lock/UnlockInterior Luggage
Compartment Release
Symbol
Panic AlarmEngine Oil
Engine CoolantEngine Coolant
Temperature
Do Not Open When HotBattery
Avoid Smoking, Flames,
or SparksBattery Acid
Explosive GasFan Warning
Power Steering FluidMaintain Correct Fluid
LevelMAX
MIN
Emission System/Check
Engine/Service Engine
Soon
Engine Air Filter
Passenger Compartment
Air FilterJack
Check fuel capLow tire warning
Introduction
9
ProCarManuals.com
Page 43 of 256

If a CD is ejected and not removed from the door of the CD player, the
player will automatically reload the CD. This feature may be used when
the ignition is ON or OFF.
Auto eject
Press and momentarily hold the EJ
control to engage auto eject. All CDs
which are present in the player will
be ejected one at a time. If a CD is ejected and not removed from the
door of the CD player, the player will automatically reload the CD. This
feature may be used when the ignition is ON or OFF.
Shuffle feature
Press the SHUF control until the
desired shuffle mode is displayed.
The audio system will then engage
the desired shuffle mode.
When engaged, the shuffle feature has two different modes: SHUFFLE
DISC and SHUFFLE TRK.
SHUFFLE DISC randomly plays tracks from all the discs presently in the
audio system.
SHUFFLE TRK plays all the tracks on the current disc in random order.
Compression feature
The compression feature operates in CD mode and brings soft and loud
CD passages together for a more consistent listening level.
Press the COMP control until COMP
ON is displayed.
Menu mode
The MENU control allows you to
access many different features
within your audio system. There are
three sets of menus available
depending upon which mode or feature is activated.
While in FM mode, two menus are available.If RDS is turned OFF, you
can access the following:
•SELECT HOURS—Refer toSetting the clock.
•SELECT MINUTES—Refer toSetting the clock.
•RDS OFF—Refer toRadio data system feature.
EJ
Entertainment Systems
43
ProCarManuals.com
Page 78 of 256

INTERIOR LAMPS
Cargo and dome lamps with rear headliner
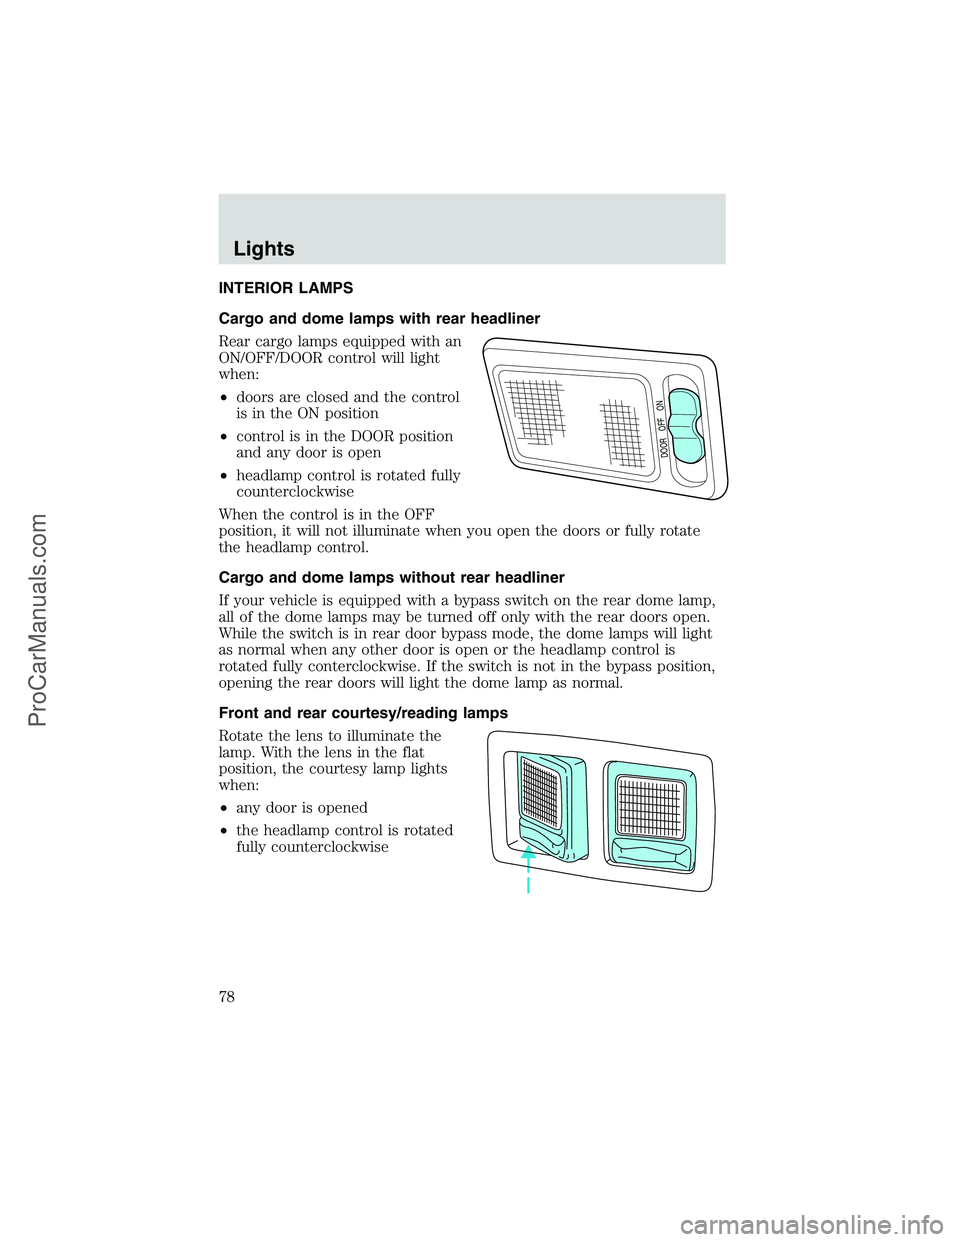
Rear cargo lamps equipped with an
ON/OFF/DOOR control will light
when:
•doors are closed and the control
is in the ON position
•control is in the DOOR position
and any door is open
•headlamp control is rotated fully
counterclockwise
When the control is in the OFF
position, it will not illuminate when you open the doors or fully rotate
the headlamp control.
Cargo and dome lamps without rear headliner
If your vehicle is equipped with a bypass switch on the rear dome lamp,
all of the dome lamps may be turned off only with the rear doors open.
While the switch is in rear door bypass mode, the dome lamps will light
as normal when any other door is open or the headlamp control is
rotated fully conterclockwise. If the switch is not in the bypass position,
opening the rear doors will light the dome lamp as normal.
Front and rear courtesy/reading lamps
Rotate the lens to illuminate the
lamp. With the lens in the flat
position, the courtesy lamp lights
when:
•any door is opened
•the headlamp control is rotated
fully counterclockwise
DOOR OFF ON
Lights
78
ProCarManuals.com
Page 83 of 256
Replacing license plate lamp bulbs
To change the license plate bulbs:
1. Remove two screws and the
license plate lamp assembly from
the rear door.
2. Remove bulb socket from lamp
assembly by turning
counterclockwise.
3. Pull the bulb out from socket and
push in the new bulb.
4. Install the bulb socket in lamp
assembly turning it clockwise,
5. Install the lamp assembly on rear
door with two screws.
Replacing tail lamp/turn/backup lamp bulbs
The tail lamp/turn/backup lamp
bulbs are located the tail lamp
assembly, one just below the other.
Follow the same steps to replace
either bulb:
1. Remove the four screws and the
lamp assembly from vehicle.
2. Rotate bulb socket
counterclockwise and remove from
lamp assembly.
3. Carefully pull the bulb straight
out of the socket and push in the
new bulb.
4. Install the bulb socket in lamp
assembly by turning clockwise.
5. Install the lamp assembly and secure with four screws.
Lights
83
ProCarManuals.com
Page 97 of 256

KEYS
The key operates all locks on your vehicle. In case of loss, replacement
keys are available from your dealer.
You should always carry a second key with you in a safe place in case
you require it in an emergency.
POWER DOOR LOCKS (IF EQUIPPED)
Press U to unlock all doors and L to
lock all doors.
Memory lock
If you lock your doors with the power lock switch or the remote
transmitter while the sliding door is open, the door will automatically
lock after it is closed.
Back cargo door lock (if equipped)
The passenger side rear cargo door
has a power door lock control
mounted on the inside of the door.
When this lock is pressed, all doors
will lock/unlock.
REMOTE ENTRY SYSTEM (IF EQUIPPED)
This device complies with part 15 of the FCC rules and with RS-210 of
Industry Canada. Operation is subject to the following two conditions:
(1) This device may not cause harmful interference, and (2) This device
must accept any interference received, including interference that may
cause undesired operation.
UL
Locks and Security
97
ProCarManuals.com
Page 98 of 256
Changes or modifications not expressly approved by the party
responsible for compliance could void the user’s authority to
operate the equipment.
The remote entry system allows you to lock or unlock all vehicle doors
without a key.
The remote entry features only operate with the ignition in the LOCK
position.
If there is any potential remote keyless entry problem with your vehicle,
ensureALL remote entry transmittersare brought to the dealership,
to aid in troubleshooting.
Unlocking the doors
Press this control to unlock the
driver’s door. The interior lamps will
illuminate.
Press the control a second time
within three seconds to unlock all
doors.
Locking the doors
Press this control to lock all doors.
To confirm all doors are closed and
locked, press the control a second
time within three seconds. The
doors will lock again and the horn
will chirp.
Locks and Security
98
ProCarManuals.com
Page 100 of 256

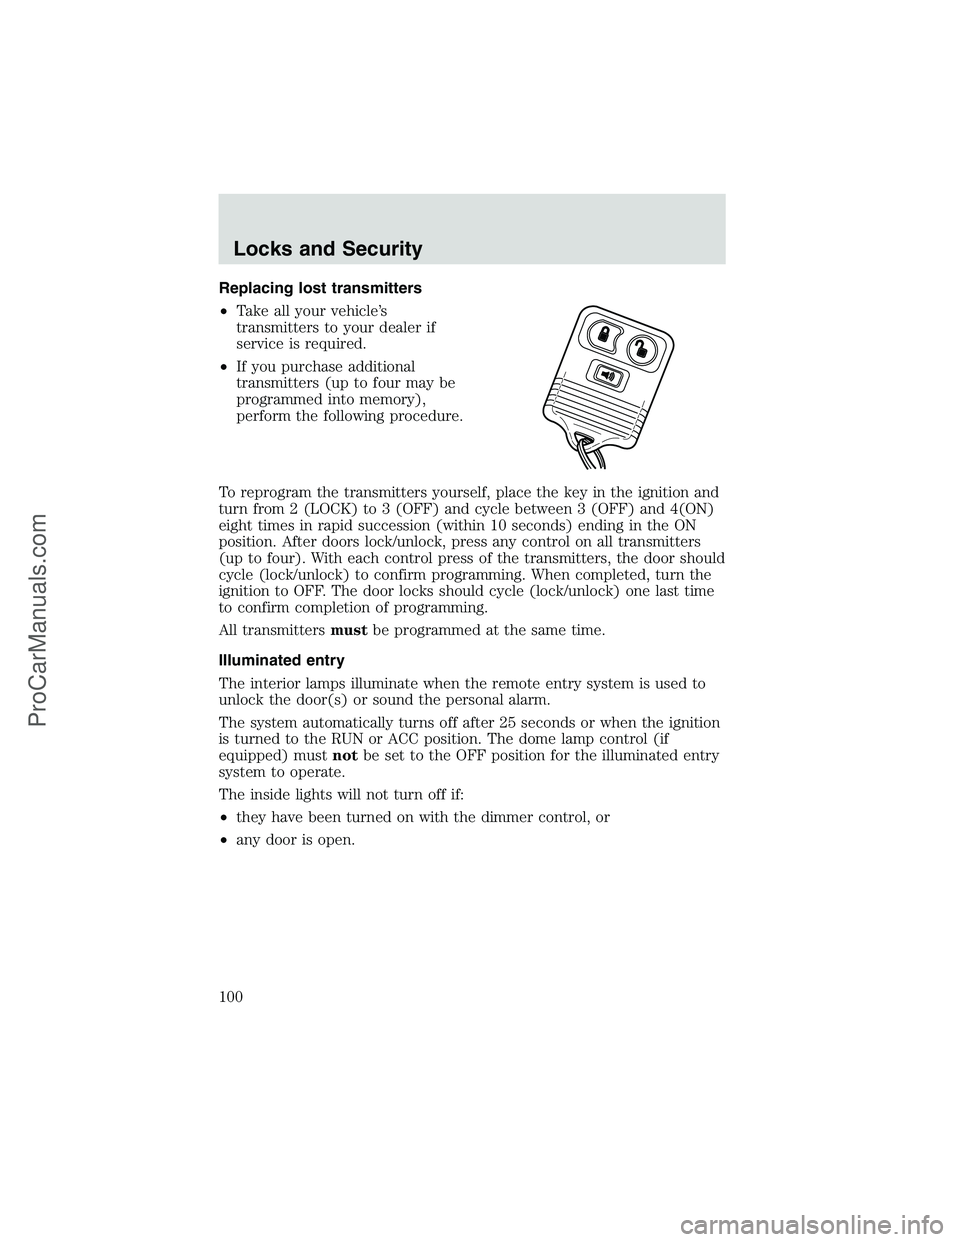
Replacing lost transmitters
•Take all your vehicle’s
transmitters to your dealer if
service is required.
•If you purchase additional
transmitters (up to four may be
programmed into memory),
perform the following procedure.
To reprogram the transmitters yourself, place the key in the ignition and
turn from 2 (LOCK) to 3 (OFF) and cycle between 3 (OFF) and 4(ON)
eight times in rapid succession (within 10 seconds) ending in the ON
position. After doors lock/unlock, press any control on all transmitters
(up to four). With each control press of the transmitters, the door should
cycle (lock/unlock) to confirm programming. When completed, turn the
ignition to OFF. The door locks should cycle (lock/unlock) one last time
to confirm completion of programming.
All transmittersmustbe programmed at the same time.
Illuminated entry
The interior lamps illuminate when the remote entry system is used to
unlock the door(s) or sound the personal alarm.
The system automatically turns off after 25 seconds or when the ignition
is turned to the RUN or ACC position. The dome lamp control (if
equipped) mustnotbe set to the OFF position for the illuminated entry
system to operate.
The inside lights will not turn off if:
•they have been turned on with the dimmer control, or
•any door is open.
Locks and Security
100
ProCarManuals.com
Page 164 of 256

Fuse/Relay
LocationFuse Amp
RatingPassenger Compartment Fuse
Panel Description
5 20A RKE module, Power lock
switches, Memory lock, Power
locks with RKE
6 10A Brake shift interlock, Speed
control, DRL module
7 10A Multi-function switch, Turn signals
8 30A Radio capacitor(s), Ignition coil,
PCM diode, PCM power relay,
Fuel heater (Diesel only), Glow
plug relay (Diesel only)
9 30A Wiper control module, Windshield
wiper motor
10 20A Main light switch, Park lamps,
License lamp (external lamps),
Multi-function switch
(flash-to-pass)
11 15A Brake pressure switch,
Multi-function switch (hazards),
Brake lamp switch, Brake lamps
12 15A Transmission Range (TR) sensor,
Backup lamps, Auxiliary battery
relay
13 15A Blend door actuator, A/C heater,
Function selector switch
14 5A Instrument cluster (air bag and
charge indicator)
15 5A Trailer battery charge relay
16 30A Power seats
17—Not used
18—Not used
19 10A Air bag diagnostic monitor
20 5A Overdrive cancel switch
21 30A Power windows*
22 15A Memory power radio, E-Traveler
radio, E-Traveler console
Roadside Emergencies
164
ProCarManuals.com