Page 169 of 256

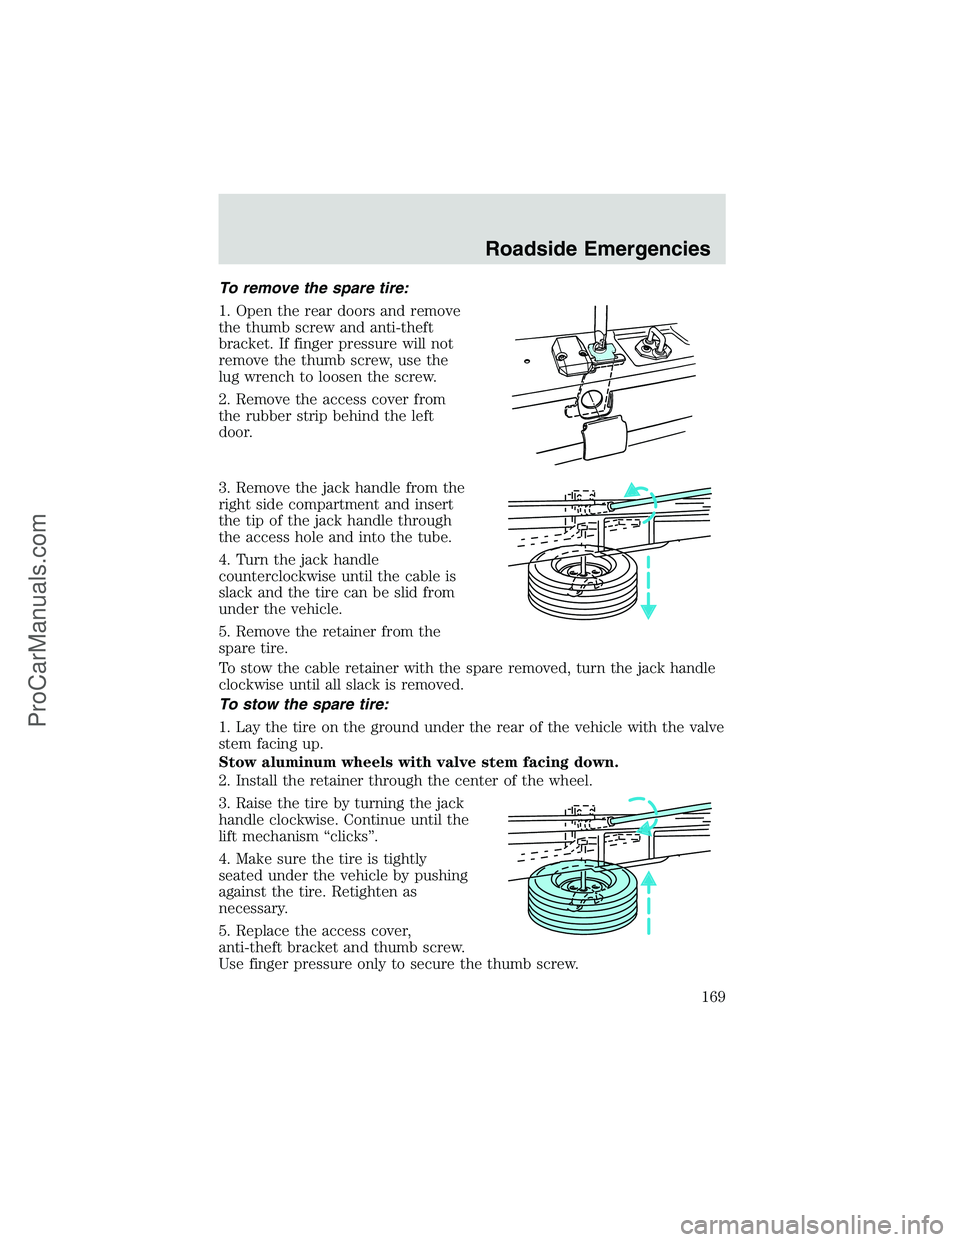
To remove the spare tire:
1. Open the rear doors and remove
the thumb screw and anti-theft
bracket. If finger pressure will not
remove the thumb screw, use the
lug wrench to loosen the screw.
2. Remove the access cover from
the rubber strip behind the left
door.
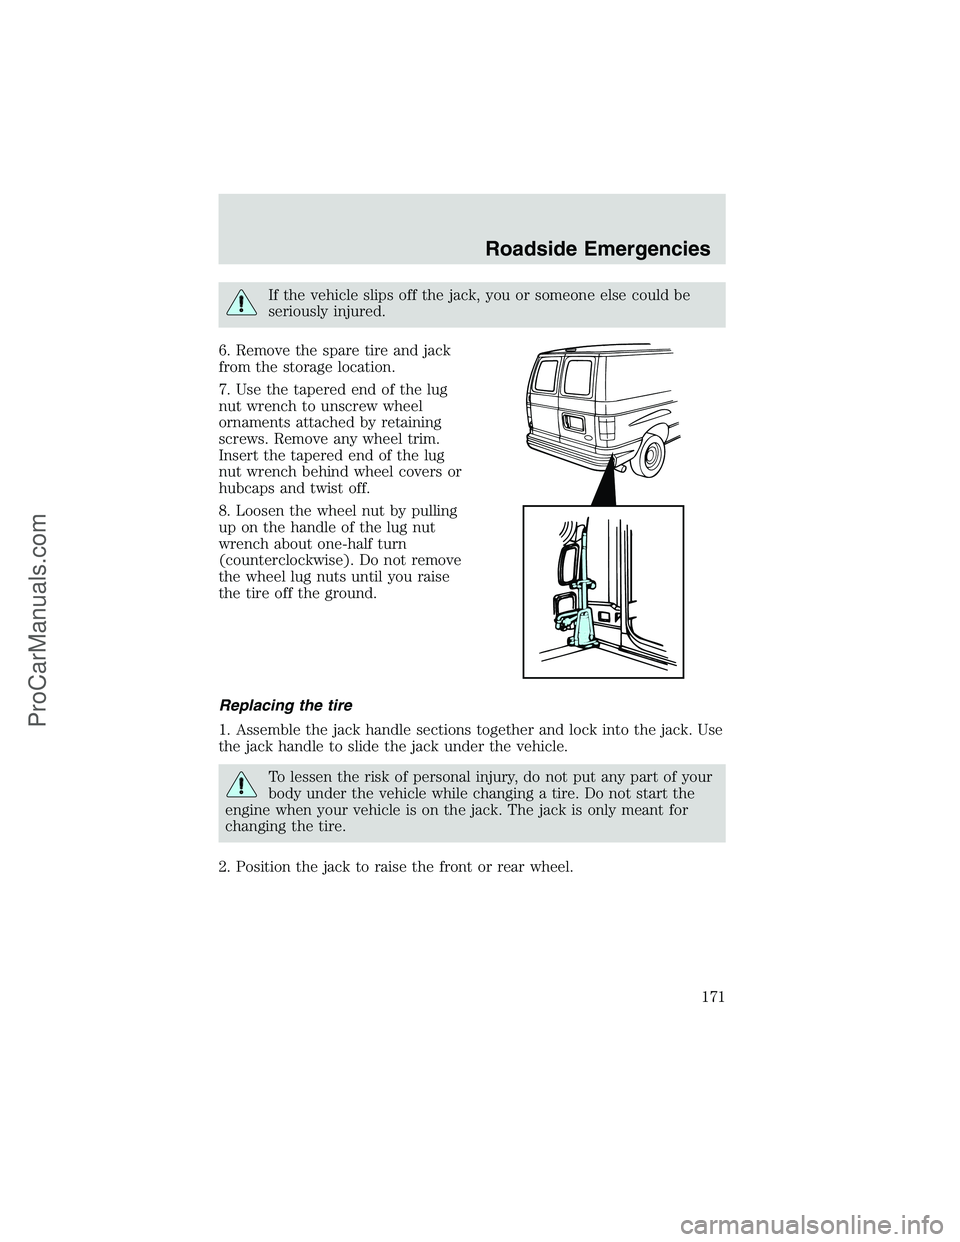
3. Remove the jack handle from the
right side compartment and insert
the tip of the jack handle through
the access hole and into the tube.
4. Turn the jack handle
counterclockwise until the cable is
slack and the tire can be slid from
under the vehicle.
5. Remove the retainer from the
spare tire.
To stow the cable retainer with the spare removed, turn the jack handle
clockwise until all slack is removed.
To stow the spare tire:
1. Lay the tire on the ground under the rear of the vehicle with the valve
stem facing up.
Stow aluminum wheels with valve stem facing down.
2. Install the retainer through the center of the wheel.
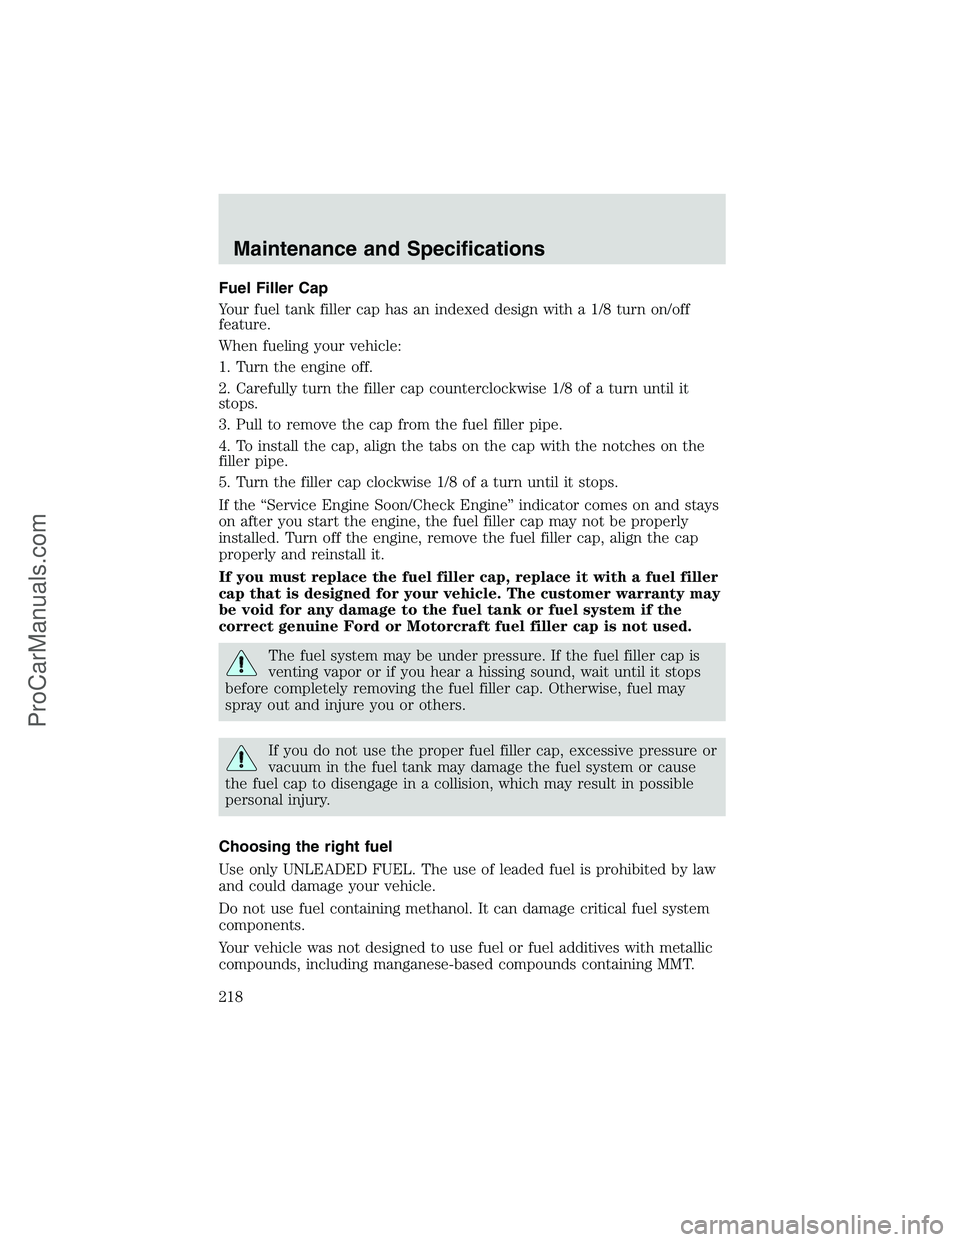
3. Raise the tire by turning the jack
handle clockwise. Continue until the
lift mechanism“clicks”.
4. Make sure the tire is tightly
seated under the vehicle by pushing
against the tire. Retighten as
necessary.
5. Replace the access cover,
anti-theft bracket and thumb screw.
Use finger pressure only to secure the thumb screw.
Roadside Emergencies
169
ProCarManuals.com
Page 171 of 256

If the vehicle slips off the jack, you or someone else could be
seriously injured.
6. Remove the spare tire and jack
from the storage location.
7. Use the tapered end of the lug
nut wrench to unscrew wheel
ornaments attached by retaining
screws. Remove any wheel trim.
Insert the tapered end of the lug
nut wrench behind wheel covers or
hubcaps and twist off.
8. Loosen the wheel nut by pulling
up on the handle of the lug nut
wrench about one-half turn
(counterclockwise). Do not remove
the wheel lug nuts until you raise
the tire off the ground.
Replacing the tire
1. Assemble the jack handle sections together and lock into the jack. Use
the jack handle to slide the jack under the vehicle.
To lessen the risk of personal injury, do not put any part of your
body under the vehicle while changing a tire. Do not start the
engine when your vehicle is on the jack. The jack is only meant for
changing the tire.
2. Position the jack to raise the front or rear wheel.
Roadside Emergencies
171
ProCarManuals.com
Page 173 of 256

Front axle jacking points - All
models except E-550:
•All models except E-550
Place the jack under thepinon the
front surface of the front axle.
Do not place the jack under or
on the steering linkage.
•Turn the jack handle clockwise
until the wheel is completely off
the ground.
•Remove the lug nuts with the lug
nut wrench.
•Replace the flat tire with the
spare tire.
Front axle jacking points -
E-550:
Place the jack under the front axle
directly below the springs.
Do not place the jack under or
on the steering linkage.
•Slide the notched end of the jack
handle over the release valve and use the handle to slide the jack
under the vehicle. Make sure the valve is closed by turning it
clockwise.
•Insert the jack handle into the
pump linkage.
•Use an up-and-down motion with
the jack handle to raise the wheel
completely off the ground.
If your vehicle has single rear wheels, thread the lug nuts on the studs
with the beveled face toward the wheel.
If your vehicle has dual rear wheels, thread the two element swiveling
lug nuts on the studs with the flange facing toward the wheel.
Roadside Emergencies
173
ProCarManuals.com
Page 174 of 256

3. Use the lug nut wrench to screw the lug nut snugly against the wheel.
4. Lower the vehicle by turning the jack handle counterclockwise.
5. Remove the jack and fully tighten the lug nuts in the following
pattern:
•5-lug wheel
•8-lug wheel
Never use wheels or lug
nuts different than the
original equipment as this could
damage the wheel or mounting
system. This damage could allow
the wheels to come off while the
vehicle is being driven.
6. Install any wheel covers, ornaments or hub caps. Make sure they are
screwed or snapped in place.
7. Stow the jack, handle and lug wrench.
8. Unblock the wheels.
On vehicles equipped with single rear wheels, retighten the lug nuts to
the specified torque at 800 km (500 miles) of operation after any wheel
change or any time the lug nuts are loosened.
On vehicles equipped with dual rear wheels, retighten the wheel lug nuts
to the specified torque at 160 km (100 miles), and again at 800 km
(500 miles) of new vehicle operation.
1
4 3
2 5
1
3 4
27 6
5 8
Roadside Emergencies
174
ProCarManuals.com
Page 202 of 256

•If the oil level is below the MIN
mark, add enough oil to raise the
level within the MIN-MAX range.
•Oil levels above the MAX mark may cause engine damage. Some oil
must be removed from the engine by a service technician.
7. Put the indicator back in and ensure it is fully seated.
Adding engine oil
1. Check the engine oil. For instructions, refer toChecking the engine
oilin this chapter.
2. If the engine oil level is not within the normal range, add only certified
engine oil of the recommended viscosity. Remove the engine oil filler cap
and use a funnel to pour the engine oil into the opening.
3. Recheck the engine oil level. Make sure the oil level is not above the
MAX mark on the engine oil level indicator (dipstick).
4. Install the indicator and ensure it is fully seated.
5. Fully install the engine oil filler cap by turning the filler cap clockwise
1/4 of a turn until three clicks are heard or until the cap is fully seated.
To avoid possible oil loss, DO NOT operate the vehicle with the
engine oil level indicator and/or the engine oil filler cap removed.
Maintenance and Specifications
202
ProCarManuals.com
Page 206 of 256
If the battery has been disconnected or a new battery has been installed,
the clock and radio settings must be reset once the battery is
reconnected.
•Always dispose of automotive
batteries in a responsible manner.
Follow your local authorized
standards for disposal. Call your
local authorized recycling center
to find out more about recycling
automotive batteries.
Disconnecting dual batteries (if equipped)
The primary battery is located under the hood.
The auxiliary battery is located on the passenger side frame rail.
LEAD
RETURN
RECYCLE
Maintenance and Specifications
206
ProCarManuals.com
Page 212 of 256

with the factory-filled coolant.Mixing Motorcraft Speciality Orange
Engine Coolant or any orange-colored extended life product with your
factory filled coolant can result in degraded corrosion protection.
•A large amount of water without engine coolant may be added, in case
of emergency, to reach a vehicle service location. In this instance, the
cooling system must be drained and refilled with a 50/50 mixture of
engine coolant and distilled water as soon as possible. Water alone
(without engine coolant) can cause engine damage from corrosion,
overheating or freezing.
•Do not use alcohol, methanol, brine or any engine coolants
mixed with alcohol or methanol antifreeze (coolant).Alcohol
and other liquids can cause engine damage from overheating or
freezing.
•Do not add extra inhibitors or additives to the coolant.These
can be harmful and compromise the corrosion protection of the engine
coolant.
•Do not mix with recycled coolant unless from a Ford-approved
recycling process (seeUse of Recycled engine coolantsection).
For vehicles with overflow coolant systems with a non-pressurized cap
on the coolant recovery system, add coolant to the coolant recovery
reservoir when the engine is cool. Add the proper mixture of coolant and
water to the“cold full”level. For all other vehicles, which have a coolant
degas system with a pressurized cap, or if it is necessary to remove the
coolant pressure relief cap on the radiator of a vehicle with an overflow
system, follow these steps to add engine coolant.
To reduce the risk of personal injury, make sure the engine is
cool before unscrewing the coolant pressure relief cap. The
cooling system is under pressure; steam and hot liquid can come out
forcefully when the cap is loosened slightly.
1. Before you begin, turn the engine off and let it cool.
2. When the engine is cool, wrap a thick cloth around the coolant
pressure relief cap on the coolant reservoir (an opaque plastic bottle).
Slowly turn cap counterclockwise (left) until pressure begins to release.
3. Step back while the pressure releases.
4. When you are sure that all the pressure has been released, use the
cloth to turn it counterclockwise and remove the cap.
5. Fill the coolant reservoir slowly with the proper coolant mixture (see
above), to within the“cold fill range”or the“cold full”level on the
Maintenance and Specifications
212
ProCarManuals.com
Page 218 of 256

Fuel Filler Cap
Your fuel tank filler cap has an indexed design with a 1/8 turn on/off
feature.
When fueling your vehicle:
1. Turn the engine off.
2. Carefully turn the filler cap counterclockwise 1/8 of a turn until it
stops.
3. Pull to remove the cap from the fuel filler pipe.
4. To install the cap, align the tabs on the cap with the notches on the
filler pipe.
5. Turn the filler cap clockwise 1/8 of a turn until it stops.
If the“Service Engine Soon/Check Engine”indicator comes on and stays
on after you start the engine, the fuel filler cap may not be properly
installed. Turn off the engine, remove the fuel filler cap, align the cap
properly and reinstall it.
If you must replace the fuel filler cap, replace it with a fuel filler
cap that is designed for your vehicle. The customer warranty may
be void for any damage to the fuel tank or fuel system if the
correct genuine Ford or Motorcraft fuel filler cap is not used.
The fuel system may be under pressure. If the fuel filler cap is
venting vapor or if you hear a hissing sound, wait until it stops
before completely removing the fuel filler cap. Otherwise, fuel may
spray out and injure you or others.
If you do not use the proper fuel filler cap, excessive pressure or
vacuum in the fuel tank may damage the fuel system or cause
the fuel cap to disengage in a collision, which may result in possible
personal injury.
Choosing the right fuel
Use only UNLEADED FUEL. The use of leaded fuel is prohibited by law
and could damage your vehicle.
Do not use fuel containing methanol. It can damage critical fuel system
components.
Your vehicle was not designed to use fuel or fuel additives with metallic
compounds, including manganese-based compounds containing MMT.
Maintenance and Specifications
218
ProCarManuals.com