Page 114 of 256

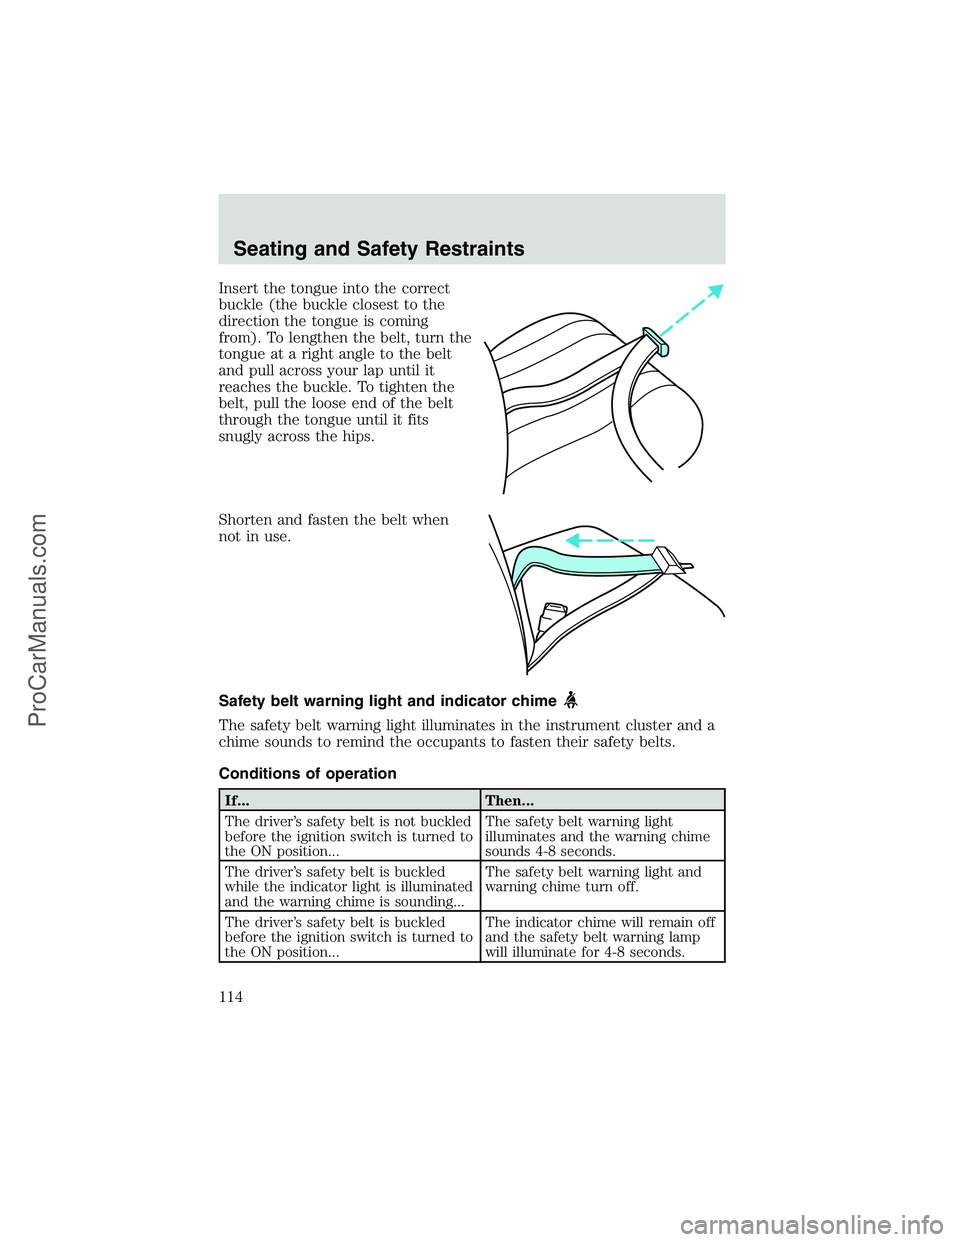
Insert the tongue into the correct
buckle (the buckle closest to the
direction the tongue is coming
from). To lengthen the belt, turn the
tongue at a right angle to the belt
and pull across your lap until it
reaches the buckle. To tighten the
belt, pull the loose end of the belt
through the tongue until it fits
snugly across the hips.
Shorten and fasten the belt when
not in use.
Safety belt warning light and indicator chime
The safety belt warning light illuminates in the instrument cluster and a
chime sounds to remind the occupants to fasten their safety belts.
Conditions of operation
If... Then...
The driver’s safety belt is not buckled
before the ignition switch is turned to
the ON position...The safety belt warning light
illuminates and the warning chime
sounds 4-8 seconds.
The driver’s safety belt is buckled
while the indicator light is illuminated
and the warning chime is sounding...The safety belt warning light and
warning chime turn off.
The driver’s safety belt is buckled
before the ignition switch is turned to
the ON position...The indicator chime will remain off
and the safety belt warning lamp
will illuminate for 4-8 seconds.
Seating and Safety Restraints
114
ProCarManuals.com
Page 115 of 256

BeltMinder
The BeltMinder feature is a supplemental warning to the safety belt
warning function. This feature provides additional reminders to the
driver that the driver’s safety belt is unbuckled by intermittently
sounding a chime and illuminating the safety belt warning lamp in the
instrument cluster.
If... Then...
The driver’s safety belt is not
buckled approximately 5
seconds after the safety belt
warning light has turned off...The BeltMinder feature is activated -
the safety belt warning light
illuminates and the warning chime
sounds for 6 seconds every 30
seconds, repeating for approximately
5 minutes or until safety belt is
buckled.
The driver’s safety belt is
buckled while the safety belt
indicator light is illuminated
and the safety belt warning
chime is sounding...The BeltMinder feature will not
activate.
The driver’s safety belt is
buckled before the ignition
switch is turned to the ON
position...The BeltMinder feature will not
activate.
The purpose of the BeltMinder is to remind occasional wearers to wear
safety belts all of the time.
The following are reasons most often given for not wearing safety belts:
(All statistics based on U.S. data)
Reasons given... Consider...
“Crashes are rare events”36700 crashes occur every day.The
more we drive, the more we are
exposed to“rare”events, even for
good drivers.1 in 4 of us will be
seriously injured in a crash during
our lifetime.
“I’m not going far”3of4fatal crashes occur within25
miles of home.
Seating and Safety Restraints
115
ProCarManuals.com
Page 123 of 256

The SRS consists of:
•driver and passenger air bag modules (which include the inflators and
air bags)
•one or more impact and safing sensors
•a readiness light and tone
•a diagnostic module
•and the electrical wiring which connects the components
The diagnostic module monitors its own internal circuits and the
supplemental air bag electrical system warning (including the impact
sensors), the system wiring, the air bag system readiness light, the air
bag back up power and the air bag ignitors.
Several air bag system components get hot after inflation. Do not
touch them after inflation.
If the air bag has deployed,the air bag will not function
again and must be replaced immediately.If the air bag is not
replaced, the unrepaired area will increase the risk of injury in a
collision.
Determining if the system is operational
The SRS uses a readiness light in the instrument cluster or a tone to
indicate the condition of the system. Refer toAir bag readinesssection
in theInstrument clusterchapter. Routine maintenance of the air bag is
not required.
A difficulty with the system is indicated by one or more of the following:
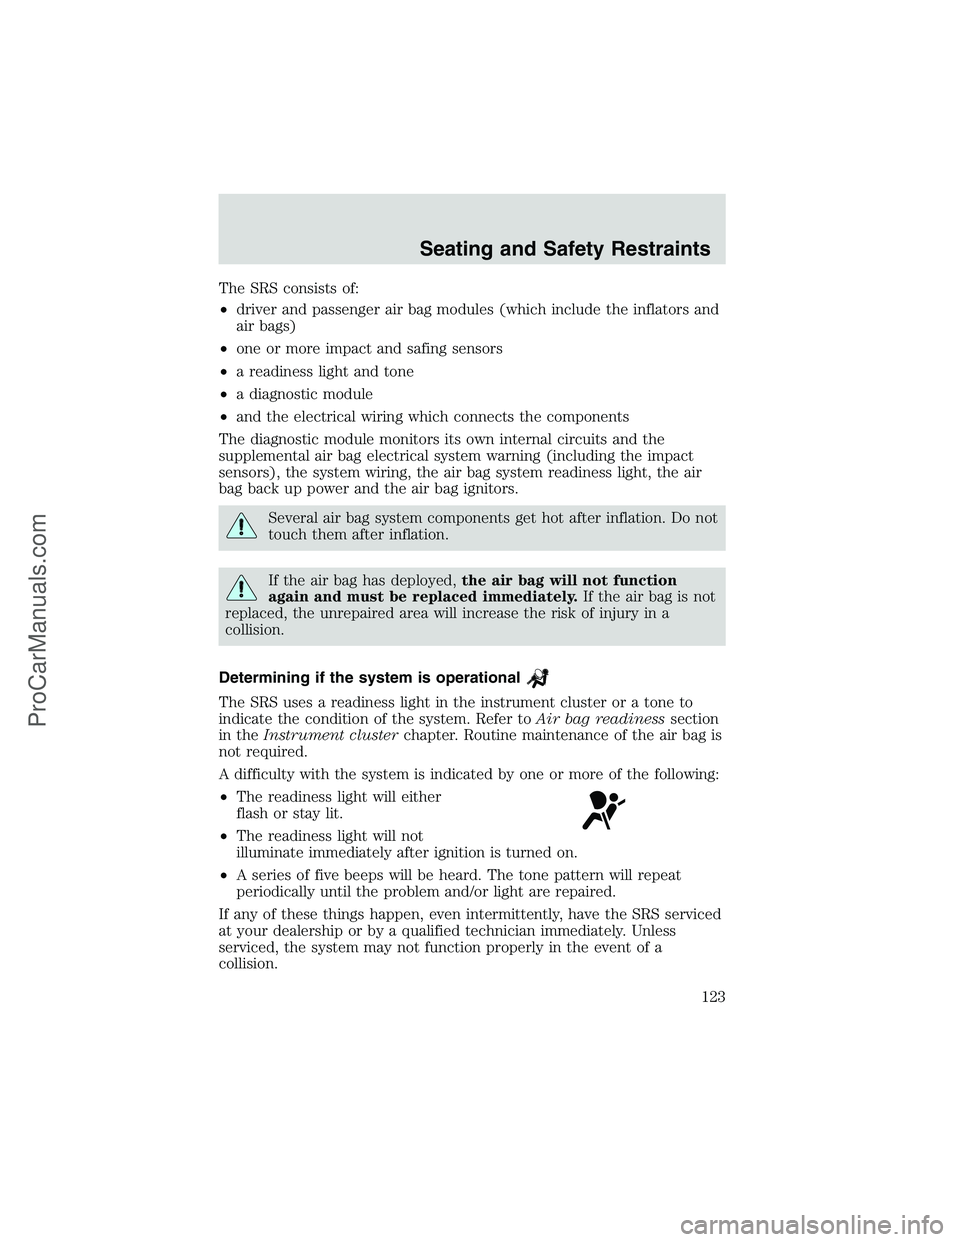
•The readiness light will either
flash or stay lit.
•The readiness light will not
illuminate immediately after ignition is turned on.
•A series of five beeps will be heard. The tone pattern will repeat
periodically until the problem and/or light are repaired.
If any of these things happen, even intermittently, have the SRS serviced
at your dealership or by a qualified technician immediately. Unless
serviced, the system may not function properly in the event of a
collision.
Seating and Safety Restraints
123
ProCarManuals.com
Page 142 of 256

ABS warning lampABS
TheABSwarning lamp in the instrument cluster momentarily illuminates
when the ignition is turned to the ON position. If the light does not
illuminate momentarily at start up, remains on or continues to flash, the
ABS needs to be serviced.
With the ABS light on, the anti-lock
brake system is disabled and normal
braking is still effective unless the
brake warning light also remains
illuminated with parking brake released. (If your brake warning lamp
illuminates, have your vehicle serviced immediately.)
Parking brake
Apply the parking brake whenever
the vehicle is parked. Push pedal
downward to set the parking brake.
The BRAKE warning lamp in the
instrument cluster illuminates and
remains illuminated (when the
ignition is turned ON) until the
parking brake is released.
Always set the parking brake fully and make sure the gearshift is
latched in P (Park). Turn the ignition to the LOCK position and
remove the key whenever you leave your vehicle.
The parking brake is not recommended to stop a moving vehicle.
However, if the normal brakes fail, the parking brake can be used to stop
your vehicle in an emergency. Since the parking brake applies only the
rear brakes, the vehicle’s stopping distance will increase greatly and the
handling of your vehicle will be adversely affected.
Driving
142
ProCarManuals.com
Page 163 of 256
The fuses are coded as follows.
Fuse/Relay
LocationFuse Amp
RatingPassenger Compartment Fuse
Panel Description
1 20A 4WABS module
2 15A Brake warning lamp, Instrument
cluster, Warning chime, 4WABS
relay, Warning indicators, Low
vacuum warning switch (Diesel
only)
3 15A Main light switch, RKE module,
Radio, Instrument illumination,
E-Traveler VCP and video
screens, Overhead console
4 15A Power locks w/RKE, Illuminated
entry, Warning chime, Modified
vehicle, Main light switch,
Courtesy lamps
1234
5
7
689101142
43
44 13 12 14
15 16 17
19 18
2021 22 23
25 24
26 27 28 29
31 30 32 33 3435
37
3638 3940
41
Roadside Emergencies
163
ProCarManuals.com
Page 164 of 256

Fuse/Relay
LocationFuse Amp
RatingPassenger Compartment Fuse
Panel Description
5 20A RKE module, Power lock
switches, Memory lock, Power
locks with RKE
6 10A Brake shift interlock, Speed
control, DRL module
7 10A Multi-function switch, Turn signals
8 30A Radio capacitor(s), Ignition coil,
PCM diode, PCM power relay,
Fuel heater (Diesel only), Glow
plug relay (Diesel only)
9 30A Wiper control module, Windshield
wiper motor
10 20A Main light switch, Park lamps,
License lamp (external lamps),
Multi-function switch
(flash-to-pass)
11 15A Brake pressure switch,
Multi-function switch (hazards),
Brake lamp switch, Brake lamps
12 15A Transmission Range (TR) sensor,
Backup lamps, Auxiliary battery
relay
13 15A Blend door actuator, A/C heater,
Function selector switch
14 5A Instrument cluster (air bag and
charge indicator)
15 5A Trailer battery charge relay
16 30A Power seats
17—Not used
18—Not used
19 10A Air bag diagnostic monitor
20 5A Overdrive cancel switch
21 30A Power windows*
22 15A Memory power radio, E-Traveler
radio, E-Traveler console
Roadside Emergencies
164
ProCarManuals.com
Page 166 of 256
Always disconnect the battery before servicing high current
fuses.
Always replace the cover to the power distribution box before
reconnecting the battery or refilling fluid reservoirs
If the battery has been disconnected and reconnected, refer to the
Batterysection of theMaintenance and specificationschapter.
The high-current fuses are coded as follows.
Fuse/Relay
LocationFuse Amp
RatingPower Distribution Box
Description
1—Not used
2—Not used
3—Not used
4 10A* Powertrain Control Module (PCM)
Keep Alive Memory, Instrument
cluster, Voltmeter
5 10A* Right trailer turn signal
6 10A* Left trailer turn signal
7 20A* Clearance lamps
AB3
2
146 5715 14 13 12 11 10 9 823 22 21 20 19 18 17 1624 26 25 27
29
CDG F EK J H
28
Roadside Emergencies
166
ProCarManuals.com
Page 194 of 256

Clean the outside of the windshield or rear window with a non-abrasive
cleaner such as Ultra Clear Spray Glass Cleaner (E4AZ-19C507–AA),
available from your authorized Ford, Lincoln or Mercury dealer. If after
cleaning the glass surface, the water sheets from the glass (e.g., does not
bead), then the window is clean.
The windshield, rear window and wiper blades should be cleaned
regularly. Wiper blades can be cleaned with isopropyl (rubbing) alcohol
or windshield washer solution. Be sure to replace wiper blades when
they appear worn or do not function properly.
WINDOWS AND WIPER BLADES
The windshield, rear window and wiper blades should be cleaned
regularly. If the wiper does not wipe properly, substances on the
windshield, rear window or the wiper blades may be the cause. These
may include hot wax treatments used by commercial car washes, tree
sap, or other organic contamination. To clean these items, please follow
these tips:
•The windshield or rear window may be cleaned with a non-abrasive
cleaner such as Motorcraft Ultra Clear Spray Glass Cleaner (ZC-23),
available from your dealer.
•Do not use abrasives, as they may cause scratches.
•Do not use fuel, kerosene, or paint thinner to clean any parts.
•Wiper blades can be cleaned with isopropyl (rubbing) alcohol or
windshield washer solution. Be sure to replace wiper blades when they
appear worn or do not function properly.
INSTRUMENT PANEL AND CLUSTER LENS
Clean the instrument panel with a damp cloth, then dry with a dry cloth.
•Avoid cleaners or polish that increase the gloss of the upper portion of
the instrument panel. The dull finish in this area helps protect the
driver from undesirable windshield reflection.
Do not use chemical solvents or strong detergents when cleaning
the steering wheel or instrument panel to avoid contamination of
the air bag system.
•Be certain to wash or wipe your hands clean if you have been in
contact with certain products such as insect repellent and suntan
lotion in order to avoid possible damage to the painted surfaces.
Cleaning
194
ProCarManuals.com