2002 FORD CROWN VICTORIA remove seats
[x] Cancel search: remove seatsPage 56 of 240

parked. This allows the climate control system to be free from
contamination of outside pollutants.
²If your vehicle has been parked with the windows closed during warm
weather conditions, the air conditioner will perform more efficiently in
cooling the vehicle if driven for two or three minutes with the
windows open. This will force most of the hot, stale air out of the
vehicle. Once the vehicle has been ªaired outº, operate the climate
control system as desired.
²Do not put objects under the front seat which may interfere with the
airflow to the rear seats (if equipped).
²Remove any snow, ice or leaves from the air intake area (at the
bottom of the windshield and underneath the hood).
²Do not place objects over the defroster outlets. These objects can
block airflow and reduce visibility through your windshield. Avoid
placing small objects on top of the instrument panel. These objects
may fall down into the defroster outlets and block airflow, in addition
to, damaging the climate control system.
To aid in side window defogging/demisting in cold weather conditions:
1. Select the position that distributes air through the Panel and Floor.
2. Set the temperature control to full heat.
3. Set the fan speed to full fan.
4. Direct the outer panel vents towards the side windows.
5. To increase airflow to the outer panel vents, close the central panel
vents.
Do not place objects on top of the instrument panel as these
objects may become projectiles in a collision or sudden stop.
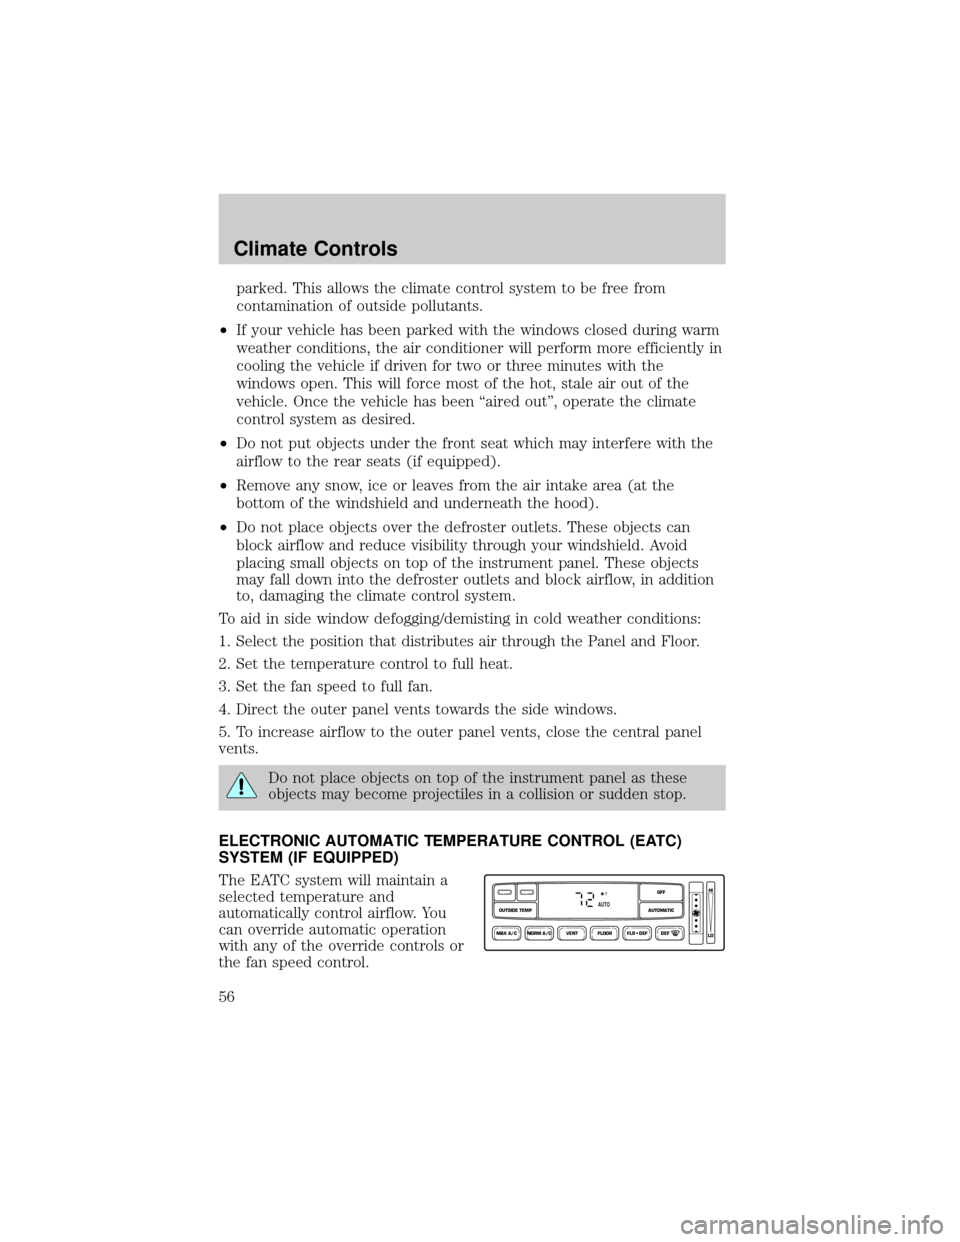
ELECTRONIC AUTOMATIC TEMPERATURE CONTROL (EATC)
SYSTEM (IF EQUIPPED)
The EATC system will maintain a
selected temperature and
automatically control airflow. You
can override automatic operation
with any of the override controls or
the fan speed control.
NORM A/CVENT FLOOR FLR • DEF DEF
HI
LO
MAX A/C
OUTSIDE TEMP AUTOMATICOFF
FAUTO
Climate Controls
56
Page 129 of 240

Types of booster seats
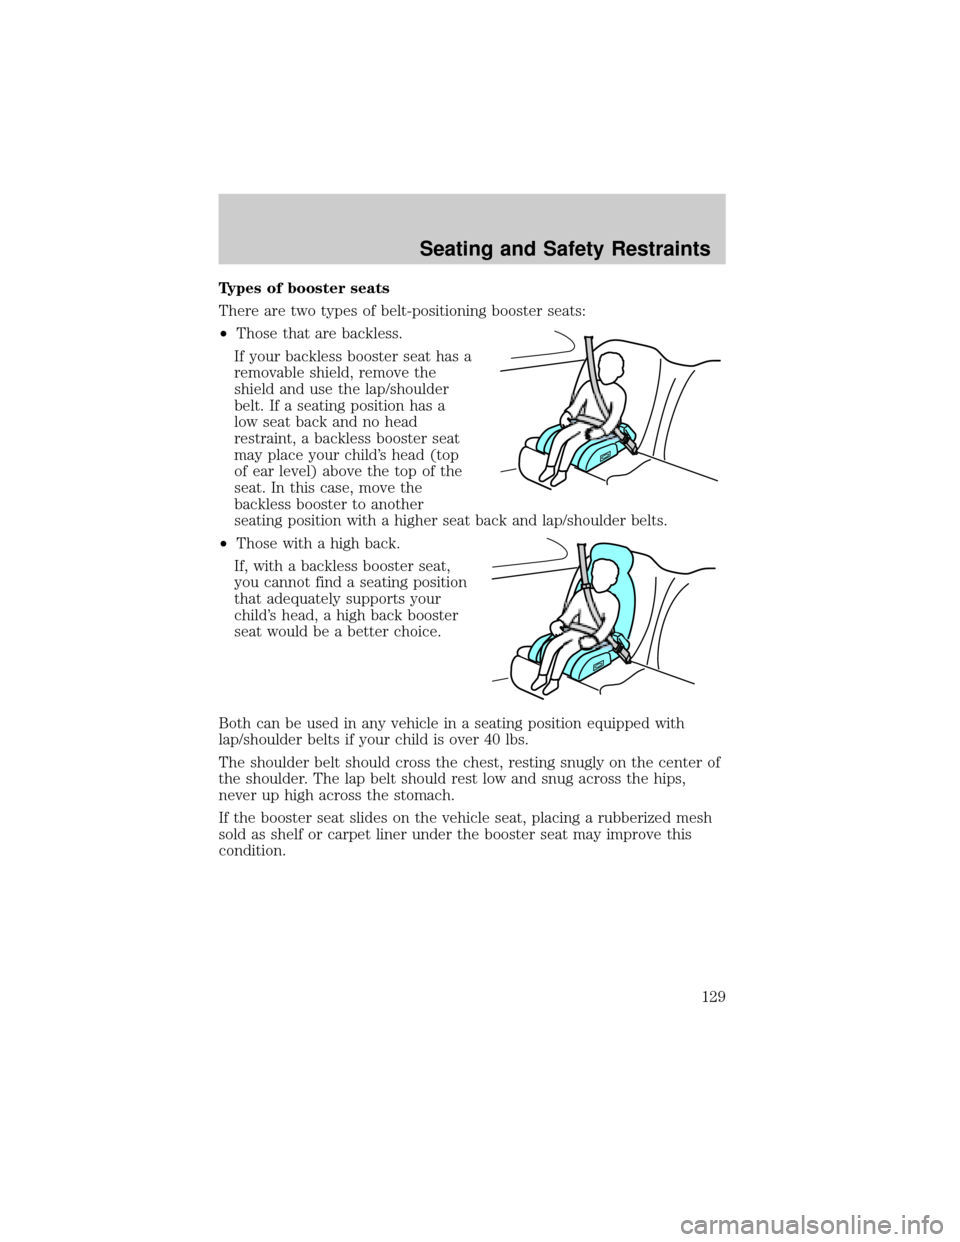
There are two types of belt-positioning booster seats:
²Those that are backless.
If your backless booster seat has a
removable shield, remove the
shield and use the lap/shoulder
belt. If a seating position has a
low seat back and no head
restraint, a backless booster seat
may place your child's head (top
of ear level) above the top of the
seat. In this case, move the
backless booster to another
seating position with a higher seat back and lap/shoulder belts.
²Those with a high back.
If, with a backless booster seat,
you cannot find a seating position
that adequately supports your
child's head, a high back booster
seat would be a better choice.
Both can be used in any vehicle in a seating position equipped with
lap/shoulder belts if your child is over 40 lbs.
The shoulder belt should cross the chest, resting snugly on the center of
the shoulder. The lap belt should rest low and snug across the hips,
never up high across the stomach.
If the booster seat slides on the vehicle seat, placing a rubberized mesh
sold as shelf or carpet liner under the booster seat may improve this
condition.
Seating and Safety Restraints
129
Page 134 of 240

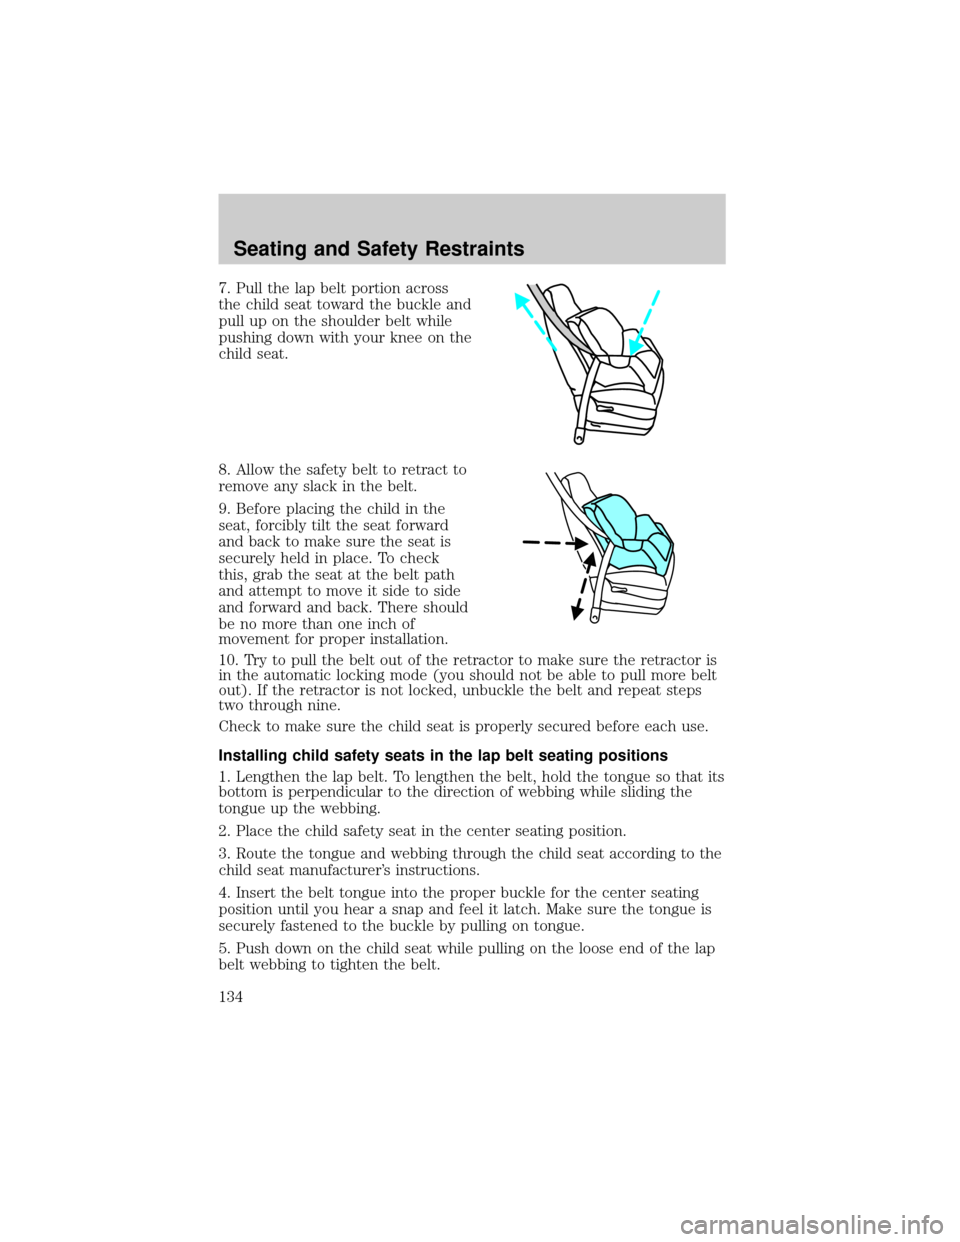
7. Pull the lap belt portion across
the child seat toward the buckle and
pull up on the shoulder belt while
pushing down with your knee on the
child seat.
8. Allow the safety belt to retract to
remove any slack in the belt.
9. Before placing the child in the
seat, forcibly tilt the seat forward
and back to make sure the seat is
securely held in place. To check
this, grab the seat at the belt path
and attempt to move it side to side
and forward and back. There should
be no more than one inch of
movement for proper installation.
10. Try to pull the belt out of the retractor to make sure the retractor is
in the automatic locking mode (you should not be able to pull more belt
out). If the retractor is not locked, unbuckle the belt and repeat steps
two through nine.
Check to make sure the child seat is properly secured before each use.
Installing child safety seats in the lap belt seating positions
1. Lengthen the lap belt. To lengthen the belt, hold the tongue so that its
bottom is perpendicular to the direction of webbing while sliding the
tongue up the webbing.
2. Place the child safety seat in the center seating position.
3. Route the tongue and webbing through the child seat according to the
child seat manufacturer's instructions.
4. Insert the belt tongue into the proper buckle for the center seating
position until you hear a snap and feel it latch. Make sure the tongue is
securely fastened to the buckle by pulling on tongue.
5. Push down on the child seat while pulling on the loose end of the lap
belt webbing to tighten the belt.
Seating and Safety Restraints
134
Page 188 of 240

CLEANING THE INSTRUMENT PANEL
Clean the instrument panel with a damp cloth, then dry with a dry cloth.
Avoid cleaners or polish that increase the gloss of the upper portion of
the instrument panel. The dull finish in this area helps protect the driver
from undesirable windshield reflection.
Your vehicle is designed with painted controls and features which
are particularly sensitive to certain products such as insect
repellent and suntan lotion. When operating the various features
on your vehicle, be certain to wash or wipe your hands clean if
you have been in contact with any of these types of products in
order to avoid possible damage to the painted surfaces.
Do not use chemical solvents or strong detergents when cleaning
the steering wheel or instrument panel to avoid contamination of
the air bag system.
Cleaning the instrument cluster lens
Wipe the cluster area with a soft, damp cotton towel. Dry the area with a
clean, dry towel.
CLEANING SEATS EQUIPPED WITH SIDE AIR BAGS
Remove dust and loose dirt with a vacuum cleaner. In order to remove
stains and soil, clean with Extra Strength Upholstery Cleaner
(E8AZ-19523±AA).
Never saturate the seat covers with any cleaning solution.
Do not use chemical solvents or strong detergents when cleaning
the seat where the side air bag is mounted. Such products could
contaminate the side air bag system and affect performance of the side
air bag in a collision. The air bag may not function correctly and not
provide injury reduction benefits.
CLEANING THE INTERIOR FABRIC, CARPETS AND CLOTH SEATS
Remove dust and loose dirt with a vacuum cleaner. Remove light stains
and soil with Extra Strength Upholstery Cleaner (E8AZ-19523±AA).
Never saturate the seat covers with cleaning solution.
Do not use household cleaning products or glass cleaners, which
can stain and discolor the fabric and affect the flame retardant
abilities of the seat materials.
Cleaning
188
Page 189 of 240

If grease or tar is present on the material, spot-clean the area first with
Spot and Stain Remover (F3AZ-19521±WA). Follow up by recleaning the
area with Extra Strength Upholstery Cleaner (E8AZ-19523±AA).
CLEANING LEATHER SEATS (IF EQUIPPED)
All Ford, Lincoln and Mercury vehicles with leather seating surfaces have
a clear, protective coating over the leather.
To clean the leather seats, simply use a soft cloth with Deluxe Leather
and Vinyl Cleaner (F2AZ-19521±WA). Dry the area with a soft cloth.
It is recommended that you use the Deluxe Leather Care Kit
(F8AZ-19G253±AA), available from your authorized Ford, Lincoln or
Mercury dealer. The mild cleaner and special pad available in the kit
cleans the leather and maintains its natural beauty. For best results,
follow the instructions printed on the cleaner label. Regular cleaning of
your leather upholstery helps maintain its resiliency and color.
Do not use household cleaning products, alcohol solutions,
solvents or cleaners intended for rubber, vinyl and plastics, or
oil/petroleum-based leather conditioners. These products may
cause premature wearing of the clear, protective coating.
CLEANING THE INSIDE WINDOWS
Use Ultra Clear Spray Glass Cleaner (E4AZ-19C507±AA) for the inside
windows if they become fogged.
To clean, use two lint-free, soft towels, folded into a pad-shape. Mist the
glass completely with cleaner, and use one of the towels to evenly agitate
the surface. Use the other towel to remove the residue.
CLEANING AND MAINTAINING THE SAFETY BELTS
Clean the safety belts with Extra Strength Upholstery Cleaner
(E8AZ-19523±AA), available from your authorized Ford, Lincoln or
Mercury dealer.
Do not use bleach, dye or any other solvent to clean the belts, as
these actions may weaken the belt webbing.
UNDERBODY
Flush the complete underside of your vehicle frequently. Keep body and
door drain holes free from packed dirt.
Cleaning
189