Page 85 of 240
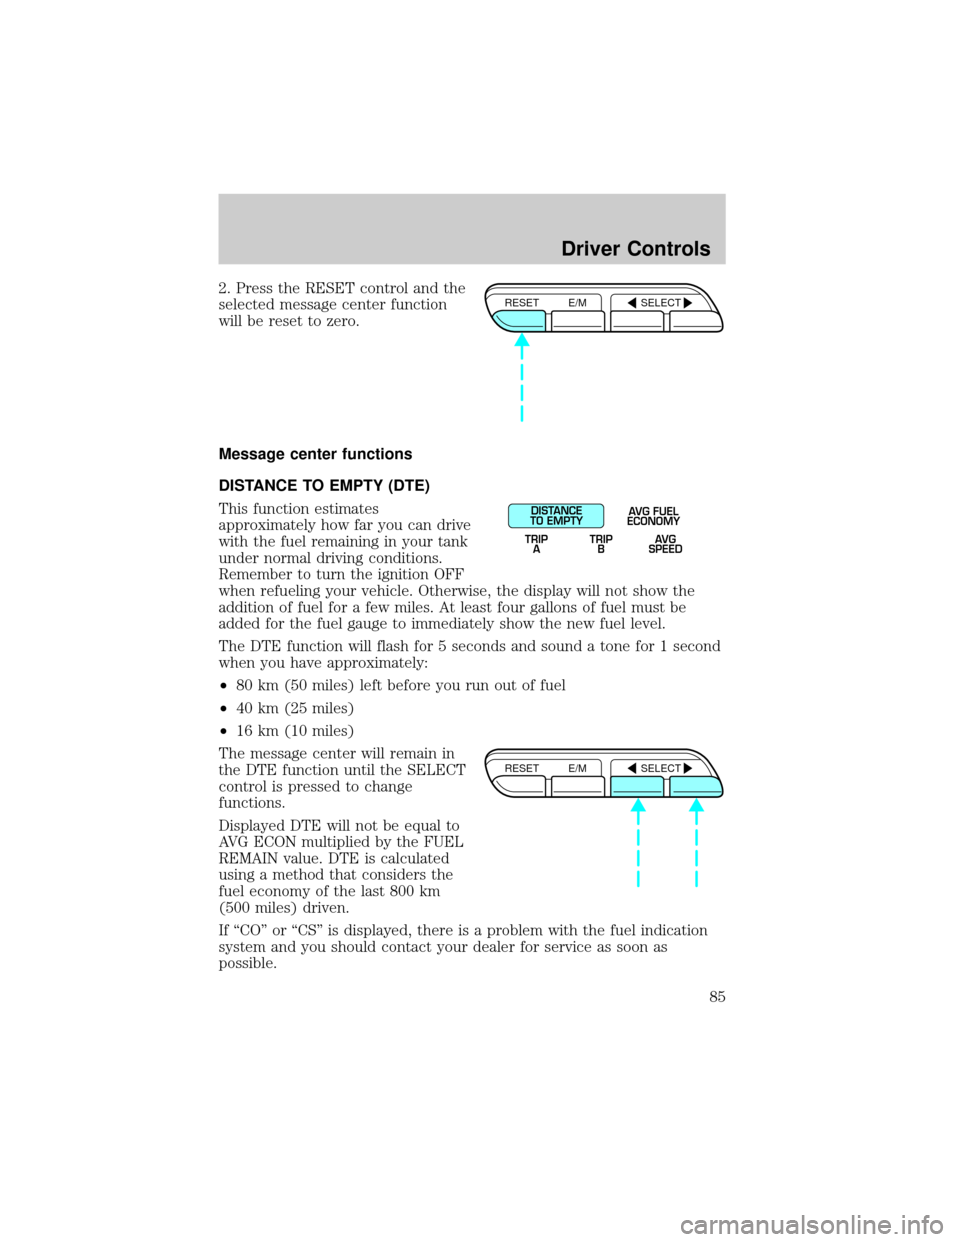
2. Press the RESET control and the
selected message center function
will be reset to zero.
Message center functions
DISTANCE TO EMPTY (DTE)
This function estimates
approximately how far you can drive
with the fuel remaining in your tank
under normal driving conditions.
Remember to turn the ignition OFF
when refueling your vehicle. Otherwise, the display will not show the
addition of fuel for a few miles. At least four gallons of fuel must be
added for the fuel gauge to immediately show the new fuel level.
The DTE function will flash for 5 seconds and sound a tone for 1 second
when you have approximately:
²80 km (50 miles) left before you run out of fuel
²40 km (25 miles)
²16 km (10 miles)
The message center will remain in
the DTE function until the SELECT
control is pressed to change
functions.
Displayed DTE will not be equal to
AVG ECON multiplied by the FUEL
REMAIN value. DTE is calculated
using a method that considers the
fuel economy of the last 800 km
(500 miles) driven.
If ªCOº or ªCSº is displayed, there is a problem with the fuel indication
system and you should contact your dealer for service as soon as
possible.RESET E/M SELECT
DISTANCE
TO EMPTY
TRIP
AAVG FUEL
ECONOMY
TRIP
BAVG
SPEED
RESET E/M SELECT
Driver Controls
85
Page 86 of 240
AVG FUEL ECONOMY (average fuel economy)
Select this function to display your
average fuel economy in liters/100
km or miles/gallon.
If you calculate your average fuel
economy by dividing miles traveled by gallons used, your figure may be
different than displayed for the following reasons:
²your vehicle was not perfectly level during fill-up
²differences in the automatic shut-off points on the fuel pumps at
service stations
²variations in top-off procedure from one fill-up to another
²rounding of the displayed values to the nearest 0.1 liter (gallons)
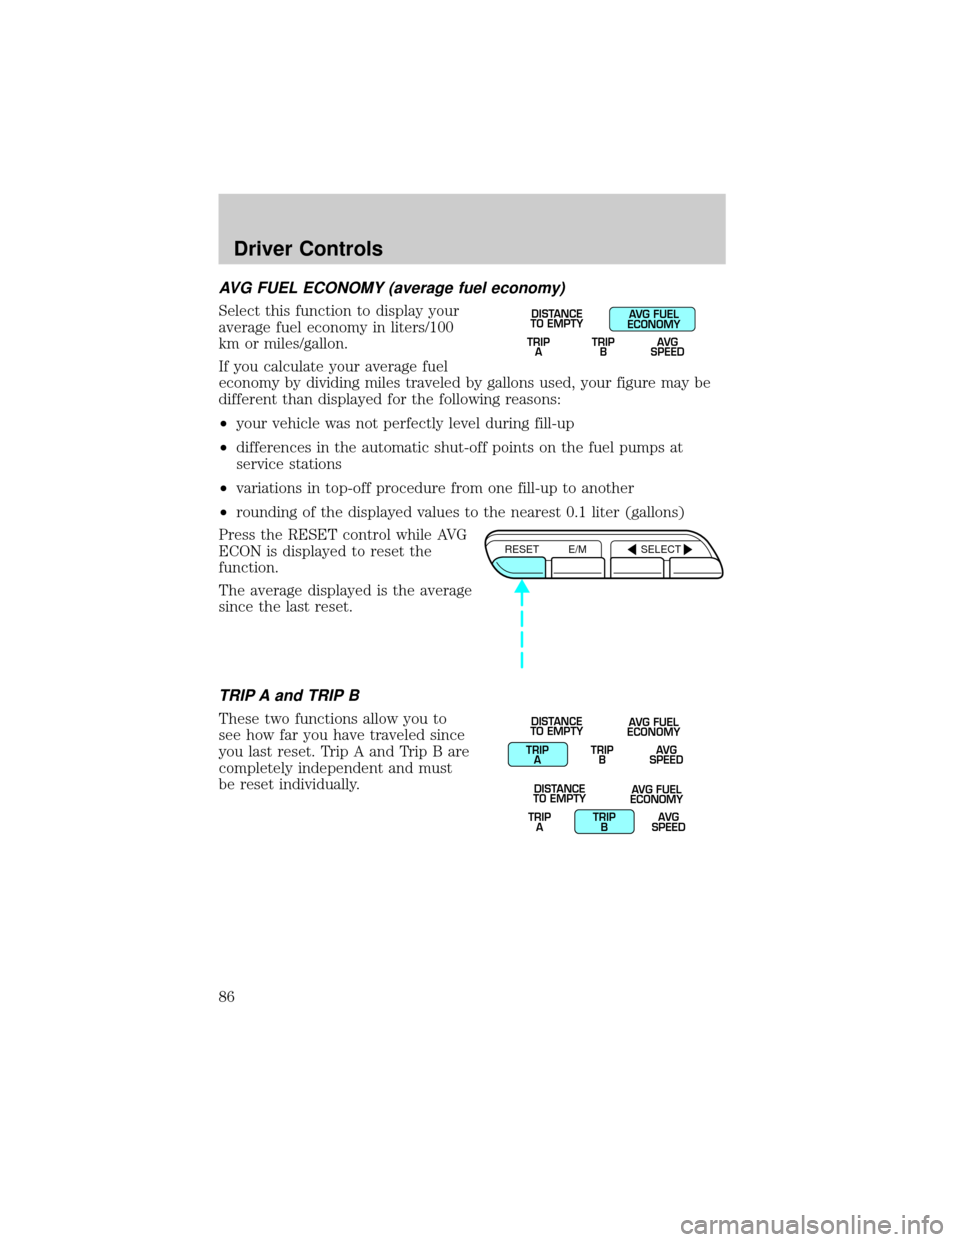
Press the RESET control while AVG
ECON is displayed to reset the
function.
The average displayed is the average
since the last reset.
TRIP A and TRIP B
These two functions allow you to
see how far you have traveled since
you last reset. Trip A and Trip B are
completely independent and must
be reset individually.
TRIP
ATRIP
BAVG
SPEED
DISTANCE
TO EMPTYAVG FUEL
ECONOMY
RESET E/M SELECT
TRIP
ATRIP
BAVG
SPEED DISTANCE
TO EMPTYAVG FUEL
ECONOMY
TRIP
ATRIP
BAVG
SPEED DISTANCE
TO EMPTYAVG FUEL
ECONOMY
Driver Controls
86
Page 96 of 240
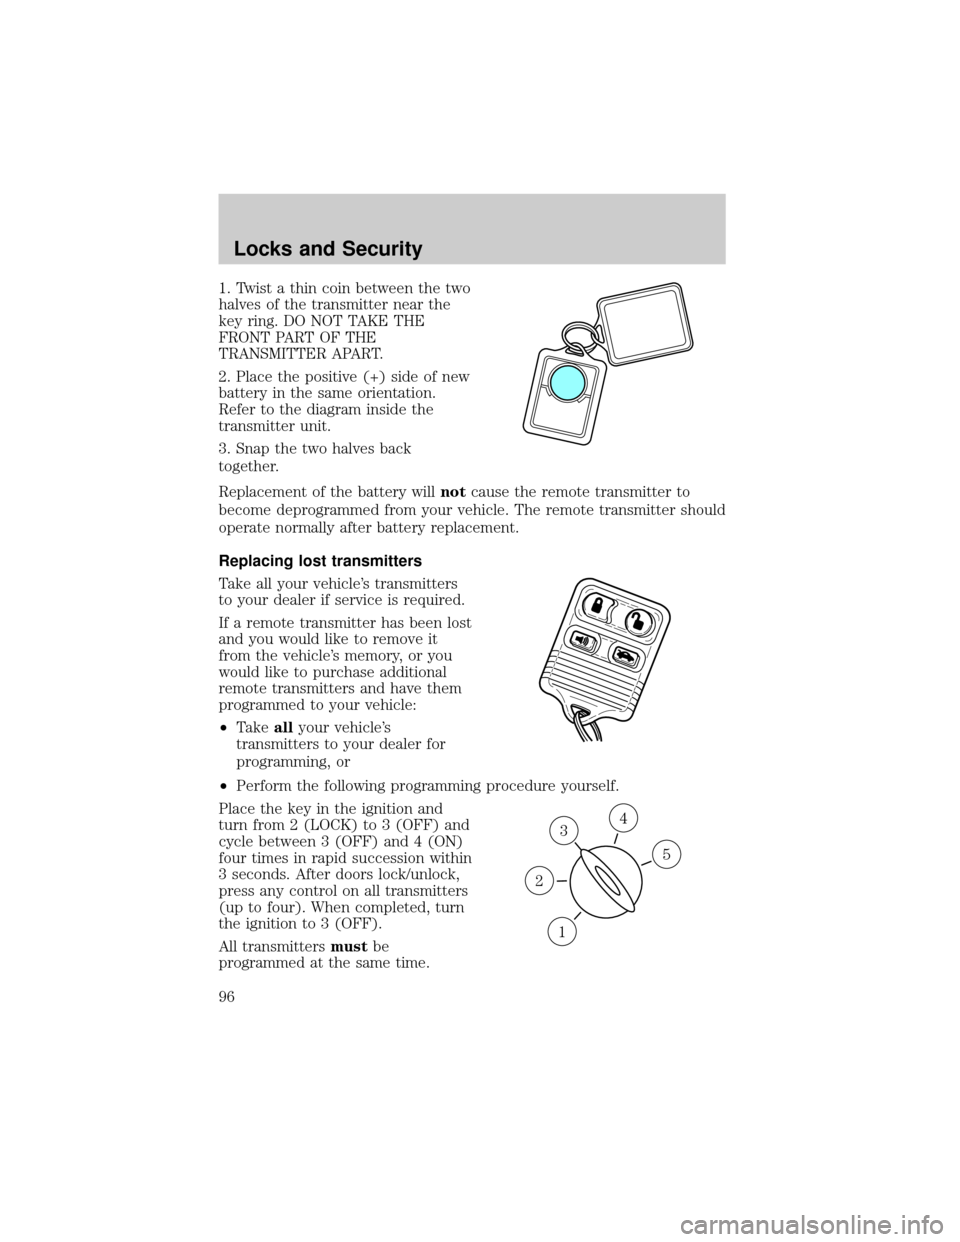
1. Twist a thin coin between the two
halves of the transmitter near the
key ring. DO NOT TAKE THE
FRONT PART OF THE
TRANSMITTER APART.
2. Place the positive (+) side of new
battery in the same orientation.
Refer to the diagram inside the
transmitter unit.
3. Snap the two halves back
together.
Replacement of the battery willnotcause the remote transmitter to
become deprogrammed from your vehicle. The remote transmitter should
operate normally after battery replacement.
Replacing lost transmitters
Take all your vehicle's transmitters
to your dealer if service is required.
If a remote transmitter has been lost
and you would like to remove it
from the vehicle's memory, or you
would like to purchase additional
remote transmitters and have them
programmed to your vehicle:
²Takeallyour vehicle's
transmitters to your dealer for
programming, or
²Perform the following programming procedure yourself.
Place the key in the ignition and
turn from 2 (LOCK) to 3 (OFF) and
cycle between 3 (OFF) and 4 (ON)
four times in rapid succession within
3 seconds. After doors lock/unlock,
press any control on all transmitters
(up to four). When completed, turn
the ignition to 3 (OFF).
All transmittersmustbe
programmed at the same time.
3
1
2
5
4
Locks and Security
96
Page 101 of 240
THEFT INDICATOR
The theft indicator is located on top of the instrument panel.
²When the ignition is in the OFF position, the indicator will flash once
every 2 seconds to indicate the SecuriLockysystem is functioning as
a theft deterrent.
²When the ignition is in the ON position, the indicator will glow for 3
seconds to indicate normal system functionality.
If a problem occurs with the SecuriLockysystem, the indicator will flash
rapidly or glow steadily when the ignition is in the ON position. If this
occurs, the vehicle should be taken to an authorized dealer for service.
Automatic arming
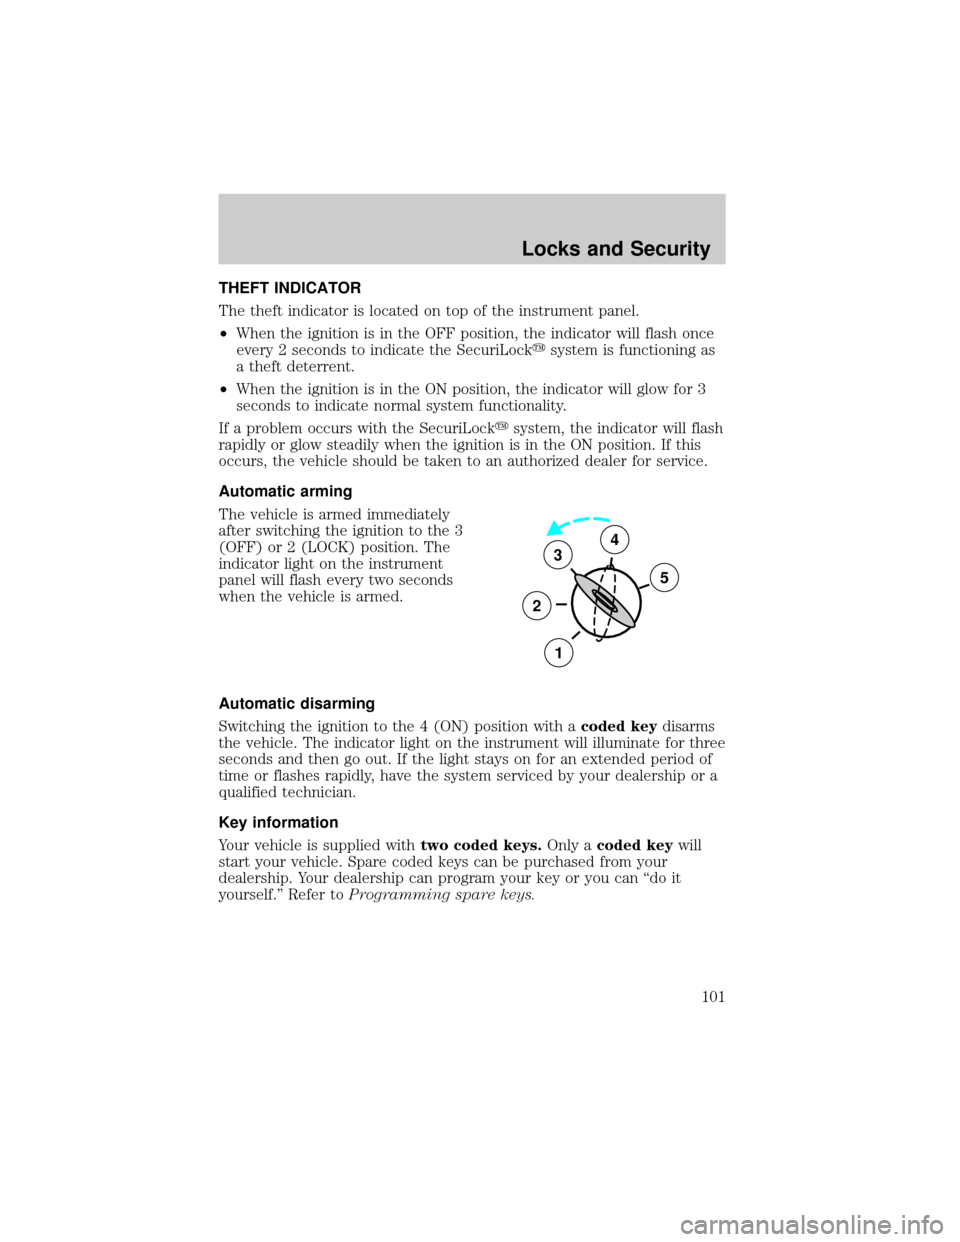
The vehicle is armed immediately
after switching the ignition to the 3
(OFF) or 2 (LOCK) position. The
indicator light on the instrument
panel will flash every two seconds
when the vehicle is armed.
Automatic disarming
Switching the ignition to the 4 (ON) position with acoded keydisarms
the vehicle. The indicator light on the instrument will illuminate for three
seconds and then go out. If the light stays on for an extended period of
time or flashes rapidly, have the system serviced by your dealership or a
qualified technician.
Key information
Your vehicle is supplied withtwo coded keys.Only acoded keywill
start your vehicle. Spare coded keys can be purchased from your
dealership. Your dealership can program your key or you can ªdo it
yourself.º Refer toProgramming spare keys.
3
2
1
5
4
Locks and Security
101
Page 111 of 240

Front safety belt pretensioners
The safety belt pretensioners are designed to tighten the safety belts
firmly against the occupant's body during a collision. This maximizes the
effectiveness of the safety belts and helps properly position the occupant
relative to the air bag to improve protection. The safety belt
pretensioners can be either activated alone or, if the collision is of
sufficient severity, together with the air bags.
Front safety belt energy management retractors
The front safety belt energy management retractors allow webbing to be
pulled out of the retractor in a gradual and controlled manner in
response to the occupant's forward momentum. This helps reduce the
risk of force-related injuries to the occupant's chest by limiting the load
on the occupant. Refer toEnergy management featuresection in this
chapter.
Determining if the Personal safety system is operational
The Personal safety system uses a warning light in the instrument cluster
or a back-up tone to indicate the condition of the system. Refer to the
Warning lightsection in theInstrument clusterchapter. Routine
maintenance of the Personal safety system is not required.
The Restraints control module (RCM) monitors its own internal circuits
and the circuits for the air bag supplemental restraints, crash sensor(s),
safety belt pretensioners, front safety belt buckle sensors, driver seat
position sensor, and passenger occupant classification sensor (if
equipped). In addition, the RCM also monitors the restraints warning
light in the instrument cluster. A difficulty with the system is indicated
by one or more of the following.
²The warning light will either flash or stay lit.
²The warning light will not illuminate immediately after ignition is
turned on.
²A series of five beeps will be heard. The tone pattern will repeat
periodically until the problem and warning light are repaired.
If any of these things happen, even intermittently, have the Personal
safety system serviced at your dealership or by a qualified technician
immediately. Unless serviced, the system may not function properly in
the event of a collision.
Seating and Safety Restraints
111
Page 124 of 240

Do not attempt to service, repair, or modify the air bag
supplemental restraint systems or its fuses. See your Ford or
Lincoln Mercury dealer.
The front passenger air bag is not designed to offer protection to
an occupant in the center front seating position.
Modifications to the front end of the vehicle, including frame,
bumper, front end body structure and tow hooks may affect the
performance of the air bag sensors increasing the risk of injury. Do not
modify the front end of the vehicle.
Children and air bags
For additional important safety
information, read all information on
safety restraints in this guide.
Children must always be properly
restrained. Accident statistics
suggest that children are safer when
properly restrained in the rear
seating positions than in the front
seating position. Failure to follow
these instructions may increase the
risk of injury in a collision.
Air bags can kill or injure a
child in a child seat.
NEVERplace a rear-facing child
seat in front of an active air bag. If
you must use a forward-facing
child seat in the front seat, move
the seat all the way back.
Seating and Safety Restraints
124
Page 126 of 240
²driver and passenger air bag modules (which include the inflators and
air bags)
²one or more impact and safing sensors
²a readiness light and tone
²a diagnostic module
²and the electrical wiring which connects the components
The diagnostic module monitors its own internal circuits and the
supplemental air bag electrical system warning (including the impact
sensors), the system wiring, the air bag system readiness light, the air
bag back up power and the air bag ignitors.
Several air bag system components get hot after inflation. Do not
touch them after inflation.
If the air bag has deployed,the air bag will not function
again and must be replaced immediately.If the air bag is not
replaced, the unrepaired area will increase the risk of injury in a
collision.
Determining if the system is operational
The SRS uses a readiness light in the instrument cluster or a tone to
indicate the condition of the system. Refer toAir bag readinesssection
in theInstrument clusterchapter. Routine maintenance of the air bag is
not required.
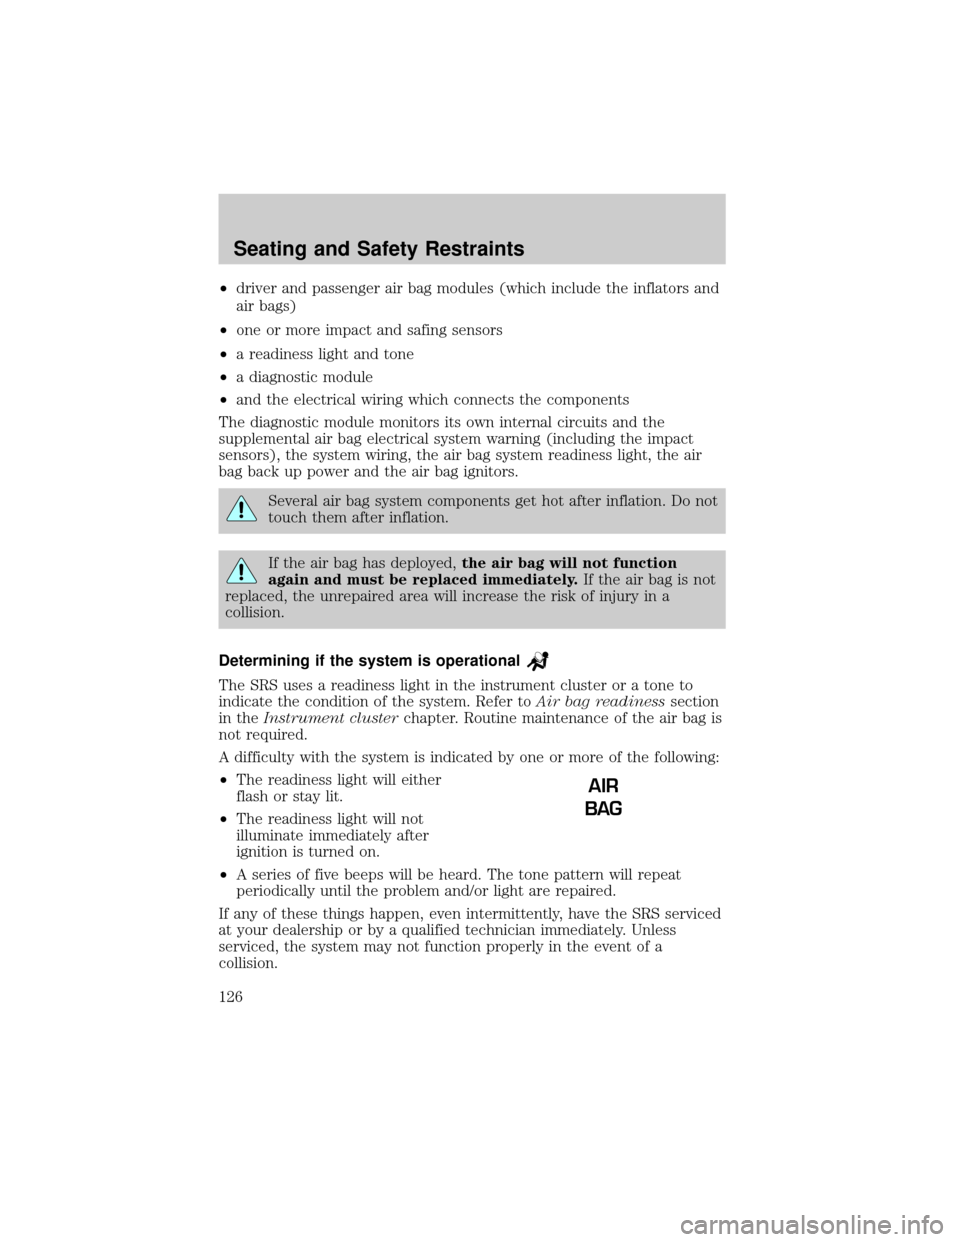
A difficulty with the system is indicated by one or more of the following:
²The readiness light will either
flash or stay lit.
²The readiness light will not
illuminate immediately after
ignition is turned on.
²A series of five beeps will be heard. The tone pattern will repeat
periodically until the problem and/or light are repaired.
If any of these things happen, even intermittently, have the SRS serviced
at your dealership or by a qualified technician immediately. Unless
serviced, the system may not function properly in the event of a
collision.
AIR
BAG
Seating and Safety Restraints
126
Page 139 of 240
4. Make sure the parking brake is
set.
5. Turn the key to 4 (ON) without
turning the key to 5 (START).
If there is difficulty in turning the
key, firmly rotate the steering wheel
left and right until the key turns
freely. This condition may occur
when:
²front wheels are turned
²front wheel is against the curb
²steering wheel is turned when getting in or out of the vehicle
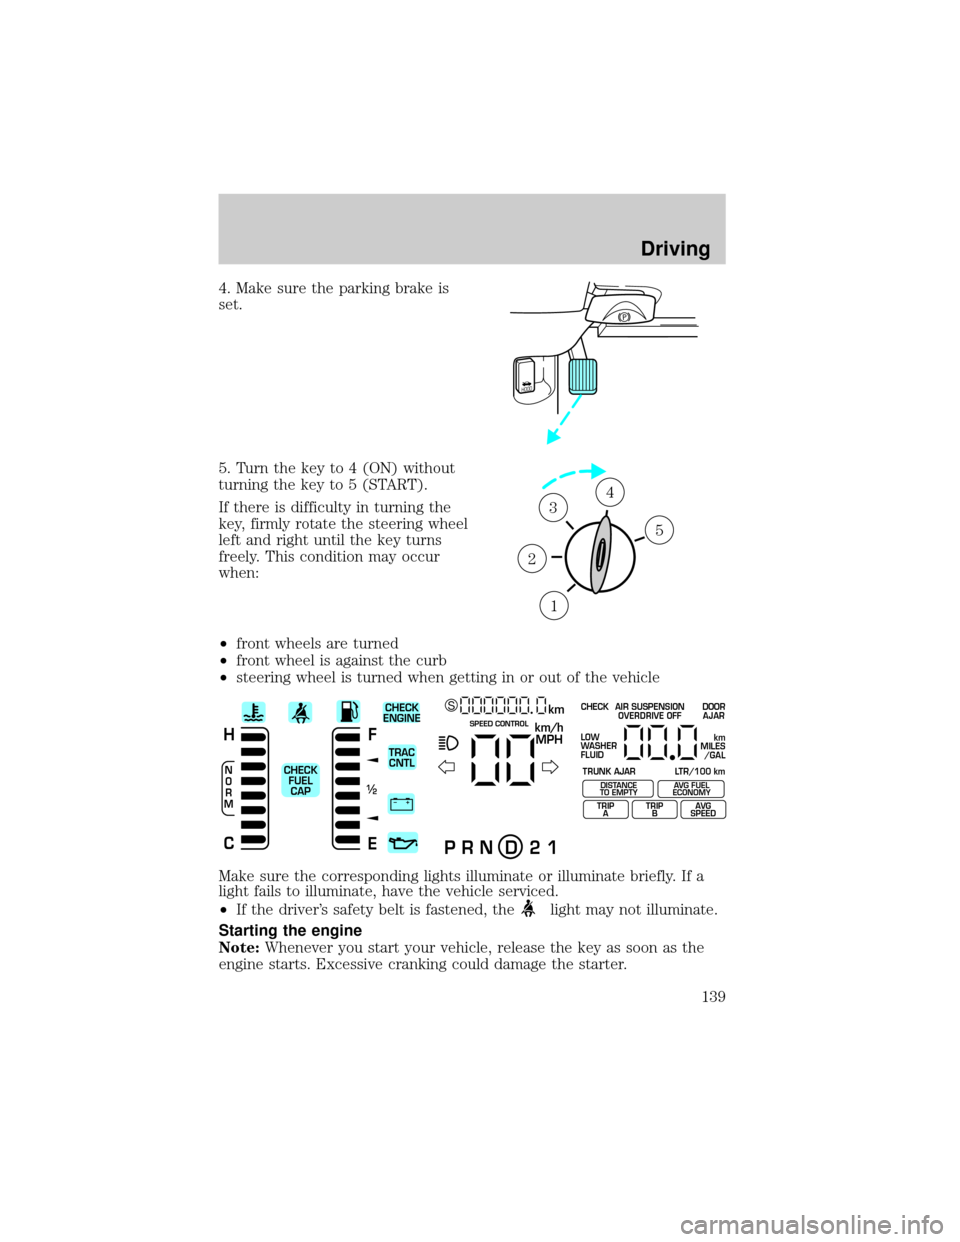
Make sure the corresponding lights illuminate or illuminate briefly. If a
light fails to illuminate, have the vehicle serviced.
²If the driver's safety belt is fastened, the
light may not illuminate.
Starting the engine
Note:Whenever you start your vehicle, release the key as soon as the
engine starts. Excessive cranking could damage the starter.
HOOD
1
2
34
5
+ –
F
E
/2 1
N
O
R
M
H
Ckm/h
MPH
km SCHECK
ENGINE
TRAC
CNTL
CHECK
FUEL
CAPSPEED CONTROL
P R N D 2 1
CHECK
TRUNK AJAR LTR/100 kmAIR SUSPENSION
OVERDRIVE OFFDOOR
AJAR
LOW
WASHER
FLUID
TRIP
ATRIP
BAVG
SPEED
km
MILES
/GAL
DISTANCE
TO EMPTYAVG FUEL
ECONOMY
Driving
139