2002 FORD CROWN VICTORIA CD changer
[x] Cancel search: CD changerPage 44 of 240
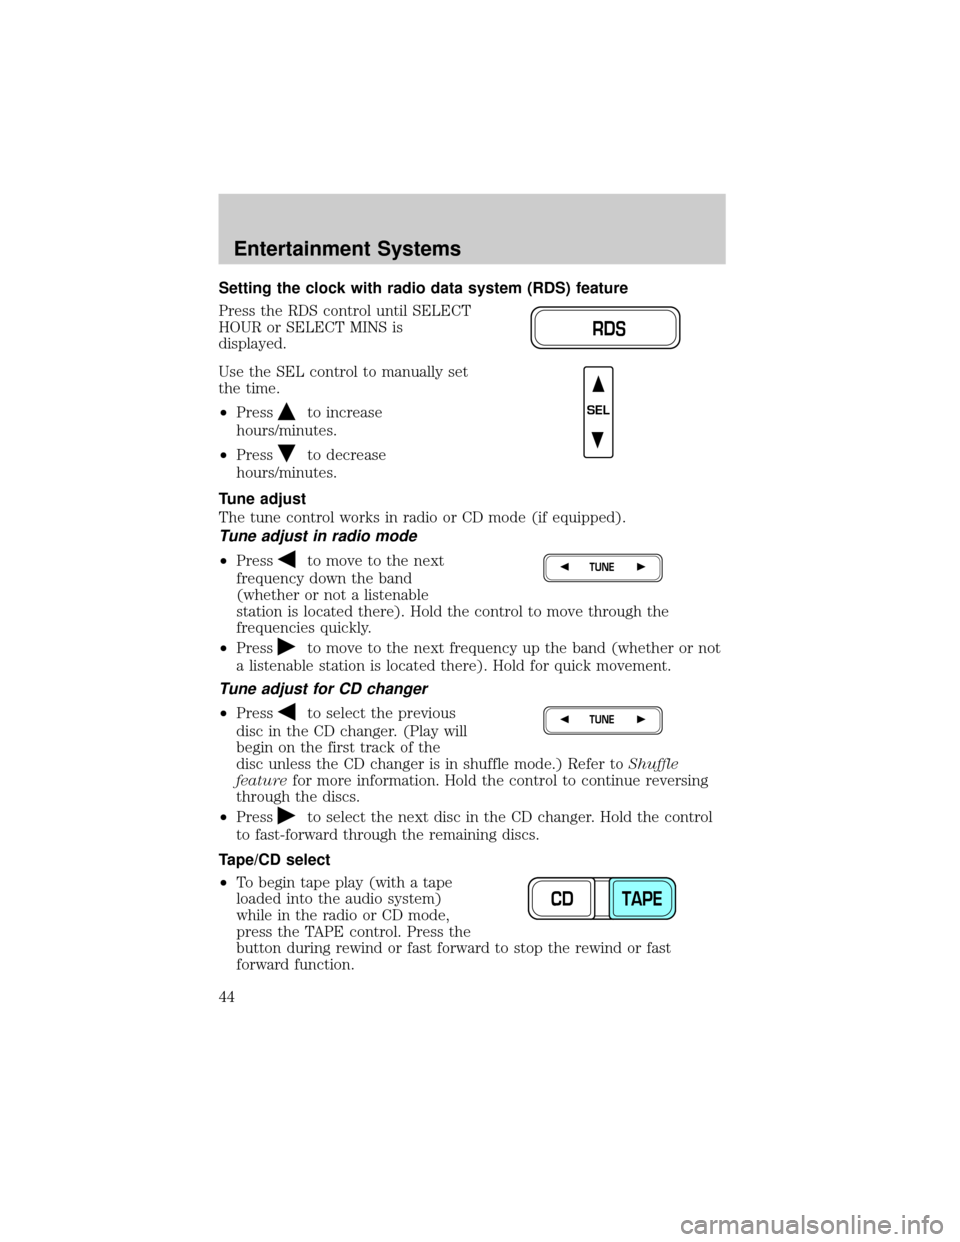
Setting the clock with radio data system (RDS) feature
Press the RDS control until SELECT
HOUR or SELECT MINS is
displayed.
Use the SEL control to manually set
the time.
²Press
to increase
hours/minutes.
²Press
to decrease
hours/minutes.
Tune adjust
The tune control works in radio or CD mode (if equipped).
Tune adjust in radio mode
²Pressto move to the next
frequency down the band
(whether or not a listenable
station is located there). Hold the control to move through the
frequencies quickly.
²Press
to move to the next frequency up the band (whether or not
a listenable station is located there). Hold for quick movement.
Tune adjust for CD changer
²Pressto select the previous
disc in the CD changer. (Play will
begin on the first track of the
disc unless the CD changer is in shuffle mode.) Refer toShuffle
featurefor more information. Hold the control to continue reversing
through the discs.
²Press
to select the next disc in the CD changer. Hold the control
to fast-forward through the remaining discs.
Tape/CD select
²To begin tape play (with a tape
loaded into the audio system)
while in the radio or CD mode,
press the TAPE control. Press the
button during rewind or fast forward to stop the rewind or fast
forward function.
RDS
SEL
TUNE
TUNE
CD TAPE
Entertainment Systems
44
Page 45 of 240
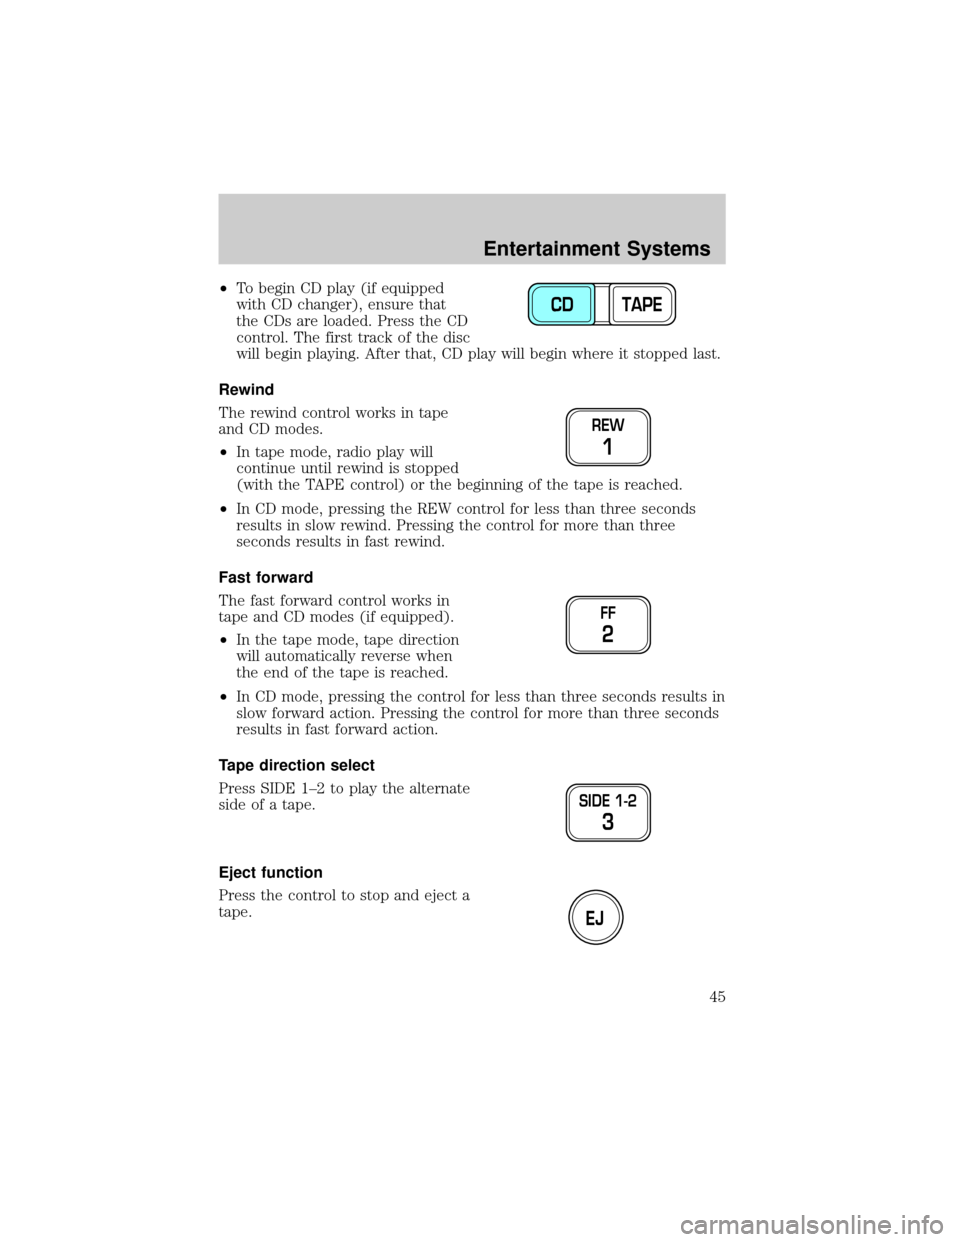
²To begin CD play (if equipped
with CD changer), ensure that
the CDs are loaded. Press the CD
control. The first track of the disc
will begin playing. After that, CD play will begin where it stopped last.
Rewind
The rewind control works in tape
and CD modes.
²In tape mode, radio play will
continue until rewind is stopped
(with the TAPE control) or the beginning of the tape is reached.
²In CD mode, pressing the REW control for less than three seconds
results in slow rewind. Pressing the control for more than three
seconds results in fast rewind.
Fast forward
The fast forward control works in
tape and CD modes (if equipped).
²In the tape mode, tape direction
will automatically reverse when
the end of the tape is reached.
²In CD mode, pressing the control for less than three seconds results in
slow forward action. Pressing the control for more than three seconds
results in fast forward action.
Tape direction select
Press SIDE 1±2 to play the alternate
side of a tape.
Eject function
Press the control to stop and eject a
tape.
CD TAPE
REW
1
FF
2
SIDE 1-2
3
EJ
Entertainment Systems
45
Page 46 of 240
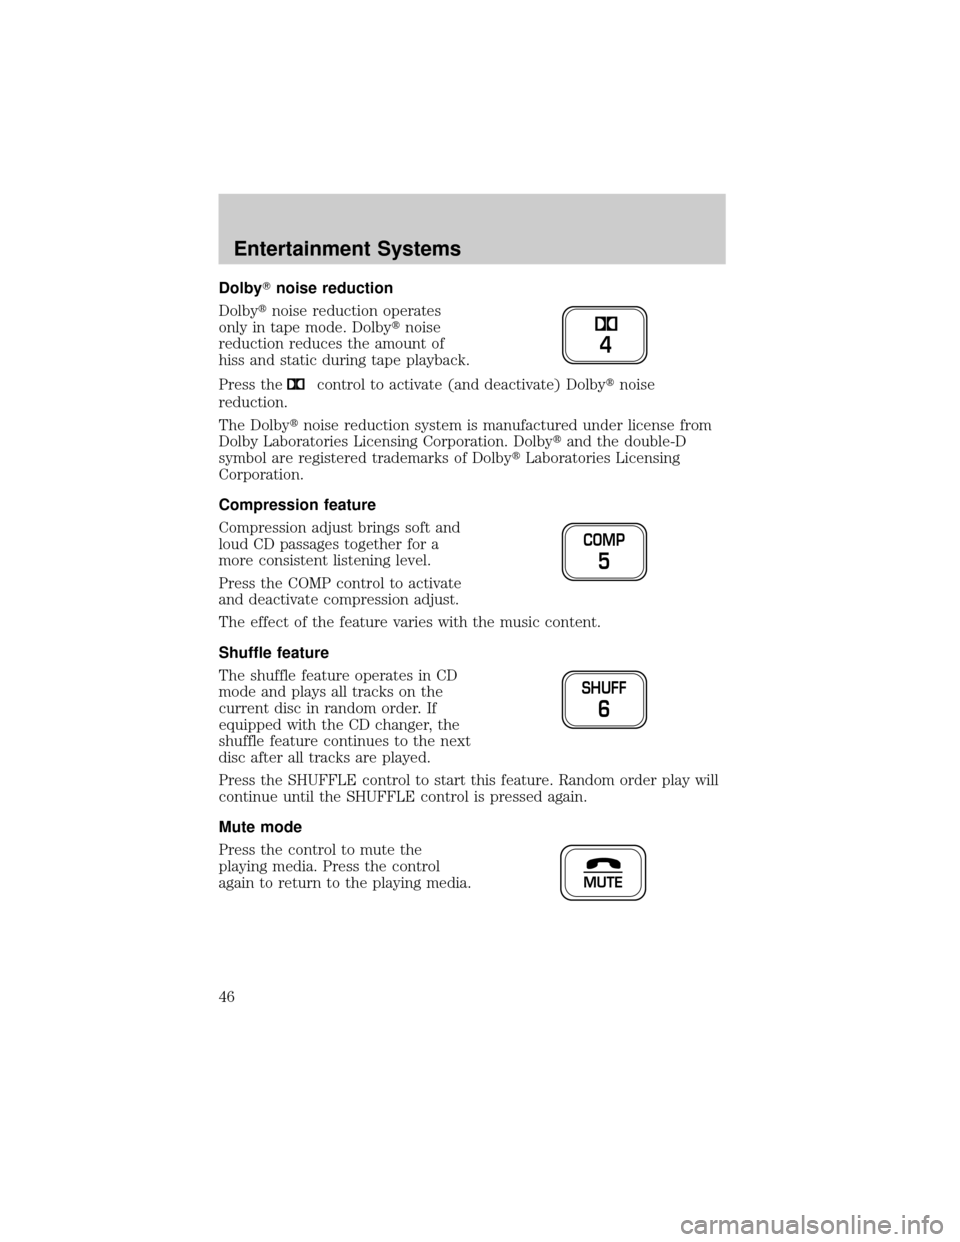
DolbyTnoise reduction
Dolbytnoise reduction operates
only in tape mode. Dolbytnoise
reduction reduces the amount of
hiss and static during tape playback.
Press the
control to activate (and deactivate) Dolbytnoise
reduction.
The Dolbytnoise reduction system is manufactured under license from
Dolby Laboratories Licensing Corporation. Dolbytand the double-D
symbol are registered trademarks of DolbytLaboratories Licensing
Corporation.
Compression feature
Compression adjust brings soft and
loud CD passages together for a
more consistent listening level.
Press the COMP control to activate
and deactivate compression adjust.
The effect of the feature varies with the music content.
Shuffle feature
The shuffle feature operates in CD
mode and plays all tracks on the
current disc in random order. If
equipped with the CD changer, the
shuffle feature continues to the next
disc after all tracks are played.
Press the SHUFFLE control to start this feature. Random order play will
continue until the SHUFFLE control is pressed again.
Mute mode
Press the control to mute the
playing media. Press the control
again to return to the playing media.
4
COMP
5
SHUFF
6
MUTE
Entertainment Systems
46
Page 49 of 240
CD CHANGER (IF EQUIPPED)
The CD changer is located in one of the following locations:
²in the trunk
²in the center console
²under the driver's seat
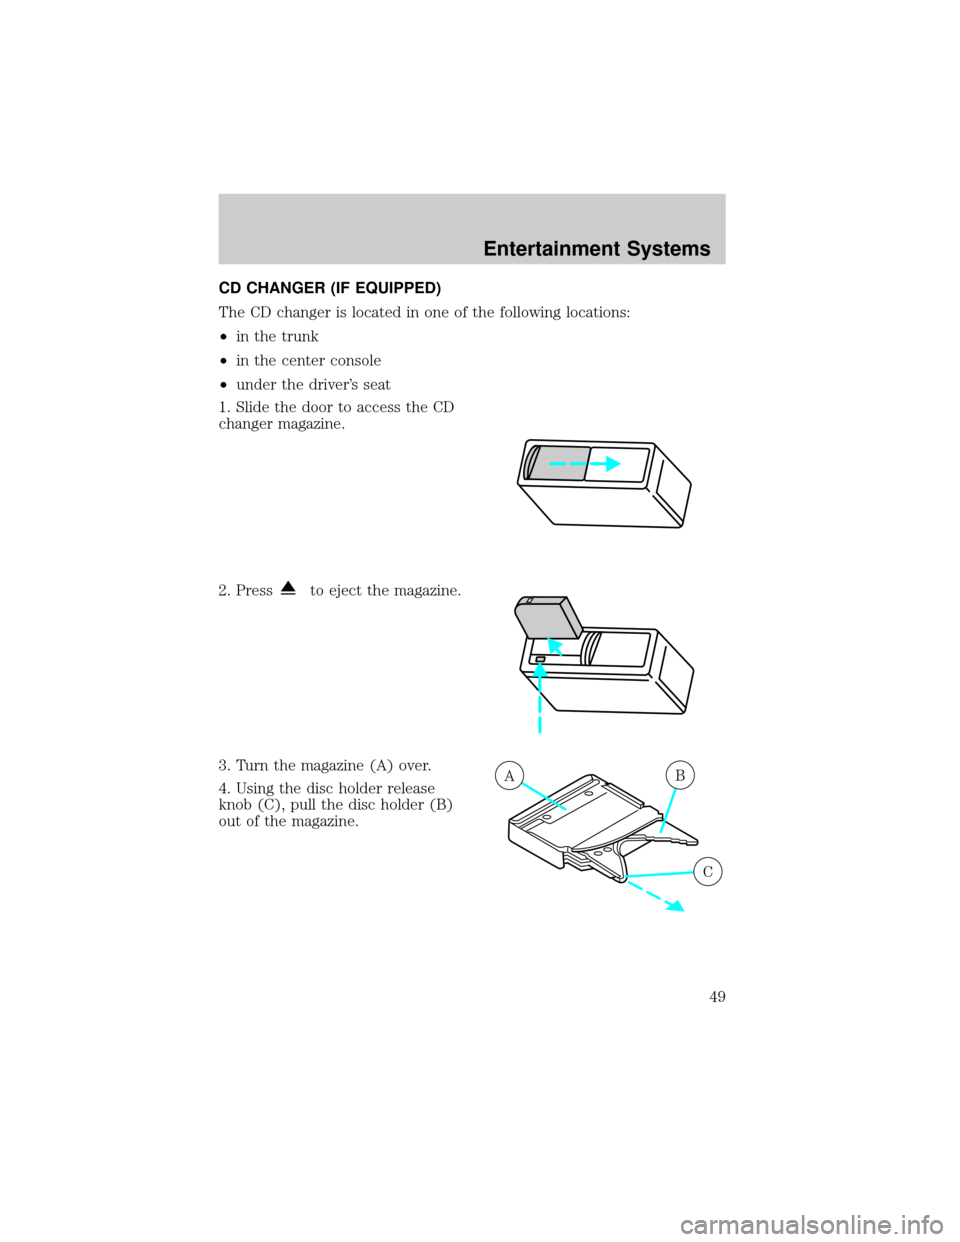
1. Slide the door to access the CD
changer magazine.
2. Press
to eject the magazine.
3. Turn the magazine (A) over.
4. Using the disc holder release
knob (C), pull the disc holder (B)
out of the magazine.
AB
C
Entertainment Systems
49
Page 51 of 240
Radio power must be turned on to play the CDs in the changer. The
magazine may be stored in the glove box when not being used.
The CD magazine may be inserted or ejected with the radio power off.
ONLY use the magazine supplied with the CD changer, other types will
damage the unit.
Keep the CD changer door closed. Coins and foreign objects will damage
the CD player and void your audio system warranty.
TROUBLESHOOTING THE CD CHANGER (IF EQUIPPED)
The laser beam used in the compact disc player is harmful to the
eyes. Do not attempt to disassemble the case.
If sound skips:
²You may be traveling on a rough road, playing badly scratched discs or
the disc may be dirty. Skipping will not scratch the discs or damage
the player.
If your changer does not work, it may be that:
²A disc is already loaded where you want to insert a disc.
²The disc is inserted with the label surface downward.
²The disc is dusty or defective.
²The player's internal temperature is above 60ÉC (140ÉF). Allow the
player to cool down before operating.
²A disc with format and dimensions not within industry standards is
inserted.
CLEANING COMPACT DISCS
Inspect all discs for contamination before playing. If necessary, clean
discs only with an approved CD cleaner and wipe from the center out to
the edge. Do not use circular motion.
Entertainment Systems
51
Page 52 of 240

CD AND CD CHANGER CARE
²Handle discs by their edges only. Never touch the playing surface.
²Do not expose discs to direct sunlight or heat sources for extended
periods of time.
²Do not insert more than one disc into each slot of the CD changer
magazine.
CD units are designed to play commercially pressed 12 cm (4.75
in) audio compact discs only. Due to technical incompatibility,
certain recordable and re-recordable compact discs may not
function correctly when used in Ford CD players. Irregular
shaped CDs, CDs with a scratch protection film attached, and CDs
with homemade paper (adhesive) labels should not be inserted
into the CD player. The label may peel and cause the CD to
become jammed. It is recommended that homemade CDs be
identified with permanent felt tip marker rather than adhesive
labels. Ball point pens may damage CDs. Please contact your
dealer for further information.
CLEANING CASSETTE PLAYER (IF EQUIPPED)
Clean the tape player head with a cassette cleaning cartridge after 10 to
12 hours of play in order to maintain the best sound and operation.
CASSETTE AND CASSETTE PLAYER CARE
²Use only cassettes that are 90 minutes long or less.
²Do not expose tapes to direct sunlight, high humidity, extreme heat or
extreme cold. Allow tapes that may have been exposed to extreme
temperatures to reach a moderate temperature before playing.
²Tighten very loose tapes by inserting a finger or pencil into the hole
and turning the hub.
²Remove loose labels before inserting tapes.
²Do not leave tapes in the cassette player for a long time when not
being played.
Entertainment Systems
52
Page 163 of 240
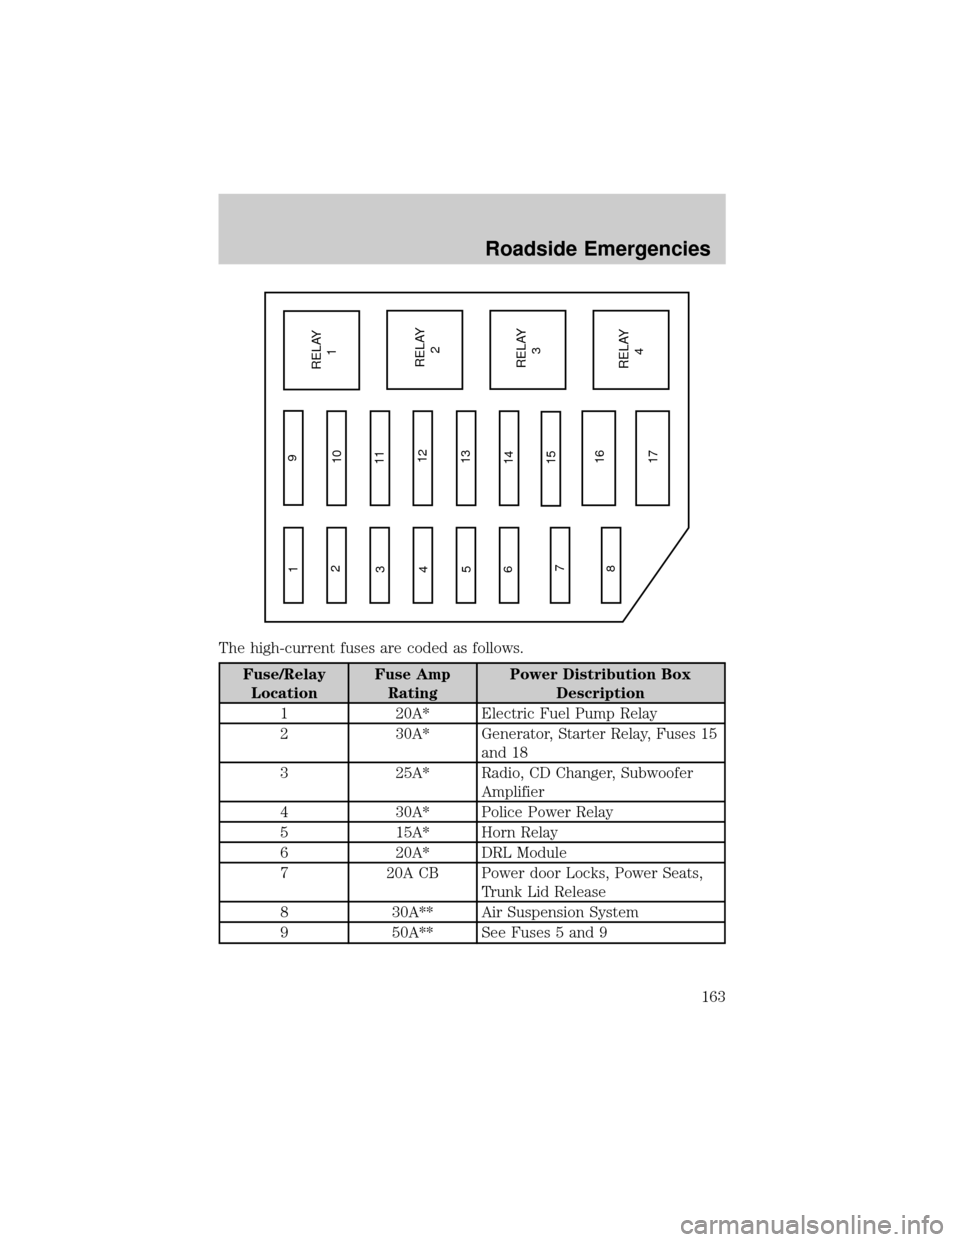
The high-current fuses are coded as follows.
Fuse/Relay
LocationFuse Amp
RatingPower Distribution Box
Description
1 20A* Electric Fuel Pump Relay
2 30A* Generator, Starter Relay, Fuses 15
and 18
3 25A* Radio, CD Changer, Subwoofer
Amplifier
4 30A* Police Power Relay
5 15A* Horn Relay
6 20A* DRL Module
7 20A CB Power door Locks, Power Seats,
Trunk Lid Release
8 30A** Air Suspension System
9 50A** See Fuses 5 and 9
1
2
3
4
5
6
7
89
10
11
12
13
14
15
16
17RELAY
1
RELAY
2
RELAY
3
RELAY
4
Roadside Emergencies
163
Page 233 of 240

A
ABS (see Brakes) .....................142
Air bag supplemental restraint
system ................................122±123
and child safety seats ............124
description ..............................123
disposal ....................................127
driver air bag ..........................125
indicator light ...................13, 126
operation .................................125
passenger air bag ...................125
Air cleaner filter ...............219, 224
Air conditioning ..........................56
manual heating and air
conditioning system .................54
Air suspension ...........................146
description ..............................146
warning light .............................14
Antifreeze (see Engine
coolant) .....................................199
Anti-lock brake system
(see Brakes) ..............................142
Audio system (see Radio) .........26
Automatic transmission
driving an automatic
overdrive .................................148
fluid, adding ............................216
fluid, checking ........................216
fluid, refill capacities ..............225
fluid, specification ..................228
Auxiliary power point .................74
Axle
lubricant specifications ..226, 228
refill capacities ........................225
traction lok ..............................150B
Battery .......................................197
acid, treating emergencies .....197
charging system warning light 13
jumping a disabled battery ....169
maintenance-free ....................197
replacement, specifications ...224
servicing ..................................197
voltage gauge ............................19
BeltMinder .................................118
Brakes ........................................141
anti-lock ...................................142
anti-lock brake system (ABS)
warning light .....................12, 143
brake warning light ..................12
fluid, checking and adding ....216
fluid, refill capacities ..............225
fluid, specifications .........226, 228
lubricant specifications ..226, 228
pedals (see Power adjustable
foot pedals) ...............................78
shift interlock ..........................146
Break-in period .............................5
Bulbs ............................................65
C
Capacities for refilling fluids ....225
Cassette tape player ...................39
CD changer .................................49
CD-single .....................................33
Certification Label ....................229
Changing a tire .........................164
Child safety restraints ..............127
Index
233