Page 109 of 486

2-
2-1
Section 2 Features and Controls
Here you can learn about the many standard and optional features on your vehicle, and information on starting,
shifting and braking. Also explained are the instrument panel and the warning systems that tell you if everything is
working properly
-- and what to do if you have a problem.
2
-2 Windows
2
-5 Keys
2-7 Door Locks
2-10 Remote Keyless Entry System (Option)
2-17 Multifunction Alarm Locks and
Lighting Choices
2
-27 Dual Sliding Doors
2
-29 Power Sliding Door (Option)
2
-36 Liftgate
2
-37 Theft
2
-38 Content Theft-Deterrent (Option)
2
-40 PASS-Key� III
2
-43 New Vehicle ªBreak-Inº
2-43 Ignition Positions
2
-45 Starting Your Engine
2
-46 Engine Coolant Heater (If Equipped)
2
-47 Automatic Transaxle Operation
2
-52 Parking Brake
2
-53 Shifting Into PARK (P)2
-56 Shifting Out of PARK (P)
2
-57 Parking Over Things That Burn
2
-57 Engine Exhaust
2
-58 Running Your Engine While You're Parked
2
-59 Turn Signal/Multifunction Lever
2
-67 Exterior Lamps
2-68 Interior Lamps
2-74 Storage Compartments
2-87 Accessory Inflator System (Option)
2
-89 Accessory Power Outlets
2
-90 OnStar� System (If Equipped)
2
-94 HomeLink� Transmitter (Option)
2
-98 The Instrument Panel -- Your
Information System
2
-102 Warning Lights, Gages, Messages
and Indicators
2
-112 Message Center
2-120 Driver Information Center (DIC) (Option)
2-123 Rear Parking Assist (Option)
Page 196 of 486

2-88
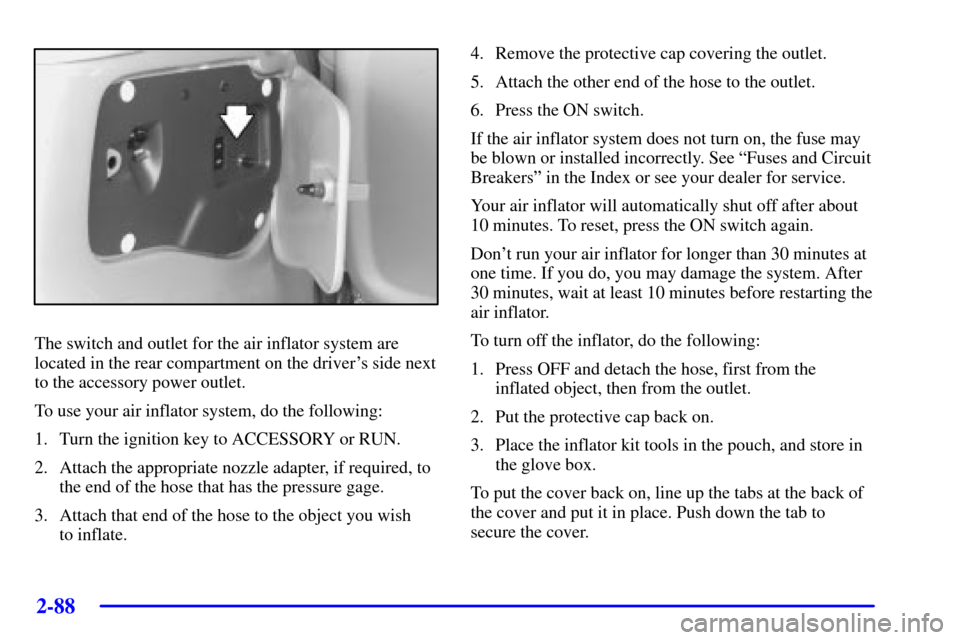
The switch and outlet for the air inflator system are
located in the rear compartment on the driver's side next
to the accessory power outlet.
To use your air inflator system, do the following:
1. Turn the ignition key to ACCESSORY or RUN.
2. Attach the appropriate nozzle adapter, if required, to
the end of the hose that has the pressure gage.
3. Attach that end of the hose to the object you wish
to inflate.4. Remove the protective cap covering the outlet.
5. Attach the other end of the hose to the outlet.
6. Press the ON switch.
If the air inflator system does not turn on, the fuse may
be blown or installed incorrectly. See ªFuses and Circuit
Breakersº in the Index or see your dealer for service.
Your air inflator will automatically shut off after about
10 minutes. To reset, press the ON switch again.
Don't run your air inflator for longer than 30 minutes at
one time. If you do, you may damage the system. After
30 minutes, wait at least 10 minutes before restarting the
air inflator.
To turn off the inflator, do the following:
1. Press OFF and detach the hose, first from the
inflated object, then from the outlet.
2. Put the protective cap back on.
3. Place the inflator kit tools in the pouch, and store in
the glove box.
To put the cover back on, line up the tabs at the back of
the cover and put it in place. Push down the tab to
secure the cover.
Page 212 of 486

2-104 Air Bag Readiness Light
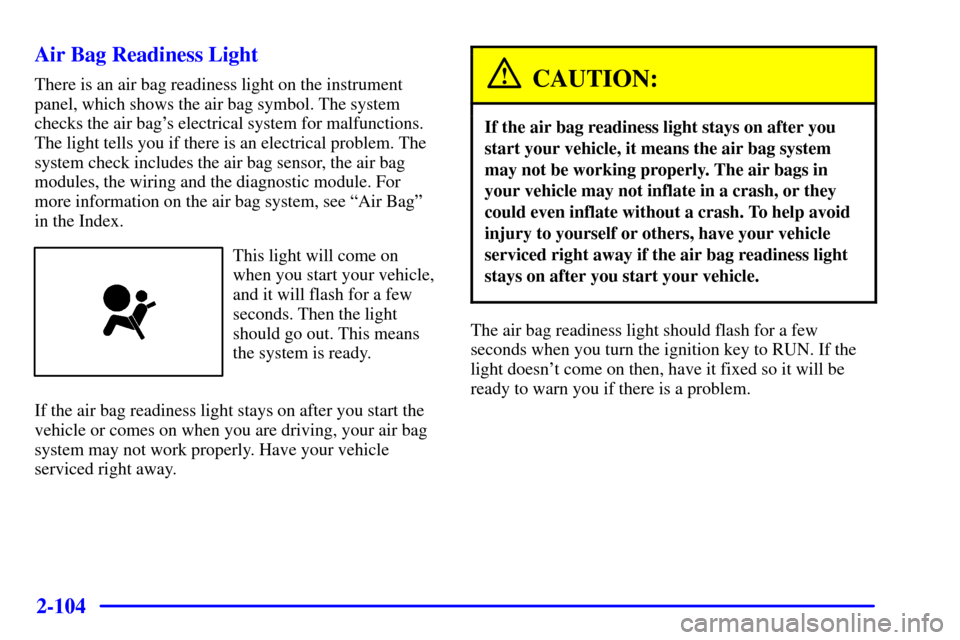
There is an air bag readiness light on the instrument
panel, which shows the air bag symbol. The system
checks the air bag's electrical system for malfunctions.
The light tells you if there is an electrical problem. The
system check includes the air bag sensor, the air bag
modules, the wiring and the diagnostic module. For
more information on the air bag system, see ªAir Bagº
in the Index.
This light will come on
when you start your vehicle,
and it will flash for a few
seconds. Then the light
should go out. This means
the system is ready.
If the air bag readiness light stays on after you start the
vehicle or comes on when you are driving, your air bag
system may not work properly. Have your vehicle
serviced right away.
CAUTION:
If the air bag readiness light stays on after you
start your vehicle, it means the air bag system
may not be working properly. The air bags in
your vehicle may not inflate in a crash, or they
could even inflate without a crash. To help avoid
injury to yourself or others, have your vehicle
serviced right away if the air bag readiness light
stays on after you start your vehicle.
The air bag readiness light should flash for a few
seconds when you turn the ignition key to RUN. If the
light doesn't come on then, have it fixed so it will be
ready to warn you if there is a problem.
Page 439 of 486

6-67
Fuses Usage
PWR LOCK Power Door Locks
HTD MIRROR Heated Mirrors
RH T/LP Driver's Side Taillamp
RR FOG LP Fog Lamps
CIGAR/DIC/APO
FRTCigarette Lighter, DIC, Front
Auxiliary Power Outlets
T/SIG Turn Signal Switch
PWR QTR VENT Interior Lamp and Multifunction
Switch (Power Vent Switch)
FRT/WPR/WSHR Windshield Wiper/Washer Motor
and Switch
HAZARD Hazard Switch
RR PWR SCKT Rear Electric Accessory
Plug Housing
DRL Daytime Running Lamp
Control Module
LH T/LP Passenger's Side TaillampFuses Usage
RR DEFOG/HTD
MIRRORRear Window Defogger Relay,
Heated Mirrors
ON STAR OnStar
�
SIR Inflatable Restraint
Control Module
HVAC BLOWER Heater
-A/C Control
MALL
CLUSTERInstrument Cluster, Body Control
Module, Electronic Level
Control (ELC) Sensor and Relay
STOP LAMP Stoplamp Switch
CLUSTER BATT Module/Electronic Brake
Control Module/Electronic
Brake Traction Control
Module (EBCM/EBTCM)
ENHANCED
EVAP/AWDEvaporative Emissions (EVAP)
Canister Vent Solenoid Valve,
All
-Wheel Drive (AWD)
Blank Not Used
ELC/TRAILER ELC Air Compressor and ELC
Relay, Trailer Harness