Page 359 of 497
5-33
CAUTION:
Incorrect wheel nuts or improperly tightened
wheel nuts can cause the wheel to become loose
and even come off. This could lead to an accident.
Be sure to use the correct wheel nuts. If you have
to replace them, be sure to get new GM original
equipment wheel nuts.
Stop somewhere as soon as you can and have the
nuts tightened with a torque wrench to the
proper torque. See ªCapacities and
Specificationsº in the Index.
NOTICE:
Improperly tightened wheel nuts can lead to
brake pulsation and rotor damage. To avoid
expensive brake repairs, evenly tighten the wheel
nuts in the proper sequence and to the proper
torque specification.
Page 366 of 497

6-
6-1
Section 6 Service and Appearance Care
Here you will find information about the care of your vehicle. This section begins with service and fuel information,
and then it shows how to check important fluid and lubricant levels. There is also technical information about your
vehicle, and a part devoted to its appearance care.
6
-2 Service
6
-3 Fuel (Gasoline Engine)
6
-5 Fuels in Foreign Countries
6
-6 Filling Your Tank
6
-8 Checking Things Under the Hood
6
-13 Noise Control System
6
-14 Engine Oil (Gasoline Engine)
6
-19 Engine Air Cleaner/Filter
6
-21 Passenger Compartment Air Filter
(If Equipped)
6
-22 Automatic Transmission Fluid
(Except Allison Transmission)
6
-26 Automatic Transmission Fluid
(Allison� Only)
6
-29 Manual Transmission Fluid
6
-31 Hydraulic Clutch
6
-32 Rear Axle
6
-32 Four-Wheel Drive6
-35 Engine Coolant
6
-38 Coolant Surge Tank Pressure Cap
6
-39 Power Steering Fluid
6
-40 Windshield Washer Fluid
6
-41 Brakes
6
-45 Battery
6
-46 Bulb Replacement
6
-55 Windshield Wiper Blade Replacement
6
-56 Tires
6
-67 Appearance Care
6
-67 Cleaning the Inside of Your Vehicle
6
-71 Cleaning the Outside of Your Vehicle
6
-75 GM Vehicle Care/Appearance Materials
6
-76 Vehicle Identification Number (VIN)
6
-77 Electrical System
6
-85 Replacement Bulbs
6
-86 Capacities and Specifications
Page 373 of 497

6-8
Filling a Portable Fuel Container
CAUTION:
Never fill a portable fuel container while it is in
your vehicle. Static electricity discharge from the
container can ignite the gasoline vapor. You can
be badly burned and your vehicle damaged if this
occurs. To help avoid injury to you and others:
�Dispense gasoline only into
approved containers.
�Do not fill a container while it is inside a
vehicle, in a vehicle's trunk, pickup bed or
on any surface other than the ground.
�Bring the fill nozzle in contact with the
inside of the fill opening before operating
the nozzle. Contact should be maintained
until the filling is complete.
�Don't smoke while pumping gasoline.
Checking Things Under the Hood
CAUTION:
Things that burn can get on hot engine parts and
start a fire. These include liquids like fuel, oil,
coolant, brake fluid, windshield washer and other
fluids, and plastic or rubber. You or others could
be burned. Be careful not to drop or spill things
that will burn onto a hot engine.
Page 375 of 497
6-10 Engine Compartment Overview
When you lift up the hood on the VORTEC 4300 V6 engine, you'll see the following:
A. Engine Air Cleaner/Filter
B. Coolant Surge Tank
C. Air Filter Restriction Indicator
D. Engine Oil Dipstick
E. Automatic Transmission Dipstick
(If Equipped)F. F a n
G. Engine Oil Fill
H. Power Steering Fluid Reservoir
I. Remote Negative (
-)
Terminal (GND)
J. Remote Positive (+) TerminalK. Brake Fluid Reservoir
L. Clutch Fluid Reservoir
(If Equipped)
M. Underhood Fuse Block
N. Battery
O. Windshield Washer Fluid Reservoir
Page 376 of 497
6-11
When you lift up the hood on the VORTEC 5300 V8 engine (VORTEC 4800 and 6000 V8 engines similar), you will
see the following:
A. Engine Air Cleaner/Filter
B. Coolant Surge Tank
C. Air Filter Restriction Indicator
D. Engine Oil Dipstick
E. Automatic Transmission Dipstick
(If Equipped)F. Engine Oil Fill
G. Fan
H. Remote Negative (
-)
Terminal (GND)
I. Power Steering Fluid Reservoir
J. Remote Positive (+) TerminalK. Brake Fluid Reservoir
L. Clutch Fluid Reservoir
(If Equipped)
M. Underhood Fuse Block
N. Battery
O. Windshield Washer Fluid Reservoir
Page 377 of 497
6-12
When you lift up the hood on the VORTEC 8100 V8 engine you will see the following:
A. Engine Air Cleaner/Filter
B. Coolant Surge Tank
C. Air Filter Restriction Indicator
D. Engine Oil Dipstick
E. Automatic Transmission Dipstick
(If Equipped)F. Engine Oil Fill
G. Fan
H. Remote Negative (
-)
Terminal (GND)
I. Remote Positive (+) Terminal
J. Power Steering Fluid ReservoirK. Brake Fluid Reservoir
L. Clutch Fluid Reservoir
(If Equipped)
M. Underhood Fuse Block
N. Battery
O. Windshield Washer Fluid Reservoir
Page 389 of 497
6-24
Checking the Fluid Level
Prepare your vehicle as follows:
�Park your vehicle on a level place. Keep the
engine running.
�With the parking brake applied, place the shift lever
in PARK (P).
�With your foot on the brake pedal, move the shift
lever through each gear range, pausing for about
three seconds in each range. Then, position the shift
lever in PARK (P).
�Let the engine run at idle for three minutes or more.
Then, without shutting off the engine, follow these steps:
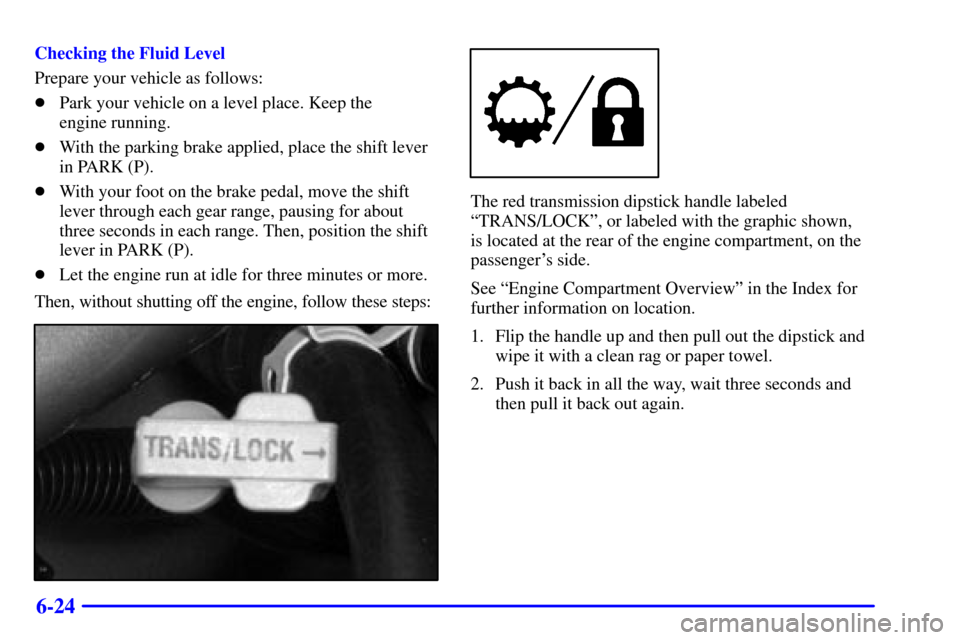
The red transmission dipstick handle labeled
ªTRANS/LOCKº, or labeled with the graphic shown,
is located at the rear of the engine compartment, on the
passenger's side.
See ªEngine Compartment Overviewº in the Index for
further information on location.
1. Flip the handle up and then pull out the dipstick and
wipe it with a clean rag or paper towel.
2. Push it back in all the way, wait three seconds and
then pull it back out again.
Page 392 of 497
.
�With")
6-27
Checking the Fluid Level
Prepare your vehicle as follows:
�Park your vehicle on a level place. Keep the
engine running.
�With the parking brake applied, place the shift lever
in PARK (P).
�With your foot on the brake pedal, run the engine for
at least once minute and shift to DRIVE (D). Then
shift to NEUTRAL (N) and then REVERSE (R) to
fill the hydraulic system. Then, position the shift
lever in PARK (P).
�Allow the engine to run at idle (500
- 800 rpm).
Slowly release the brake pedal.
Then, without shutting off the engine, follow these steps:Cold Check Procedure
The purpose of the cold check is to determine if the
transmission has enough fluid to be operated safely until
a hot check can be made. The fluid level rises as fluid
temperature increases. DO NOT fill above the COLD
CHECK band if the transmission fluid is below normal
operating temperatures.
1. Pull out the dipstick and wipe it with a clean rag or
paper towel.
2. Push it back in all the way, wait three seconds and
then pull it back out again.
3. Check the fluid level reading. Repeat the check
procedure to verify the reading.
4. If the fluid level is within the COLD CHECK band,
the transmission may be operated until the fluid is
hot enough to perform a hot check. If the fluid level
is not within the COLD CHECK band, add or drain
fluid as necessary to bring the level into the middle
of the COLD CHECK band.
5. Perform a hot check at the first opportunity after the
normal operating temperature of 160�F (71�C) to
200�F (93�C) is reached.
6. If the fluid level is in the acceptable range, push the
dipstick back in all the way.


, you will
see the following:
A. Engine Air Cleaner/Filter
B. Coolant Surge Tank
C. Air Filter Rest")