Page 218 of 341
5-17
3. Then fill the coolant surge tank with the proper
mixture, to the hash mark on the label. Wait about
five minutes, then check to see if the level is below
the hash mark. If the level is below the hash mark,
add additional coolant to bring the level up to the
hash mark. Repeat this procedure until the level
remains constant at the hash mark for at least
five minutes.
4. With the coolant surge tank pressure cap off, start
the engine and let it run until you can feel the upper
radiator hose getting hot. Watch out for the engine
cooling fans.By this time, the coolant level inside the coolant
surge tank may be lower. If the level is lower than
the FULL COLD mark add more of the proper
mixture to the coolant surge tank until the level
reaches the FULL COLD mark.
5. Then replace the
pressure cap. Be
sure the pressure
cap is hand
-tight
and fully seated.
See your dealer, if necessary.
Page 232 of 341
6-
6-1
Section 6 Service and Appearance Care
Here you will find information about the care of your vehicle. This section begins with service and fuel information,
and then it shows how to check important fluid and lubricant levels. There is also technical information about your
vehicle, and a part devoted to its appearance care.
6
-2 Service
6
-3 Fuel
6
-5 Fuels in Foreign Countries
6
-6 Filling Your Tank
6
-8 Filling a Portable Fuel Container
6
-9 Checking Things Under the Hood
6
-12 Engine Oil
6
-16 Engine Air Cleaner/Filter
6
-17 Automatic Transaxle Fluid
6
-18 Engine Coolant
6
-22 Surge Tank Pressure Cap
6
-22 Power Steering Fluid
6
-23 Windshield Washer Fluid
6
-24 Brakes
6
-28 Battery6
-29 Bulb Replacement
6
-34 Windshield Wiper Blade Replacement
6
-35 Tires
6
-43 Appearance Care
6
-44 Cleaning the Inside of Your Vehicle
6
-46 Care of Safety Belts
6
-47 Cleaning the Outside of Your Vehicle
6
-49 Cleaning Aluminum Wheels (If Equipped)
6
-50 Finish Damage
6
-51 GM Vehicle Care/Appearance Materials
6
-52 Vehicle Identification Number (VIN)
6
-53 Electrical System
6
-59 Replacement Bulbs
6
-60 Capacities and Specifications
6
-60 Normal Maintenance Replacement Parts
Page 234 of 341
6-3
CAUTION:
You can be injured and your vehicle could be
damaged if you try to do service work on a
vehicle without knowing enough about it.
�Be sure you have sufficient knowledge,
experience, the proper replacement parts
and tools before you attempt any vehicle
maintenance task.
�Be sure to use the proper nuts, bolts and
other fasteners. ªEnglishº and ªmetricº
fasteners can be easily confused. If you use
the wrong fasteners, parts can later break
or fall off. You could be hurt.
Adding Equipment to the Outside of
Your Vehicle
Things you might add to the outside of your vehicle can
affect the airflow around it. This may cause wind noise
and affect windshield washer performance. Check with
your dealer before adding equipment to the outside of
your vehicle.
Fuel
Gasoline Octane
Use regular unleaded gasoline with a posted octane
of 87 or higher. If the octane is less than 87, you may
get a heavy knocking noise when you drive. If it is bad
enough, it can damage your engine. A little pinging
noise when you accelerate or drive uphill is considered
normal. This does not indicate a problem exists or that
a higher
-octane fuel is necessary.
Page 235 of 341
6-4 Gasoline Specifications
It is recommended that gasoline meet specifications
which were developed by the American Automobile
Manufacturers Association and endorsed by the
Canadian Vehicle Manufacturers' Association for better
vehicle performance and engine protection. Gasolines
meeting these specifications could provide improved
driveability and emission control system performance
compared to other gasolines.
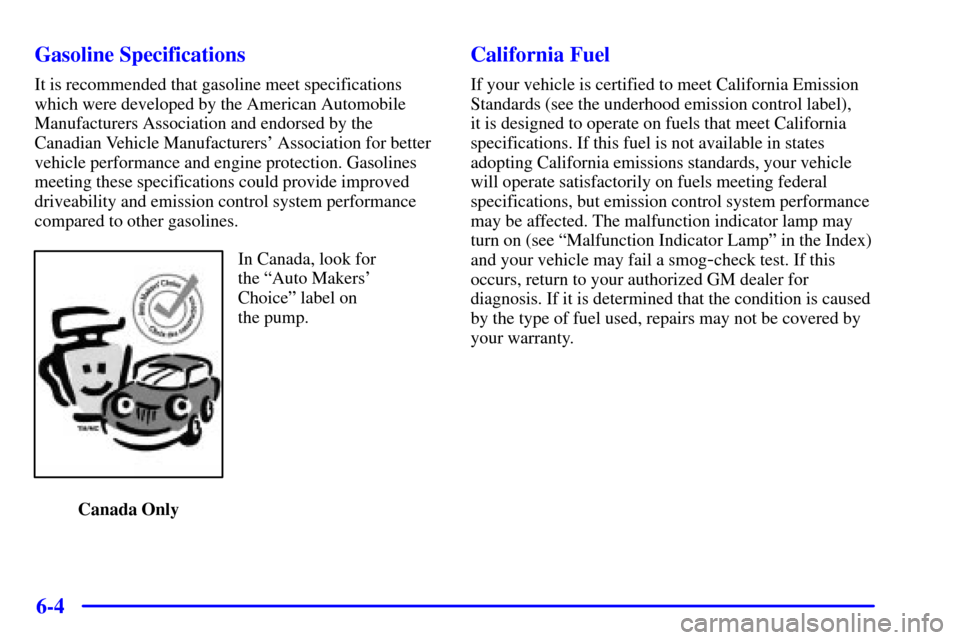
In Canada, look for
the ªAuto Makers'
Choiceº label on
the pump.
Canada Only
California Fuel
If your vehicle is certified to meet California Emission
Standards (see the underhood emission control label),
it is designed to operate on fuels that meet California
specifications. If this fuel is not available in states
adopting California emissions standards, your vehicle
will operate satisfactorily on fuels meeting federal
specifications, but emission control system performance
may be affected. The malfunction indicator lamp may
turn on (see ªMalfunction Indicator Lampº in the Index)
and your vehicle may fail a smog
-check test. If this
occurs, return to your authorized GM dealer for
diagnosis. If it is determined that the condition is caused
by the type of fuel used, repairs may not be covered by
your warranty.
Page 236 of 341
6-5 Additives
Some gasolines that are not reformulated for low
emissions may contain an octane
-enhancing additive
called methylcyclopentadienyl manganese tricarbonyl
(MMT); ask the attendant where you buy gasoline
whether the fuel contains MMT. General Motors does
not recommend the use of such gasolines. Fuels
containing MMT can reduce the life of spark plugs and
the performance of the emission control system may be
affected. The malfunction indicator lamp may turn on.
If this occurs, return to your authorized GM dealer
for service.
To provide cleaner air, all gasolines in the United States
are now required to contain additives that will help
prevent engine and fuel system deposits from forming,
allowing your emission control system to work properly.
You should not have to add anything to your fuel.
Gasolines containing oxygenates, such as ethers and
ethanol, and reformulated gasolines may be available in
your area to contribute to clean air. General Motors
recommends that you use these gasolines, particularly if
they comply with the specifications described earlier.
NOTICE:
Your vehicle was not designed for fuel that
contains methanol. Don't use fuel containing
methanol. It can corrode metal parts in your
fuel system and also damage plastic and rubber
parts. That damage wouldn't be covered under
your warranty.
Fuels in Foreign Countries
If you plan on driving in another country outside the
United States or Canada, the proper fuel may be hard to
find. Never use leaded gasoline or any other fuel not
recommended in the previous text on fuel. Costly repairs
caused by use of improper fuel wouldn't be covered by
your warranty.
To check on fuel availability, ask an auto club, or
contact a major oil company that does business in the
country where you'll be driving.
Page 240 of 341
6-9
Checking Things Under the Hood
CAUTION:
An electric fan under the hood can start up and
injure you even when the engine is not running.
Keep hands, clothing and tools away from any
underhood electric fan.
CAUTION:
Things that burn can get on hot engine parts and
start a fire. These include liquids like gasoline,
oil, coolant, brake fluid, windshield washer and
other fluids, and plastic or rubber. You or others
could be burned. Be careful not to drop or spill
things that will burn onto a hot engine.
Hood Release
To open the hood, do the following:
1. Pull the hood release
handle located inside the
vehicle to the left of the
parking brake.
Page 243 of 341
6-12
Engine Oil
If the CHECK OIL light
appears on the instrument
cluster, it means you need to
check your engine oil level
right away. For more
information, see ªCheck
Oil Lightº in the Index.
You should check your engine oil level regularly; this is
an added reminder.
Checking Engine Oil
It's a good idea to check your engine oil every time you
get fuel. In order to get an accurate reading, the oil must
be warm and the vehicle must be on level ground.
The engine oil dipstick is
located in the front of the
engine compartment. The
top of the dipstick is a
round, yellow loop. See
ªEngine Compartment
Overviewº in the Index
for more information
on location.
Turn off the engine and give the oil several minutes to
drain back into the oil pan. If you don't, the oil dipstick
might not show the actual level.
Pull out the dipstick and clean it with a paper towel or
cloth, then push it back in all the way. Remove it again,
keeping the tip down, and check the level.
Page 248 of 341
6-17
To check or replace the engine air cleaner/filter:
1. Remove the four screws on the cover, then pull the
cover back.
2. Remove the engine air cleaner/filter and check or
replace it.
3. Replace the cover tightly.
Refer to the Maintenance Schedule to determine when to
replace the air filter.
See ªScheduled Maintenance Servicesº in the Index.
CAUTION:
Operating the engine with the air cleaner/filter
off can cause you or others to be burned. The air
cleaner not only cleans the air, it stops flame if
the engine backfires. If it isn't there, and the
engine backfires, you could be burned. Don't
drive with it off, and be careful working on the
engine with the air cleaner/filter off.
NOTICE:
If the air cleaner/filter is off, a backfire can
cause a damaging engine fire. And, dirt can
easily get into your engine, which will damage it.
Always have the air cleaner/filter in place when
you're driving.
Automatic Transaxle Fluid
It is not necessary to check the transaxle fluid level.
A transaxle fluid leak is the only reason for fluid loss.
If a leak occurs, take the vehicle to the dealership
service department and have it repaired as soon as
possible. You may also have your fluid level checked
by your dealer or service center when you have your
oil changed.