Page 55 of 360

1-49 Securing a Child Restraint in the Right
Front Seat Position
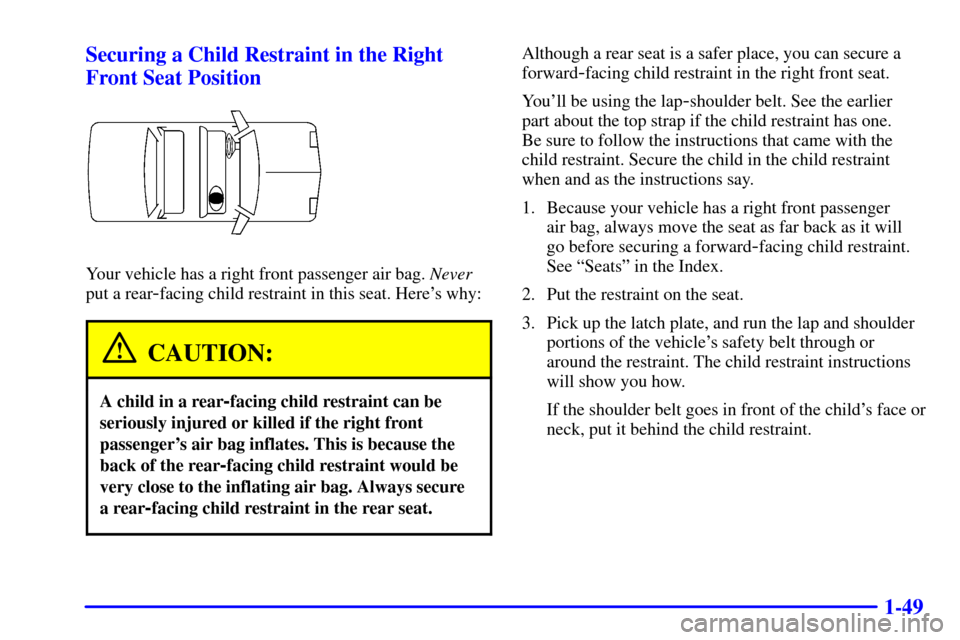
Your vehicle has a right front passenger air bag. Never
put a rear
-facing child restraint in this seat. Here's why:
CAUTION:
A child in a rear-facing child restraint can be
seriously injured or killed if the right front
passenger's air bag inflates. This is because the
back of the rear
-facing child restraint would be
very close to the inflating air bag. Always secure
a rear
-facing child restraint in the rear seat.
Although a rear seat is a safer place, you can secure a
forward
-facing child restraint in the right front seat.
You'll be using the lap
-shoulder belt. See the earlier
part about the top strap if the child restraint has one.
Be sure to follow the instructions that came with the
child restraint. Secure the child in the child restraint
when and as the instructions say.
1. Because your vehicle has a right front passenger
air bag, always move the seat as far back as it will
go before securing a forward
-facing child restraint.
See ªSeatsº in the Index.
2. Put the restraint on the seat.
3. Pick up the latch plate, and run the lap and shoulder
portions of the vehicle's safety belt through or
around the restraint. The child restraint instructions
will show you how.
If the shoulder belt goes in front of the child's face or
neck, put it behind the child restraint.
Page 113 of 360

2-52
Storage Compartments
Center Console Storage Area
To open the center console, pull the lift lever up and the
lid back.
To close the center console, push the lid down until
it clicks.
Center Console Cupholders
There are two cupholders located at the front of the
center console, in front of the shift lever. There are also
cupholders for the rear seat passengers located under the
center console lid. Open the center console lid all the
way to uncover the rear cupholders. There is also a
large, removeable cupholder inside of the center
console lid.
Convenience Net (If Equipped)
Your vehicle may have a convenience net. You'll see it
inside the back wall of the trunk. Put small loads, like
grocery bags, behind the net. It can help keep them from
falling over during sharp turns or quick starts and stops.
Unclip a corner of the convenience net to fit larger
objects behind the net, then reclip it to secure them in
place. The net isn't for larger, heavier loads. Store them
in the trunk as far forward as you can.
You can unhook the net so that it will lie flat when
you're not using it.
Page 123 of 360

2-62 Air Bag Readiness Light
There is an air bag readiness light on the instrument
panel, which shows the air bag symbol. The system
checks the air bag's electrical system for malfunctions.
The light tells you if there is an electrical problem. The
system check includes the air bag sensor, the air bag
modules, the wiring and the crash sensing and
diagnostic module. For more information on the air bag
system, see ªAir Bagº in the Index.
This light will come on
when you start your vehicle,
and it will flash for a few
seconds. Then the light
should go out. This means
the system is ready.
If the air bag readiness light stays on after you start the
vehicle or comes on when you are driving, your air bag
system may not work properly. Have your vehicle
serviced right away.
CAUTION:
If the air bag readiness light stays on after you
start your vehicle, it means the air bag system
may not be working properly. The air bags in
your vehicle may not inflate in a crash, or they
could even inflate without a crash. To help avoid
injury to yourself or others, have your vehicle
serviced right away if the air bag readiness light
stays on after you start your vehicle.
The air bag readiness light should flash for a few
seconds when you turn the ignition key to RUN. If the
light doesn't come on then, have it fixed so it will be
ready to warn you if there is a problem.
Page 235 of 360
5-28
10. Tighten the wheel nuts
firmly in a crisscross
sequence, as shown.
CAUTION:
Incorrect wheel nuts or improperly tightened
wheel nuts can cause the wheel to become loose
and even come off. This could lead to an accident.
Be sure to use the correct wheel nuts. If you have
to replace them, be sure to get new GM original
equipment wheel nuts.
Stop somewhere as soon as you can and have
the nuts tightened with a torque wrench to
100 lb
-ft (140 N´m).
NOTICE:
Improperly tightened wheel nuts can lead to
brake pulsation and rotor damage. To avoid
expensive brake repairs, evenly tighten the wheel
nuts in the proper sequence and to the proper
torque specification.
Don't try to put a wheel cover on your compact spare
tire. It won't fit. Store the wheel cover in the trunk
until you have the flat tire repaired or replaced.
NOTICE:
Wheel covers won't fit on your compact spare.
If you try to put a wheel cover on your compact
spare, you could damage the cover or the spare.