Page 50 of 331
2-7 Power Door Locks (If Equipped)
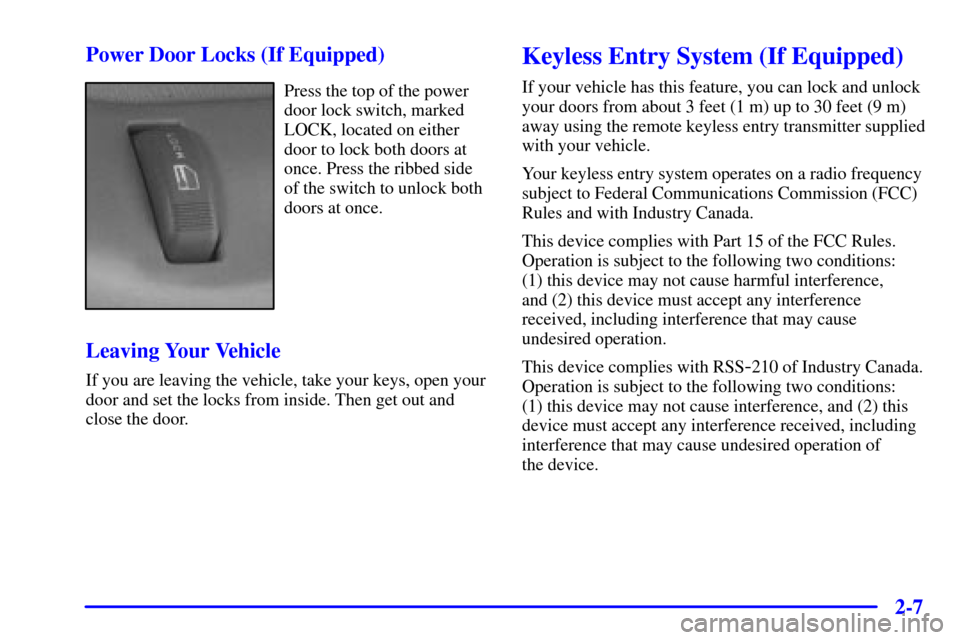
Press the top of the power
door lock switch, marked
LOCK, located on either
door to lock both doors at
once. Press the ribbed side
of the switch to unlock both
doors at once.
Leaving Your Vehicle
If you are leaving the vehicle, take your keys, open your
door and set the locks from inside. Then get out and
close the door.
Keyless Entry System (If Equipped)
If your vehicle has this feature, you can lock and unlock
your doors from about 3 feet (1 m) up to 30 feet (9 m)
away using the remote keyless entry transmitter supplied
with your vehicle.
Your keyless entry system operates on a radio frequency
subject to Federal Communications Commission (FCC)
Rules and with Industry Canada.
This device complies with Part 15 of the FCC Rules.
Operation is subject to the following two conditions:
(1) this device may not cause harmful interference,
and (2) this device must accept any interference
received, including interference that may cause
undesired operation.
This device complies with RSS
-210 of Industry Canada.
Operation is subject to the following two conditions:
(1) this device may not cause interference, and (2) this
device must accept any interference received, including
interference that may cause undesired operation of
the device.
Page 55 of 331
2-12
New Vehicle ªBreak-Inº
NOTICE:
Your vehicle doesn't need an elaborate
ªbreak
-in.º But it will perform better in the
long run if you follow these guidelines:
�Keep your speed at 55 mph (88 km/h) or
less for the first 500 miles (805 km).
�Don't drive at any one speed
-- fast or
slow
-- for the first 500 miles (805 km).
Don't make full
-throttle starts.
�Avoid making hard stops for the first
200 miles (322 km) or so. During this time
your new brake linings aren't yet broken
in. Hard stops with new linings can mean
premature wear and earlier replacement.
Follow this breaking
-in guideline every
time you get new brake linings.
�Don't tow a trailer during break
-in. See
ªTowing a Trailerº in the Index for more
information.
Ignition Positions
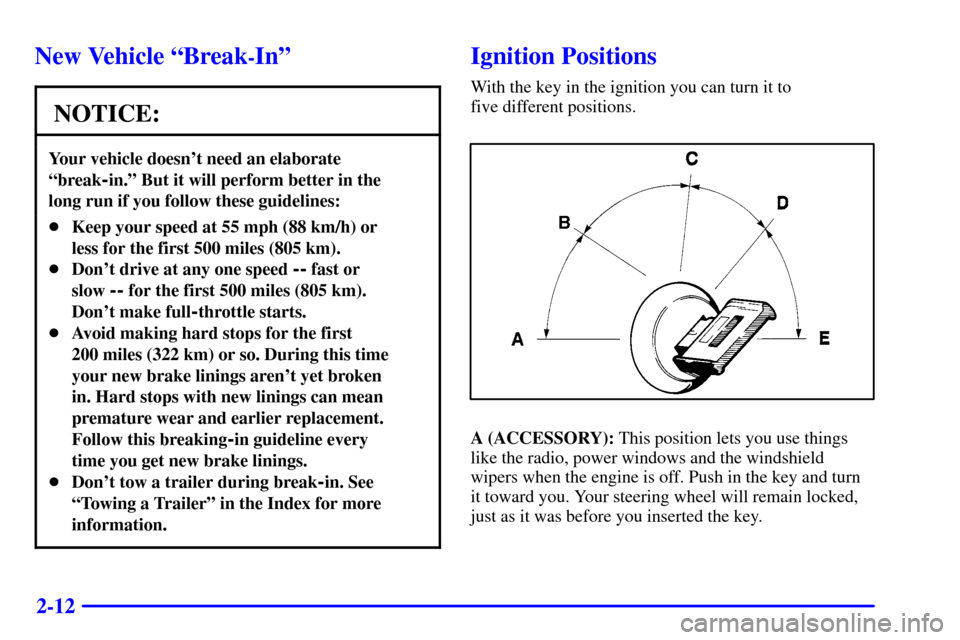
With the key in the ignition you can turn it to
five different positions.
A (ACCESSORY): This position lets you use things
like the radio, power windows and the windshield
wipers when the engine is off. Push in the key and turn
it toward you. Your steering wheel will remain locked,
just as it was before you inserted the key.
Page 82 of 331
2-39
Interior Lamps
Instrument Panel Brightness Control
This feature controls the brightness of the instrument
panel lights.
The thumbwheel for this feature is located to the right of
the exterior lamps control.
Turn the thumbwheel up to brighten the lights or down
to dim them.
When the thumbwheel is moved to the first position, the
radio display and transmission selection display will go
to full intensity. The instrument panel cluster will be
dimly lit.
Moving the thumbwheel up to the next position will
activate the interior dome lamps
Illuminated Entry
Your vehicle is equipped with an illuminated
entry feature.
When a door is opened, the dome lamps will come on if
the DOME OVERRIDE button is in the out position.
When all the doors are closed, the lamps will stay on for
a short period of time and will then go out. If the DOME
OVERRIDE button is pressed in, the lamps will not
come on.
Front Reading Lamps (If Equipped)
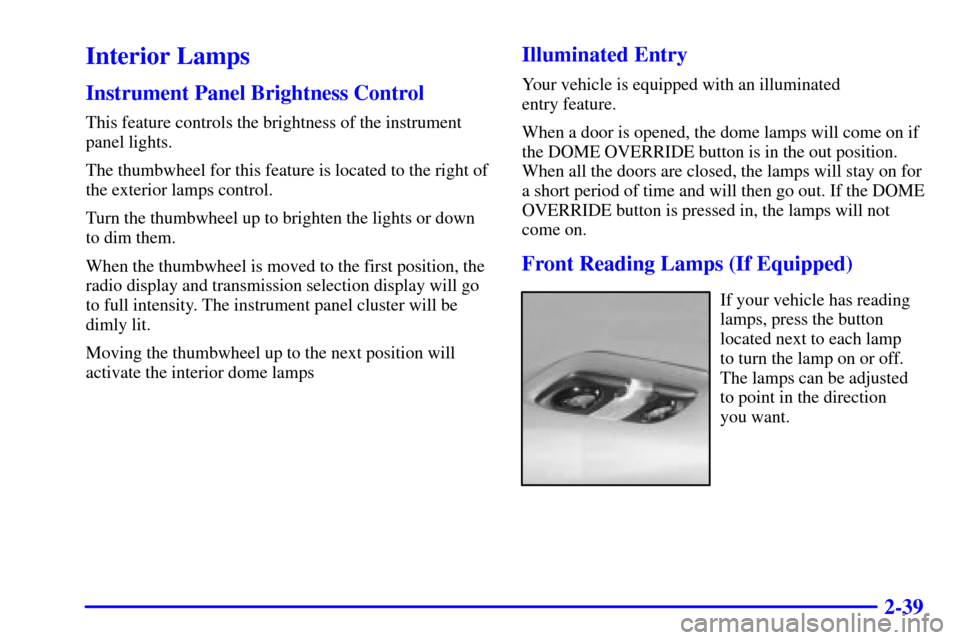
If your vehicle has reading
lamps, press the button
located next to each lamp
to turn the lamp on or off.
The lamps can be adjusted
to point in the direction
you want.
Page 89 of 331
2-46
Ashtrays and Cigarette Lighter
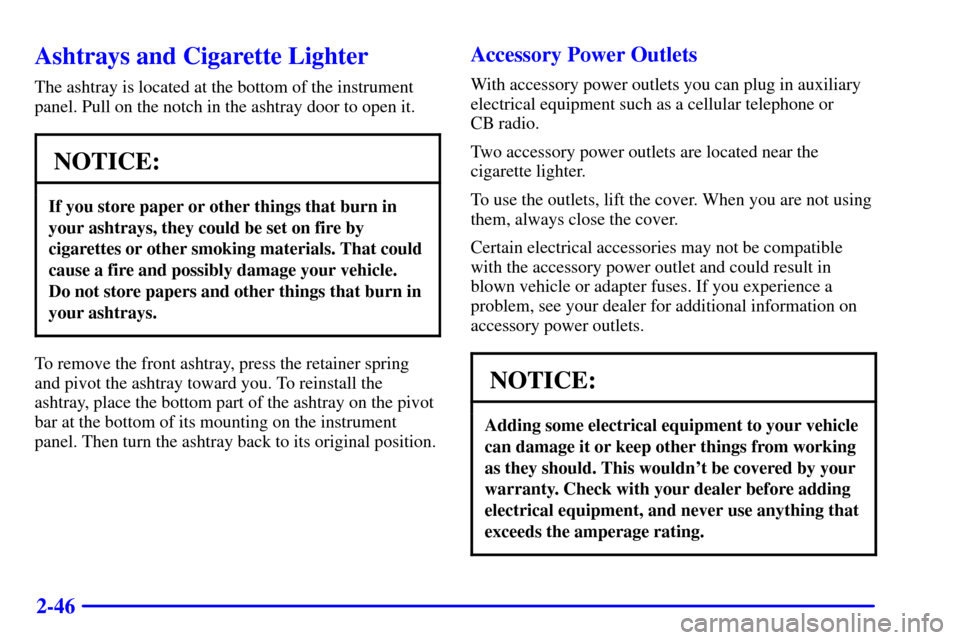
The ashtray is located at the bottom of the instrument
panel. Pull on the notch in the ashtray door to open it.
NOTICE:
If you store paper or other things that burn in
your ashtrays, they could be set on fire by
cigarettes or other smoking materials. That could
cause a fire and possibly damage your vehicle.
Do not store papers and other things that burn in
your ashtrays.
To remove the front ashtray, press the retainer spring
and pivot the ashtray toward you. To reinstall the
ashtray, place the bottom part of the ashtray on the pivot
bar at the bottom of its mounting on the instrument
panel. Then turn the ashtray back to its original position.
Accessory Power Outlets
With accessory power outlets you can plug in auxiliary
electrical equipment such as a cellular telephone or
CB radio.
Two accessory power outlets are located near the
cigarette lighter.
To use the outlets, lift the cover. When you are not using
them, always close the cover.
Certain electrical accessories may not be compatible
with the accessory power outlet and could result in
blown vehicle or adapter fuses. If you experience a
problem, see your dealer for additional information on
accessory power outlets.
NOTICE:
Adding some electrical equipment to your vehicle
can damage it or keep other things from working
as they should. This wouldn't be covered by your
warranty. Check with your dealer before adding
electrical equipment, and never use anything that
exceeds the amperage rating.
Page 96 of 331
2-53 Charging System Indicator Light
This light should come on
briefly when you turn on the
ignition, before starting the
engine, as a check to show
you it is working.
After the engine starts, the light should go out. If it stays
on or comes on while you are driving, you may have a
problem with your charging system. It could indicate a
problem with the generator drive belt, or some other
charging system problem. Have it checked right away.
Driving while this light is on could drain your battery.
If you must drive a short distance with this light on, it
helps to turn off all your accessories, such as the radio
and the air conditioner.
Voltmeter
When your engine is not
running, but the ignition is
in RUN, this gage shows
your battery's state of
charge in DC volts.
When the engine is running, the gage shows the
condition of the charging system. Readings between
the low and high warning zones indicate the normal
operating range.
Page 107 of 331
3-
3-1
Section 3 Comfort Controls and Audio Systems
In this section, you'll find out how to operate the comfort control and audio systems offered with your vehicle.
Be sure to read about the particular systems supplied with your vehicle.
3
-2 Comfort Controls
3
-4 Air Conditioning
3
-4 Heating
3
-4 Defogging and Defrosting
3
-5 Ventilation System
3
-6 Audio Systems
3
-6 Setting the Clock For Systems with the
SET Button
3
-6 Setting the Clock For Systems with the
HR and MN Button
3
-7AM-FM Stereo
3
-9AM-FM Stereo with Cassette Tape Player
(If Equipped)3
-12 AM-FM Stereo with Cassette Tape Player
and Automatic Tone Control (If Equipped)
3
-17 AM-FM Stereo with Compact Disc Player
and Automatic Tone Control (If Equipped)
3
-22 Theft-Deterrent Feature (If Equipped)
3
-24 Understanding Radio Reception
3
-24 Tips About Your Audio System
3
-25 Care of Your Cassette Tape Player
3
-26 Care of Your Compact Discs
3
-26 Care of Your Compact Disc Player
3
-26 Fixed Mast Antenna
Page 113 of 331
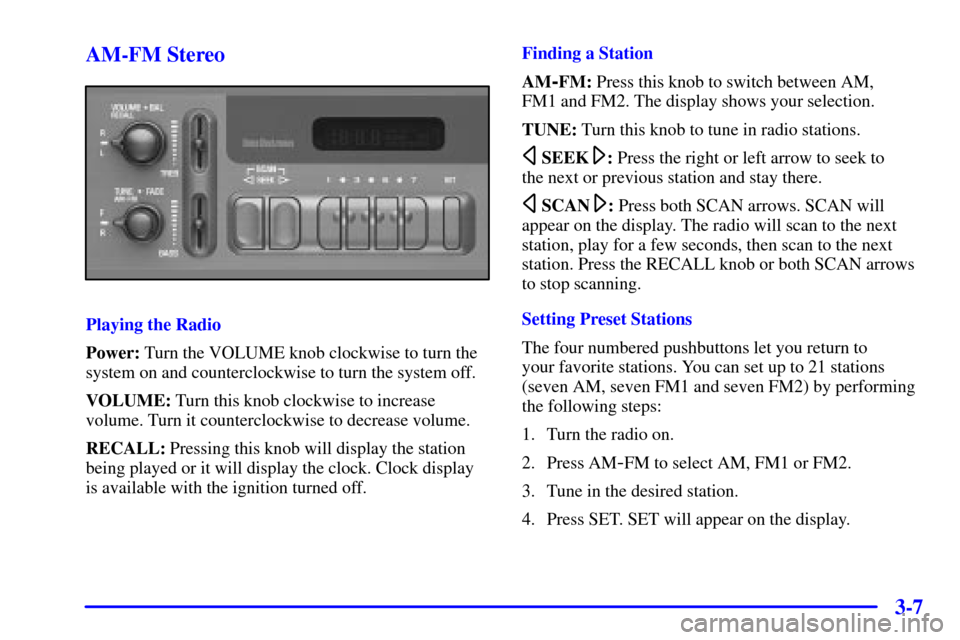
3-7 AM-FM Stereo
Playing the Radio
Power: Turn the VOLUME knob clockwise to turn the
system on and counterclockwise to turn the system off.
VOLUME: Turn this knob clockwise to increase
volume. Turn it counterclockwise to decrease volume.
RECALL: Pressing this knob will display the station
being played or it will display the clock. Clock display
is available with the ignition turned off.Finding a Station
AM
-FM: Press this knob to switch between AM,
FM1 and FM2. The display shows your selection.
TUNE: Turn this knob to tune in radio stations.
SEEK: Press the right or left arrow to seek to
the next or previous station and stay there.
SCAN: Press both SCAN arrows. SCAN will
appear on the display. The radio will scan to the next
station, play for a few seconds, then scan to the next
station. Press the RECALL knob or both SCAN arrows
to stop scanning.
Setting Preset Stations
The four numbered pushbuttons let you return to
your favorite stations. You can set up to 21 stations
(seven AM, seven FM1 and seven FM2) by performing
the following steps:
1. Turn the radio on.
2. Press AM
-FM to select AM, FM1 or FM2.
3. Tune in the desired station.
4. Press SET. SET will appear on the display.
Page 115 of 331
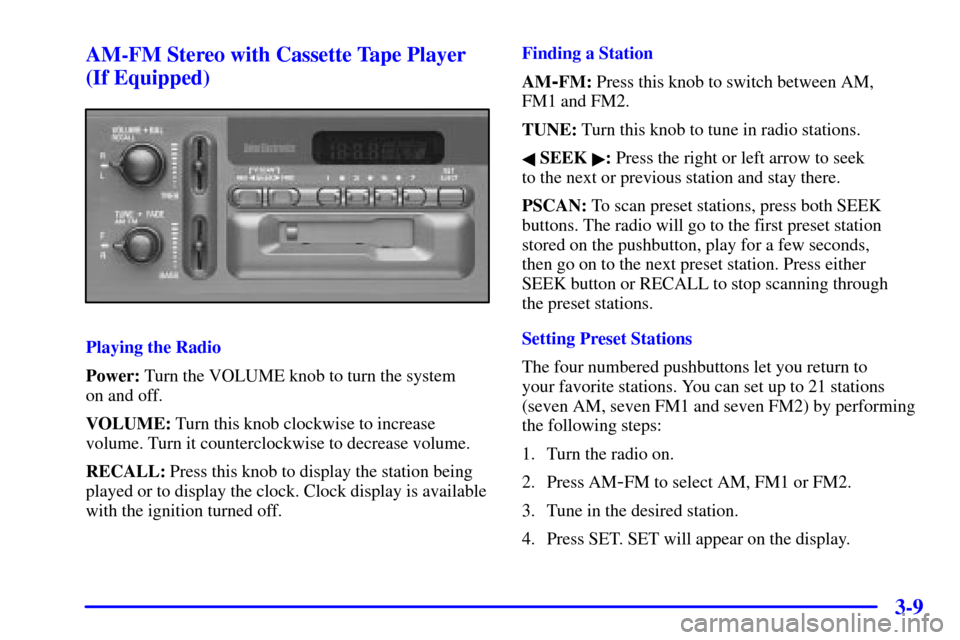
3-9 AM-FM Stereo with Cassette Tape Player
(If Equipped)
Playing the Radio
Power: Turn the VOLUME knob to turn the system
on and off.
VOLUME: Turn this knob clockwise to increase
volume. Turn it counterclockwise to decrease volume.
RECALL: Press this knob to display the station being
played or to display the clock. Clock display is available
with the ignition turned off.Finding a Station
AM
-FM: Press this knob to switch between AM,
FM1 and FM2.
TUNE: Turn this knob to tune in radio stations.
� SEEK �: Press the right or left arrow to seek
to the next or previous station and stay there.
PSCAN: To scan preset stations, press both SEEK
buttons. The radio will go to the first preset station
stored on the pushbutton, play for a few seconds,
then go on to the next preset station. Press either
SEEK button or RECALL to stop scanning through
the preset stations.
Setting Preset Stations
The four numbered pushbuttons let you return to
your favorite stations. You can set up to 21 stations
(seven AM, seven FM1 and seven FM2) by performing
the following steps:
1. Turn the radio on.
2. Press AM
-FM to select AM, FM1 or FM2.
3. Tune in the desired station.
4. Press SET. SET will appear on the display.